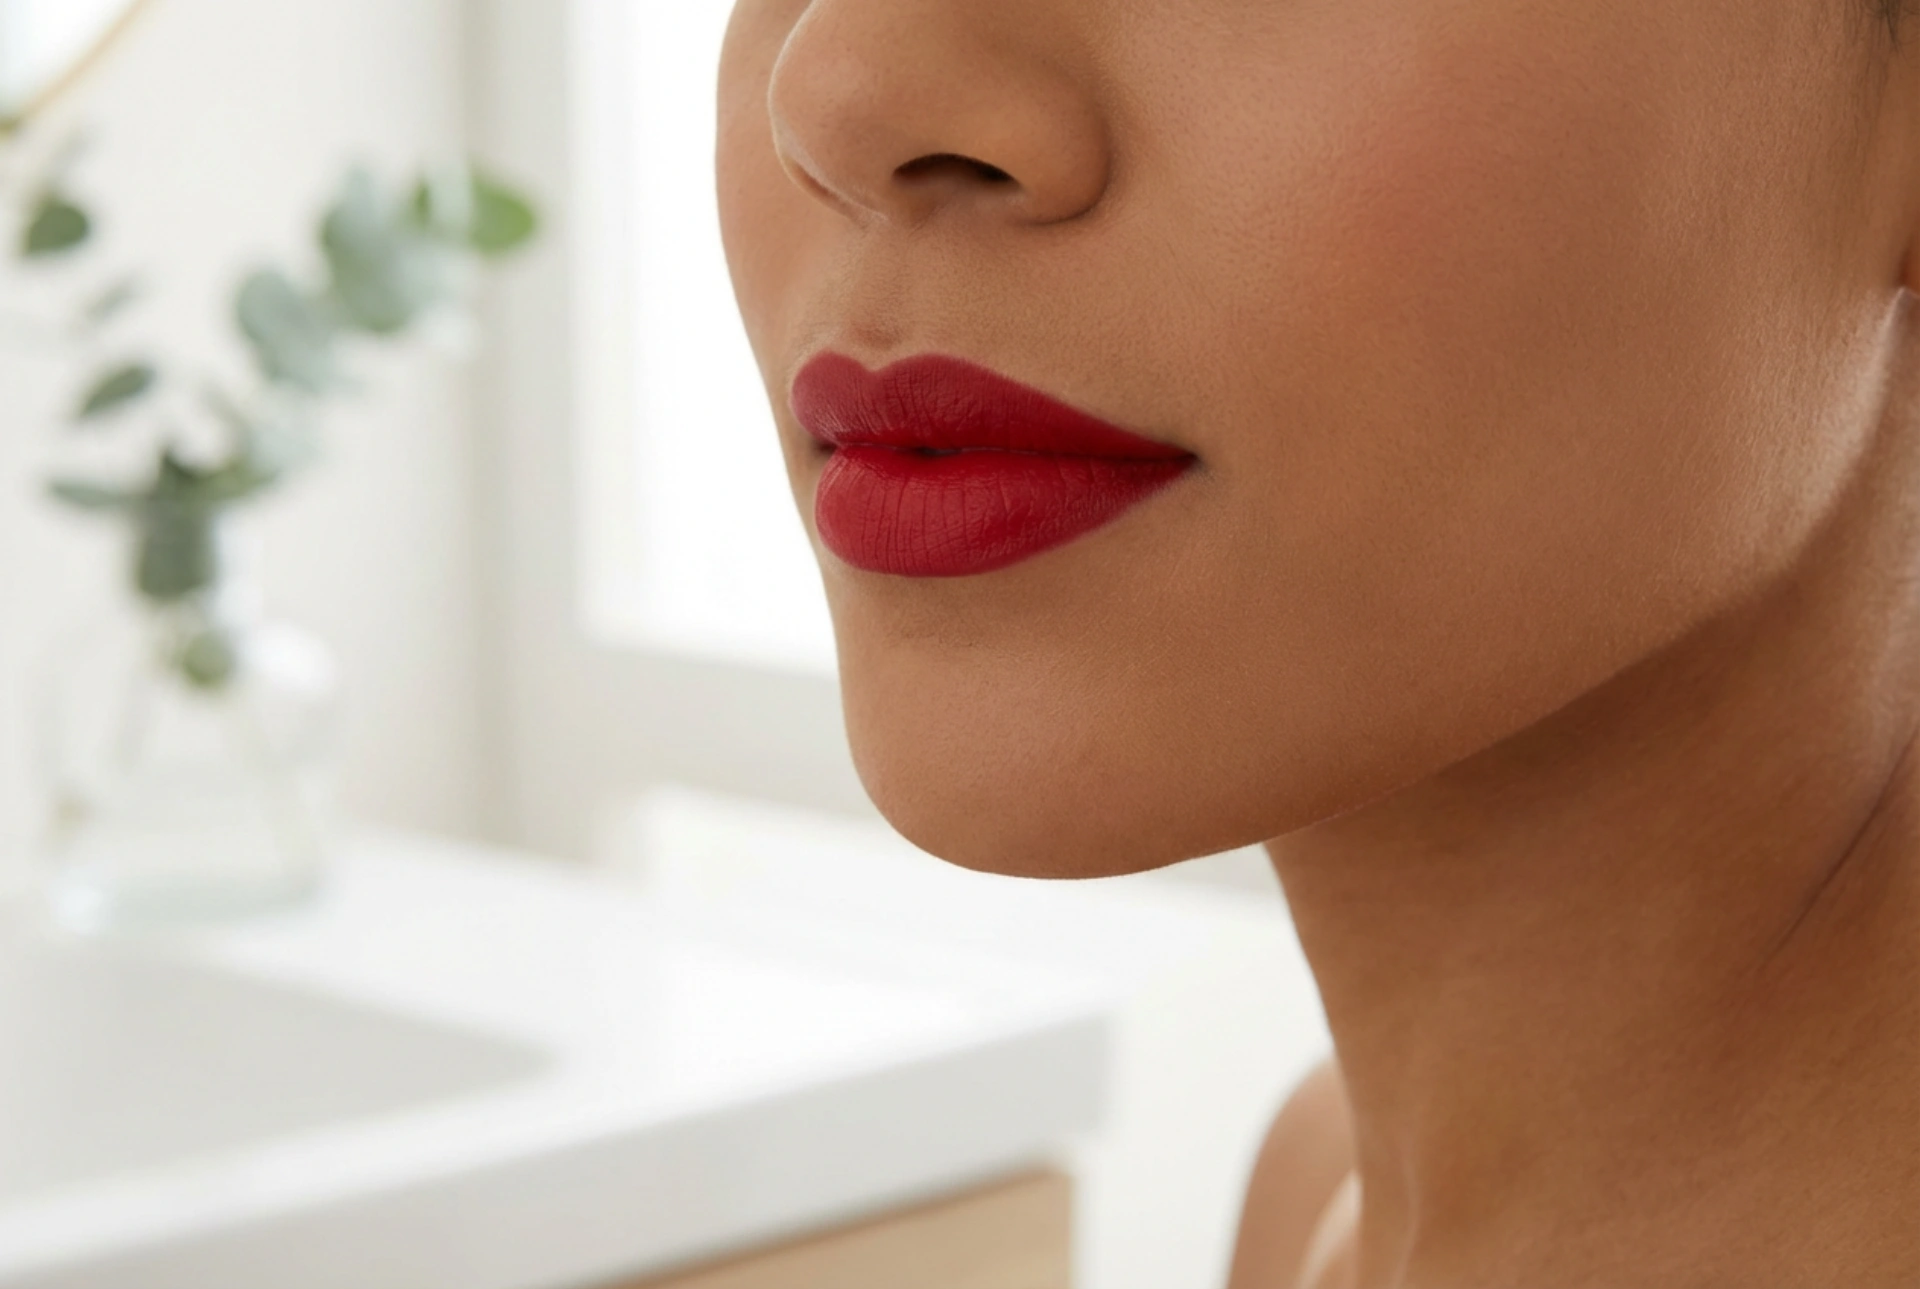


A beautifully defined red lip is one of the most classic and empowering statements in the world of beauty. The striking contrast of a vibrant, rich crimson against the skin immediately draws attention, showcasing a polished aesthetic that never goes out of style. However, achieving that perfect, crisp finish seen in professional photography requires more than just a quick swipe from the tube. It demands a mindful approach to selecting the right shade, prepping the skin, and mastering application techniques to ensure the colour remains flawless, vibrant, and beautifully defined throughout the day.
Finding the Perfect Red: Matching Your Skin Undertone
Not all red lipsticks are created equal. The secret to a red that truly flatters your complexion lies in understanding your skin's underlying tones. Selecting a complementary shade enhances your features, while the wrong undertone can sometimes make the complexion look slightly washed out. Identifying whether you have cool, warm, or neutral undertones is the first step in choosing your perfect signature red.
Cool Undertones
If your skin has pink, rosy, or bluish undertones, you will look best in blue-based reds. These shades, which include berry tones, cool plums, and classic cherry reds, harmonise beautifully with cool skin tones. An added benefit of blue-toned red lipsticks is that they create an optical illusion, making your teeth appear brighter and whiter in contrast.
Warm Undertones
Complexions with golden, peach, or yellow undertones pair exquisitely with warm-toned reds. Look for lipsticks with orange, brick, copper, or terracotta bases. These fiery shades bring warmth to the face, highlighting the natural golden glow of your skin and offering a radiant, energetic appearance.
Neutral Undertones
If you have neutral undertones, you possess a balanced mix of both warm and cool tones. This means you have the flexibility to wear almost any shade of red. From true, balanced primary reds to soft coral-tinged hues and deep wines, you can comfortably experiment with different finishes and tones depending on the season, your outfit, or your mood.
Prepping and Contouring the Lips
A vibrant red lipstick highlights the texture of your lips, meaning any dryness, flaking, or unevenness will be instantly visible under natural light. Proper preparation is the vital foundation of a flawless look, ensuring a smooth canvas and preventing the product from settling into fine lines.
- Gentle Exfoliation: Use a mild, home-made sugar scrub once or twice a week to remove dry skin gently. This reveals a smooth, soft surface ready for colour application.
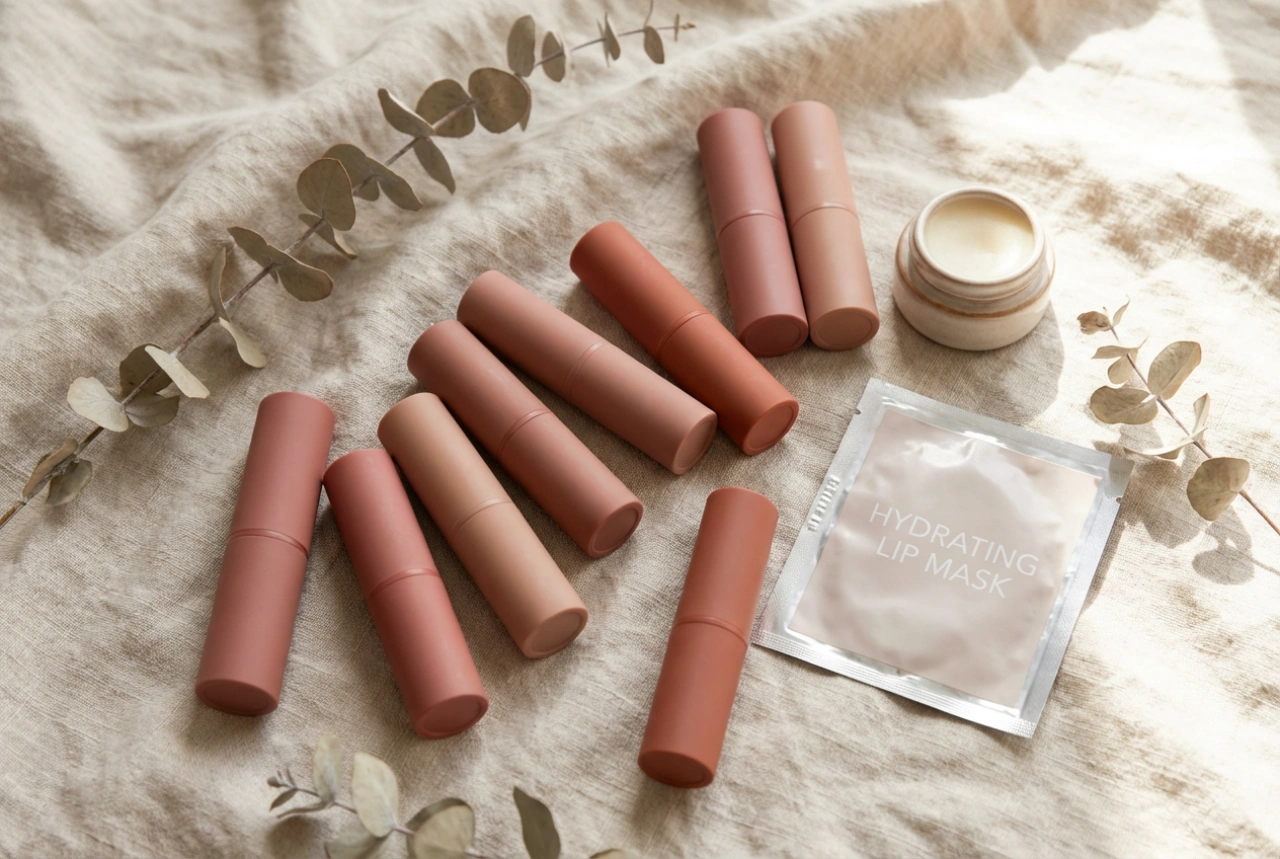
- Deep Hydration: Apply a nourishing lip balm well before you begin your makeup routine. Let it absorb fully while you apply the rest of your makeup, then gently blot away any excess oil with a tissue before applying your lipstick. This ensures the product adheres properly.
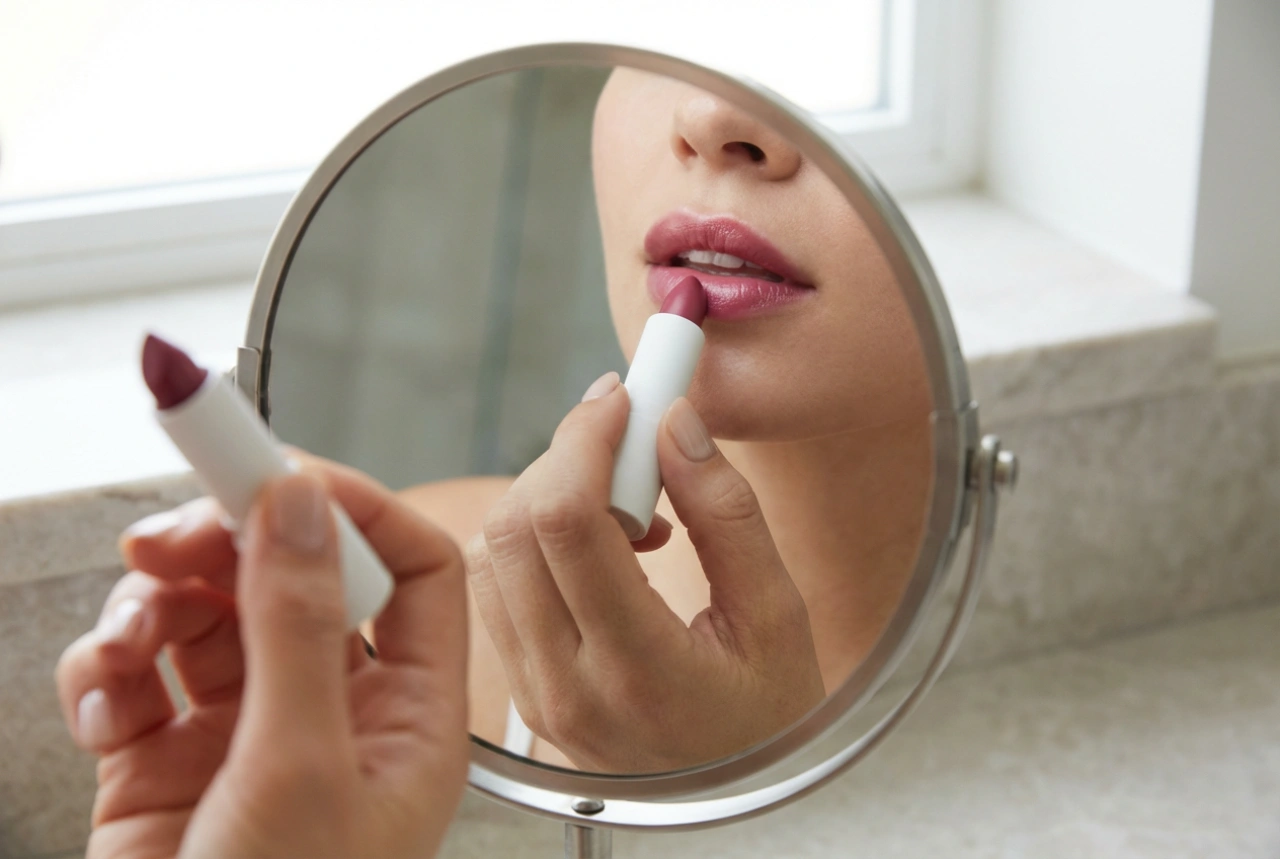
- Precise Contouring: A lip liner is essential when working with intense shades. Choose a liner that matches your natural lip colour or the exact shade of your lipstick. Start from the Cupid's bow, tracing carefully outwards, and then define the bottom lip. For added longevity, fill in the entire lip area with the liner before applying the lipstick.
Application Techniques for All-Day Wear
Longevity is often the biggest challenge when wearing bold lip colours. To ensure your red lips stay intact through meals, conversations, and long hours, follow a structured layering method that builds the colour's resilience from the base up.
The Layering Method
Instead of applying one thick coat directly from the bullet, use a lip brush for ultimate precision. Apply a thin, even layer of lipstick, pressing the product into the lips. Gently blot your lips with a clean tissue to remove excess oils, then apply a second thin layer. This builds up the pigment density without adding heavy, slide-prone product build-up.
Setting with Translucent Powder
For an extra-long-lasting finish, try the classic tissue-and-powder trick. Separate a two-ply tissue into a single ply and place it gently over your lips. Lightly dust a translucent setting powder through the tissue using a fluffy makeup brush. This absorbs excess moisture and sets the cream formula underneath without altering the vibrancy of the colour or leaving a powdery residue.
Perfecting the Edges and Choosing the Right Finish
Even with a steady hand, applying red lipstick can sometimes lead to minor smudges. To clean up the outer edges, take a flat concealer brush with a tiny amount of your regular foundation or concealer. Gently trace along the outer border of your lips to erase any imperfections and make the red pop against your skin tone.
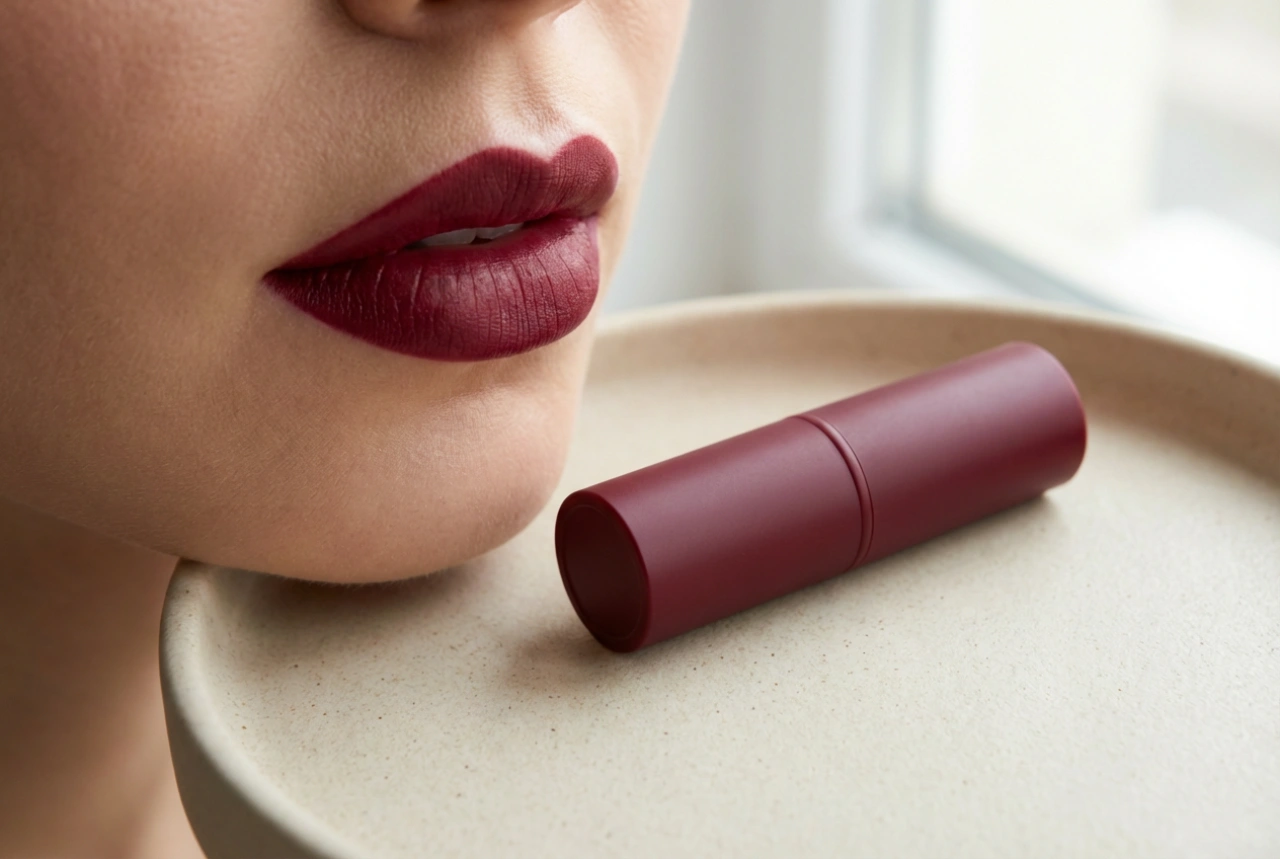
Finally, consider the finish that best suits your comfort and style. Matte finishes offer high pigmentation and a modern, velvety look that is highly resistant to transfer. Satin and cream finishes provide a softer, more classic shine and feel comfortable on drier lips, while a sheer red gloss adds youthful volume and a lively hint of colour for a more relaxed daytime look.