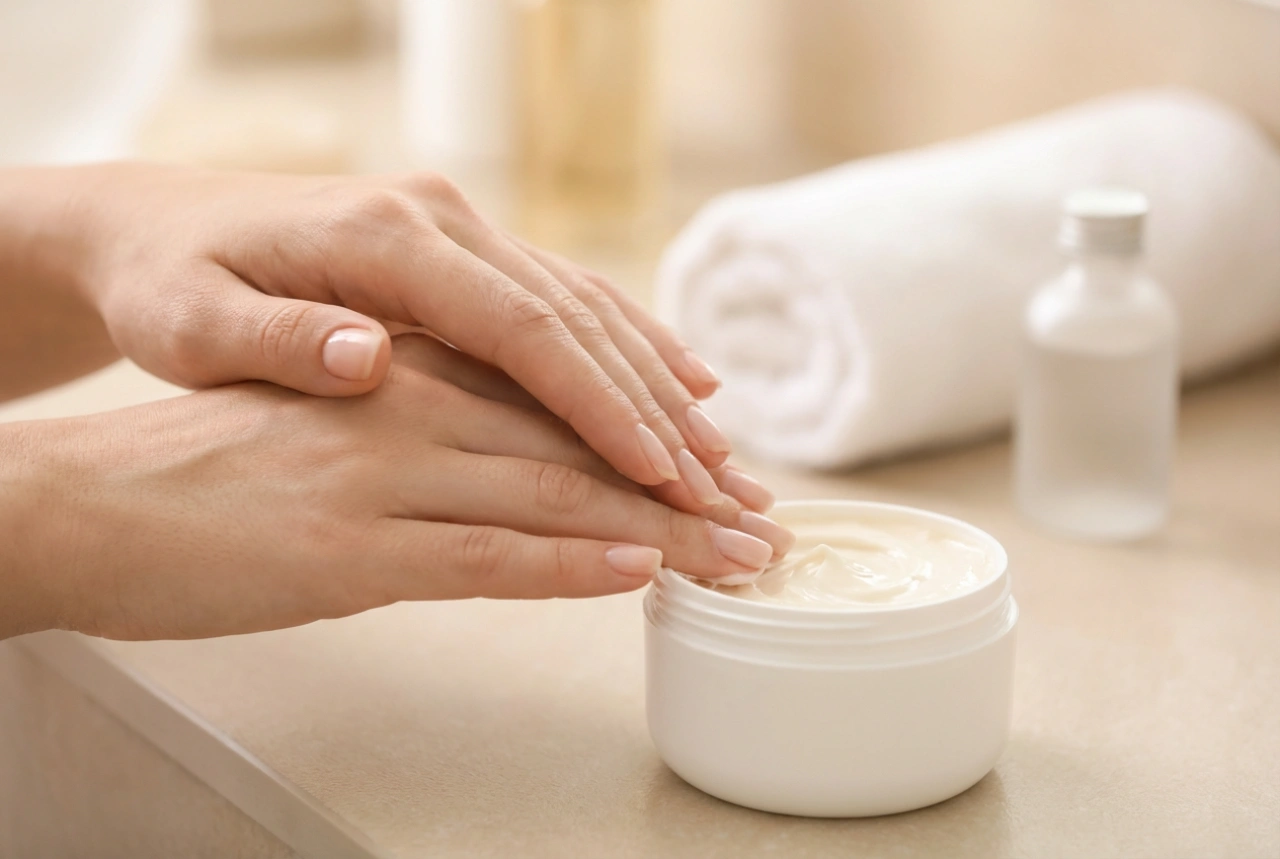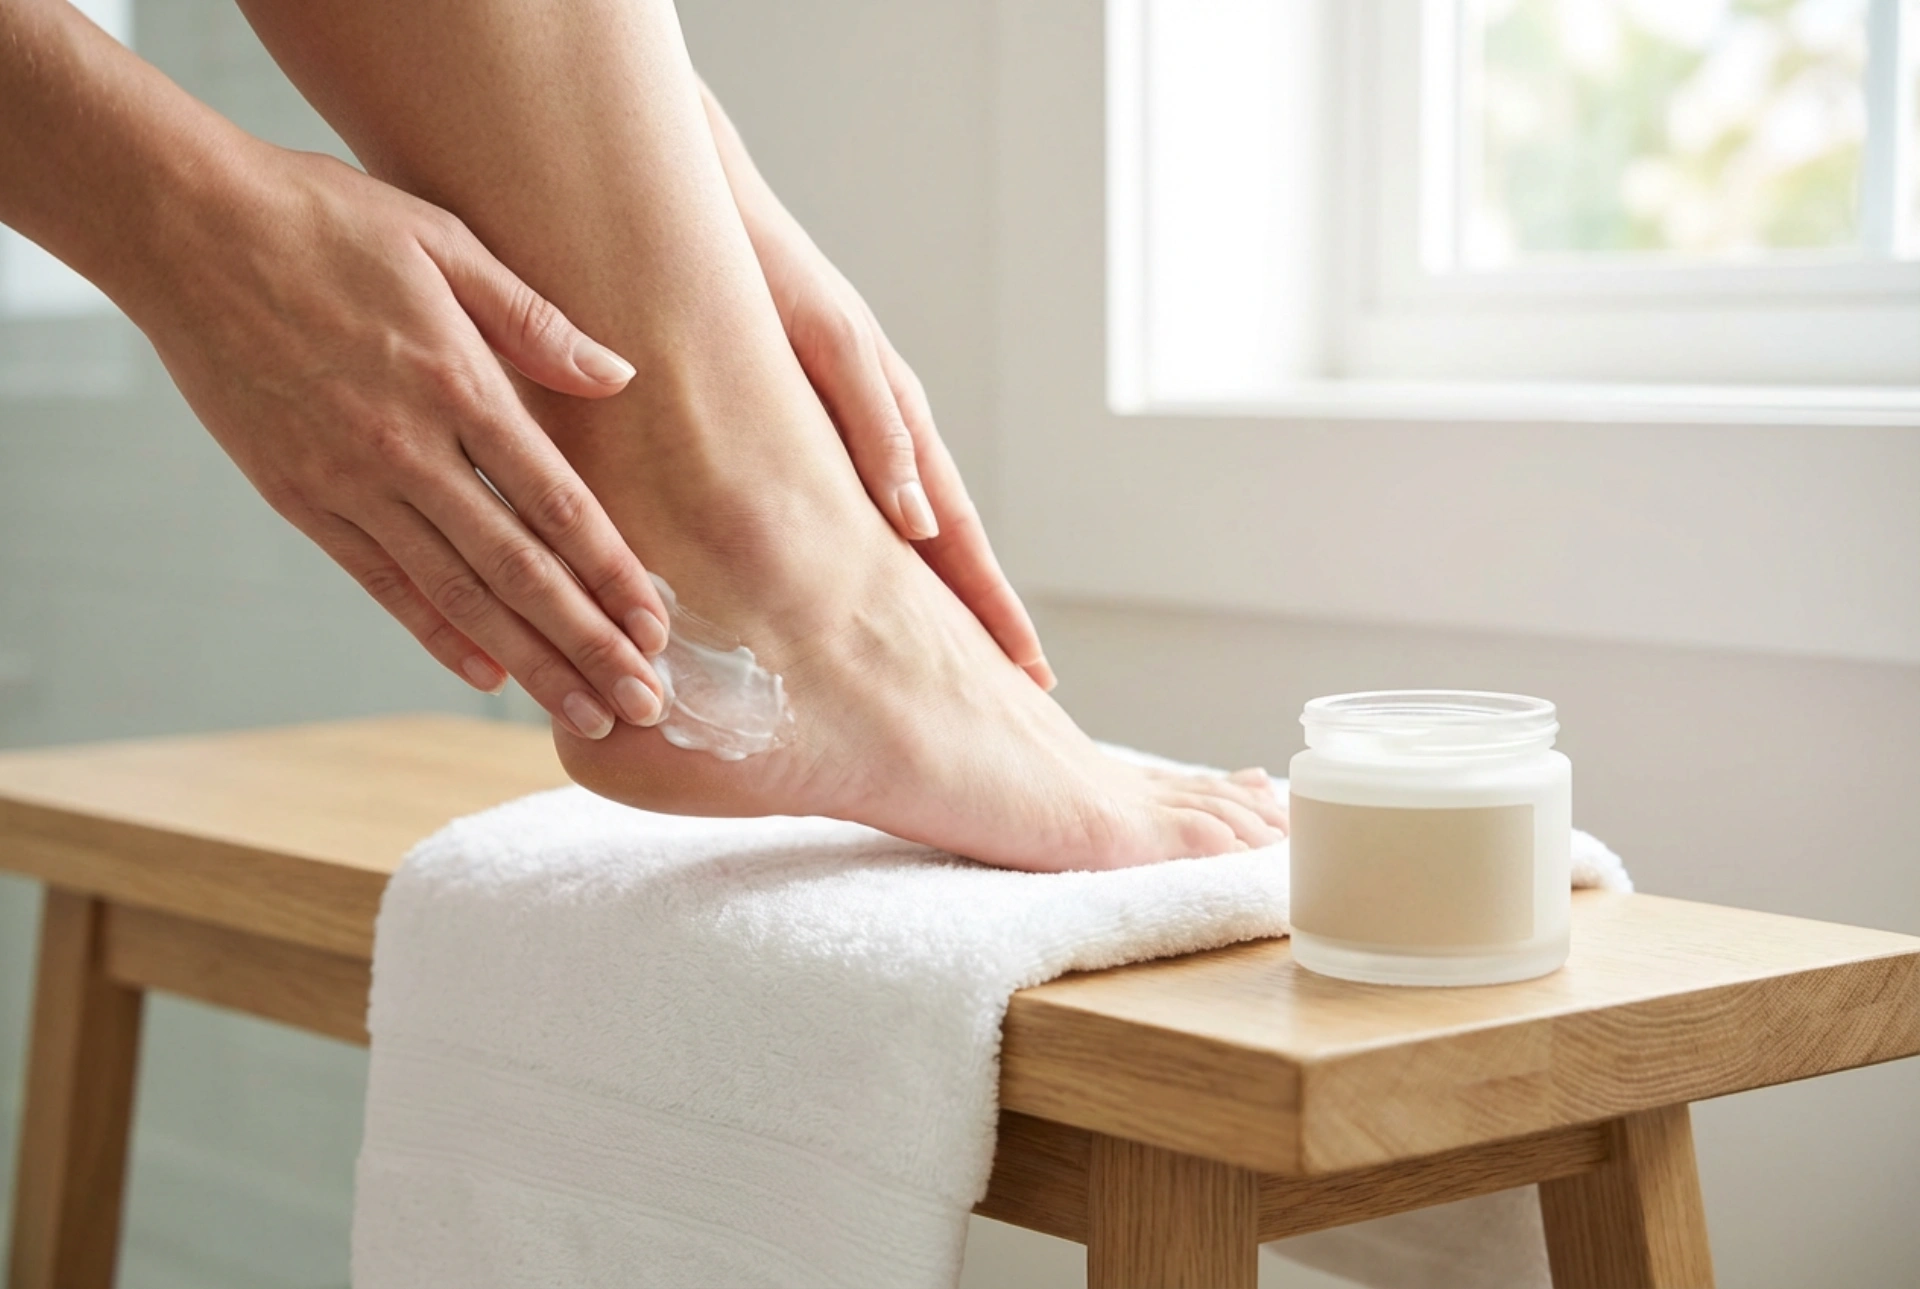


Summer holidays often leave us with beautiful memories, golden tans, and unfortunately, dry, rough skin on our feet. Walking barefoot on sandy beaches, wearing open-toed sandals, and constant exposure to warm, dry air can take a toll on our heels. When you return home, your feet deserve a dedicated restorative ritual. Taking a moment to sit back on a soft towel and gently massage a rich, nourishing cream into your heels can be the perfect start to your skin recovery journey. With a structured, gentle seven-day care plan, you can restore smoothness and comfort to your feet without any harsh or invasive methods.
Why Do Heels Dry Out and Crack After Summer?
During the summer months, our feet are exposed to environmental factors that accelerate moisture loss. Open shoes like flip-flops and sandals offer little support and expose the skin to friction and dust. Additionally, walking on hot sand or hard surfaces naturally causes the skin on the heels to thicken as a protective mechanism. When this thickened layer loses its elasticity due to dehydration, small cracks can begin to form. To reverse this process, we must focus on two main pillars of cosmetic care: gentle exfoliation to remove dead skin cells and intensive moisturisation to rebuild the skin's natural lipid barrier.
Days 1 to 3: Softening and Gentle Preparation
The first step in your post-holiday foot care routine should always be gentle softening. It can be tempting to reach for harsh metal files or pumice stones to scrape away the rough skin immediately, but this can actually stimulate the skin to defend itself by growing back even thicker and harder. Instead, start with a calming, restorative approach.
The Benefits of a Relaxing Foot Soak
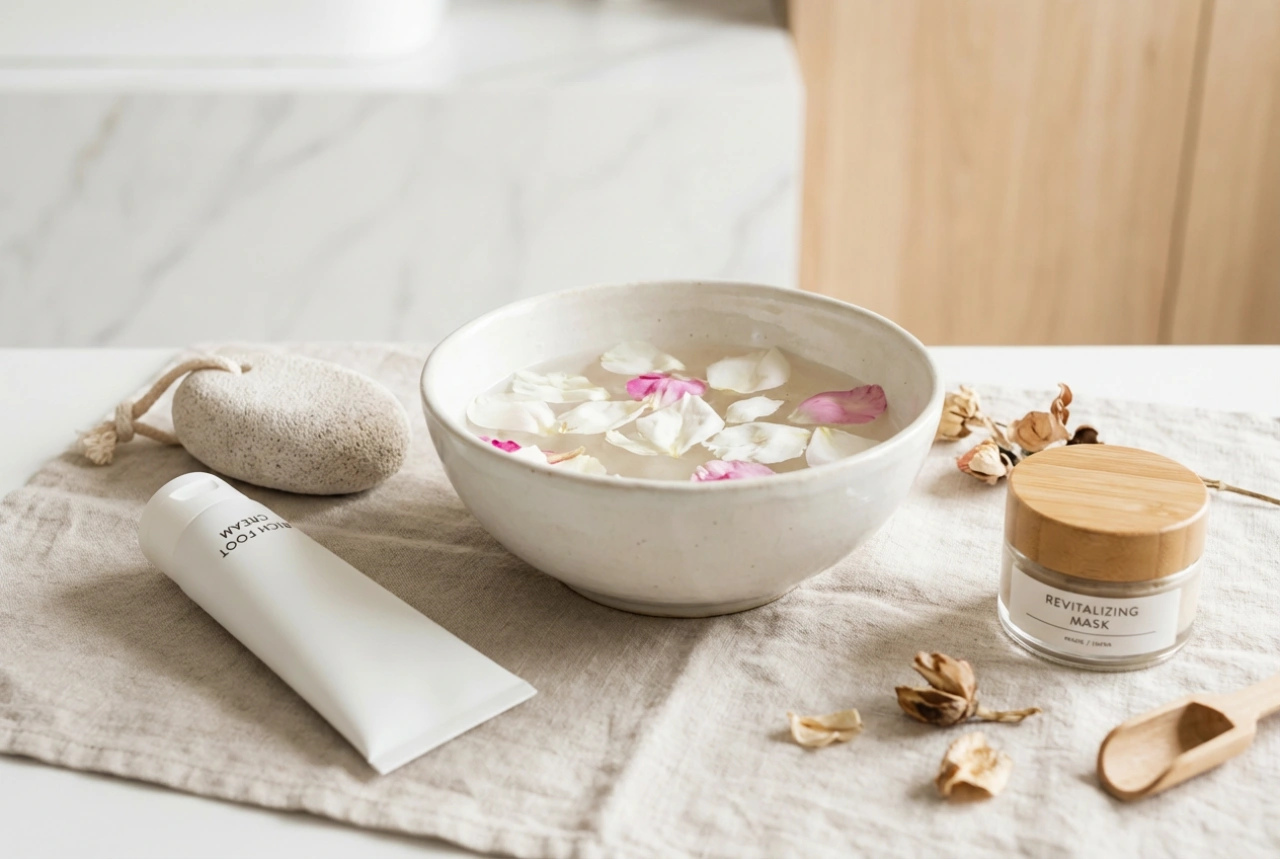
Begin your routine with a warm foot bath. Fill a basin with warm water and add a few drops of natural oils, such as lavender or sweet almond oil, or a handful of cosmetic salts. Soak your feet for 10 to 15 minutes. This process softens the outer layers of the epidermis, making them much easier to work with. It also relaxes the muscles and prepares the skin to absorb the active ingredients of your subsequent care products.
Gentle Exfoliation over Harsh Scraping
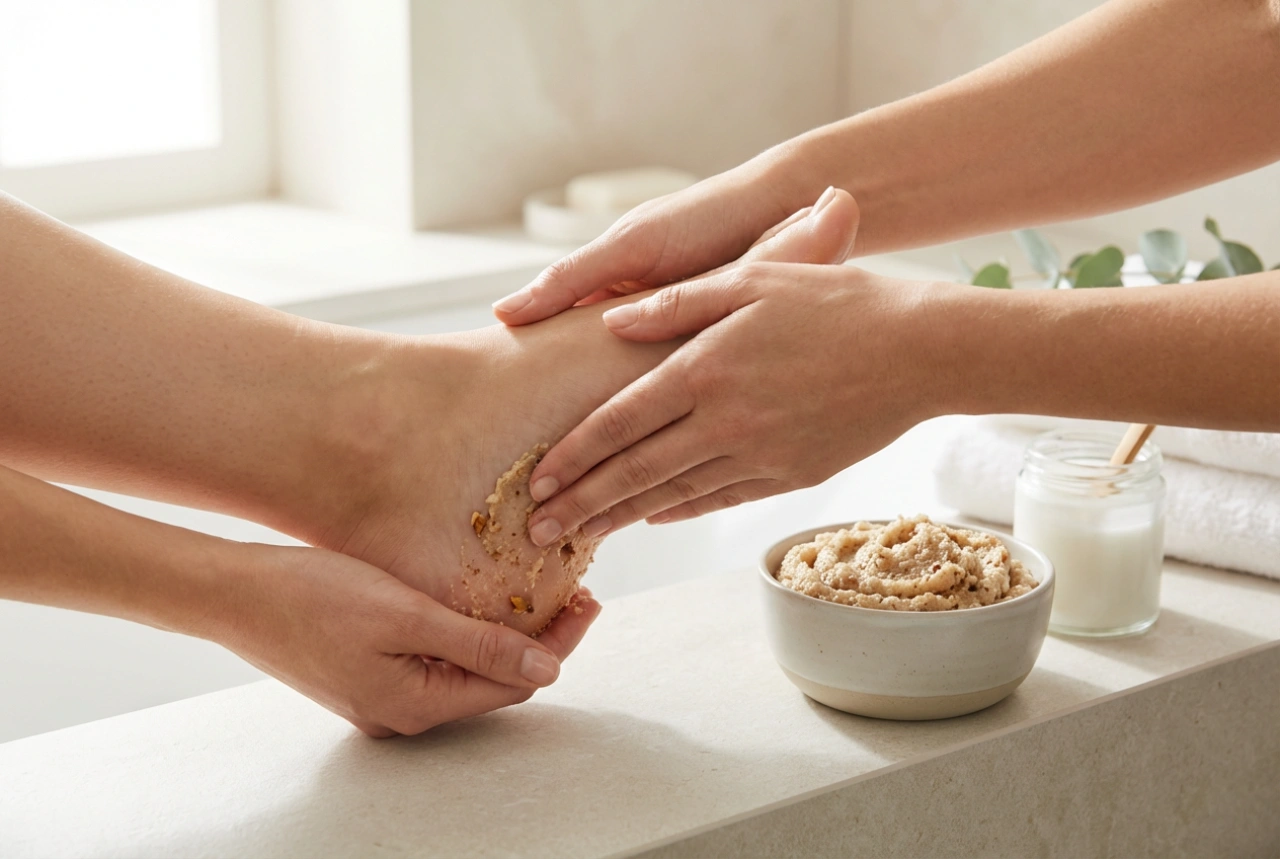
After soaking, use a gentle scrub rather than a rough file. A fine-grain cosmetic peeling or a homemade sugar scrub mixed with natural oil is ideal. Massage the product in circular motions over your heels, paying extra attention to the roughest areas. This removes loose dead cells without causing micro-damage to the healthy skin underneath. Rinse thoroughly and pat dry with a clean, soft towel.
Days 4 to 5: Intensive Hydration and Regeneration
Once the skin has been gently prepared and the superficial dead cells removed, it is time to focus on deep hydration. This phase is crucial for sealing moisture into the deeper layers of the epidermis and restoring flexibility to the skin on your heels.
Selecting the Right Cosmetic Ingredients
Look for rich, nourishing creams specifically formulated for dry and cracked feet. Ingredients like shea butter, cocoa butter, lanolin, and low concentrations of urea (such as 5% to 10%) are excellent for softening and binding moisture in the skin. Herbal extracts like calendula or chamomile can also support the skin's natural regeneration process, soothing any minor discomfort caused by dryness.
The Overnight Occlusion Method
For an intensive boost during mid-week, try an overnight treatment. After an evening bath, apply a generous, thick layer of your chosen foot cream to your heels. Gently massage it in until it starts to absorb, then put on a pair of clean, breathable cotton socks. Wearing socks helps to create a gentle barrier, preventing the cream from rubbing off on your bedsheets and allowing the active ingredients to penetrate deeply throughout the night. In the morning, you will notice a visible difference in the softness of your heels.
Days 6 to 7: Maintaining Smoothness and Long-Term Protection
By the end of the week, the condition of your feet should be significantly improved. The final days of the plan are focused on maintaining these results and protecting the newly softened skin from further dehydration.
Transitioning to Daily Maintenance
Maintaining beautiful heels does not require hours of daily work. Transition from heavy treatments to a quick daily application of a lightweight, fast-absorbing foot lotion every evening. Make it a habit to apply this lotion right before bed, ensuring your feet stay hydrated day after day. This simple routine prevents the buildup of hard skin and keeps your feet looking groomed and healthy.
Practical Habits for Healthy Feet
To support your cosmetic efforts, try to avoid walking completely barefoot on hard, cold floors at home, as this can cause friction on the heels. Opt for soft, comfortable slippers instead. Drinking plenty of water throughout the day also supports skin hydration from the inside out, complementing your external skincare efforts perfectly.