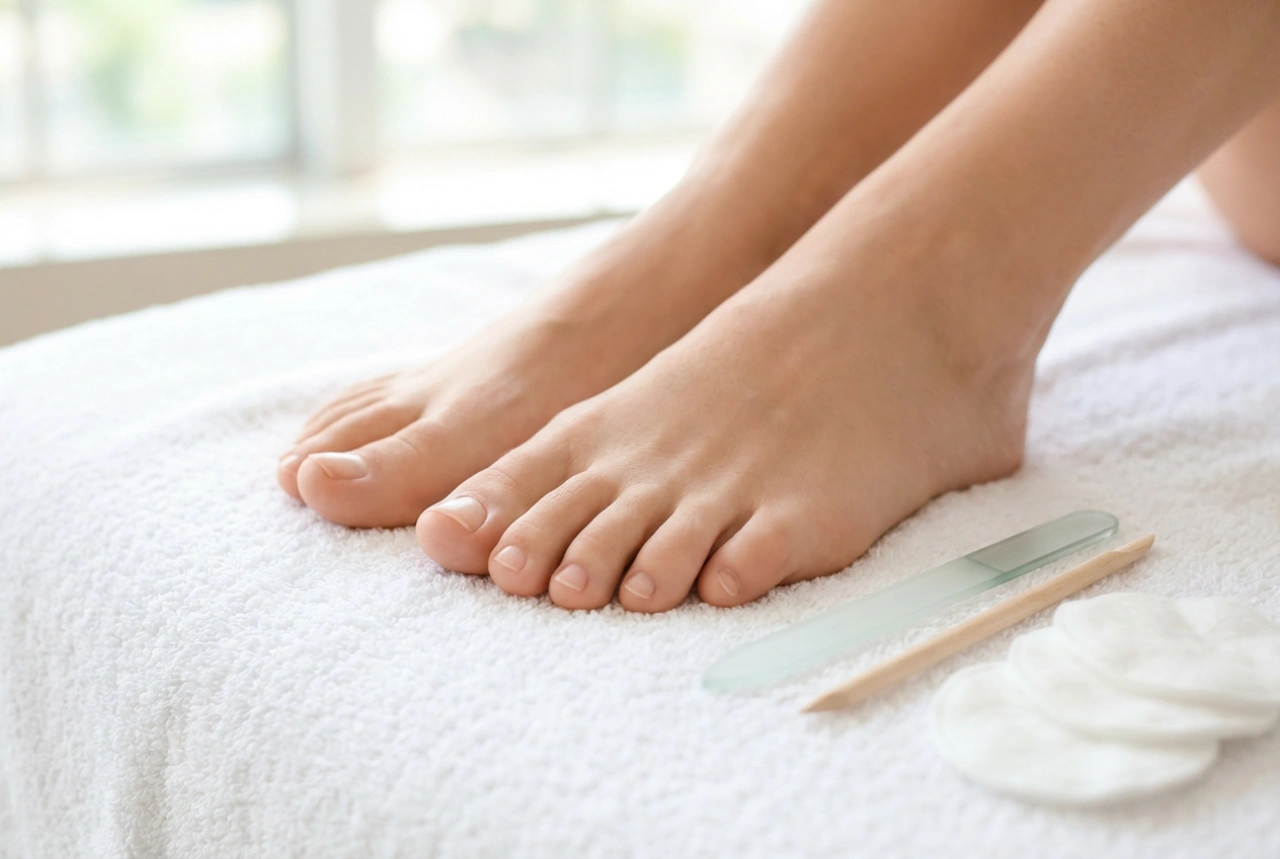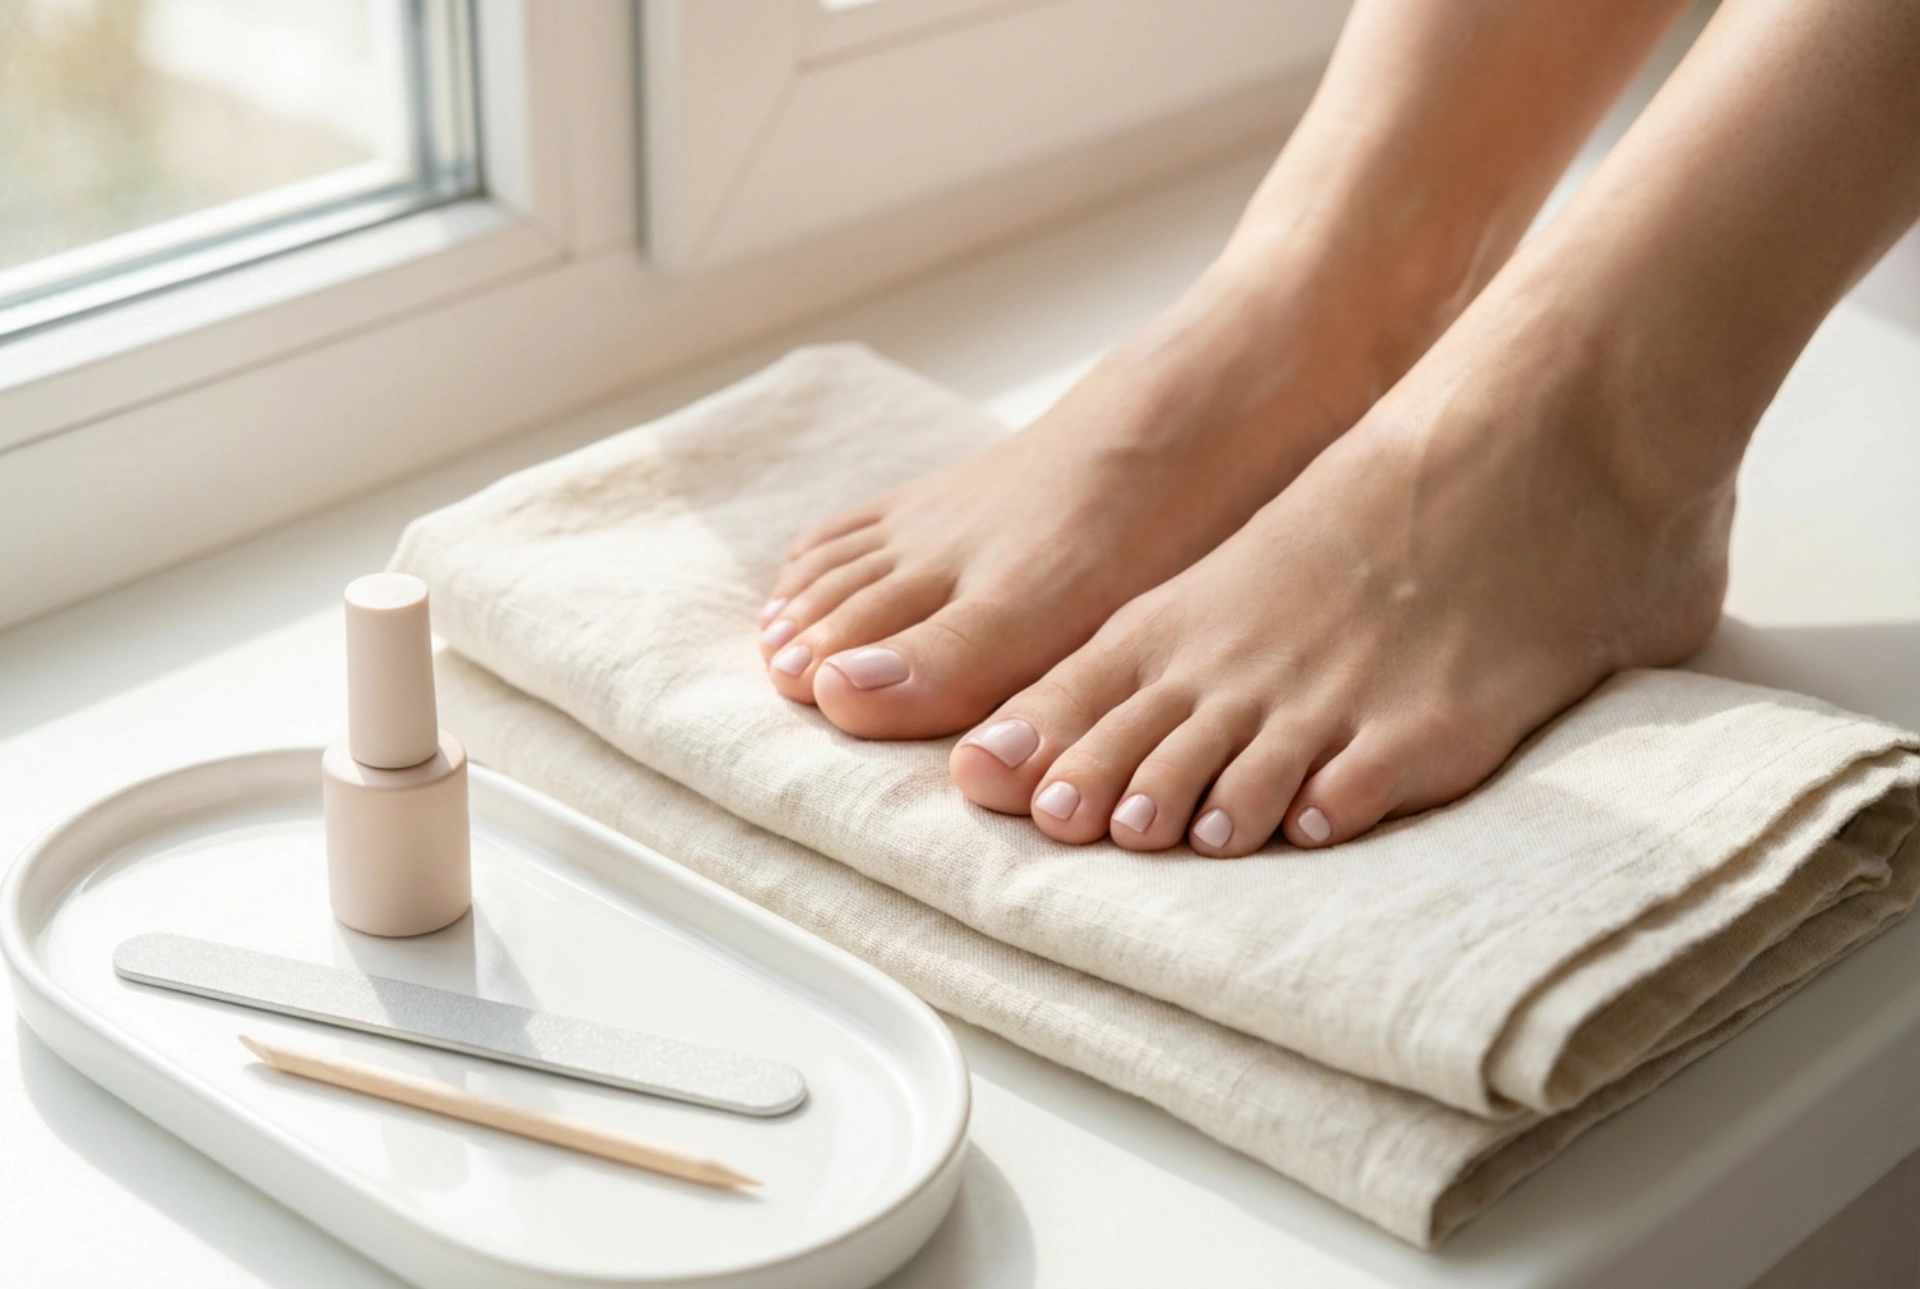


Beautifully groomed feet resting on a soft, light-coloured textile represent the ultimate expression of self-care. Taking the time for a serene beauty ritual at home not only relaxes the mind but also delivers exquisite results. A gel pedicure is one of the most reliable ways to maintain stunning, chip-resistant toenails for weeks. Achieving a flawless finish requires a structured approach, focusing heavily on proper plate preparation and precise product application.
The Importance of Proper Nail Preparation
The secret to a long-lasting gel pedicure lies in the preparation of the natural nail plate. Unlike standard air-drying lacquers, gel formulas rely on strong adhesion to a completely clean, dry, and lightly textured surface. Skipping or rushing through the preparation phase can lead to premature lifting, chipping, or air pockets beneath the cured polish, which can trap moisture.
To begin, ensure all old polish is thoroughly removed. This is followed by shaping the nails. When trimming toenails, it is highly recommended to cut them straight across rather than rounding the edges too deeply. Shaping them straight prevents uncomfortable ingrown edges while maintaining a neat, modern aesthetic. Use a fine-grit nail file to smooth the edges, moving in one direction to prevent splitting the natural layers of the nail.
Gentle Cuticle Care
Cuticle care is another critical step that ensures the gel polish does not pool or lift at the base of the nail. Apply a mild cuticle remover or soak the feet in warm water to soften the skin. Using a sterilised wooden stick or a metal cuticle pusher, gently push back the softened skin around the nail walls and the proximal nail fold. Be careful not to apply excessive pressure, as the nail matrix underneath is delicate. Gently buff away any dead tissue adhering to the nail plate, as any remaining cuticle residue will prevent the gel from bonding properly.
Degreasing and Dehydrating the Nail Plate
Once the nails are shaped and the cuticles are tidy, the next step is to remove all oils, moisture, and dust from the nail surface. This is a vital phase that ensures the base coat adheres perfectly. Use a high-quality lint-free wipe saturated with a specialised dehydrator or prep solution. Standard cotton pads should be avoided, as they leave behind tiny fibres that can ruin the smooth application of the gel layers.
Thoroughly wipe each toenail, paying close attention to the side walls and the cuticle area. After this step, avoid touching your nails with your fingers, as the natural oils from your skin can re-contaminate the freshly cleaned surfaces. The nail plate should appear slightly matte and completely dry before you proceed to the next stage.
Step-by-Step Gel Polish Application
The application of gel polish requires thin, even layers. Thick layers do not cure properly under the lamp, which can lead to wrinkling of the polish or bubbling. Always work systematically, starting with a base coat, followed by colour, and finishing with a top coat.
1. Applying the Base Coat
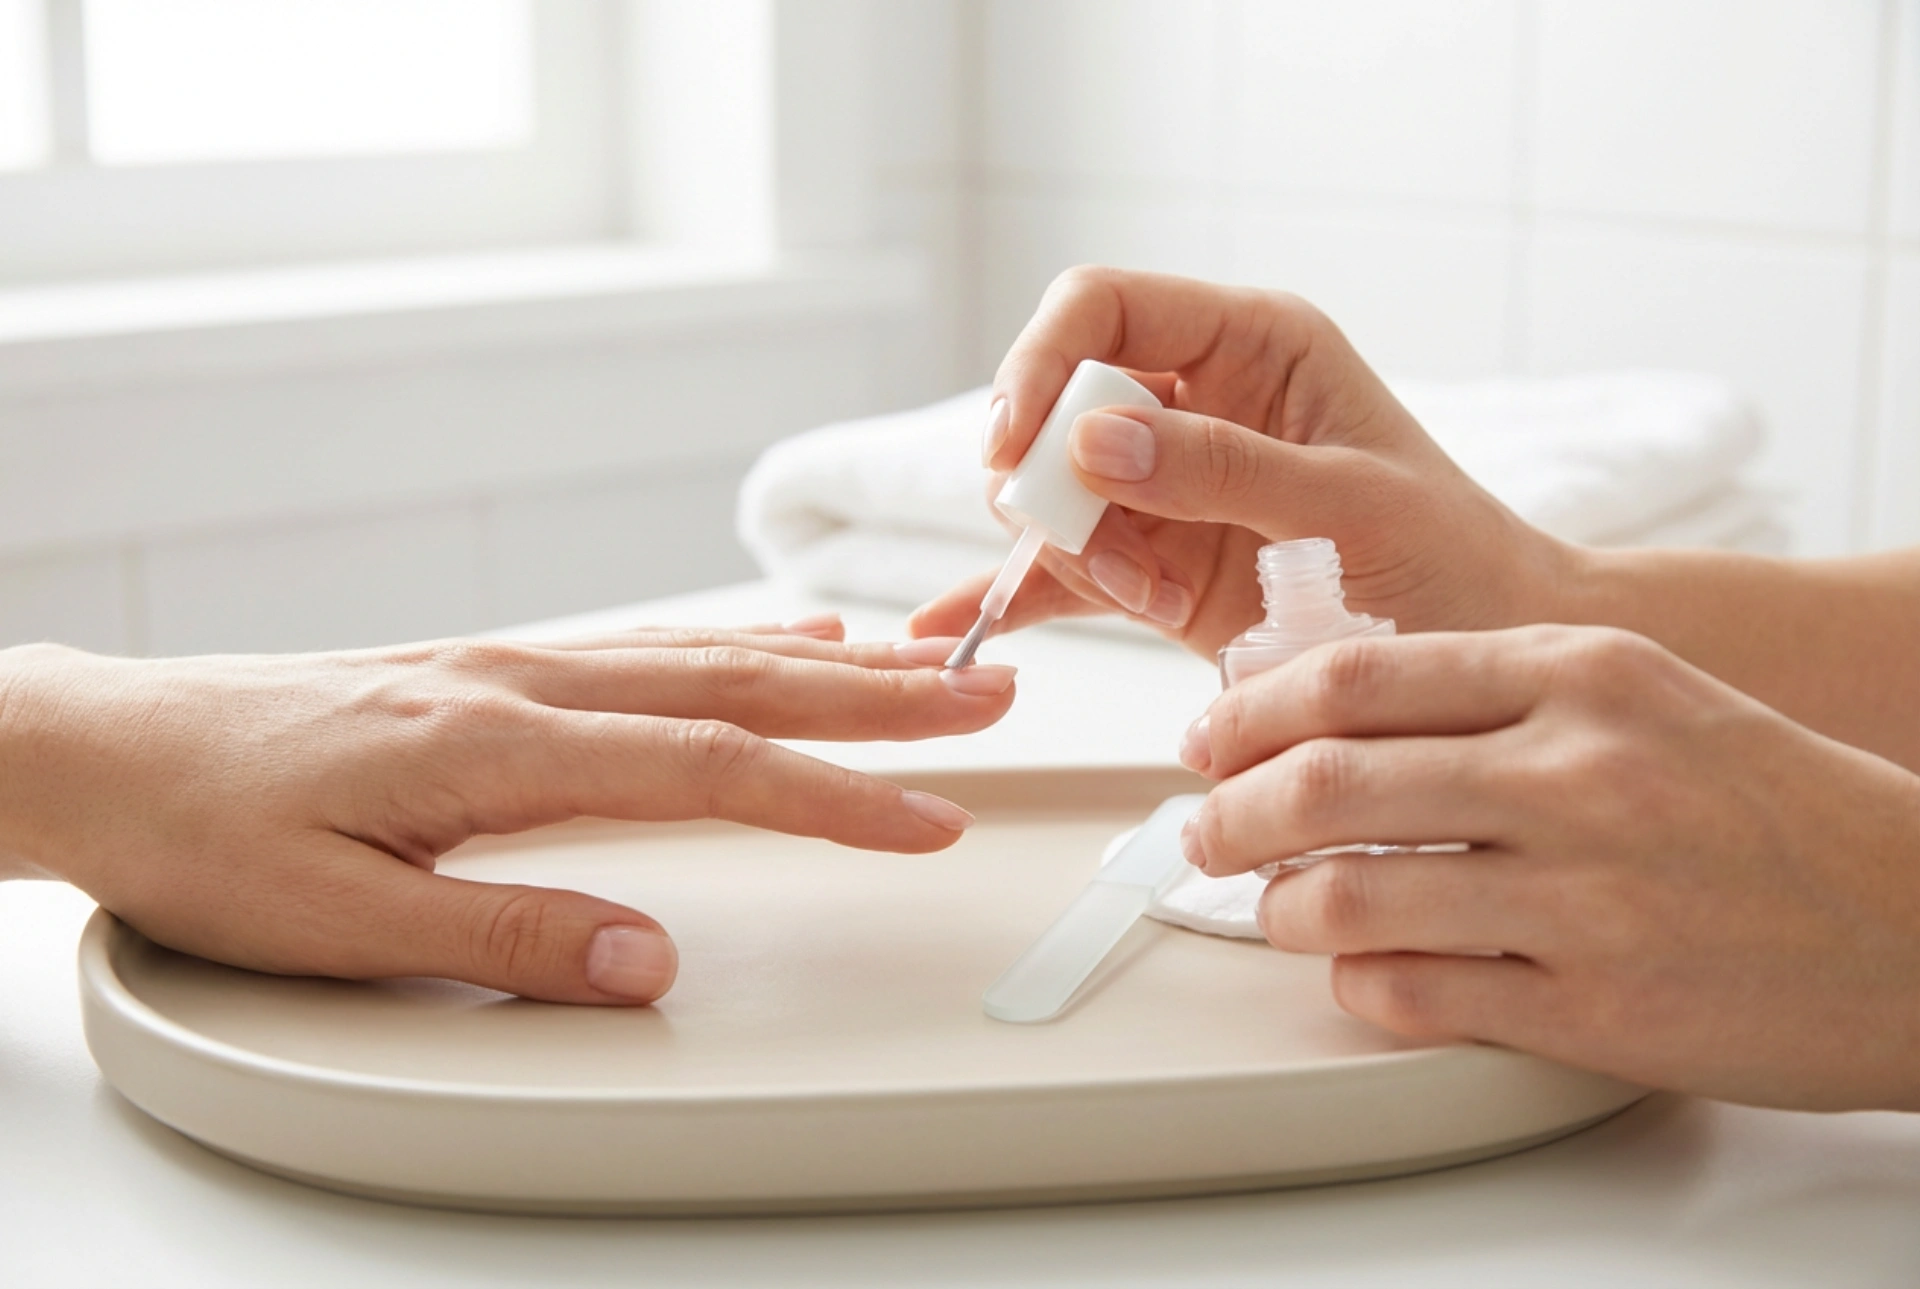
Apply a very thin layer of gel base coat to each nail. Start from the centre of the plate and gently push the brush towards the cuticle line without touching the skin. Carefully seal the free edge of the nail by running the brush along the very tip. This prevents chipping from the front. Cure the base coat under a curing lamp according to the standard recommended times, typically 30 to 60 seconds under an LED lamp.
2. Colour Layering
Choose your desired colour and apply the first thin coat. It is always better to apply two thin coats of colour rather than one thick coat. Thin layers ensure the UV or LED light can penetrate the pigment fully to cure it. Be sure to seal the free edge with each coat of colour. Once the first layer is applied, cure it. Repeat the process with a second thin layer to achieve full opacity and depth of colour, then cure again.
3. Protecting with the Top Coat
To seal in the vibrant colour and add a stunning shine, apply a layer of gel top coat. Ensure you cover the entire coloured area and seal the free edge once more. Cure this final layer under the lamp. If you are using a top coat that leaves a tacky residue, wipe it away with a lint-free pad soaked in a cleanser. If you are using a non-wipe top coat, your pedicure is complete as soon as it emerges from the lamp.
Nurturing Your Feet After the Pedicure
Once the curing process is complete, your toenails are fully dry, meaning you do not have to worry about smudging. However, the preparation and curing process can dry out the surrounding skin. Nourish the cuticles and the skin around the toes by applying a rich, hydrating oil or cream. Gently massage the oil into the cuticles to promote healthy nail growth and maintain a soft, moisturised appearance.
To prolong the life of your gel pedicure, avoid wearing tight shoes immediately after the treatment, and try to moisturise your feet daily. With this meticulous approach, your beautiful, glossy gel pedicure will remain intact and radiant for up to several weeks, offering a clean, professional aesthetic from the comfort of your home.