

Creating a spa-like sanctuary in the comfort of your own bathroom is one of the most rewarding ways to unwind and care for your body. Among the various home beauty rituals, caring for our feet often takes a back seat, yet they carry us through every single day. An exfoliating foot mask is an excellent, fuss-free way to restore softness and smoothness to tired feet. When applied with care, these treatments gently peel away built-up rough skin, revealing a refreshed and velvety texture beneath. Understanding how to use these products safely is key to achieving the best results without disrupting the skin's natural balance.
Understanding Exfoliating Foot Masks
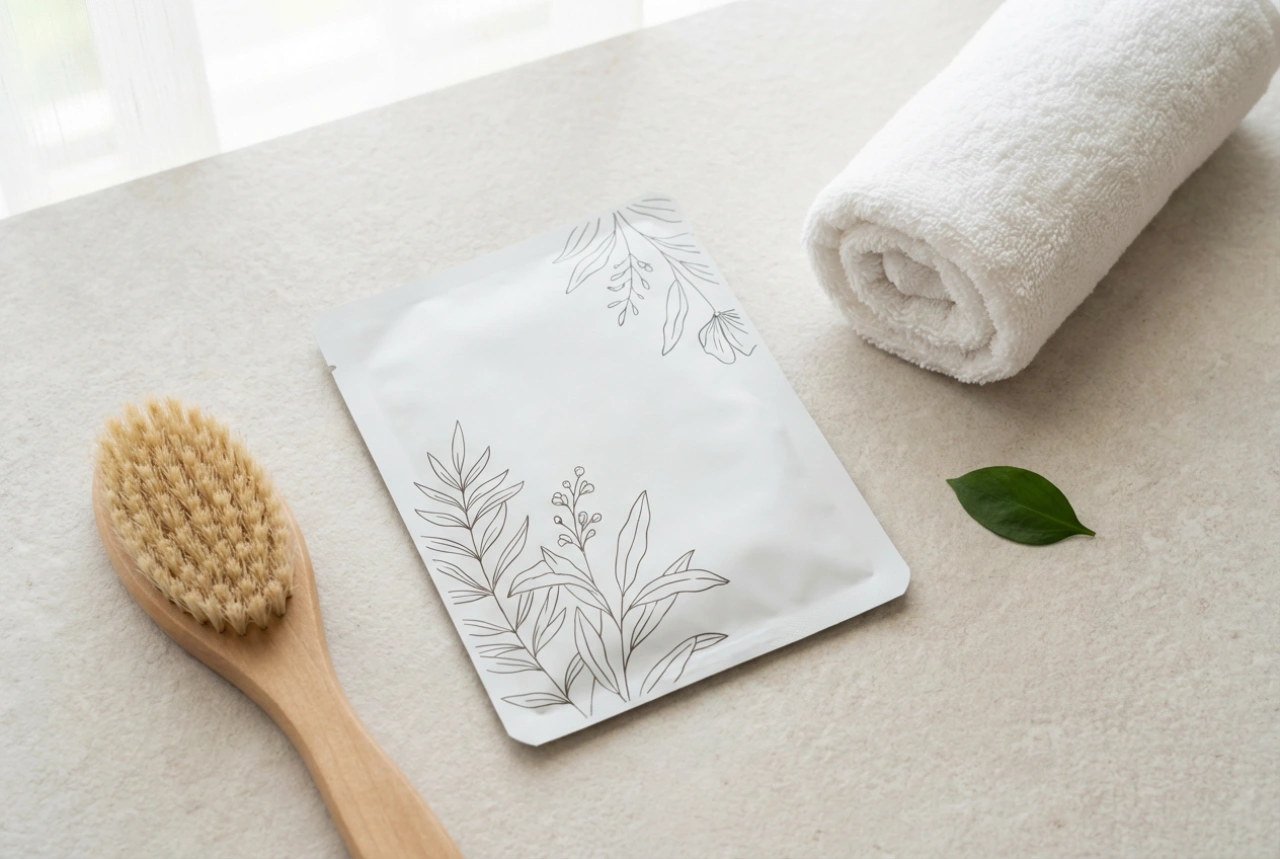
Exfoliating foot masks, often designed as wearable plastic booties infused with an active liquid formula, have become a staple in modern home pedicure routines. Unlike physical scrubs that rely on abrasive particles to mechanically buff away rough patches, these masks utilise chemical exfoliation. They typically contain a blend of alpha-hydroxy acids (AHAs) and beta-hydroxy acids (BHAs), such as lactic acid, glycolic acid, and salicylic acid, which work by gently breaking down the bonds between dead skin cells on the surface of the epidermis.
This process encourages the natural shedding of calloused, dry skin over several days following the application. While the concept of peeling skin might sound intense, when formulated correctly for cosmetic use, these ingredients offer a controlled and highly effective way to soften heels and soles. It is a gradual transformation that prioritises the skin's long-term health, provided the instructions are followed meticulously.
Step-by-Step Preparation for Your Home Ritual
Before embarking on this relaxing treatment, proper preparation is essential to ensure the active ingredients can penetrate effectively. Preparing your skin not only maximises the benefits of the mask but also ensures the process remains gentle and comfortable.
- Thorough cleansing: Begin by washing your feet with a gentle, soap-free cleanser and warm water to remove any surface impurities, oils, or lotion residues.
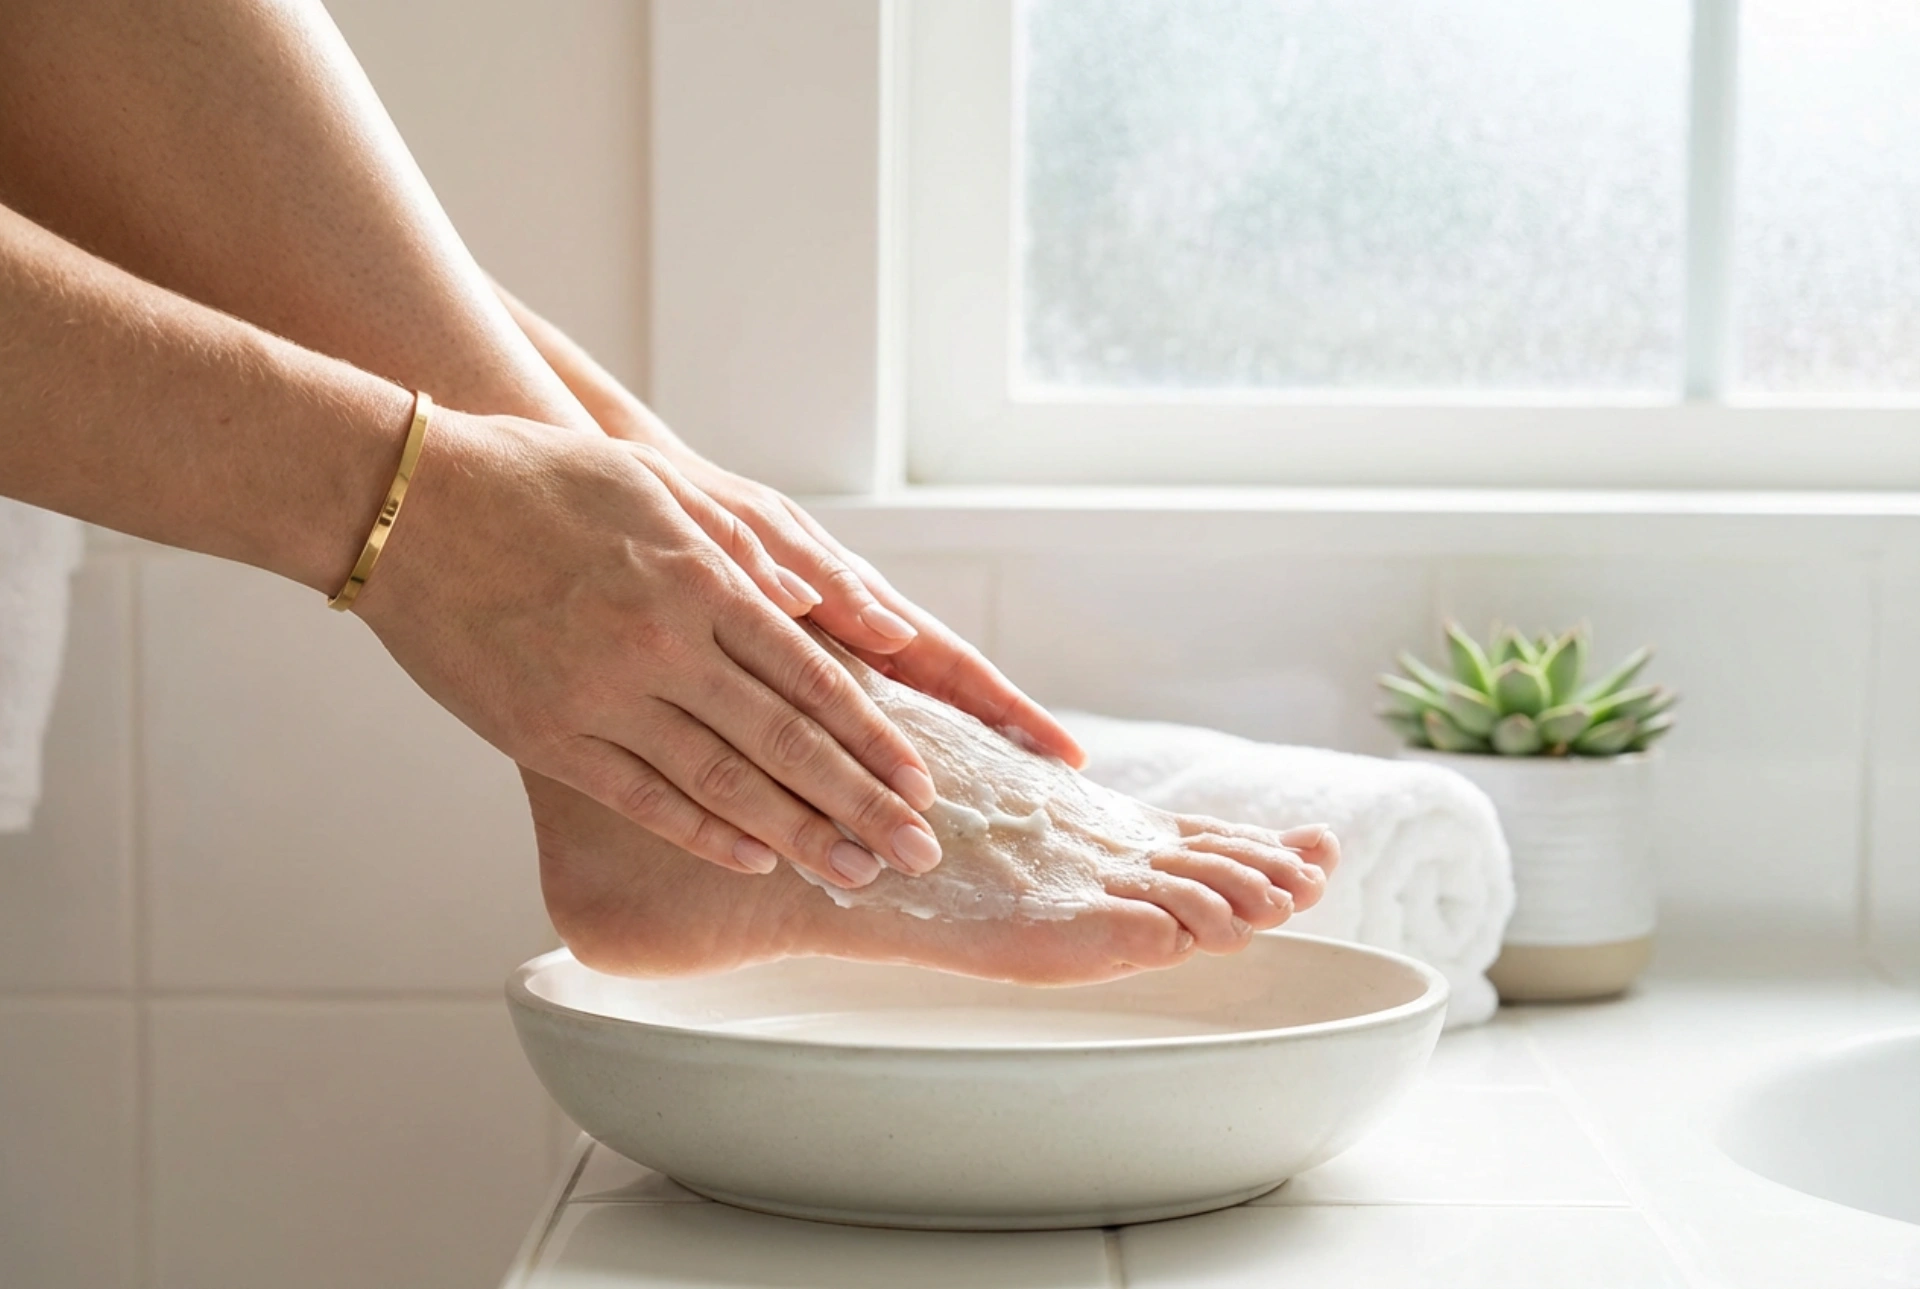
- Pre-soak your feet: Soaking your feet in warm water for about 10 to 15 minutes is a crucial step. This softens the outer layer of hardened skin, making it far more receptive to the exfoliating acids in the mask.
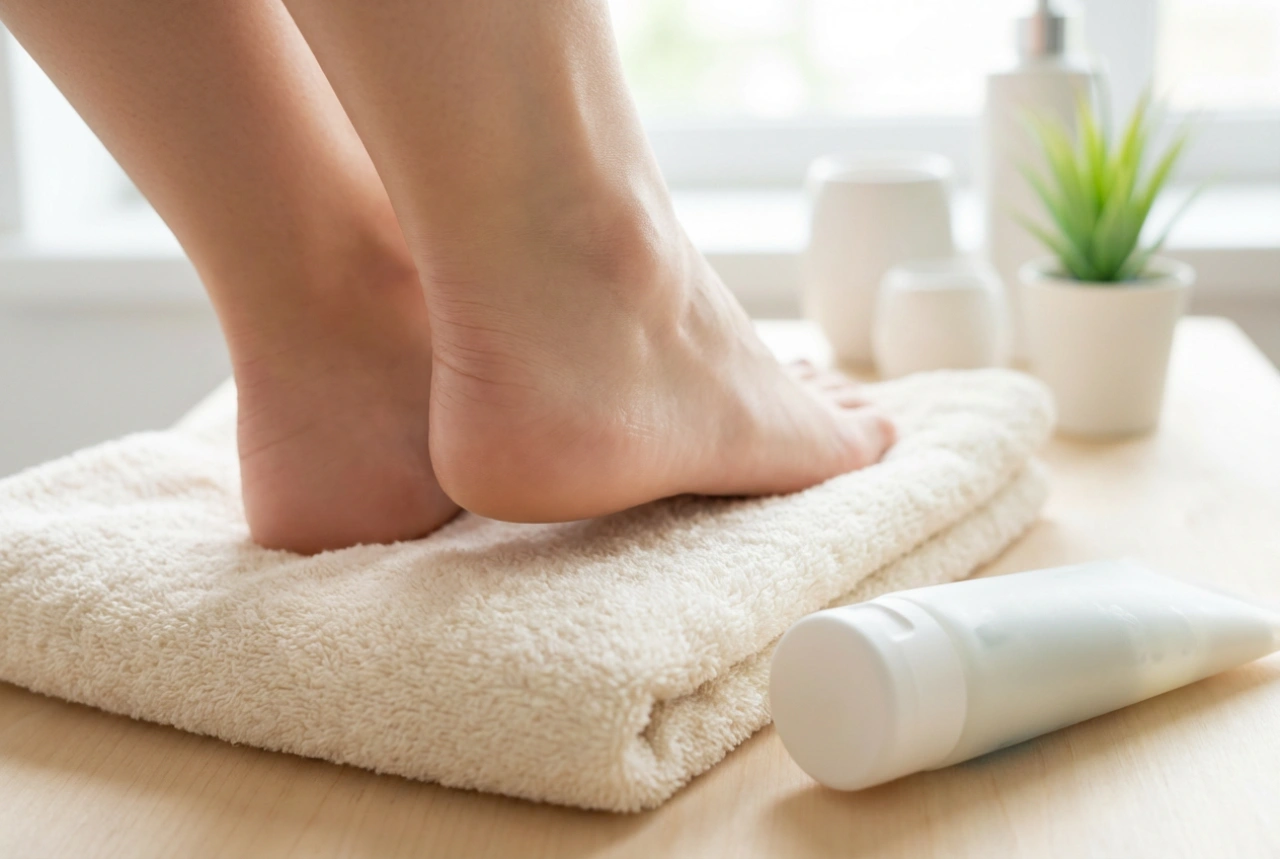
- Dry completely: Pat your feet thoroughly dry with a clean towel, paying special attention to the spaces between your toes, as excess moisture can dilute the active formula.
- Protect sensitive areas: If you have any small scratches, minor abrasions, or particularly sensitive spots, apply a thin layer of a rich, protective barrier cream or petroleum jelly over them to shield them from the exfoliating solution.
How to Apply the Mask Safely
Once your feet are prepped, it is time to apply the mask. Carefully open the booties and slip your feet inside, securing them with the adhesive strips usually provided. To make the experience even more comfortable and to ensure the booties sit snugly against your skin, you can slip a pair of regular cotton socks over the top. This also allows you to move around safely if needed, though resting during the treatment is highly recommended.
Always adhere strictly to the application time recommended by the manufacturer, which usually ranges between 60 and 90 minutes. Leaving the mask on for longer will not speed up the peeling process; instead, it can lead to unnecessary irritation, redness, and dryness. Once the time is up, remove the booties and thoroughly rinse your feet with lukewarm water to remove all traces of the active gel, then gently pat them dry.
Navigating the Peeling Phase
The magic of an exfoliating foot mask does not happen instantly. The peeling process typically begins anywhere from three to seven days after the treatment and can last for up to a week. During this time, the dead skin will start to flake and peel away naturally.
It is absolutely vital to resist the temptation to peel, pull, or tear the shedding skin yourself. Forcing the skin to detach before it is fully ready can expose premature skin underneath, leading to sensitivity, discomfort, and irritation. Instead, let the dead skin fall away naturally. You can accelerate this gently by soaking your feet in warm water daily, which helps loosen the peeling layers without causing any damage.
Post-Treatment Care and Nourishment
During and immediately after the peeling phase, your feet will require extra care to protect the newly revealed, delicate skin. While the skin is actively peeling, avoid applying heavy, rich creams, as these can sometimes halt the peeling process. Instead, stick to light, hydrating lotions if the skin feels dry, or simply wait until the peeling is complete before resuming your deep moisturising routine.
Once the peeling has finished, it is the perfect time to lock in moisture and maintain the results. Look for foot creams containing nourishing ingredients like shea butter, ceramides, or a low percentage of urea to maintain hydration and protect the skin barrier. Additionally, because the fresh skin is temporarily more sensitive to sunlight, protect your feet with sunscreen if you plan on wearing open-toed shoes outdoors.