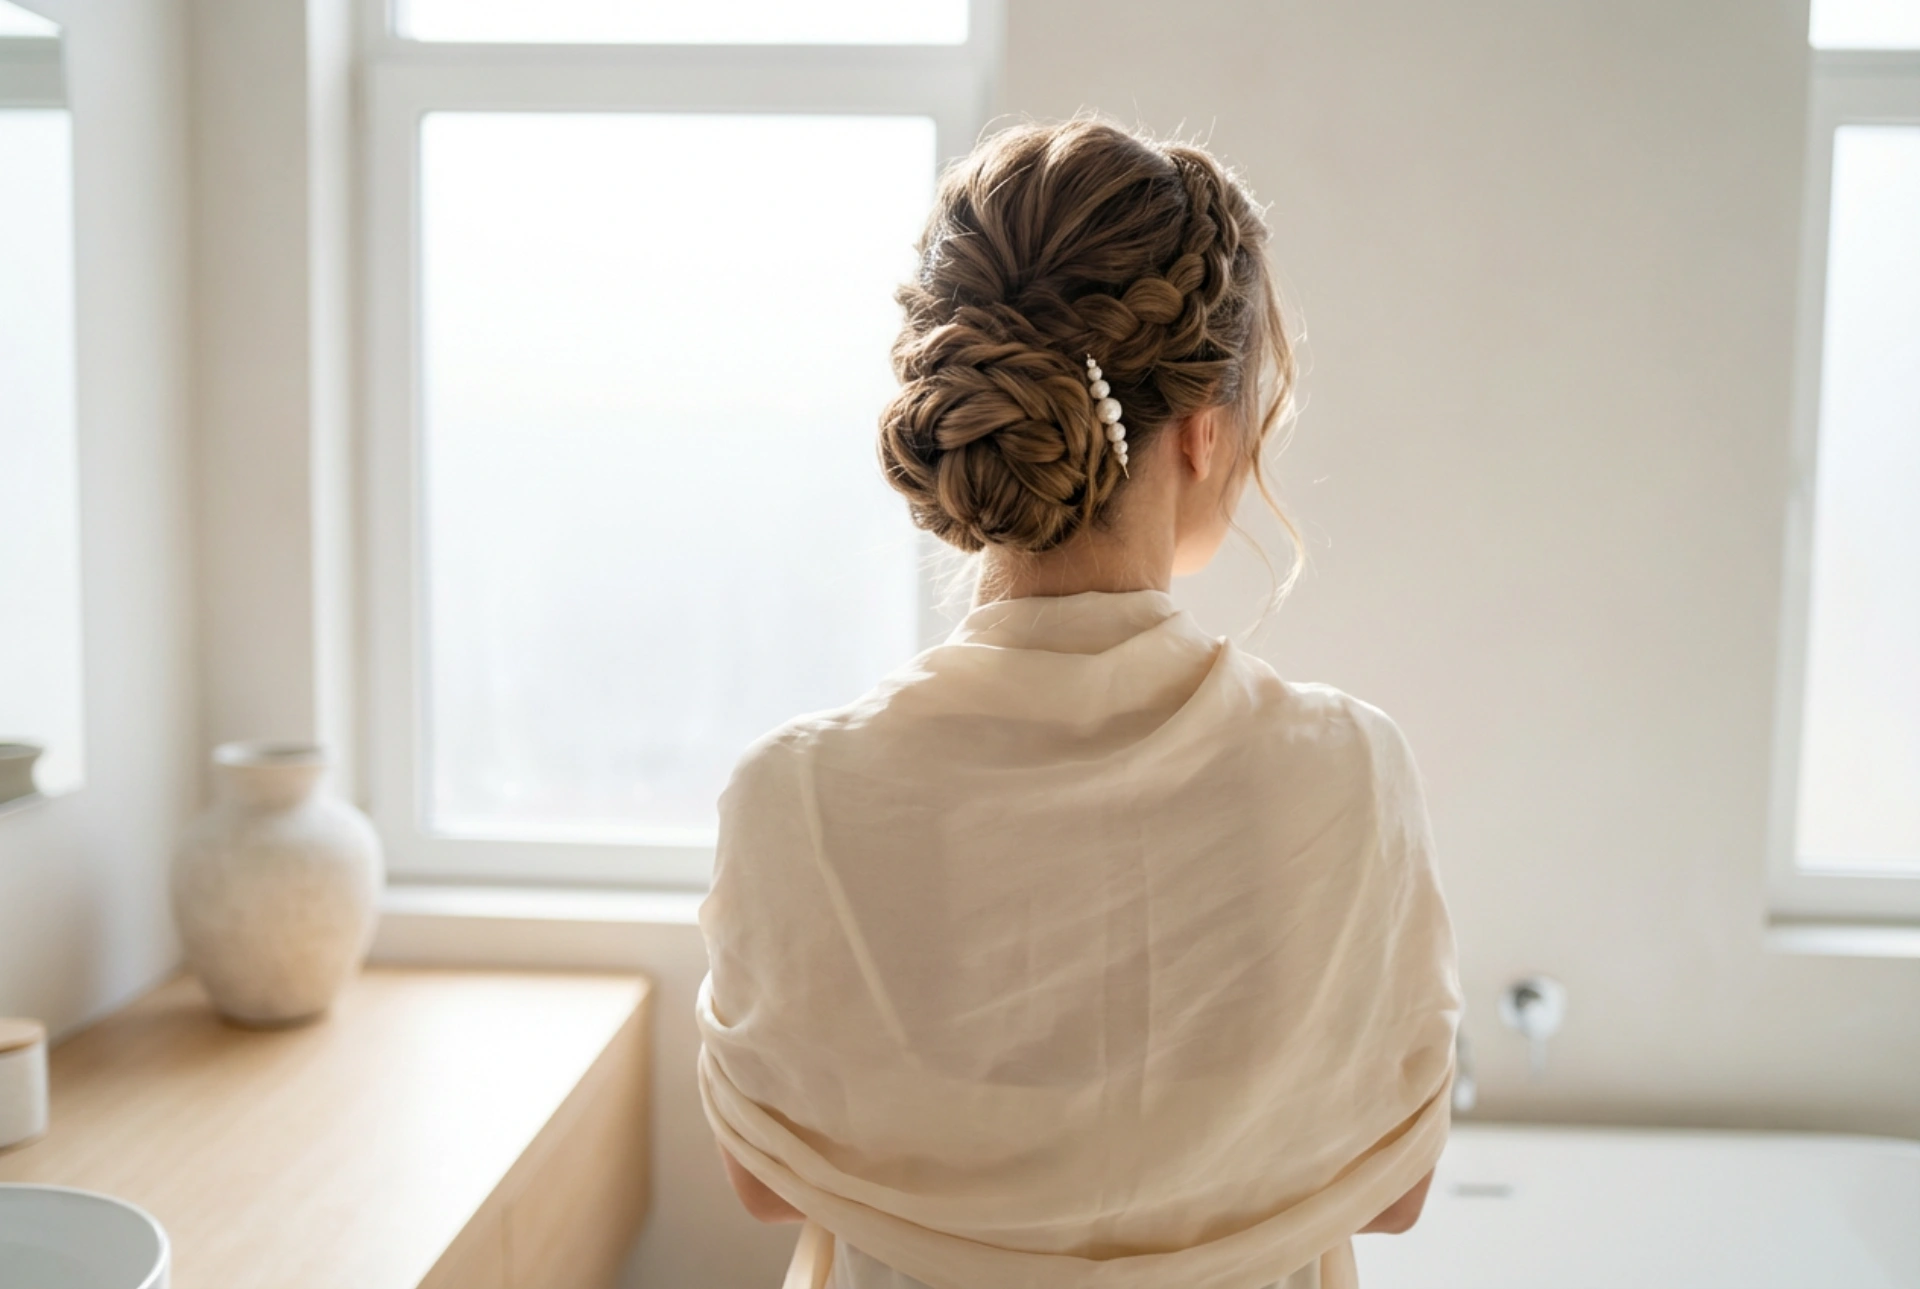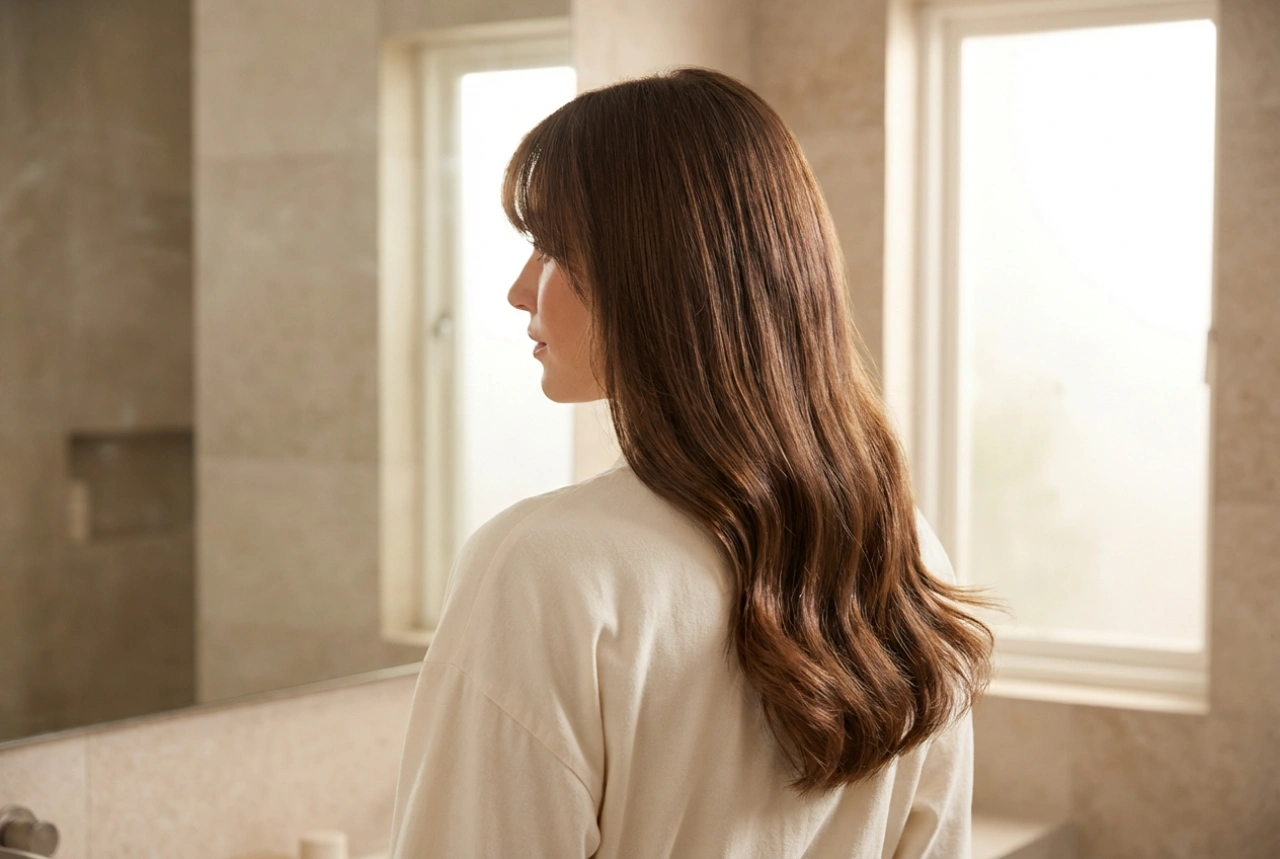


The hair straightener is often seen as a one-trick tool, dedicated solely to achieving sleek, pin-straight styles. However, this versatile heat styler holds the secret to creating everything from soft, beachy waves to bouncy, defined curls. With the right technique, your straighteners can become your go-to device for a polished, modern, and voluminous look. Mastering this skill not only expands your styling repertoire but also allows you to achieve salon-quality results from the comfort of your own home.
Choosing the Right Tool for Curling
Not all hair straighteners are created equal when it comes to curling. The design and material of the tool play a significant role in the final result and the health of your hair. When selecting a straightener for curling, pay attention to a few key features. The most important element is the shape of the housing and plates; models with rounded edges are far superior for creating curls, as they allow the hair to glide smoothly without snagging or creating awkward dents. Flat, sharp-edged plates are more likely to leave creases in the hair.
Plate material is another crucial factor. Ceramic plates are a popular choice as they provide even heat distribution, reducing the risk of hot spots that can damage hair. Tourmaline-infused plates go a step further by emitting negative ions that help to seal the hair cuticle, combat frizz, and enhance shine. For thicker, coarser hair, titanium plates heat up quickly and maintain a consistent high temperature, enabling efficient styling. Regardless of the material, look for a straightener with adjustable temperature settings. This allows you to tailor the heat to your specific hair type—lower for fine or delicate hair, and slightly higher for thick or coarse textures—minimising the potential for heat damage.
Essential Hair Preparation for Flawless Curls
Proper preparation is non-negotiable for achieving a beautiful, long-lasting style and protecting your hair from damage. The most critical rule is to always work with completely dry hair. Using a hot tool on damp or wet hair can cause the water inside the hair shaft to boil, leading to severe damage. Before you even think about plugging in your straighteners, ensure your hair is 100% dry to the touch.
The next step is applying a heat protectant. This is an essential product that creates a protective barrier between your hair and the hot plates, helping to prevent moisture loss and cuticle damage. Mist it evenly from the mid-lengths to the ends. Afterwards, brush your hair thoroughly to remove any knots or tangles. This ensures the straightener can glide smoothly through each section, resulting in a more uniform curl. Finally, divide your hair into manageable sections using clips. Working with smaller, organised sections gives you more control and ensures that every strand is styled consistently.
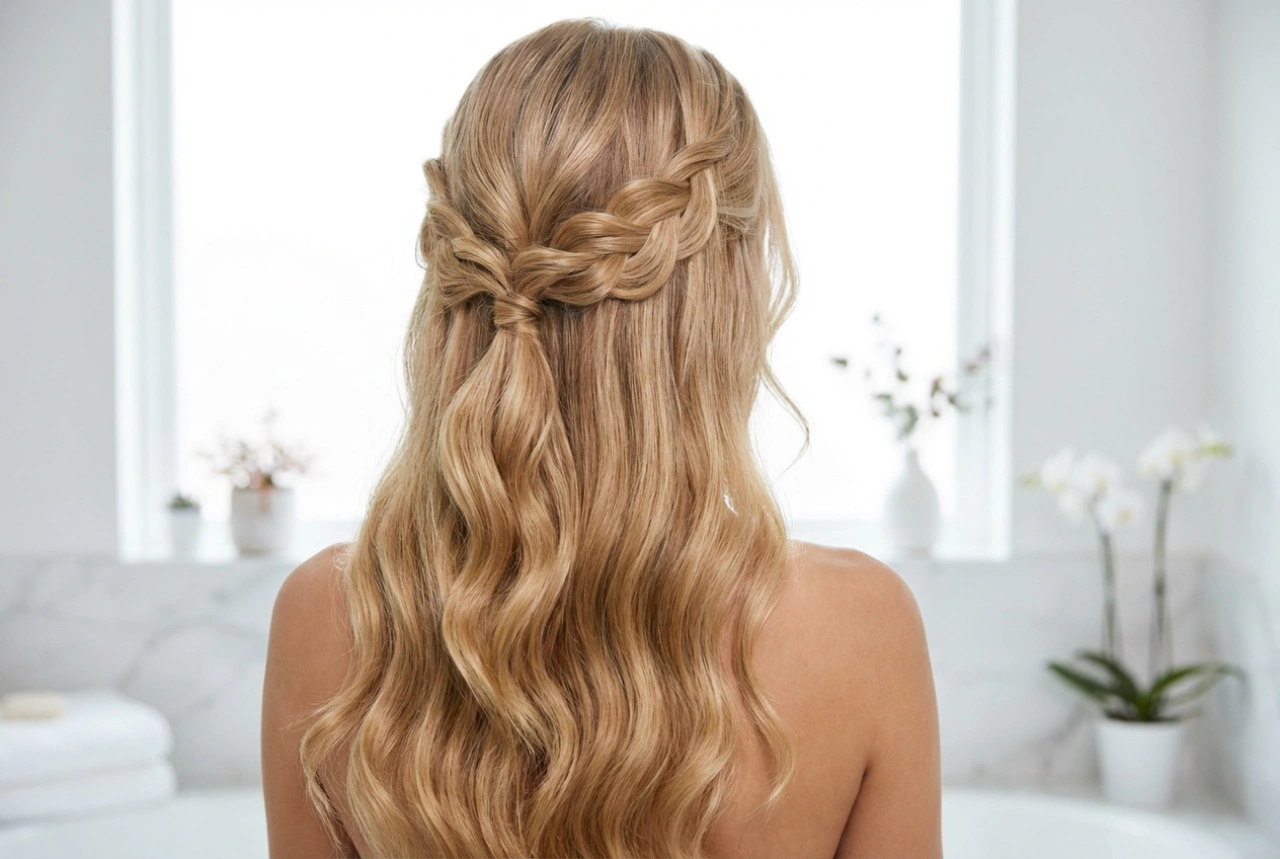
The Curling Technique: Step-by-Step
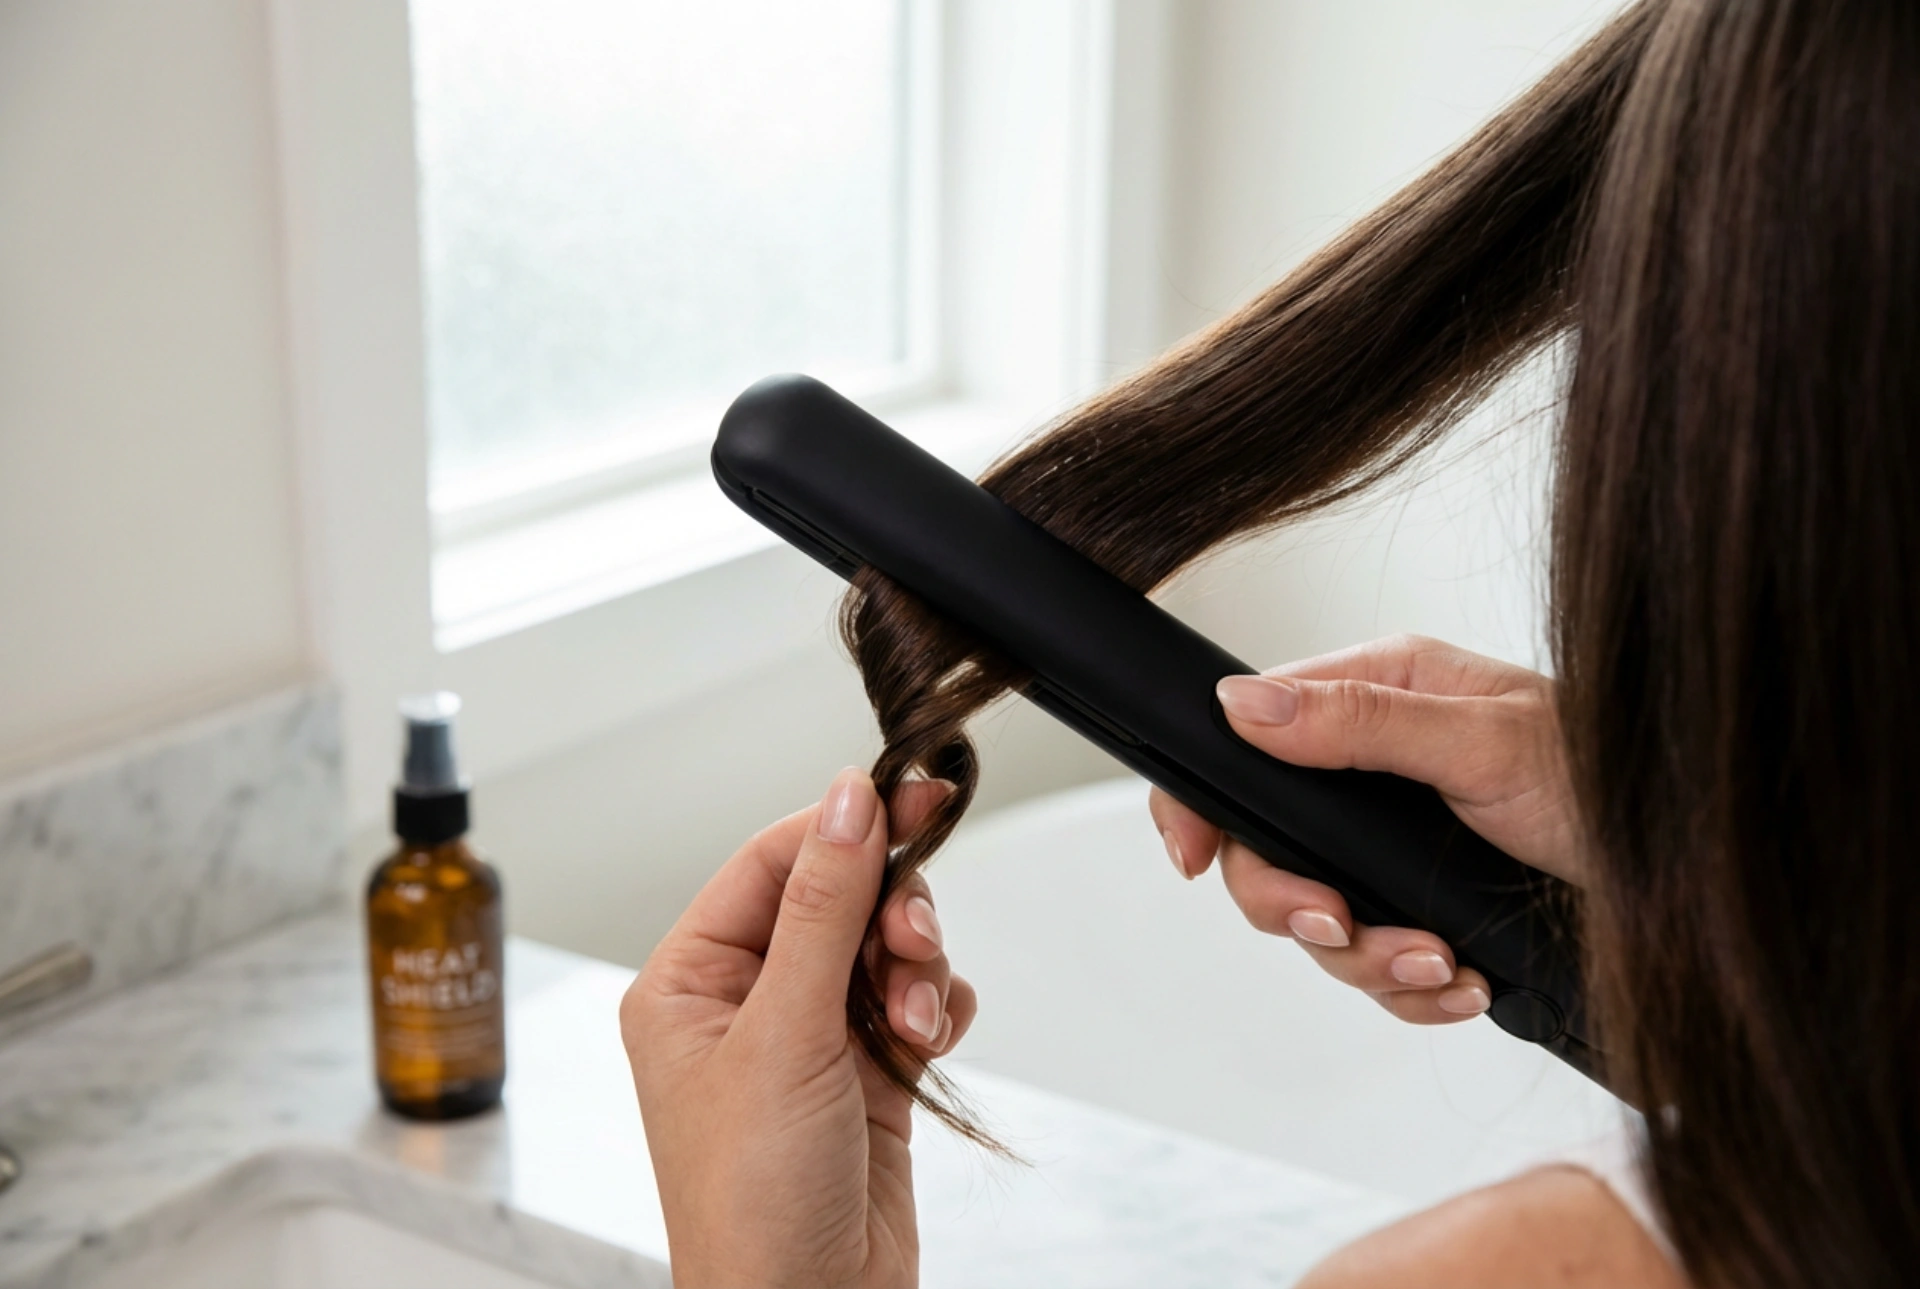
The core of the technique is a simple “clamp, twist, and glide” motion. Once you master this, you can adapt it to create various styles. For best results, work with sections of hair that are about one to two inches wide.
Step 1: Clamp the Hair
Take your first section of hair. Position the straightener near the root—but not too close to the scalp—and clamp the plates down gently but firmly.
Step 2: Twist the Straightener
This is the key movement. As soon as you clamp the hair, rotate the straightener 180 degrees (a half-turn). For curls that frame your face, twist the straightener away from your face. For a more varied, natural look, you can alternate the direction of the twist with each section.
Step 3: Glide Down the Hair Shaft
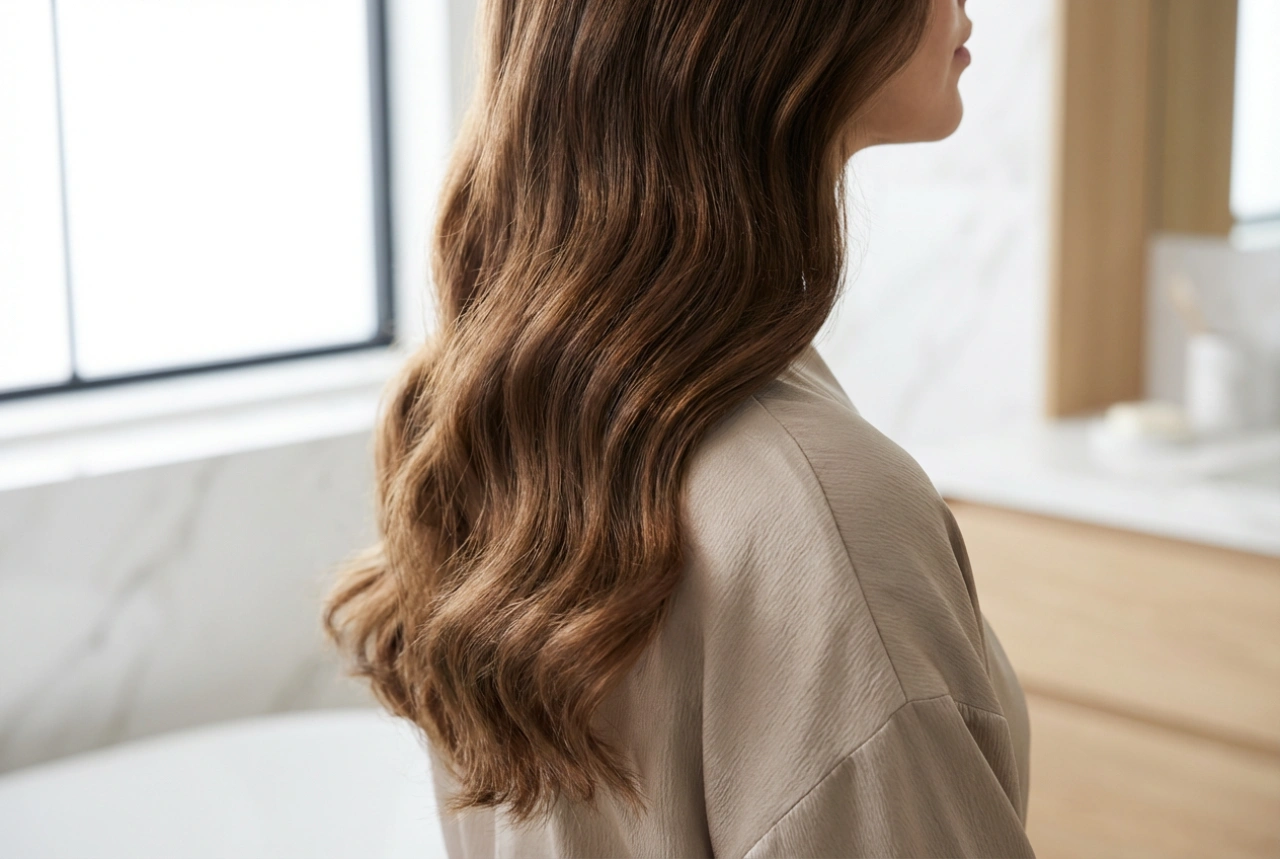
With the straightener still clamped and twisted, begin to slowly and smoothly pull it down the length of the hair section, all the way to the ends. The speed of your glide will determine the tightness of the curl. A slower glide creates a tighter, more defined curl, while a faster glide results in a looser, wavier effect.
Repeat this process on all sections of your hair. Remember that practice is key to perfecting the motion and achieving a consistent look.
Common Mistakes to Avoid
Even with the right technique, a few common errors can stand between you and perfect curls. Being aware of these pitfalls will help you achieve a flawless finish every time.
- Using Excessive Heat: It can be tempting to use the highest setting for a faster result, but this is one of the quickest ways to damage your hair. Start with a lower temperature and only increase it if the curls are not holding. Fine hair styles well at lower temperatures, while thicker hair may require a medium-to-high setting.
- Clamping Too Tightly: Applying too much pressure with the plates can create unflattering horizontal dents in the hair. The pressure should be just enough to hold the hair in place as you glide.
- Pausing Mid-Glide: To create a seamless, smooth curl, the gliding motion must be continuous. Stopping the straightener halfway down the hair shaft will result in a visible kink or demarcation line.
- Styling Sections That Are Too Large: Trying to curl too much hair at once prevents the heat from distributing evenly, leading to inconsistent and poorly formed curls that are likely to fall flat quickly. Stick to smaller sections for better definition and hold.
Setting and Finishing Your Style
Once you have curled all of your hair, the finishing touches are what will elevate the style and ensure it lasts. The most important tip is to let the curls cool down completely before you touch them. Heat makes the hair pliable, and it is during the cooling process that the style sets. Touching or brushing them while they are still warm will cause them to loosen and fall out.
After about 10-15 minutes, once the hair is cool to the touch, you can gently separate the curls. For a soft and voluminous look, run your fingers through your hair. For more defined, separated waves, use a wide-tooth comb. To add longevity to your style, you can apply a light-hold finishing spray. Mist it from a distance to avoid a stiff or crunchy texture. This will provide hold while allowing the curls to retain their natural movement and bounce.