


Eyeshadow can seem like one of the more intimidating parts of a makeup routine, but it's a wonderfully creative way to enhance your eyes and complete your look. With a little knowledge about textures, the right tools, and a few basic techniques, anyone can master a beautiful eye look. Forget complicated, multi-step tutorials; the key to starting is simplicity and understanding the fundamentals.
Understanding Eyeshadow Finishes
Walking up to a makeup counter can be overwhelming with the sheer variety of eyeshadows available. A great way to start is by understanding the different finishes, as each has a specific purpose and creates a different effect on the eye.
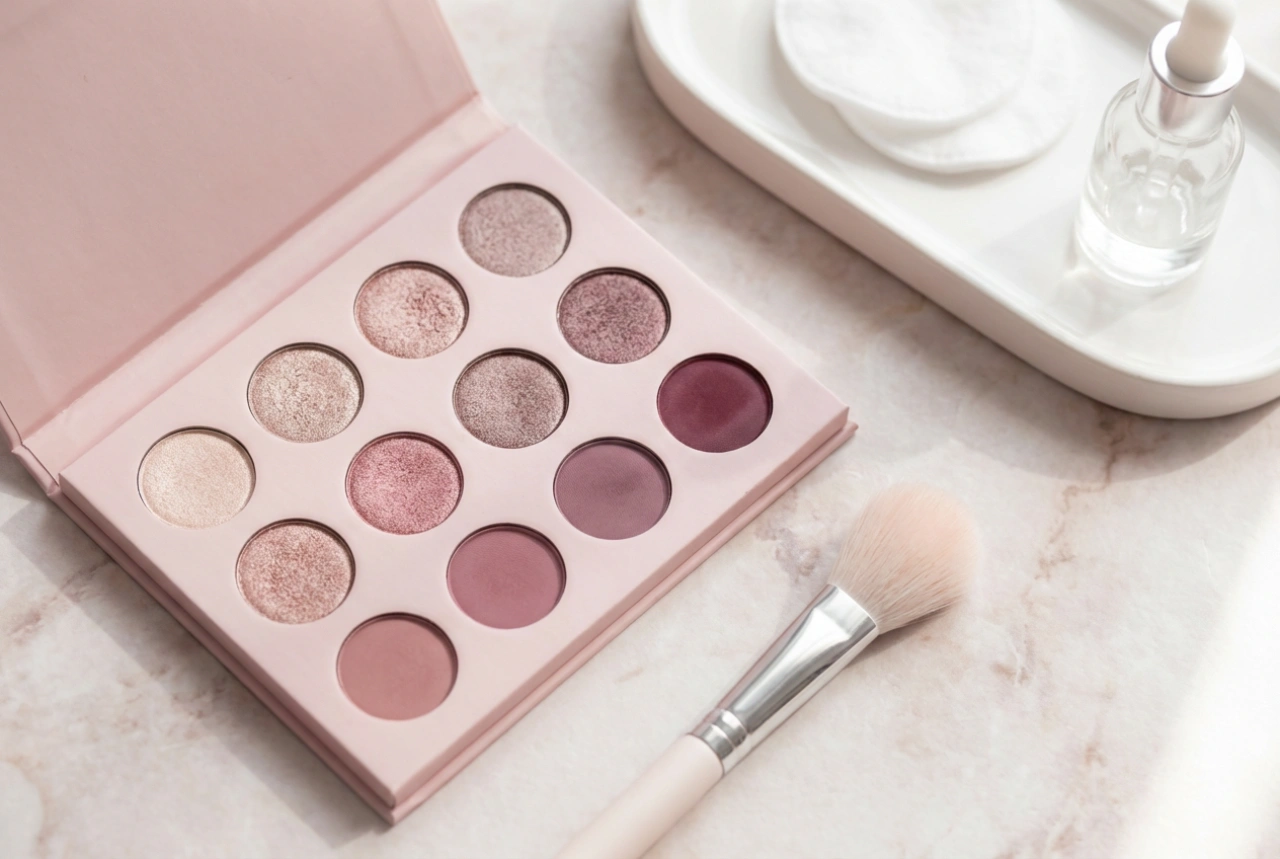
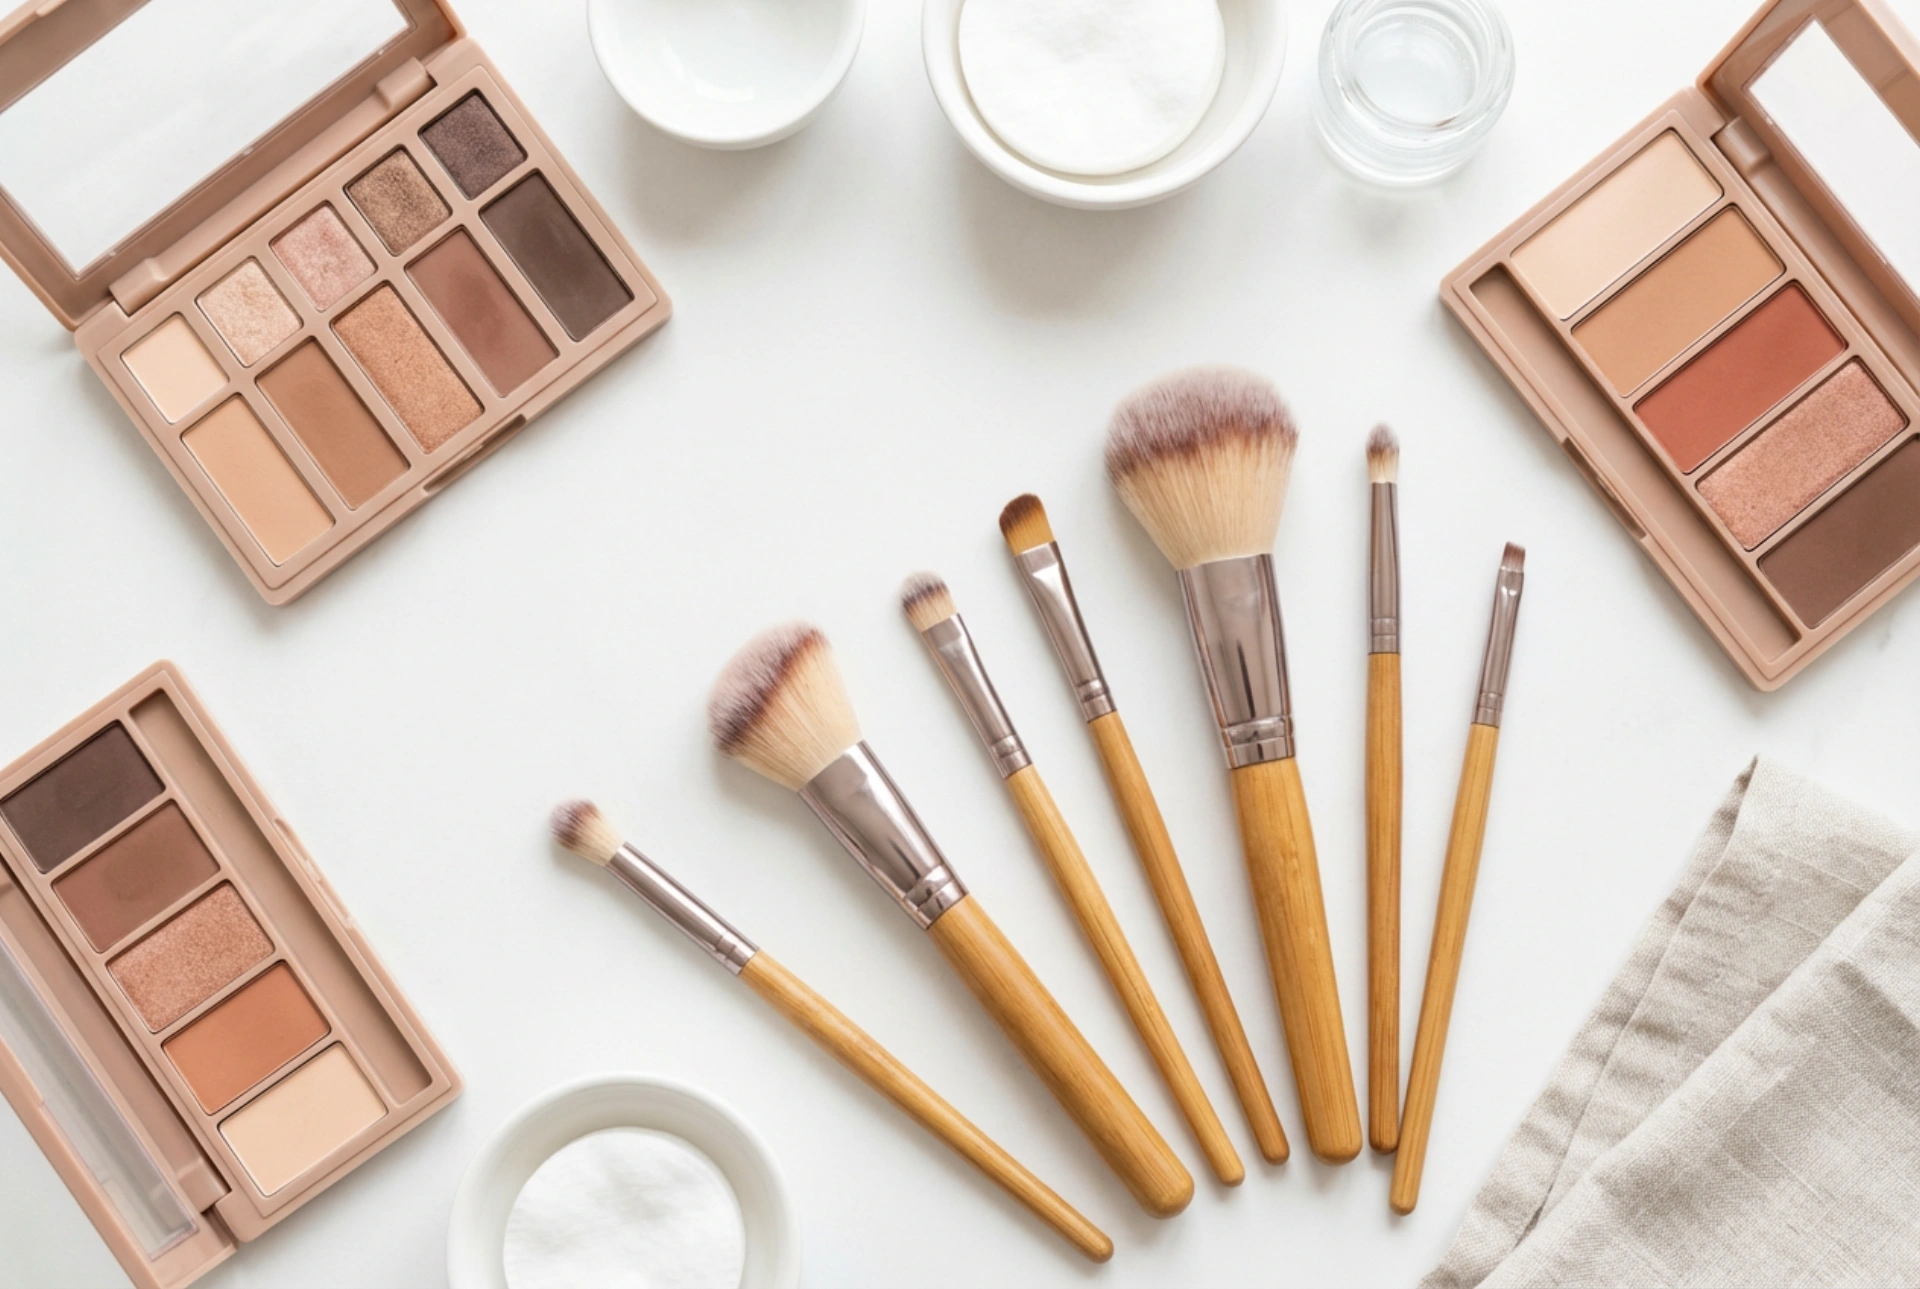
Matte: These eyeshadows have no shine or shimmer. They are flat in colour and have a velvety texture. Mattes are the structural backbone of most eye looks. They are perfect for defining the crease, creating depth in the outer corner of the eye, and lining the lash line for a soft, smoky effect. A basic palette of neutral matte shades (like beige, taupe, soft brown, and a deep brown or charcoal) is the most versatile starting point for any beginner.
Satin and Shimmer: These finishes have a subtle to moderate amount of pearlescent sheen. Satin is the gentlest, offering a soft glow, while shimmer is more reflective. These textures are excellent for adding light and drawing attention to specific areas. They work beautifully when patted onto the centre of the mobile eyelid to make the eyes appear brighter and more open. They are generally more forgiving than mattes if you make a mistake, as the light-reflecting particles help to blur imperfections.
Metallic and Glitter: These are the most high-impact finishes. Metallics provide a foil-like, molten metal effect, while glitters consist of larger particles for a sparkling finish. While they are fun for special occasions, they can be trickier to work with for beginners. They often require a specific primer to prevent fallout (where glitter particles fall onto your cheeks). For everyday looks, a touch of metallic in the inner corner of the eye can be a simple way to add a pop of brightness.
The Essential Brushes for a Flawless Application
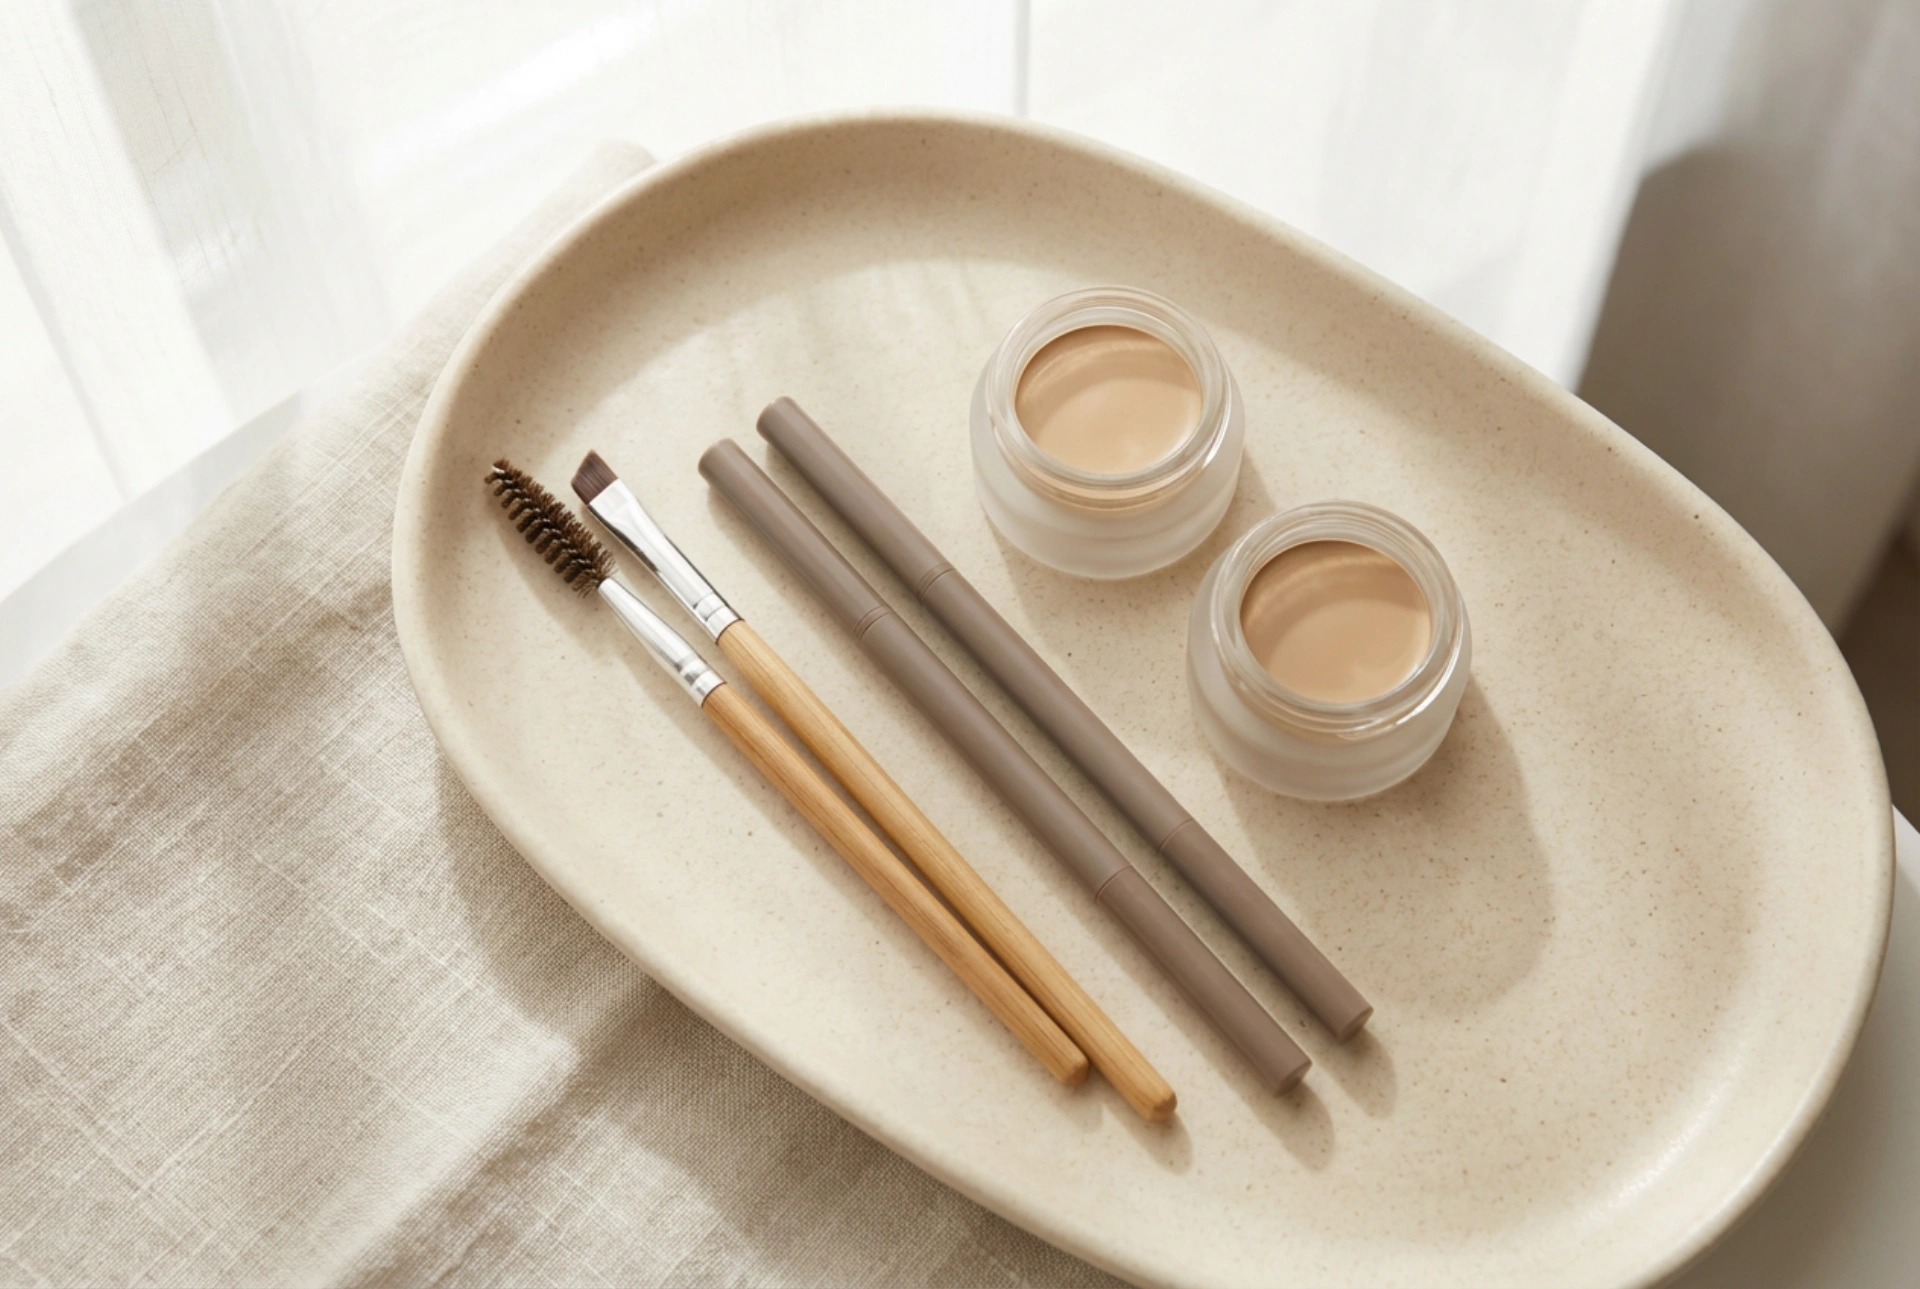
While you can use your fingers (especially for applying shimmers), a few key brushes will make application much cleaner and more precise. You don't need a huge collection; three versatile brushes are enough to create a wide range of looks.
- A Fluffy Blending Brush: This is arguably the most important brush for eyeshadow. It has long, soft, and tapered bristles. Its job is to diffuse and soften harsh lines, particularly in the crease. Use it with light, back-and-forth 'windscreen wiper' motions or small circular motions to ensure colours transition seamlessly into one another.
- A Flat Shader Brush: This brush has denser, flatter bristles. It's designed to pick up a good amount of product and 'pack' it onto the eyelid for maximum colour payoff. Gently pat the colour onto your lid instead of swiping it to build intensity and minimise fallout.
- A Pencil or Detail Brush: This is a small, pointed brush with firm bristles. It's perfect for precise work, such as applying eyeshadow along the lower lash line, smudging out eyeliner for a smoky effect, or placing a highlight in the tiny inner corner of the eye.
Three Simple Eyeshadow Looks for Beginners
Once you have your basic shadows and brushes, you can start creating looks. Here are three simple, step-by-step guides.
Look 1: The Simple Wash of Colour
This is the quickest way to add definition. Choose a single satin or matte eyeshadow, often one that is a few shades deeper than your skin tone. Use your flat shader brush or a finger to apply the colour all over your mobile eyelid, from the lash line up to the crease. Then, take your fluffy blending brush (with no extra product on it) and gently soften the edge at the crease to avoid any harsh lines.
Look 2: The Classic Defined Eye
This look uses three colours to create gentle dimension. It's a classic technique that works for any occasion. Start with an eyeshadow primer if you have one, to make blending easier and the colours last longer.
- Transition Shade: Take a light, neutral matte shade on your fluffy blending brush. Sweep it through your crease using those windscreen wiper motions. This creates a soft gradient for other colours to blend into.
- Definition: Using the same blending brush (or a slightly smaller one), apply a medium-toned matte shade (like a soft brown) to the outer third of your eye and lightly into the crease, concentrating the colour on the outer corner.
- Lid Colour: Pat a light shimmer or satin shade onto the centre of your eyelid with your flat shader brush, keeping it below the crease.
- Blend: With your clean fluffy brush, gently blend the edges where the colours meet to create a seamless finish.
Look 3: The Soft Smoky Liner
This look gives the effect of eyeliner without the harshness of a liquid or pencil. Take a dark matte eyeshadow (like a deep brown, grey, or black) on a small, angled brush or your pencil brush. Press the colour as close to your upper lash line as possible, from the inner to the outer corner. Then, use the same brush to gently wiggle and smudge the line, softening and smoking it out. This technique makes your lashes appear thicker and defines the eye in a very subtle, modern way.