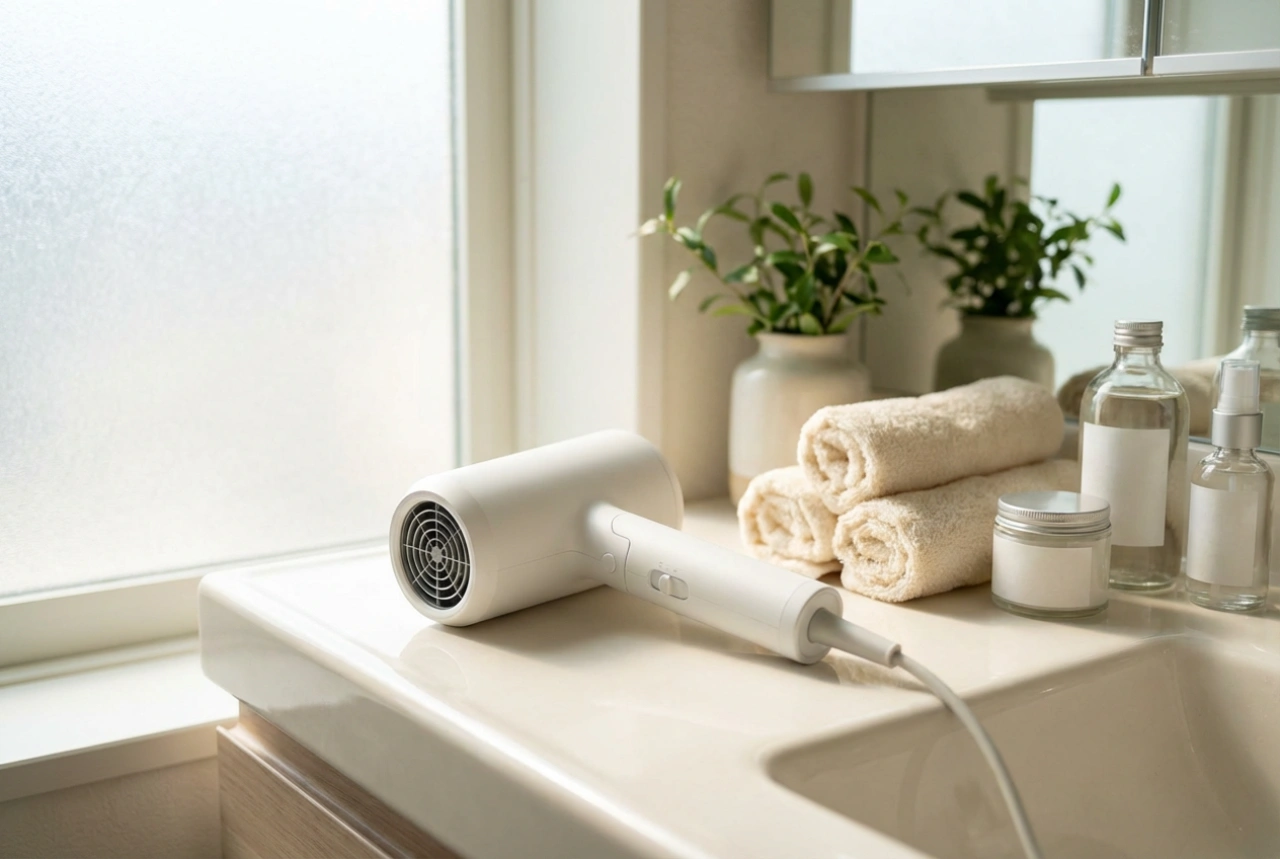


A powerful 2400W hair dryer can feel like a professional tool in your hands, promising to cut down styling time significantly. While the high-speed airflow is a major advantage for quick drying, it also requires a mindful approach to protect your hair, especially the delicate ends, from potential heat damage. Achieving that beautifully smooth, styled look seen in salons is possible at home when you combine the power of your dryer with the right techniques and protective measures. This guide will walk you through how to use a high-wattage dryer effectively, ensuring your hair remains healthy, shiny, and strong.
Understanding the Power of 2400 Watts
The wattage of a hair dryer indicates its motor's power, which translates to the strength and speed of the airflow it produces. A 2400W model is considered high-powered, capable of drying hair much faster than a standard dryer. This is particularly beneficial for those with thick, coarse, or very long hair that can take a long time to dry. However, more power often comes with higher heat potential. Without proper handling, this can lead to moisture loss, brittleness, and damaged ends. The key is not to avoid the power, but to learn how to control it for your hair type and needs.
Essential Preparation Before You Power On
What you do before the dryer even touches your hair is just as important as the drying process itself. Proper preparation creates a protective foundation that minimises damage and enhances your final style.
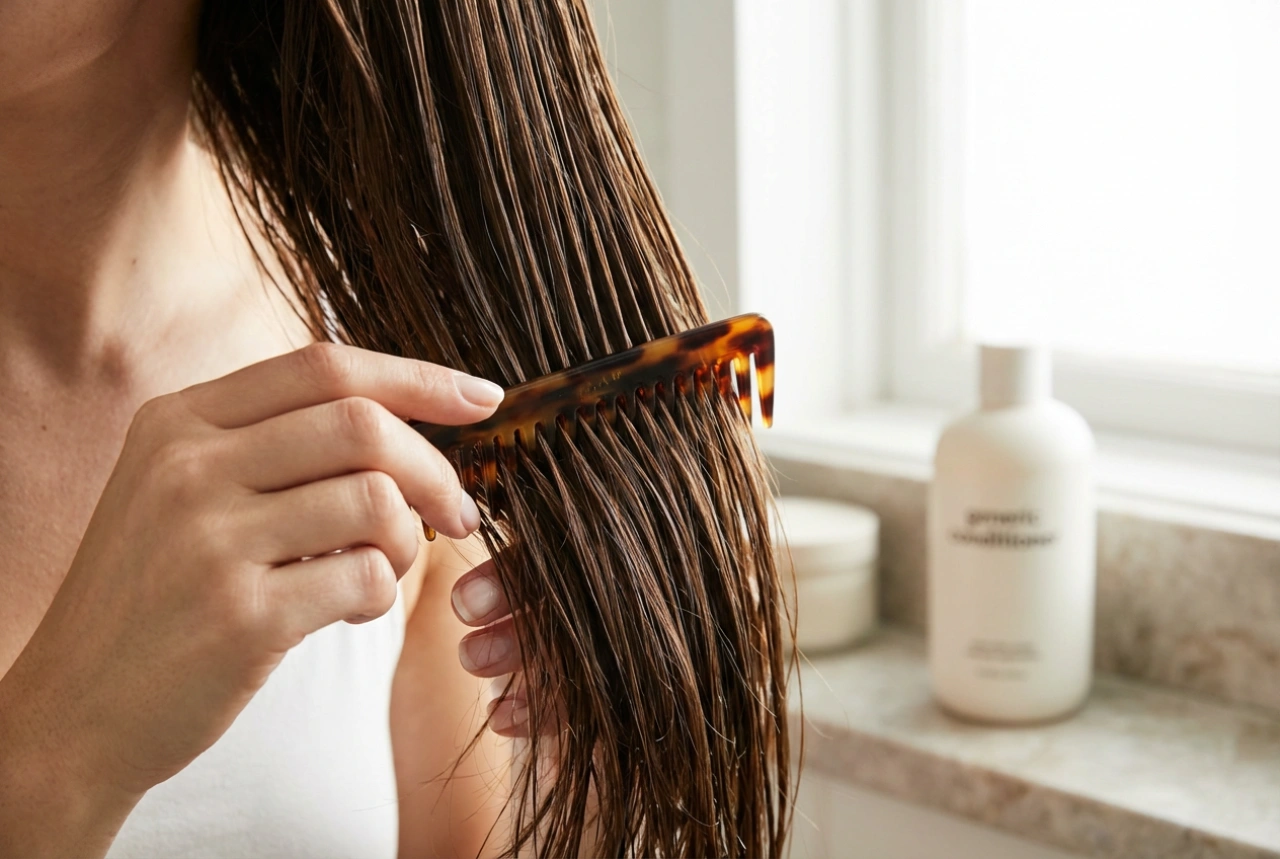
Step 1: Gently Remove Excess Water
Never start blow-drying soaking wet hair. It takes much longer and exposes your hair to prolonged heat. After washing, gently squeeze out excess water. Instead of vigorously rubbing your hair with a regular towel, which can cause friction and frizz, opt for a soft microfibre towel or an old cotton t-shirt. Blot or wrap your hair to absorb as much moisture as possible. Your hair should be about 60-70% dry before you begin using heat.
Step 2: Apply a Heat Protectant Generously
This is a non-negotiable step in any heat styling routine. A quality heat protectant creates a barrier between your hair and the heat, sealing in moisture and preventing the cuticle from being damaged. Choose a formula that suits your hair type—a lightweight spray for fine hair or a cream or lotion for thicker, coarser hair. Ensure you apply it evenly from roots to ends, combing through to distribute the product thoroughly.
Mastering Your High-Power Drying Technique
With a 2400W dryer, technique is everything. Using the right settings, attachments, and motions will give you a sleek, polished result without scorching your strands.
Control Your Settings: Heat and Speed
High power doesn't have to mean high heat. Many powerful dryers come with multiple heat and speed settings. For most of the drying process, use a medium heat setting with a high speed setting. The strong airflow will do most of the work, drying your hair quickly without excessive heat. Reserve the high heat setting for occasional use, such as styling very thick, stubborn sections, and always keep the dryer moving.
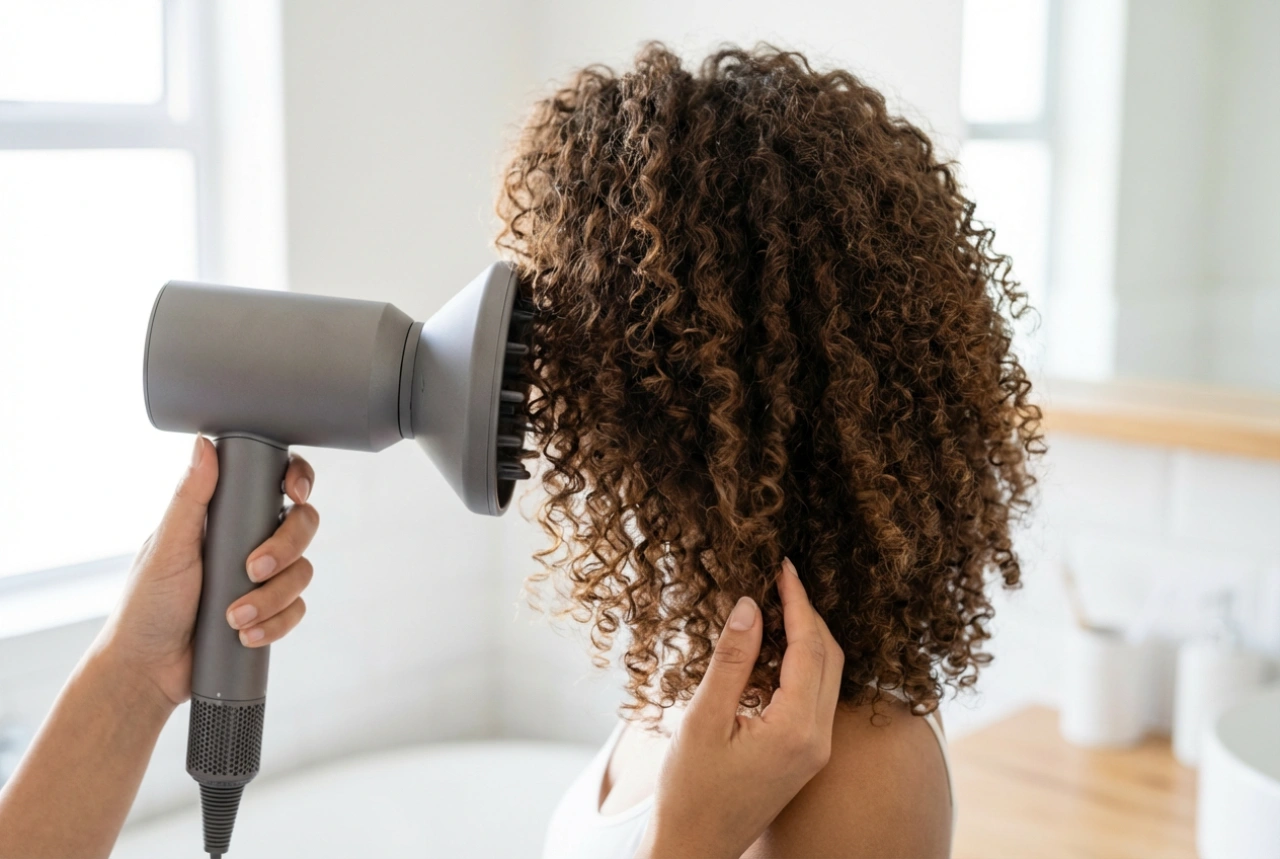
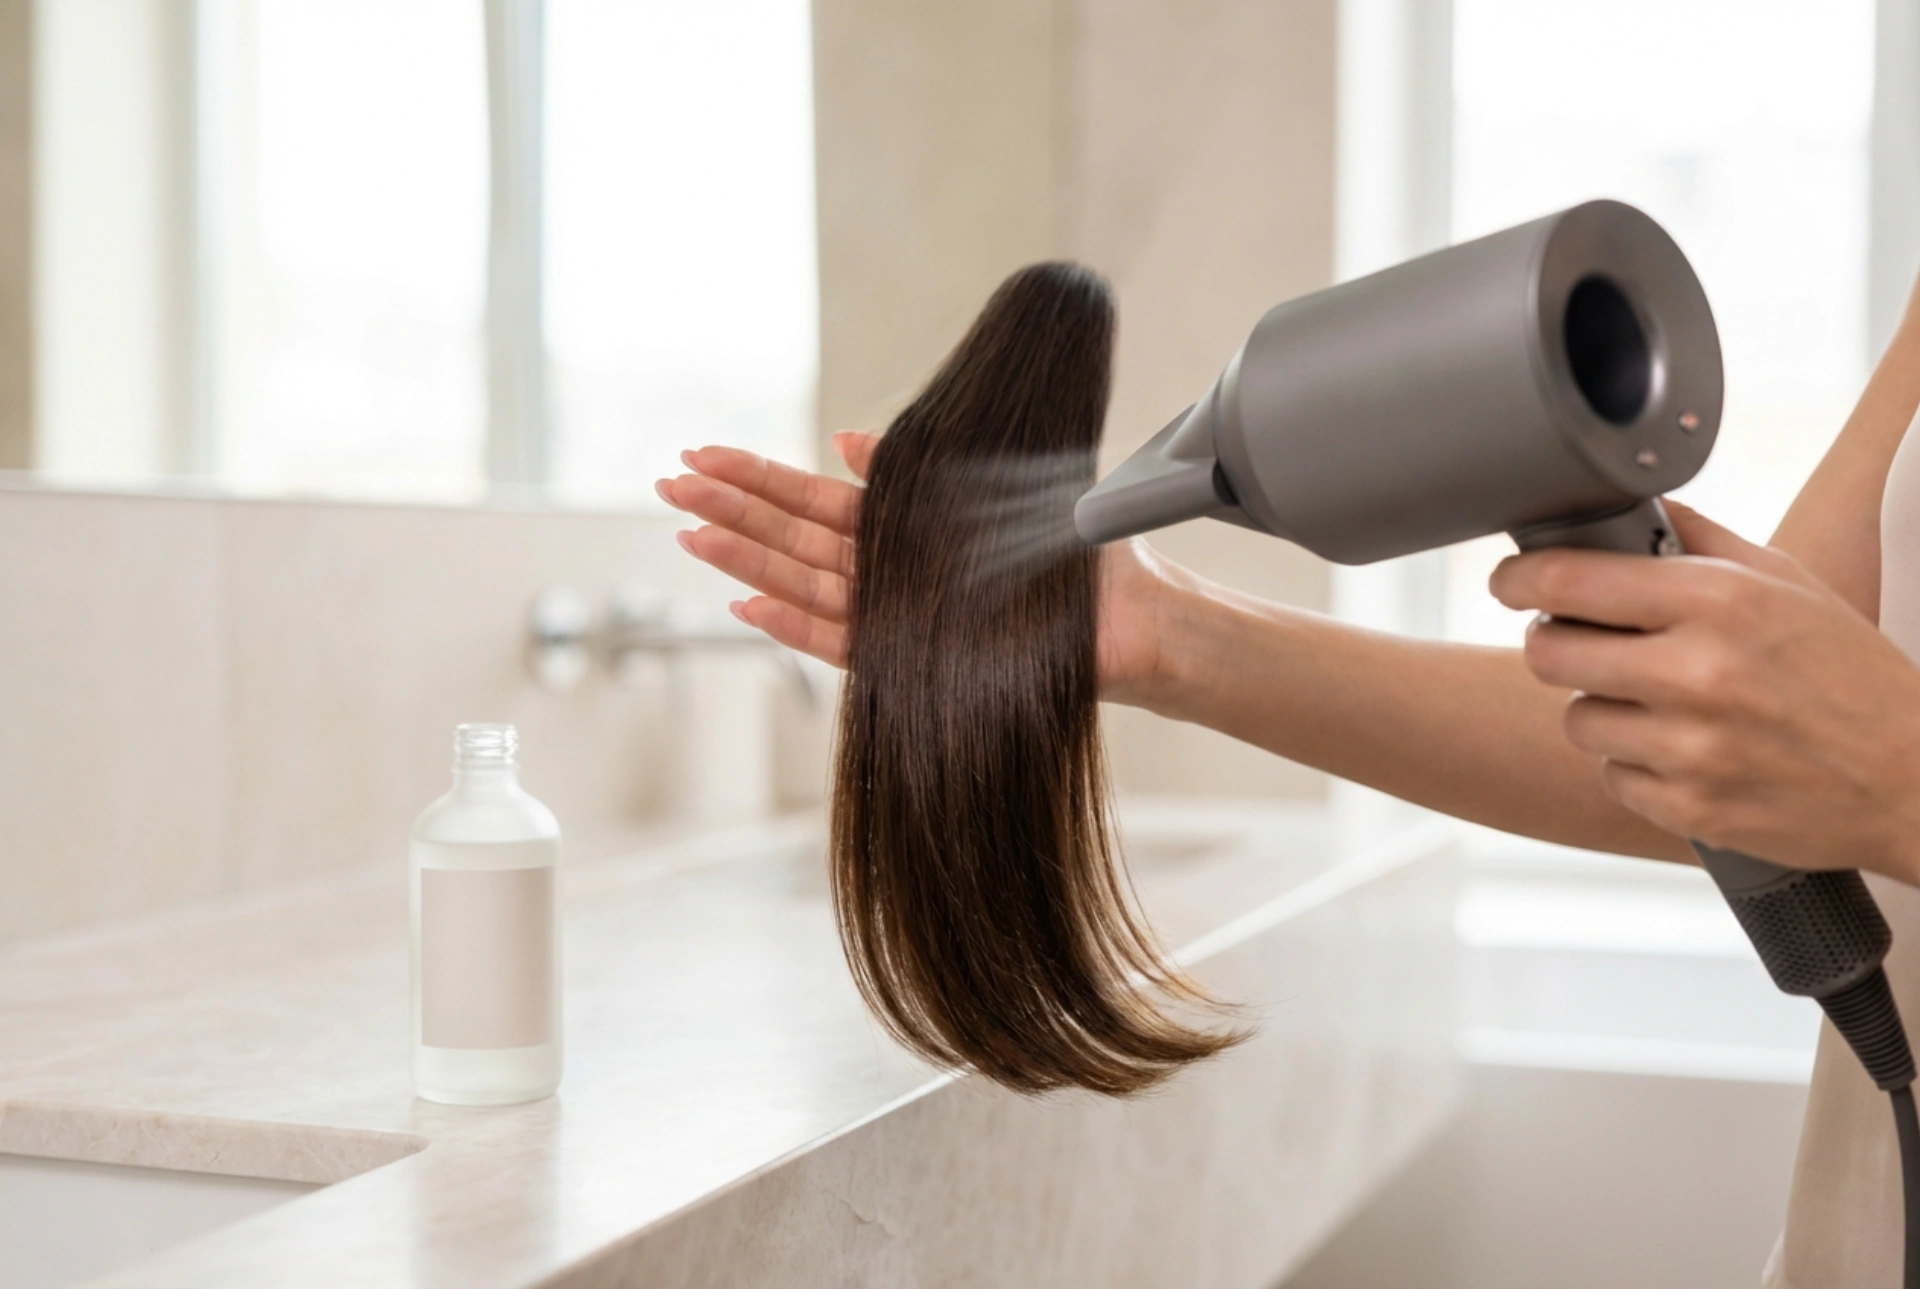
Utilise the Nozzles
The attachments that come with your dryer are there for a reason. They help you control the airflow for specific results.
- Concentrator Nozzle: This is your go-to for creating a smooth, sleek finish. It directs the airflow into a concentrated stream, allowing you to focus on one section at a time. Always point the nozzle down the hair shaft, from root to tip. This helps to smooth the hair's cuticles, reducing frizz and boosting shine.
- Diffuser Attachment: If you have curly or wavy hair, a diffuser is essential. It distributes the airflow over a wider area, drying curls gently without disrupting their pattern or causing frizz.
Work in Sections
Drying your hair all at once is inefficient and can lead to uneven results, with some parts over-dried and others still damp. Use clips to divide your hair into manageable sections. Dry one section at a time, starting from the lower layers at the nape of your neck and working your way up. This gives you much better control and ensures every part of your hair is dried evenly.
The Finishing Touches for Healthy, Sealed Ends
The final steps of your drying routine are crucial for locking in your style and giving your hair a healthy, polished appearance. This is where you can give your ends some extra attention.
Embrace the Cool Shot Button
Most modern dryers have a 'cool shot' button. Once a section of your hair is dry, press this button and go over the section with a blast of cool air. This simple action helps to seal the hair cuticle, which locks in the style, sets the shape, and adds a significant boost of shine. It's like a top coat for your blow-dry.
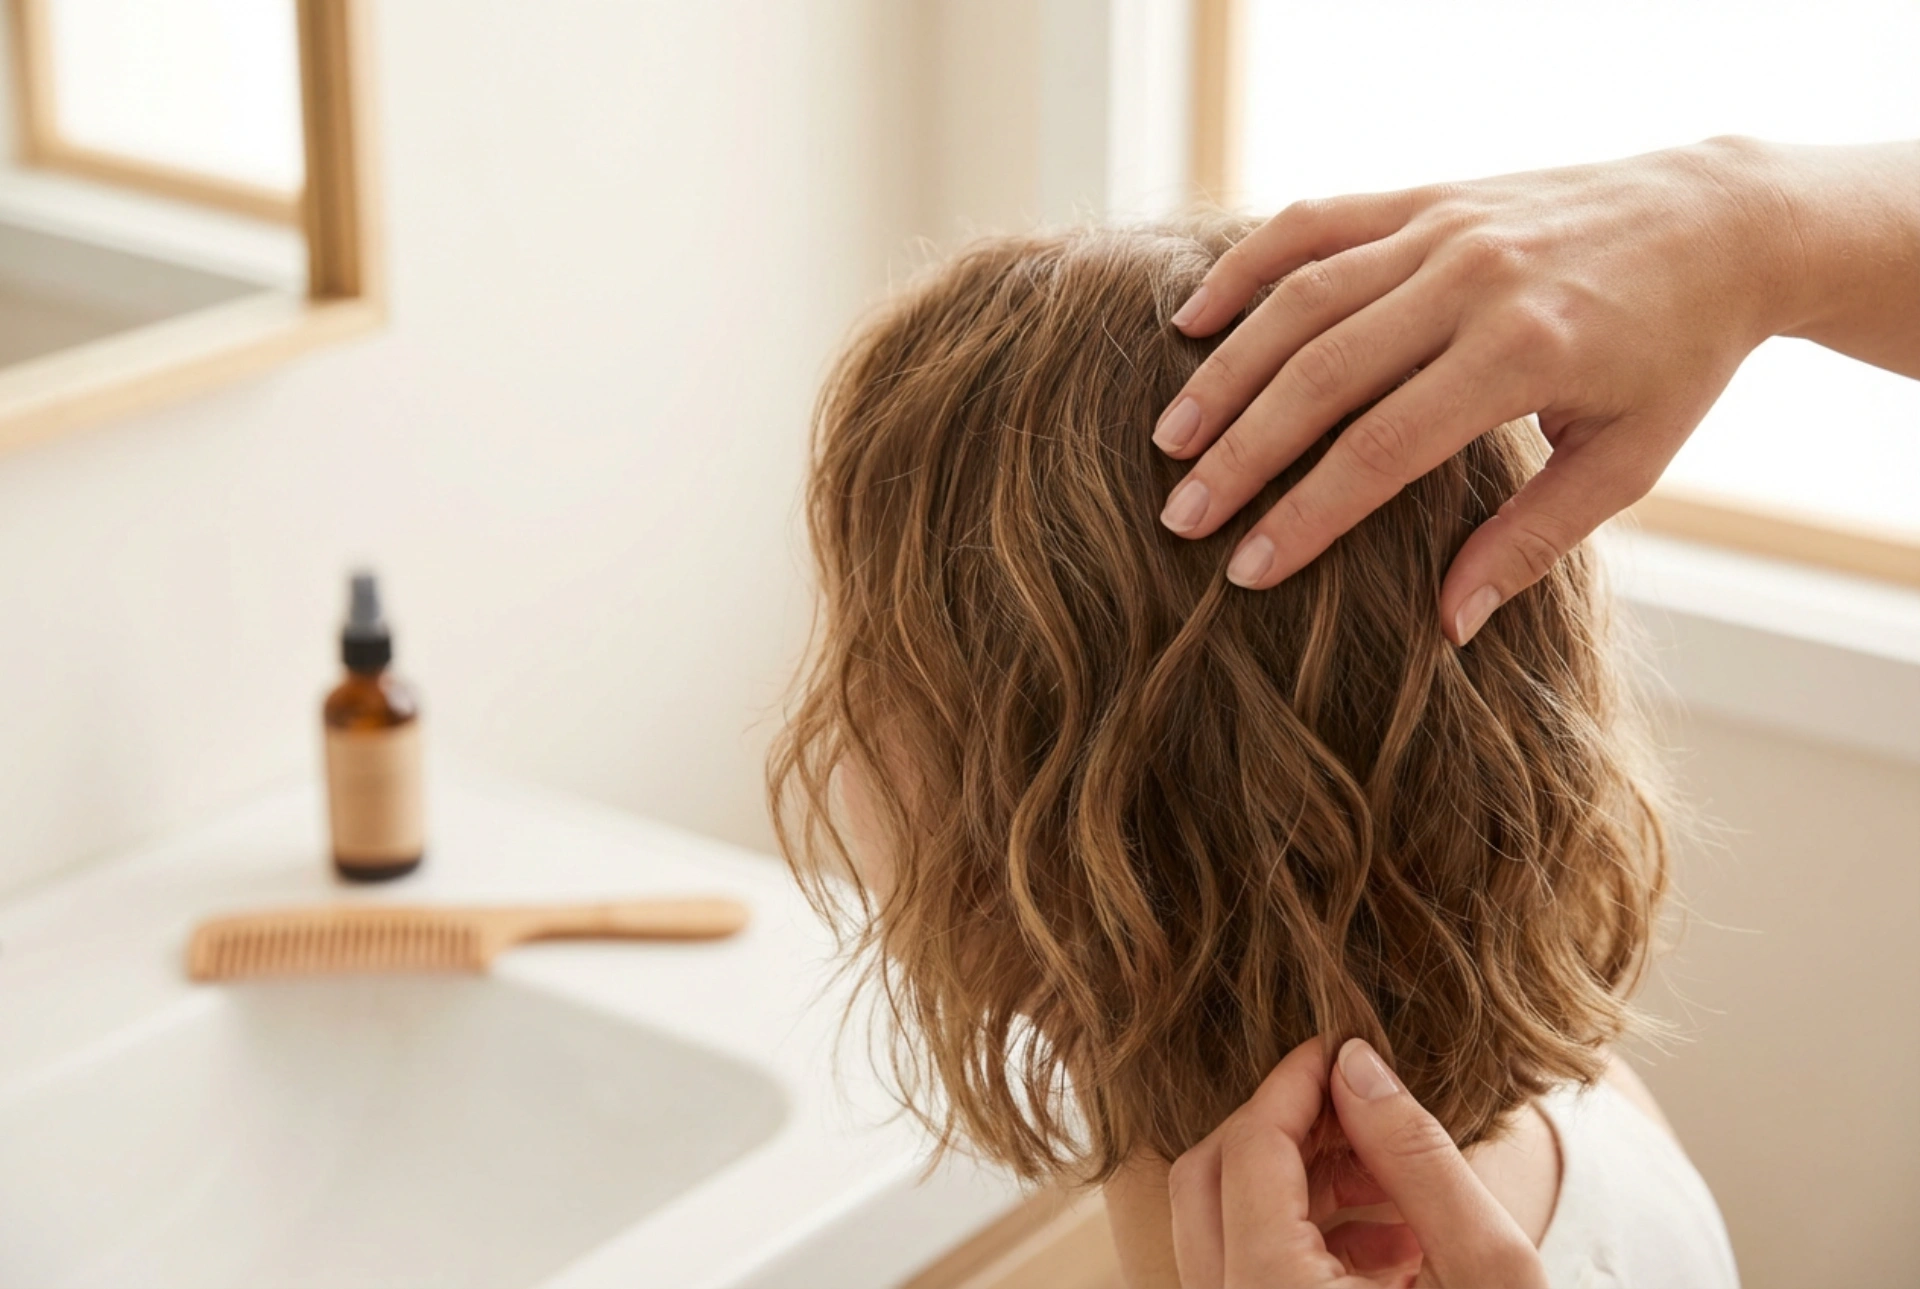
Final Care for Your Ends
The ends of your hair are the oldest and most fragile part. After you've finished drying, consider applying a small amount of a lightweight hair serum or oil to your ends. This will help to replenish moisture, smooth any remaining flyaways, and provide an extra layer of protection. A powerful 2400W hair dryer is an excellent tool for efficient styling, and by following these steps, you can enjoy all its benefits while keeping your hair healthy from root to tip.