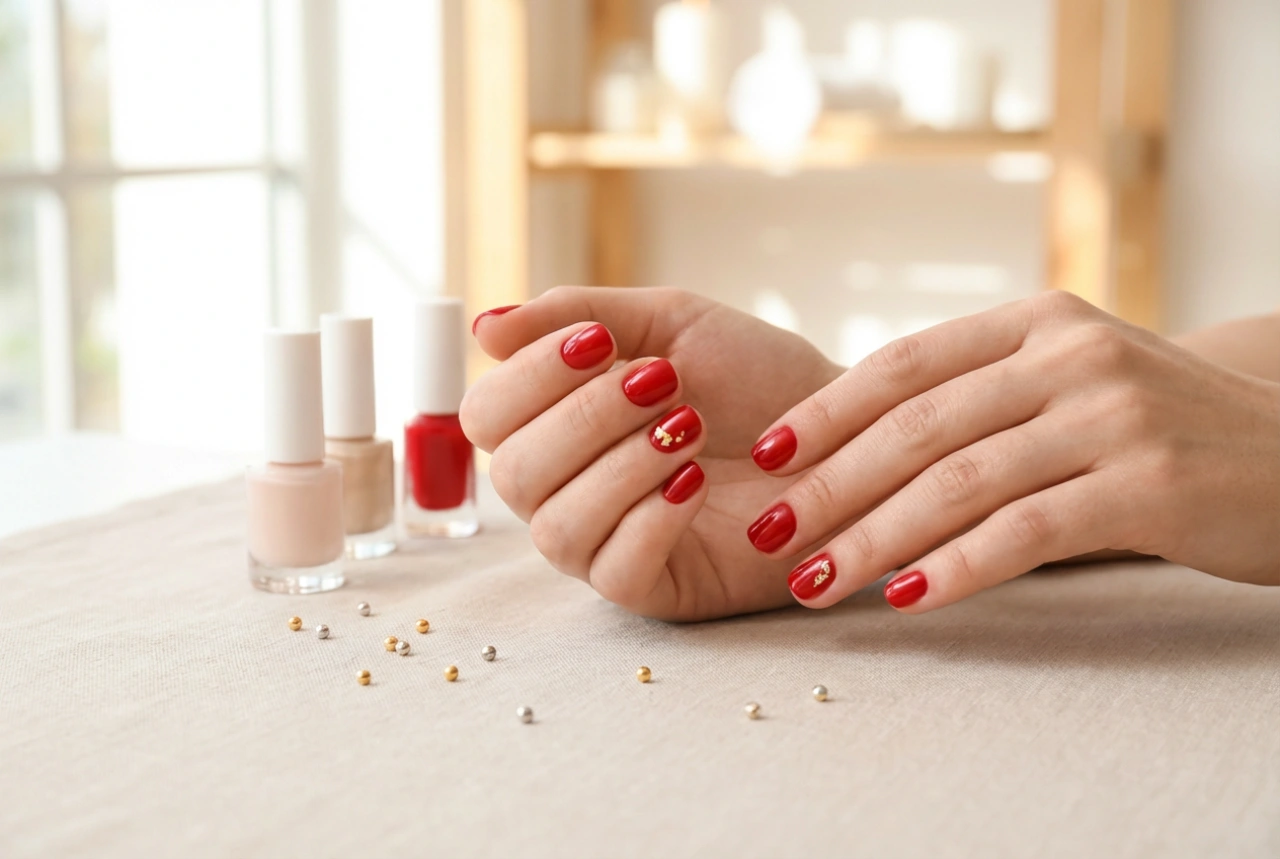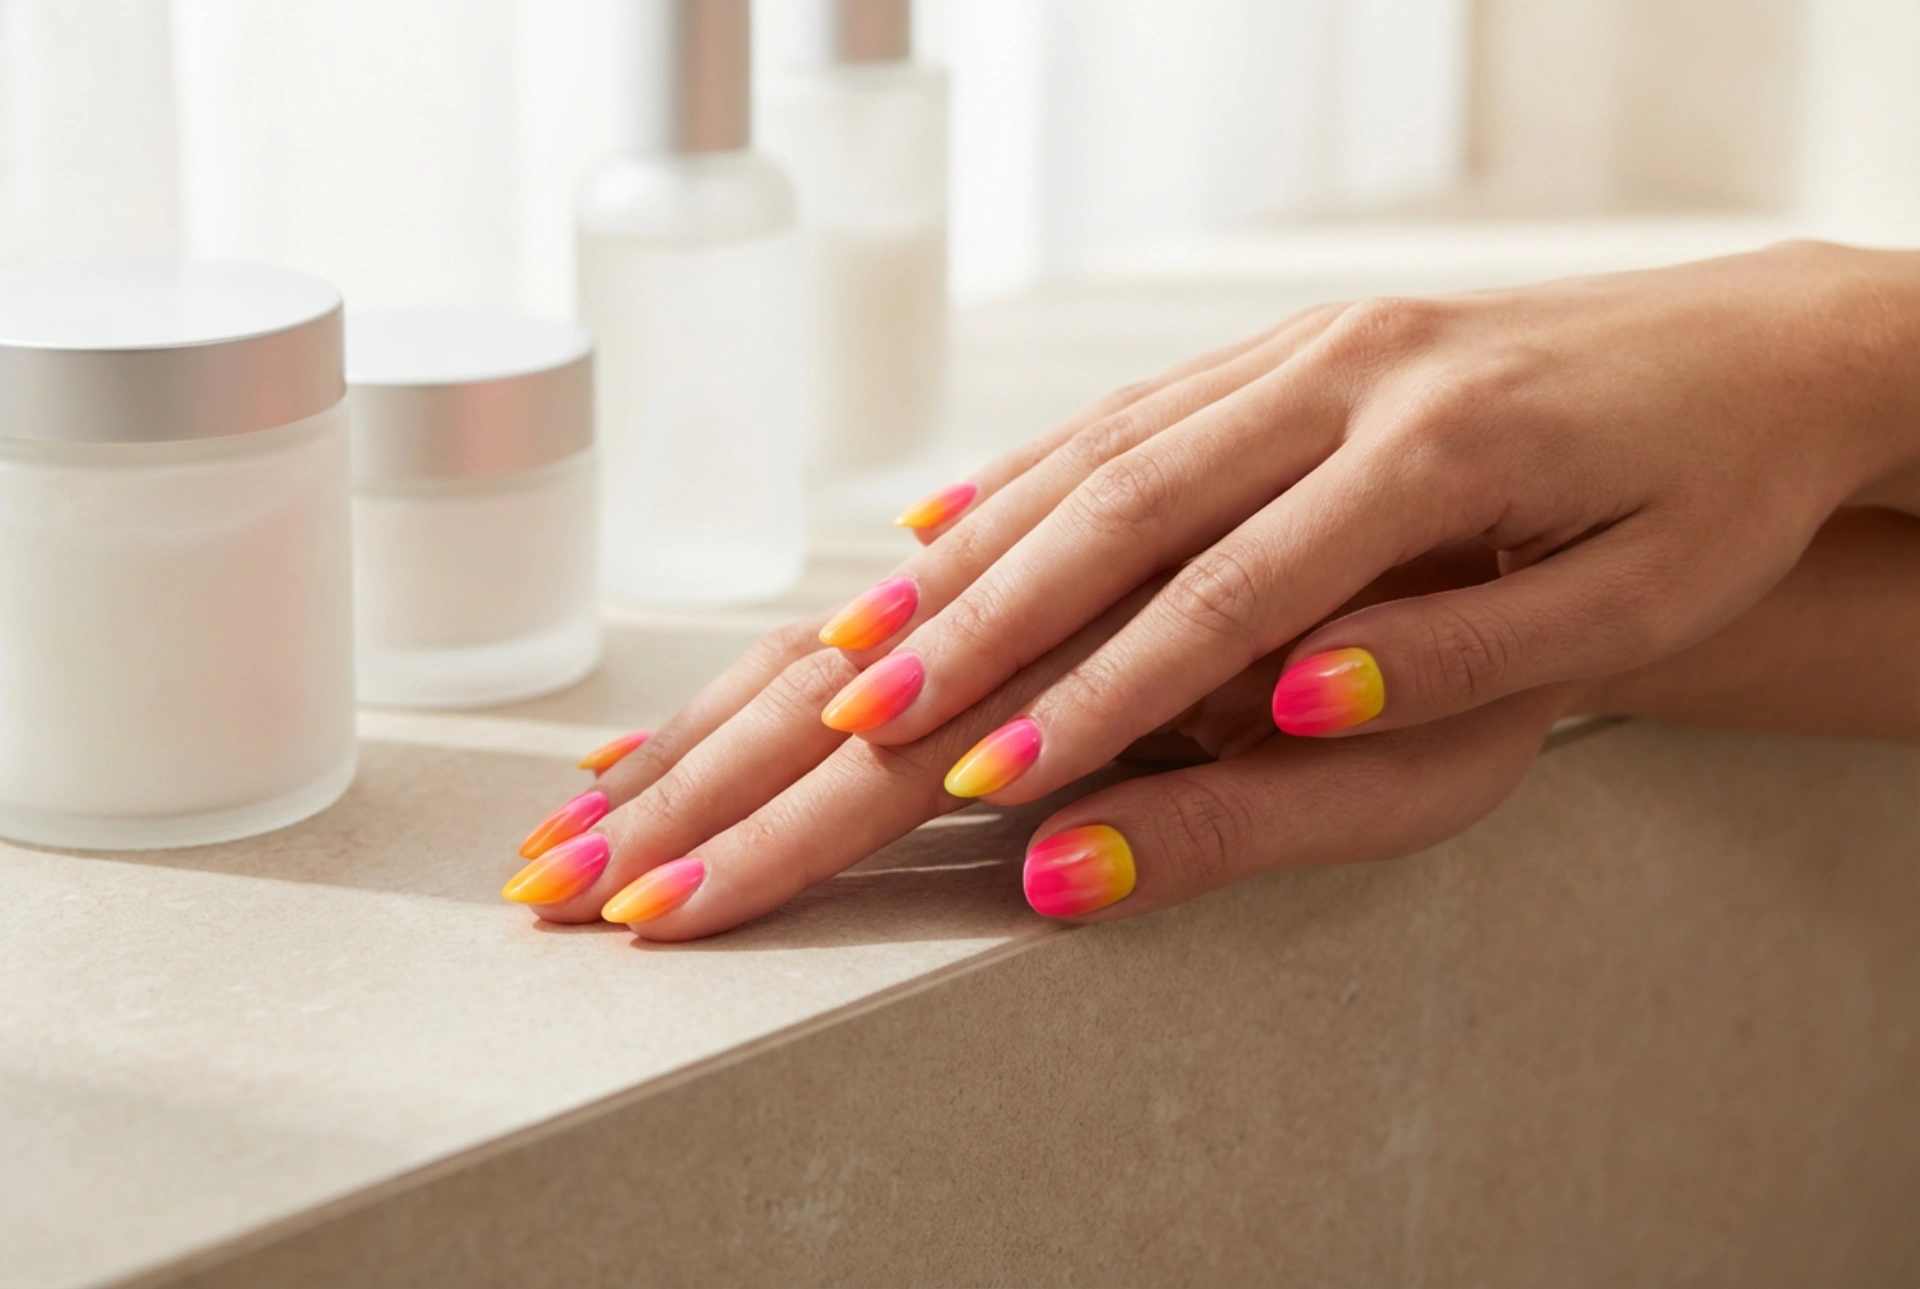


Neon ombre nails are a fantastic way to express your style and add a vibrant pop of colour to your look. This eye-catching gradient effect, transitioning smoothly between bright, bold shades, creates a 'juicy' and modern finish that looks professionally done. While it may seem complex, achieving this beautiful manicure at home is surprisingly simple with the right technique. Using a common makeup sponge, you can easily blend colours to create a flawless and impressive neon gradient. This guide will walk you through every step, from preparation to the final glossy top coat.
Preparing Your Nails for the Neon Transformation
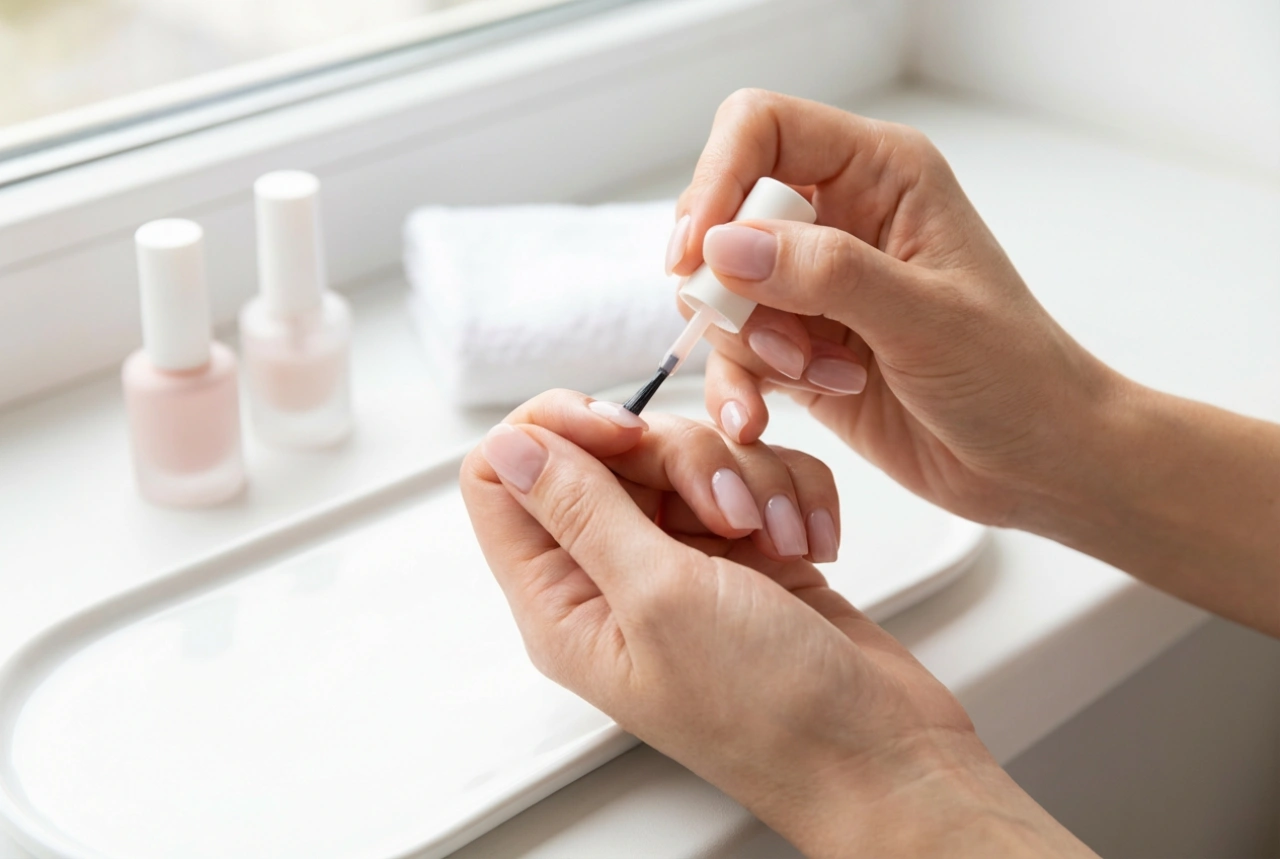
Proper preparation is the key to a long-lasting and polished-looking manicure. Before you begin with the colours, ensure your nails are clean and ready. Start by removing any old polish. Next, file and shape your nails to your desired length and form. Gently push back your cuticles, but avoid cutting them to maintain the health of your nail bed. Once your nails are shaped, lightly buff the surface to create a smooth canvas. Finally, and most importantly for a neon look, apply a quality base coat. For the most vibrant and true-to-colour neon effect, it is highly recommended to apply one or two coats of an opaque white or very light pastel polish as your base colour. Let this dry completely before moving on to the ombre step.
Gathering Your Tools for the Gradient
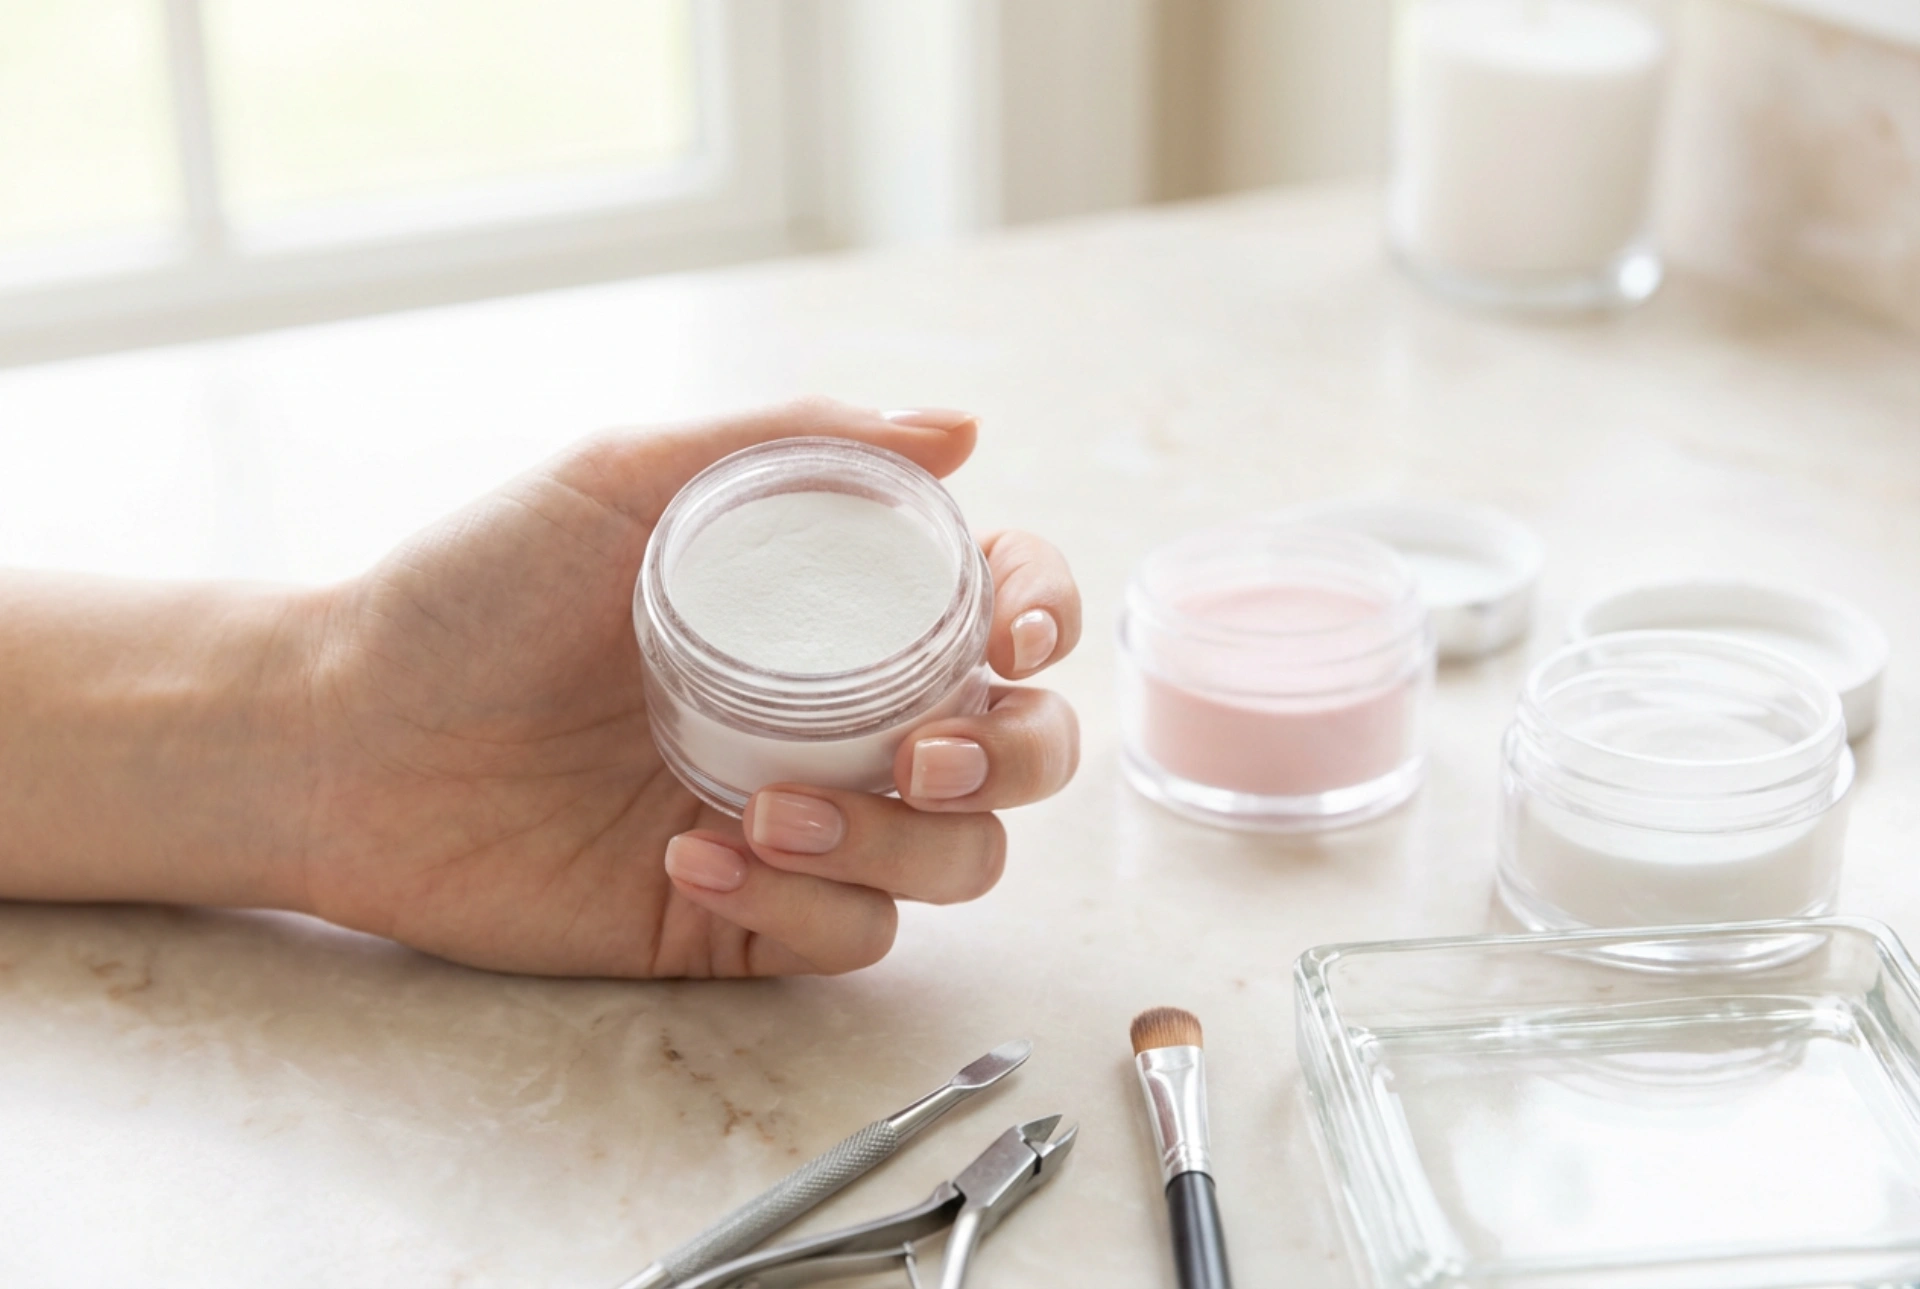
You don't need a professional kit to create a stunning ombre effect. The main tool is a simple makeup sponge. A disposable wedge-shaped cosmetic sponge works perfectly. You can cut it into smaller, nail-sized pieces for easier handling. Here's a list of what you'll need:
- A protective base coat.
- A white or light-coloured nail polish for the base.
- Two or more neon nail polishes that you want to blend.
- A small piece of a makeup sponge.
- A glossy top coat.
- Nail polish remover and a small, flat brush or cotton bud for cleaning up.
- A piece of paper or plastic to protect your work surface.
Choosing Your Colours
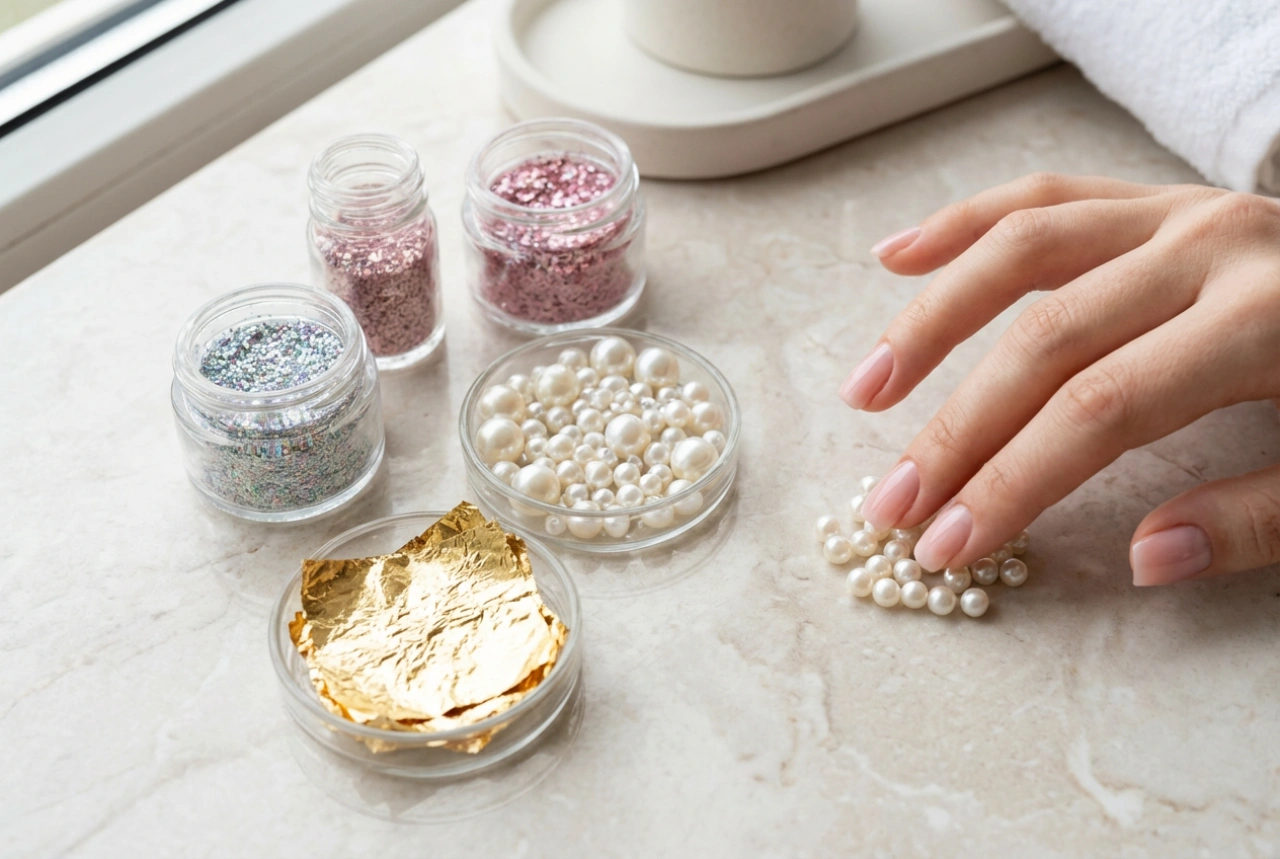
When selecting your neon polishes, think about which colours will blend well together. Classic choices include a transition from neon yellow to orange, pink to purple, or blue to green. You can also get creative with three or more colours for a rainbow effect. Ensure the polishes are of a similar consistency to help them blend more seamlessly on the sponge.
Creating the Ombre Effect: A Step-by-Step Guide
This is where the magic happens. With your nails prepped and tools ready, you can start creating the gradient. Work on one nail at a time for the best results.
- Prepare the Sponge: Take your chosen neon polishes and paint them in horizontal stripes directly onto the makeup sponge. The stripes should be next to each other, slightly overlapping to encourage blending. Make the painted area on the sponge wide and long enough to cover your entire nail.
- Apply the Colour: Take the polish-loaded sponge and begin dabbing it onto your nail. Use a gentle, slightly rolling or patting motion from side to side. Don't press too hard, as this can absorb too much polish and create a bubbly texture. The first layer will look sheer and spongy; this is normal.
- Build the Intensity: Let the first thin layer dry for about a minute. Re-apply the polish stripes to your sponge and dab it over the same nail again. This second or third application will intensify the colours and perfect the gradient, making the blend smoother and more opaque.
- Repeat for All Nails: Continue this process for all your nails. Remember to re-apply the polish to the sponge for each nail to ensure a fresh and vibrant application every time.
The Finishing Touches: Clean-up and Top Coat
The sponge technique is effective but can be messy. You will likely have polish on the skin around your nails. To clean this up, dip a small, flat brush or a cotton bud into nail polish remover and carefully trace around your cuticle line and the sides of your nail. This will create a sharp, clean edge that makes your manicure look incredibly neat. Once the clean-up is done and the polish is dry to the touch, apply a generous layer of a high-shine, quick-dry top coat. This is a crucial step as it not only protects your design and prevents chipping but also melts the colours together, smoothing out any texture from the sponge and giving your nails that beautiful, 'juicy' and blended finish.