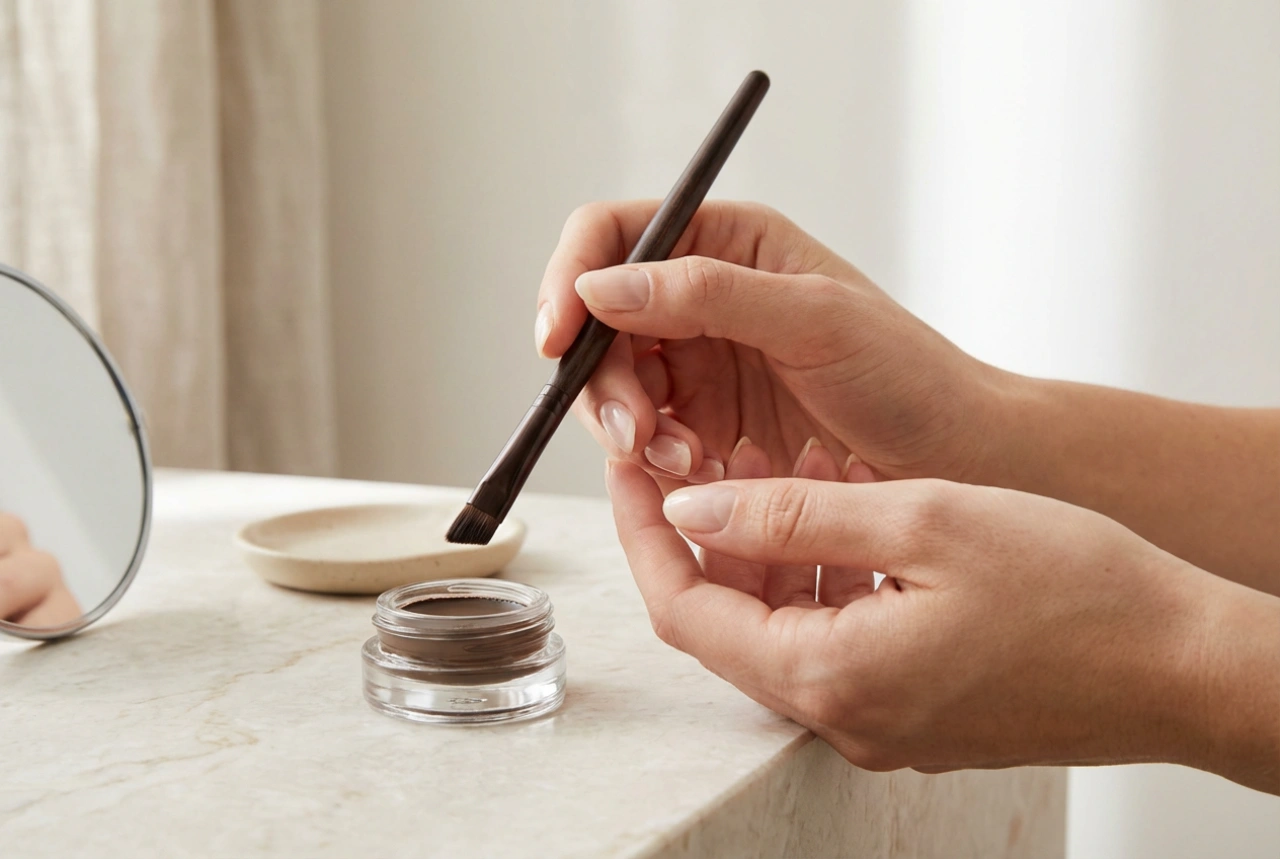
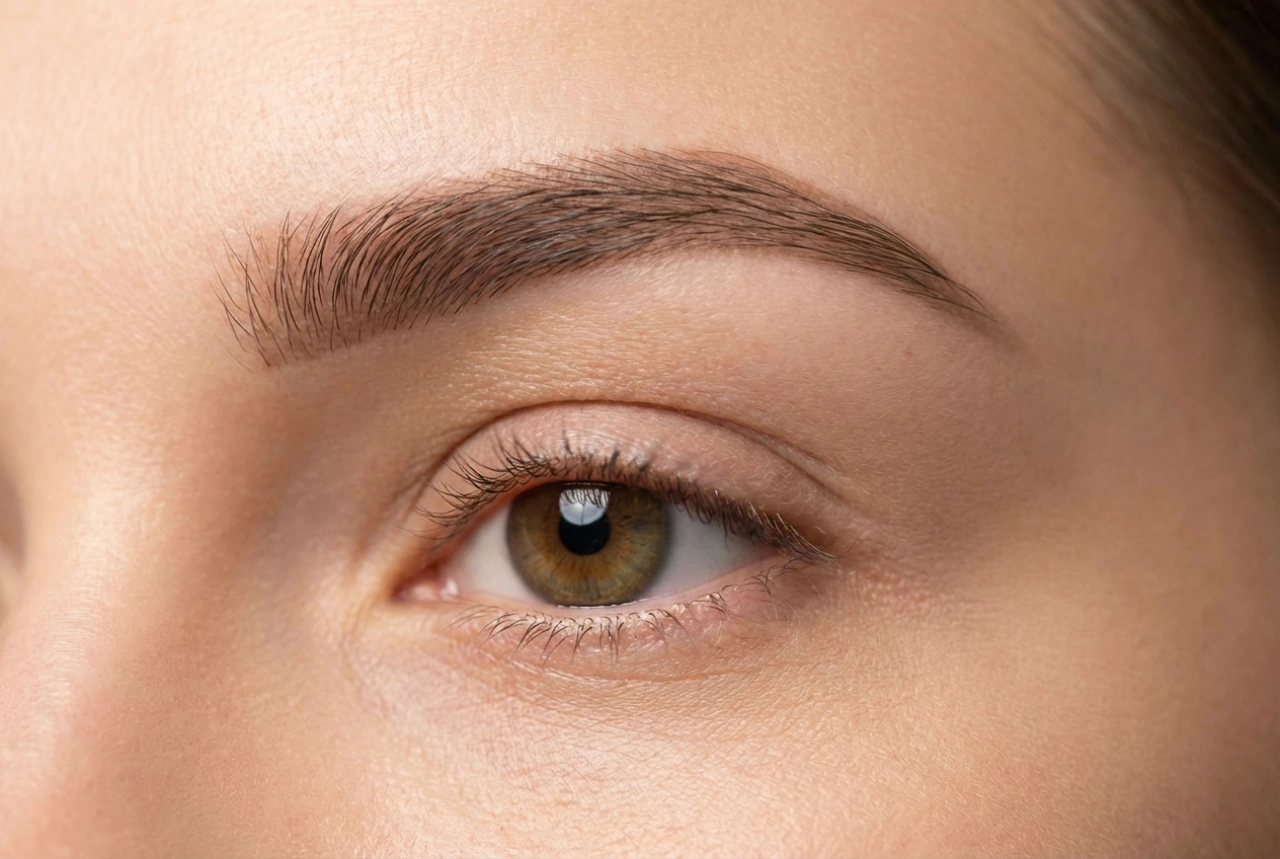
Well-defined eyebrows have the power to frame your face and enhance your features. At-home eyebrow tinting is a popular and accessible way to achieve a fuller, more polished look. With a focus on precise application and the right tools, as suggested by hands delicately applying a tint, you can achieve a professional-looking finish in the comfort of your own home. The key to success lies in choosing the correct shade and mastering an even application technique.
Choosing the Perfect Eyebrow Tint Shade
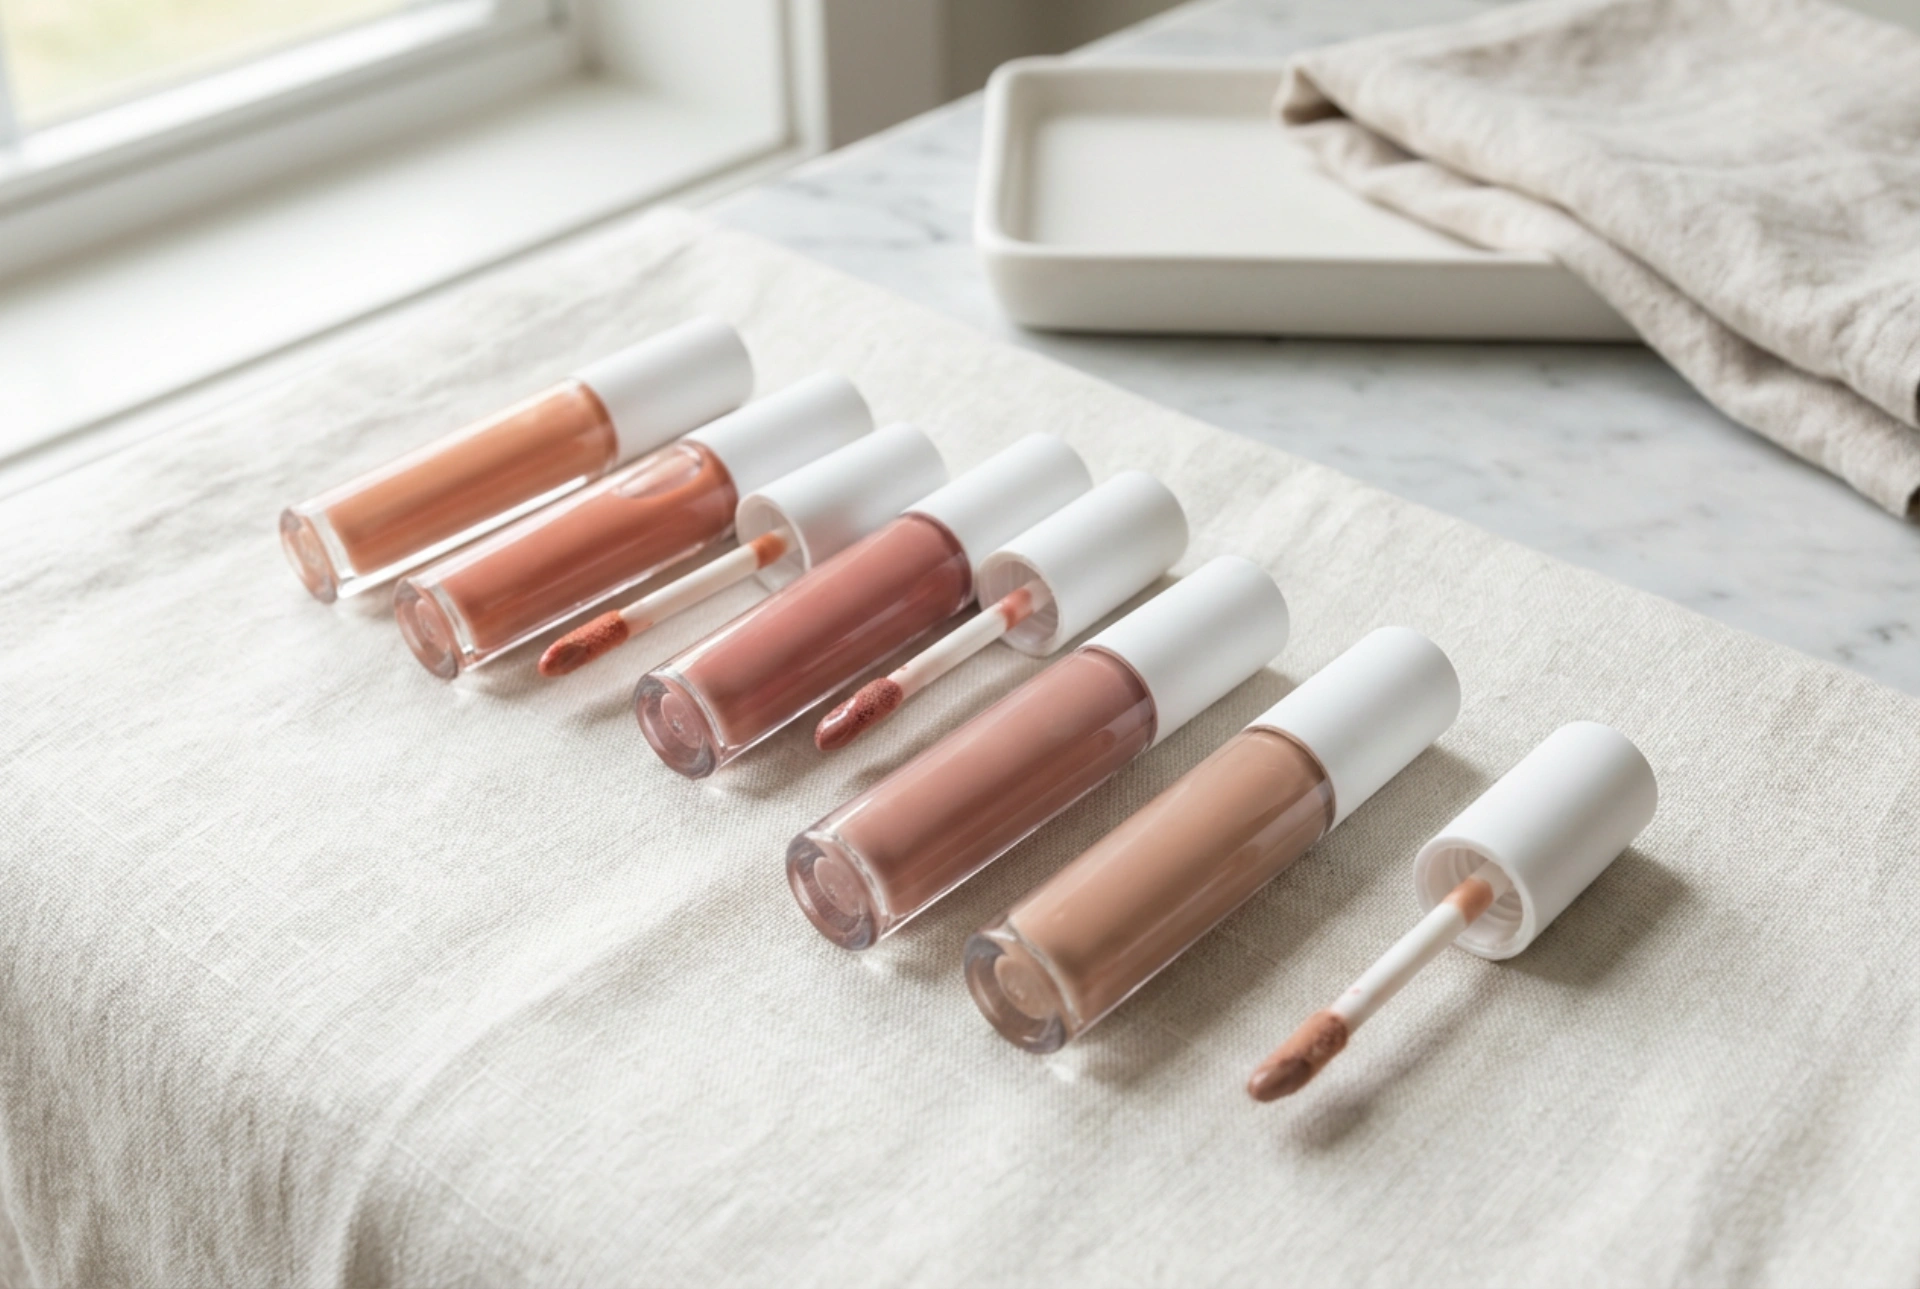
Selecting the right colour is the most crucial step for achieving natural-looking results. A shade that is too dark can look harsh, while one that is too light will not provide enough definition. Here’s how to find your perfect match.
Match with Your Hair Colour
A general guideline is to coordinate your brow tint with your hair colour. If you have dark brown or black hair, opt for a tint that is one to two shades lighter. This prevents the brows from looking too severe. For blondes or those with light-coloured hair, choosing a shade one or two levels darker will add definition without overpowering your features. Redheads can look for auburn or warm brown tints to complement their hair.
Consider Your Skin's Undertone
Your skin's undertone also plays a role. If you have cool undertones (with pink, red, or bluish hues), look for ash-based browns and taupes. For those with warm undertones (with yellow, peachy, or golden hues), warmer, golden-brown shades will be more flattering. Examining the veins on your wrist can help determine your undertone; blue veins suggest a cool tone, while green veins indicate a warm tone.
When in Doubt, Go Lighter
If you are hesitating between two shades, it is always safer to choose the lighter one. You can easily apply a second coat or leave the tint on for a little longer to deepen the colour if needed. Lightening a tint that has developed too darkly is much more difficult, so a cautious approach is best for your first time.
Preparation: The Key to a Flawless Finish
Proper preparation is just as important as the application itself. Taking a few extra minutes to prep will help ensure a clean, even result and prevent unwanted skin staining.
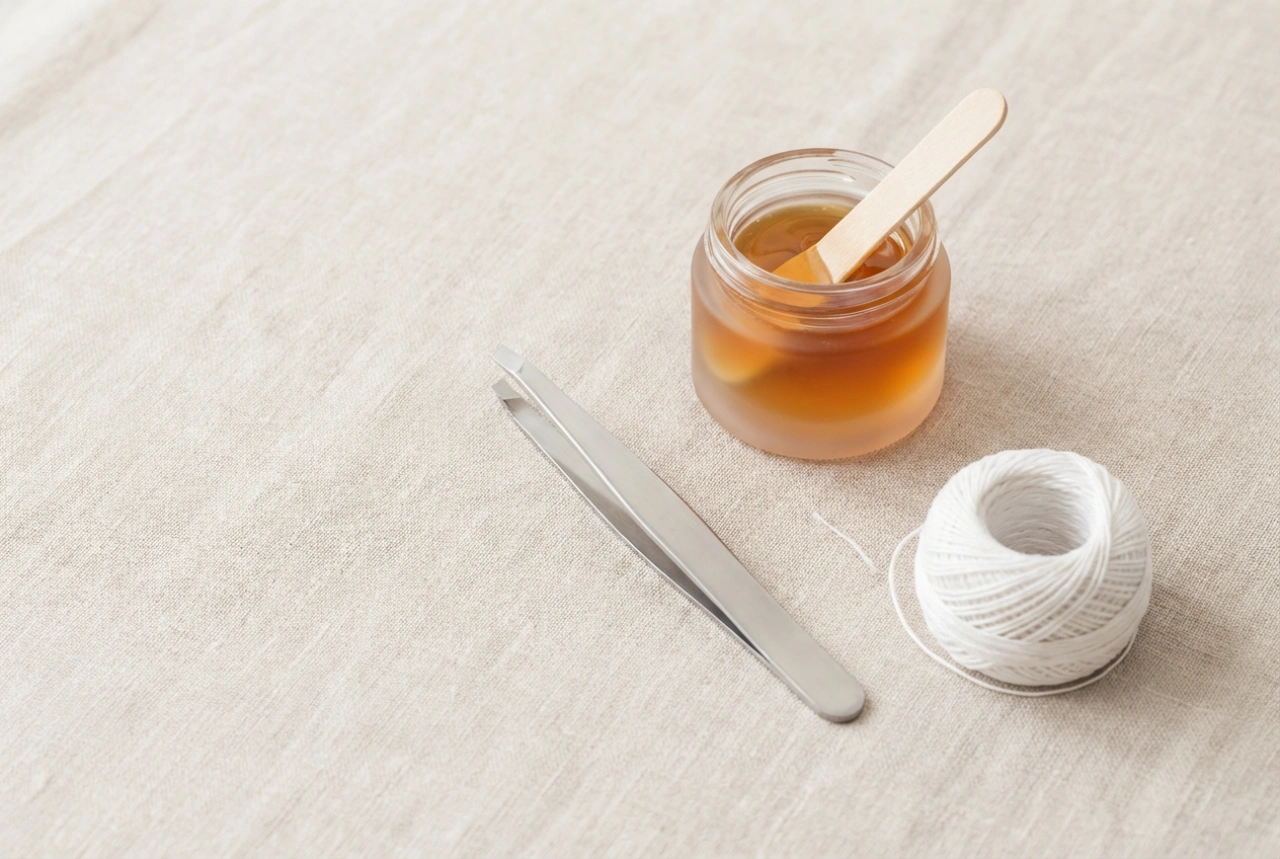
Gather Your Supplies
Organise everything you need before you begin. A typical at-home tinting session will require:
- An eyebrow tinting kit (containing the tint and a developer)
- A small, non-metallic bowl for mixing
- An application tool, such as a fine-tipped brush or a clean spoolie
- A barrier cream, like petroleum jelly, to protect your skin
- Cotton pads and buds for application and clean-up
- A gentle, oil-free cleanser
The Essential Patch Test
Never skip the patch test, even if you have used tinting products before. Formulations can change, and skin sensitivity can develop over time. Apply a small amount of the mixed tint to a discreet area of skin, such as behind your ear or on your inner arm, 48 hours before you plan to tint your brows. If any irritation, redness, or itching occurs, do not proceed with the tint.
Prepare Your Brow Area
Start with a clean canvas. Use a gentle, oil-free cleanser to thoroughly clean your eyebrows and the surrounding skin, ensuring all makeup, dirt, and oils are removed. Pat the area dry. Then, carefully apply a thin layer of barrier cream around the perimeter of your eyebrows, avoiding the brow hairs themselves. This will prevent the tint from staining the skin.
The Application Process for Even Colour
With your preparation complete, you are ready to apply the tint. Work methodically and carefully for the best outcome.
Mix According to Instructions
Read the instructions included in your kit carefully. Mix the colour cream and the developer in the provided dish according to the specified ratio. The consistency should be a smooth, even paste that is not too runny.
Apply with Precision
Using your fine-tipped brush or applicator, apply the tint mixture to your eyebrows. Work one brow at a time. Start applying the tint to the main body and tail of the brow, where the hair is often denser. Apply the product to the front part of the brow (closest to your nose) last, as this area requires less processing time for a softer, more natural gradient effect. Ensure all hairs are completely saturated with the product.
Watch the Clock
Timing is critical. Adhere to the processing time recommended in your kit’s instructions—this is usually between 5 and 10 minutes. Leaving the tint on for too short a time will result in a weak colour, while leaving it on for too long can make it excessively dark. Set a timer to keep track accurately.
Aftercare for Long-Lasting Results
Once the processing time is up, the final steps involve removal and aftercare to protect your new colour.
Gentle Removal
When the timer goes off, use a damp cotton pad to gently wipe away the tint from your eyebrows. Wipe from the front of the brow outwards. Use clean, damp cotton buds to tidy up the edges and remove any stray product from the skin.
The First 24 Hours
For the first 24 hours after tinting, be gentle with your brows. Avoid getting them wet, and steer clear of swimming pools and saunas. Do not use oil-based cleansers, harsh exfoliants, or potent skincare actives on or around the brow area, as these can cause the colour to fade prematurely.
Maintaining Your Tint
An eyebrow tint typically lasts between two to four weeks, fading gradually as your hair grows and your skin naturally exfoliates. To prolong the life of your tint, continue to avoid oil-based products directly on the brows and be gentle when cleansing your face. You can repeat the tinting process as needed to maintain your desired look.