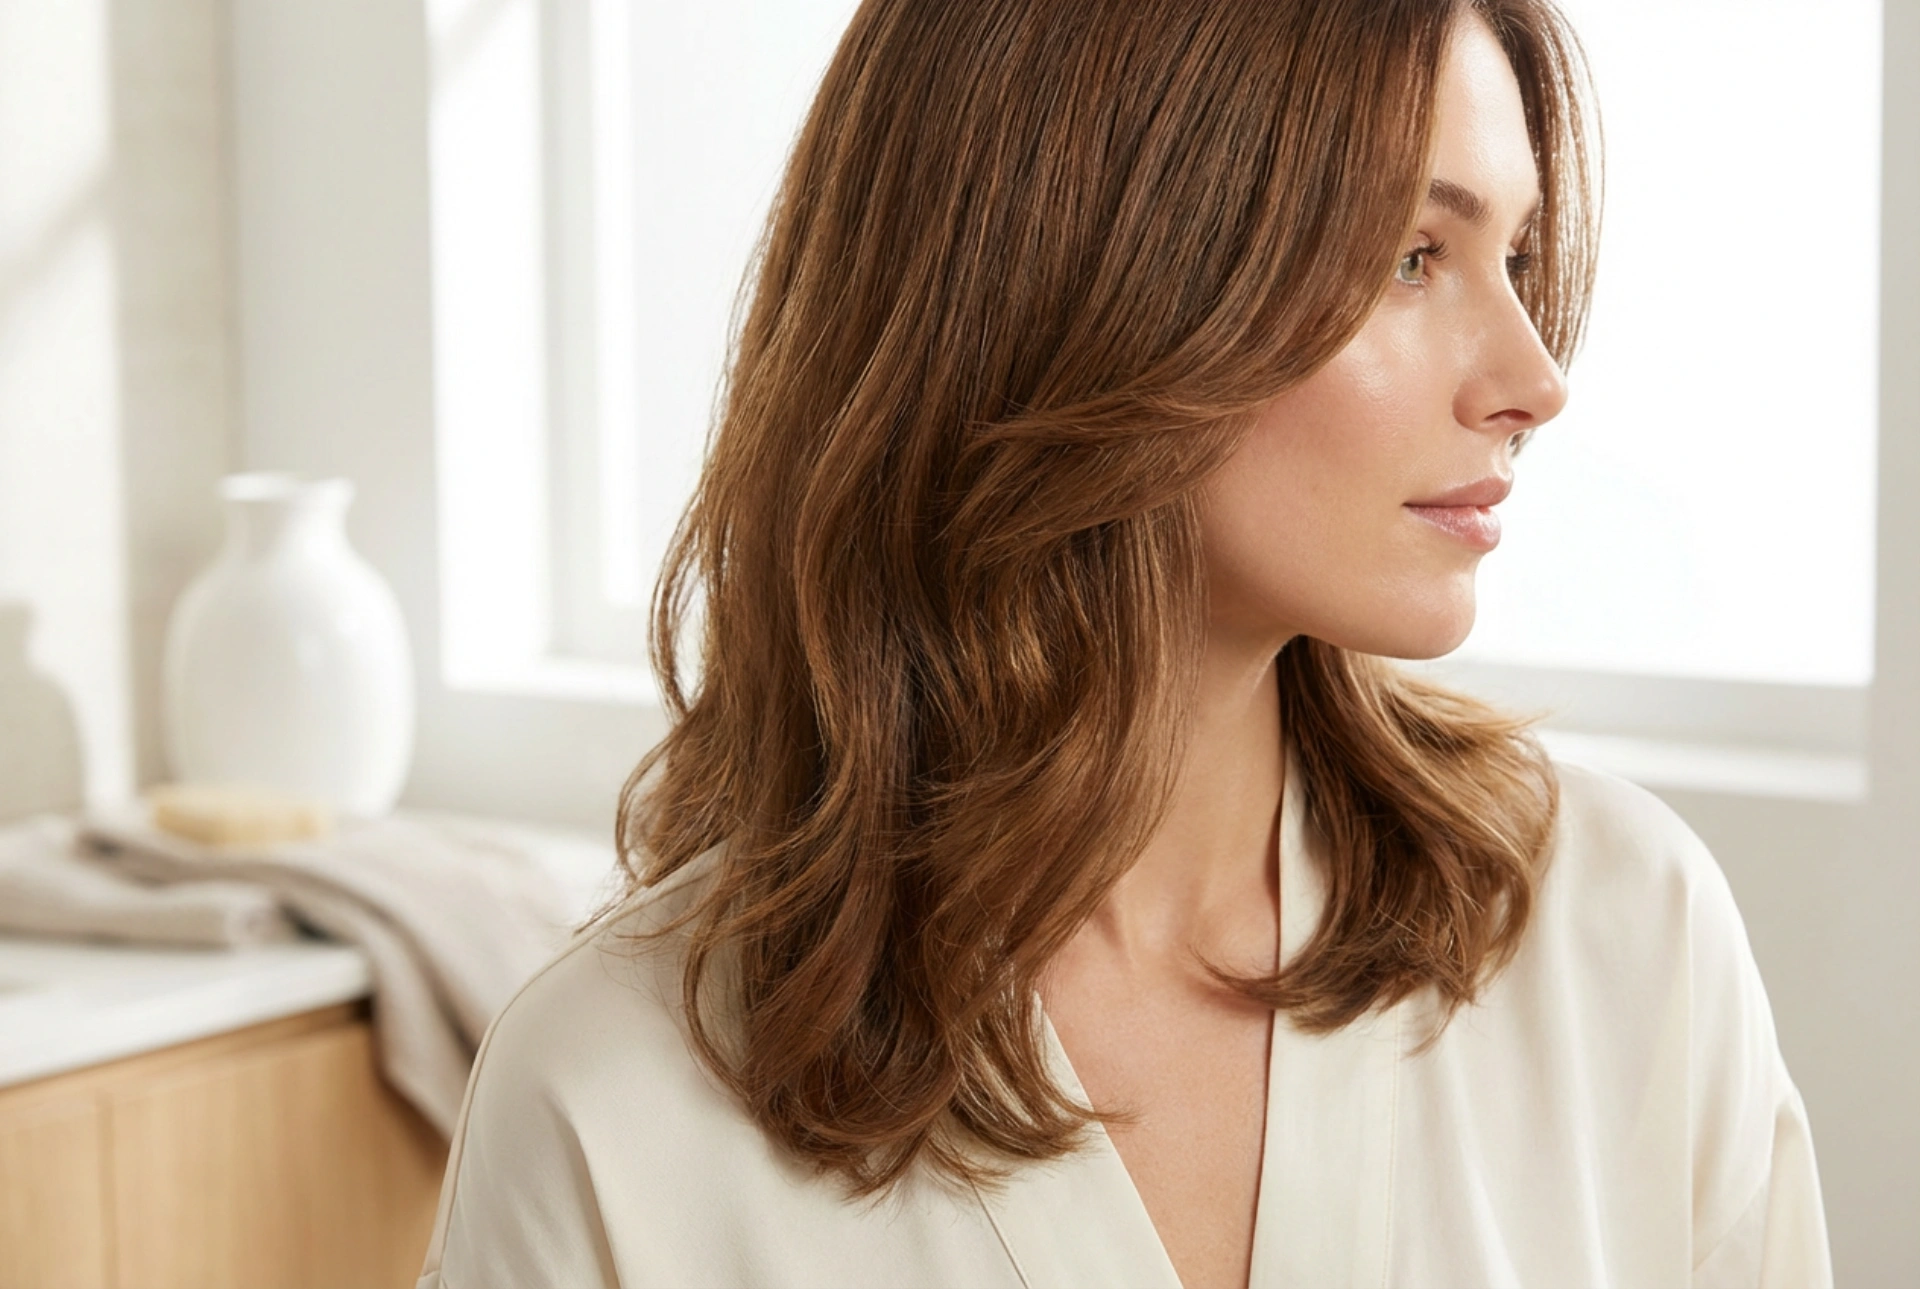


Face-framing layers are a fantastic way to add dimension and movement to your hair, beautifully accentuating your facial features. A well-executed layered cut can look effortlessly chic, but knowing how to style it at home is key to recreating that fresh-from-the-salon look. Whether you're aiming for bouncy volume, soft waves, or a sleek, polished finish, mastering a few simple techniques can transform your daily hair routine. This guide will walk you through the essential steps to prepare and style your layered hair for any occasion.
Preparing Your Hair for Styling
The foundation of any great hairstyle is properly prepared hair. Starting with a clean and well-conditioned base will make the styling process easier and ensure the final result is smooth and healthy-looking. Skipping these steps can lead to frizz, a lack of hold, and potential heat damage.
Cleansing and Conditioning
Begin by washing your hair with a shampoo and conditioner suited to your hair type. If you're aiming for volume, a lightweight volumising formula can be beneficial. If your goal is a sleek look, a smoothing shampoo and conditioner can help tame flyaways from the start. After rinsing, gently squeeze out excess water with a towel. Avoid vigorous rubbing, which can rough up the hair cuticle and cause frizz. Using a microfibre towel or an old t-shirt is a gentler alternative to a traditional terrycloth towel.
Applying a Heat Protectant
Before any heat styling, applying a heat protectant is non-negotiable. This product creates a barrier between your hair and the heat from a blow-dryer, straightener, or curling wand, minimising damage. Distribute the product evenly from the mid-lengths to the ends, and lightly mist the root area if you plan to apply direct heat there. This step is crucial for maintaining the health and integrity of your layered haircut.
Creating Volume and Lift
One of the main advantages of layered hair is its ability to create natural-looking volume. With the right blow-drying technique, you can enhance this effect, giving your hair body and movement that lasts.
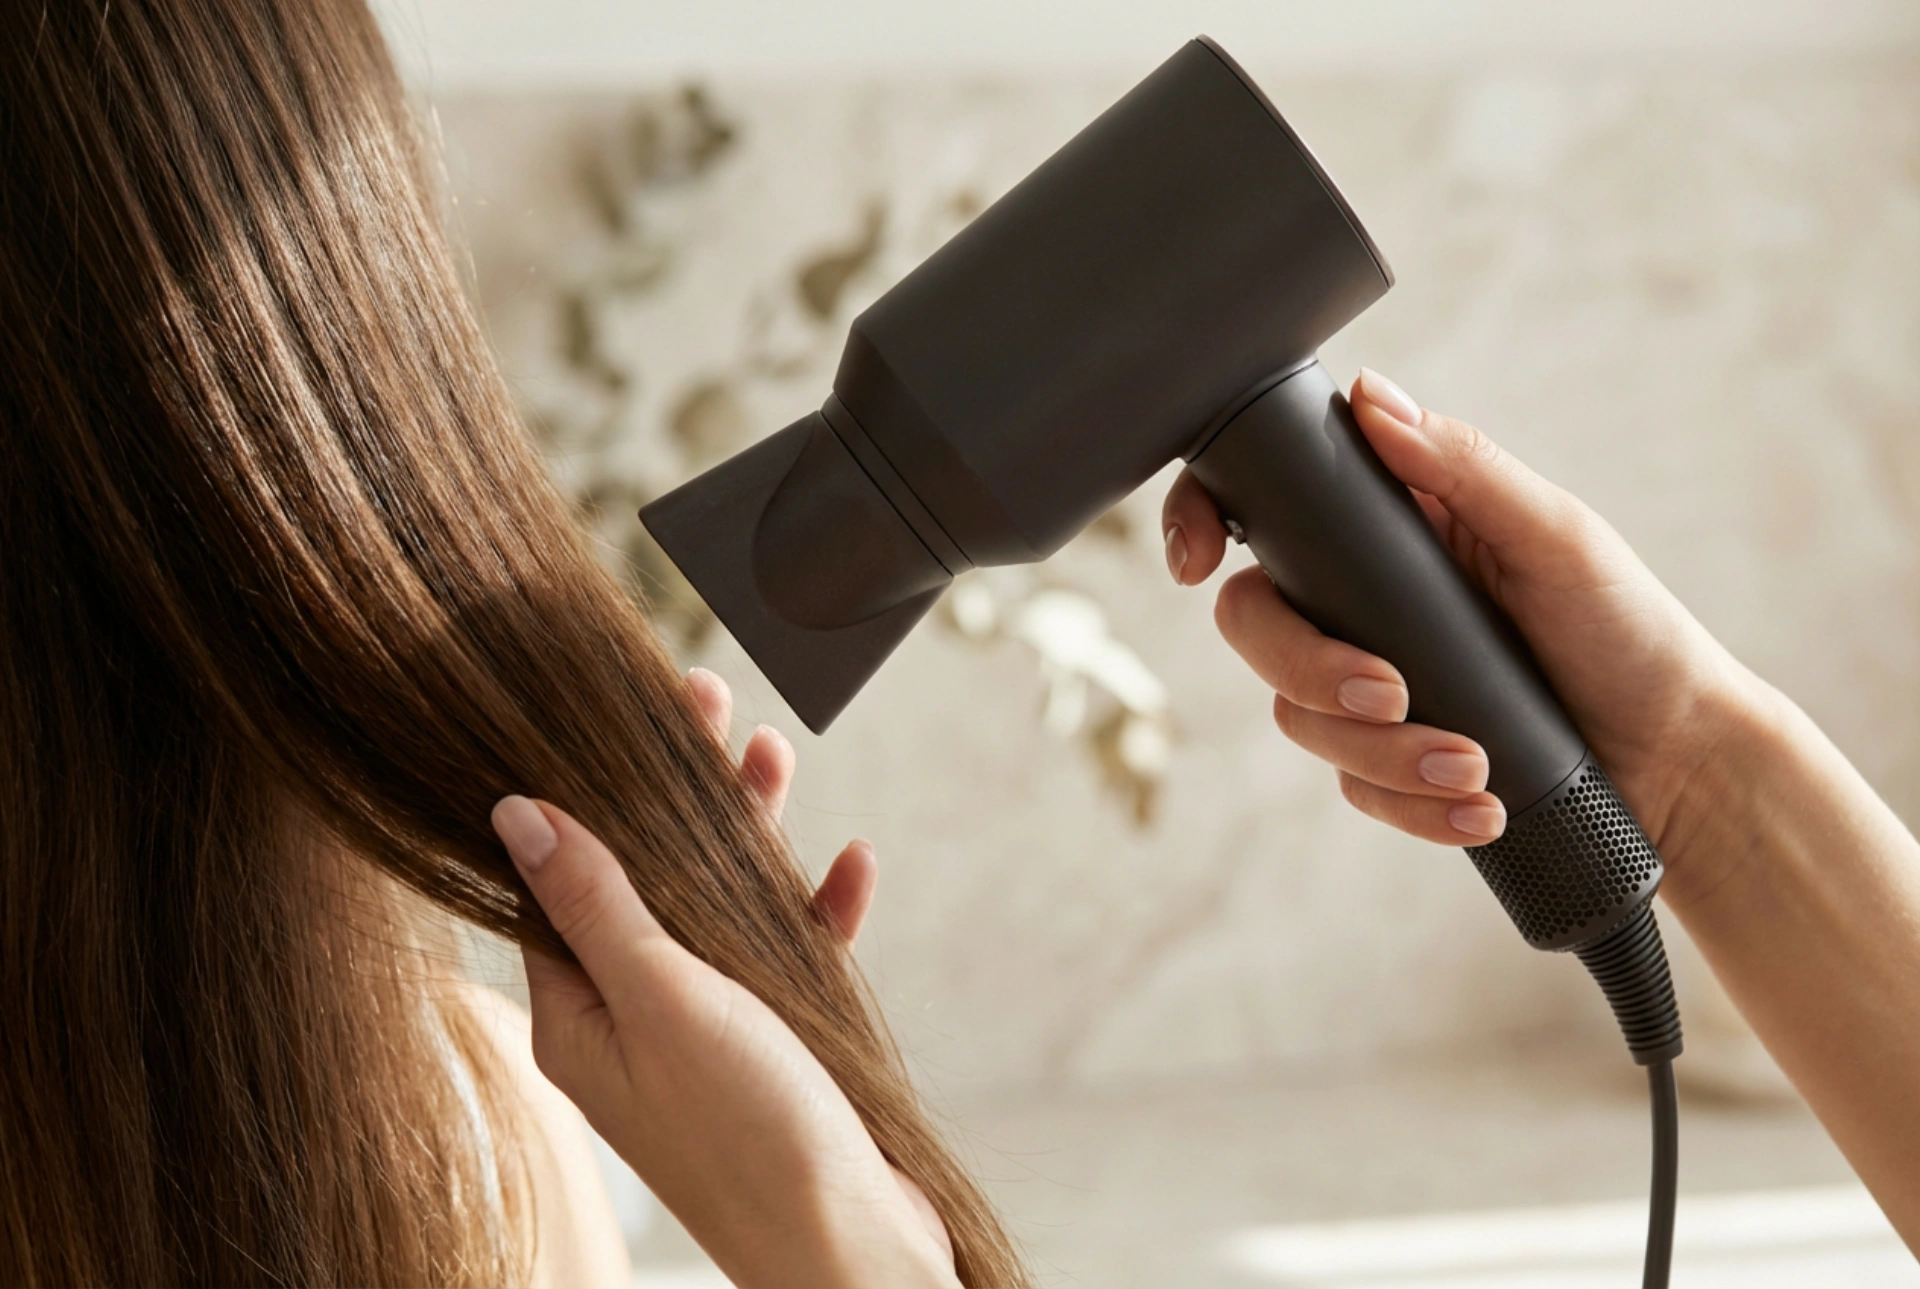
The Round Brush Blow-Dry
A round brush is your best friend for styling face-framing layers. For maximum volume, start by rough-drying your hair until it's about 80% dry, focusing on lifting the roots with your fingers. Then, section your hair. Take a section of your fringe or the shortest layer at the front, place the round brush underneath at the roots, and aim the blow-dryer's nozzle downwards over the hair. Pull the brush up and away from your face as you dry, rolling the ends slightly under. This motion creates lift at the root and a soft, polished curve in the layers. Repeat this for all the front sections.
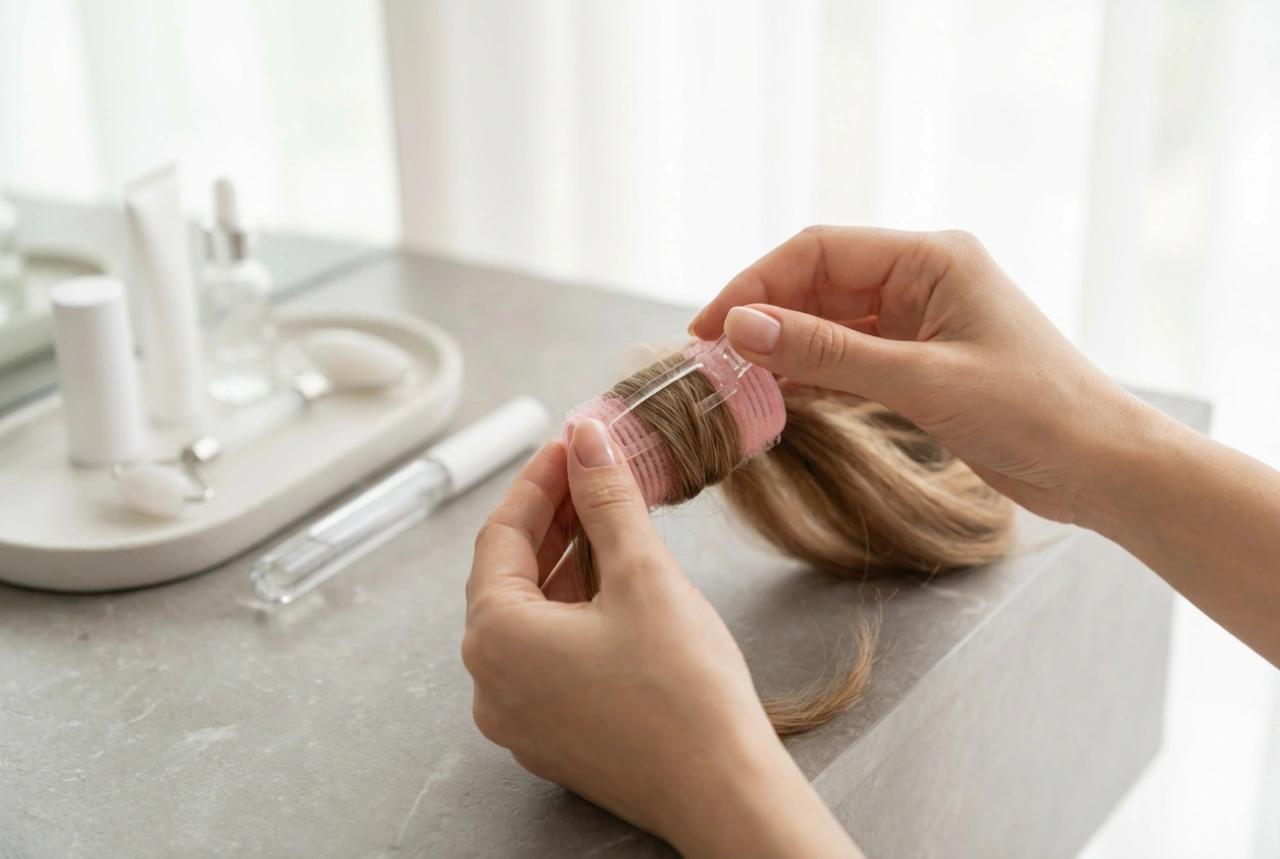
Targeting the Roots
For an extra boost, you can use styling aids. Apply a volumising mousse or root-lifting spray to damp hair before you begin blow-drying, concentrating the product at the scalp. Another simple trick is to flip your hair upside down while drying. This encourages the roots to stand away from the scalp, creating natural volume without much effort.
Techniques for Styling Layers
Once your hair is dry and prepped, you can choose how you want to style your layers. The two most popular options are soft, flowing waves or a super-sleek, straight look. Both are easily achievable with the right tools and methods.
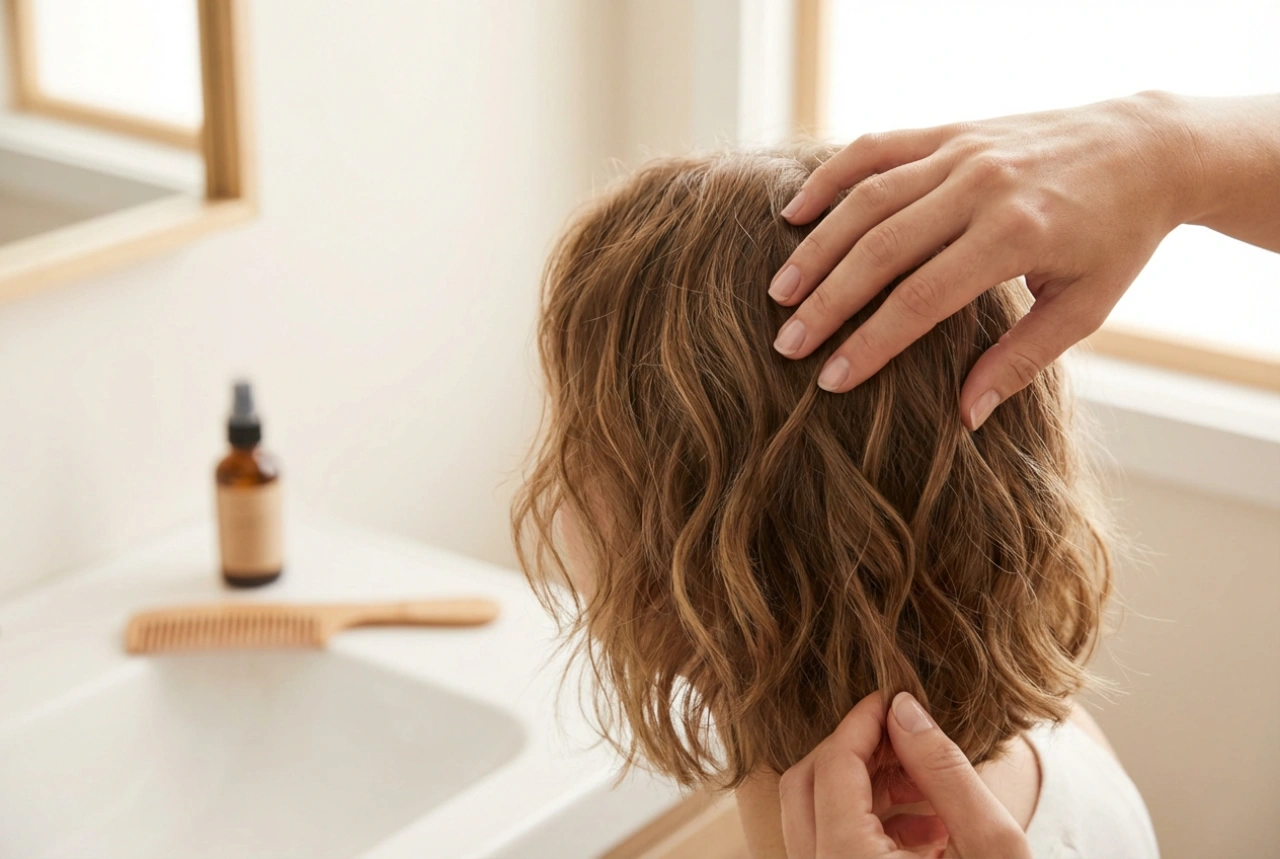
Achieving Soft, Subtle Waves
Soft waves add a romantic and effortless touch to face-framing layers. Using a curling wand or a straightener is effective for this look.
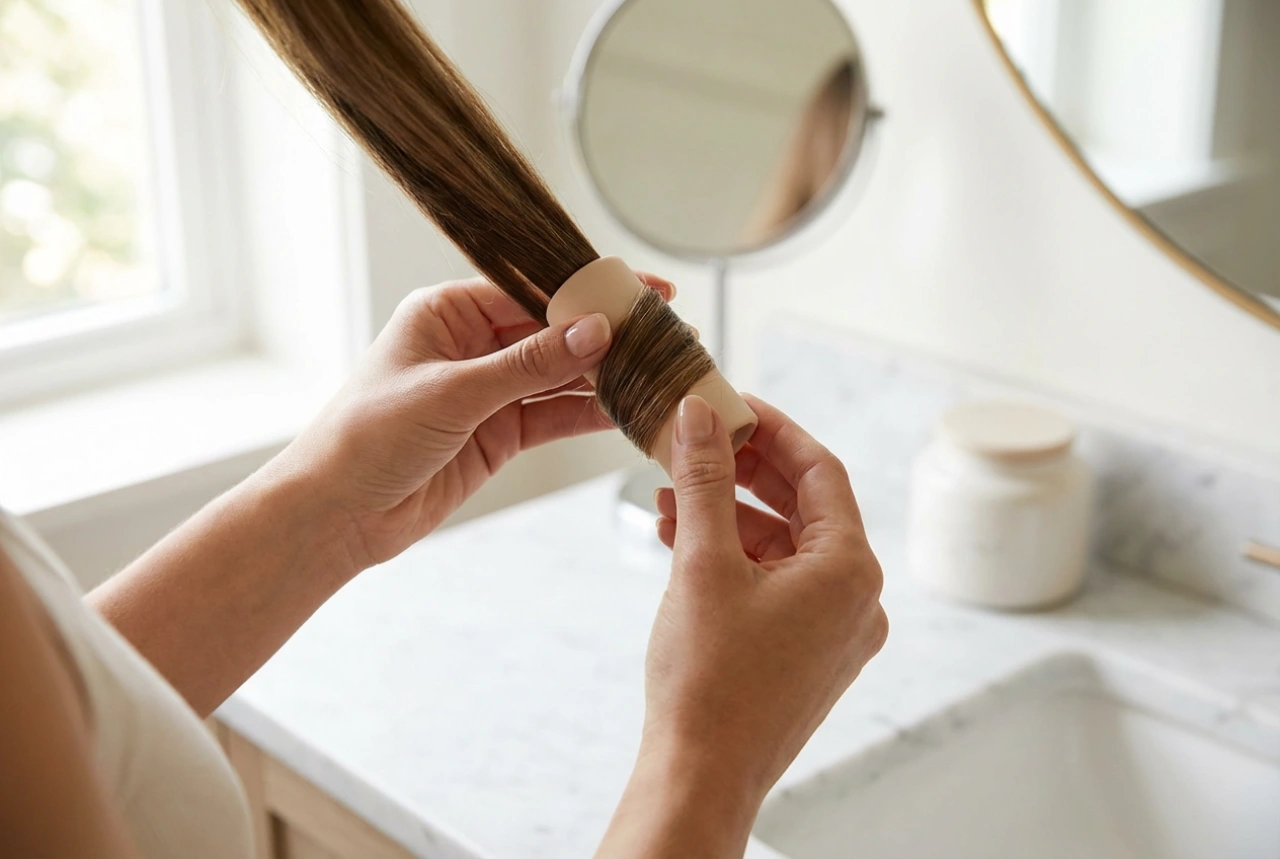
- With a curling wand: Take a vertical section of hair and wrap it around the barrel, leaving the last inch or two of the ends out. Hold for a few seconds and release. For a modern, natural look, alternate the direction you wrap the hair around the barrel with each section. Always curl the very front pieces away from your face to open up your features.
- With a straightener: Clamp a section of hair near the root, turn the straightener 180 degrees, and glide it down the hair shaft. This creates a looser, more relaxed wave. Again, direct the front pieces away from your face.
Creating a Sleek, Polished Finish
For a sophisticated and sharp style, a smooth finish is ideal. This look requires a good quality hair straightener. Work in small, manageable sections. Clamp the straightener at the root and glide it slowly down to the ends. For a classic look, you can slightly curve the straightener inwards as you reach the ends of your layers. This helps them cup your face beautifully. For a more modern, edgier style, you can flick the ends outwards. A light-hold, anti-frizz serum applied after straightening can add shine and keep everything smooth.
Finishing Touches and Maintenance
The final step is to lock your style in place and ensure it looks great all day. A few finishing products can make all the difference. For wavy styles, a texturising spray can add grit and hold. For sleek looks, a lightweight hairspray or a shine spray will combat flyaways and add a glossy finish. To help your style last until the next day, consider sleeping with your hair in a loose bun or ponytail on top of your head, secured with a soft scrunchie to prevent kinks.