


Achieving a salon-quality manicure at home is not only cost-effective but also a relaxing ritual. The key to a flawless finish lies in having a well-curated set of tools. An organised nail care kit, with everything you need at your fingertips, transforms the process from a chore into an act of self-care. Let's explore the essential components of a complete nail kit and how to use them effectively for beautiful, healthy-looking nails.
The Foundation: Essentials for Every Nail Kit
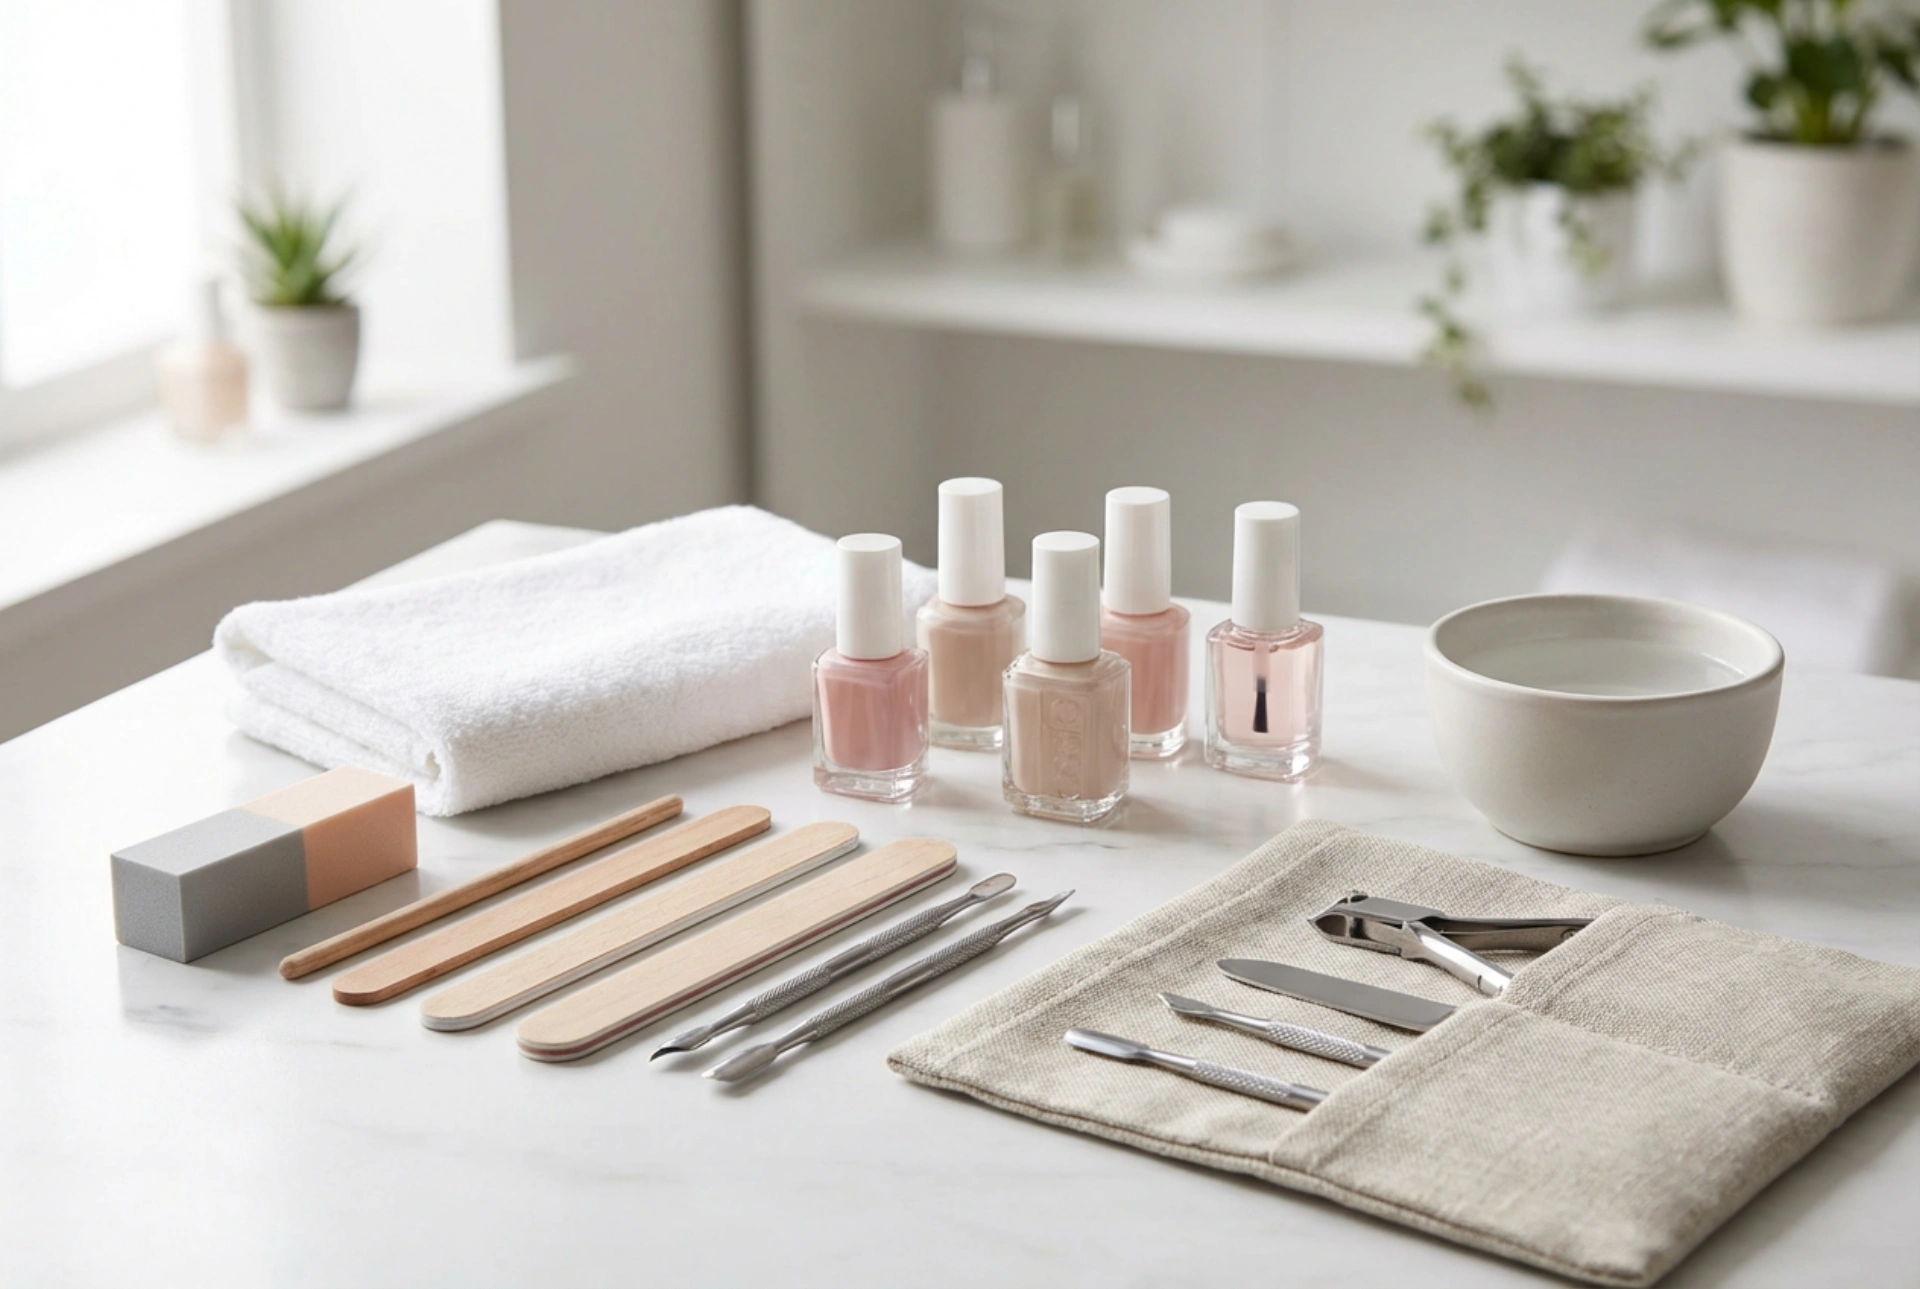
Whether you're a beginner or just looking to streamline your routine, a basic kit should contain fundamental tools for nail health and preparation. These items form the backbone of any manicure and ensure your nails are properly prepped for polish.
Shaping and Filing Tools
- Nail Clippers or Scissors: Essential for trimming length. Choose straight-edged clippers for toenails and curved ones for fingernails to help create a clean shape.
- Nail File: Used to gently shape the nails and smooth rough edges. Glass or crystal files are durable and gentle, while emery boards are more traditional. Files come in different 'grits' – a lower number means a coarser file (for shortening), and a higher number means a finer file (for refining the shape).
Cuticle Care Instruments
- Cuticle Pusher: A wooden orange stick or a metal pusher with a rounded end is used to gently push back the cuticles after they've been softened. This creates a clean and larger nail plate for a neater polish application.
- Cuticle Oil: An essential for finishing. It hydrates the cuticles and the skin around the nails, preventing them from becoming dry, cracked, and ragged. Regular use promotes healthier nail growth.
Nail Surface Preparation
- Nail Buffer Block: A multi-sided block used to smooth ridges and create a shiny, healthy-looking surface on the natural nail. Use it sparingly to avoid thinning the nail plate, focusing on gentle buffing rather than aggressive filing.
Elevating Your Manicure: Advanced Kit Components
Once you've mastered the basics, you can add a few more items to your kit to achieve a more professional and long-lasting polish application. These tools are focused on achieving a durable and glossy colour and finish.
The Perfect Polish Application
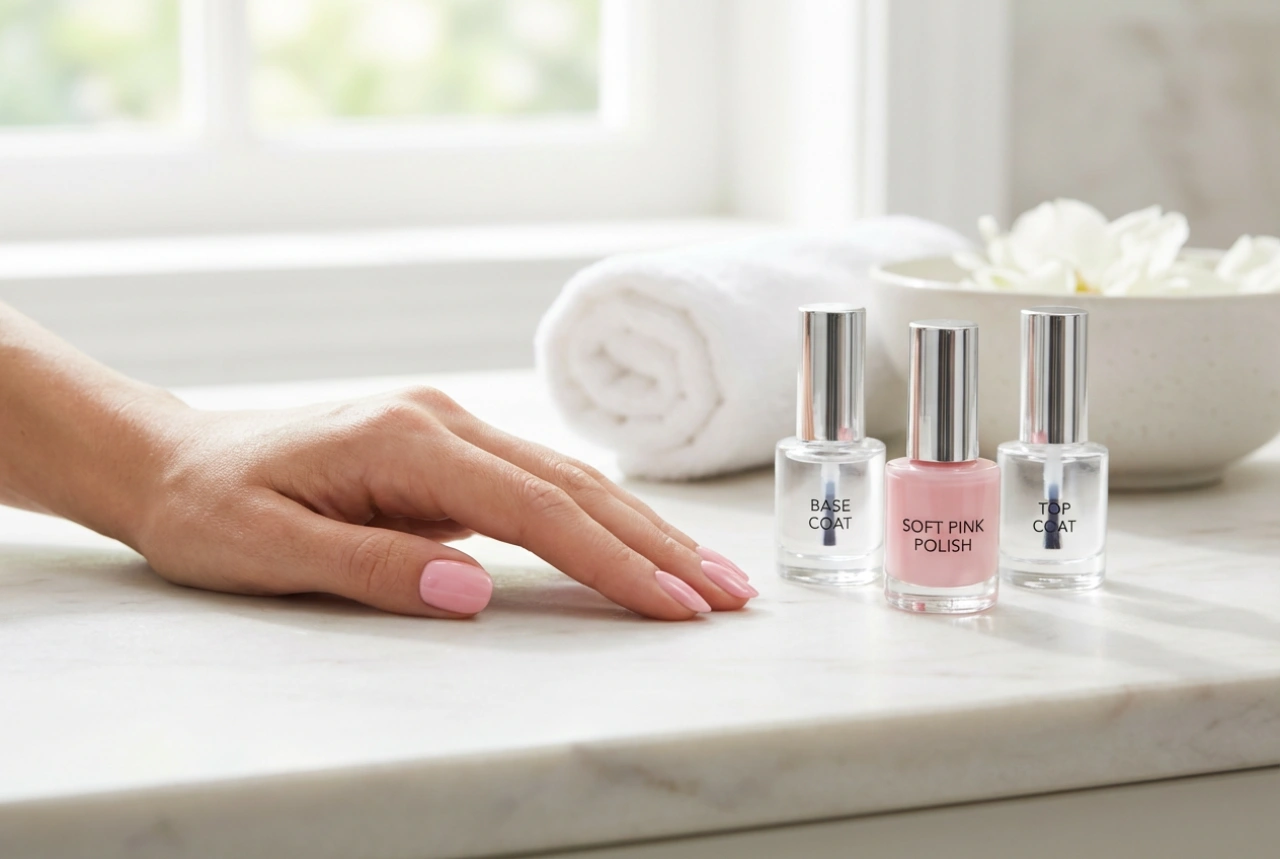
- Base Coat: A clear polish applied before the colour. It protects the nail from staining, helps the manicure last longer by providing a surface for the polish to grip, and creates a smooth canvas for your chosen shade.
- Nail Polish: The colour of your choice. Having a few classic shades and some seasonal favourites allows for versatility and creative expression.
- Top Coat: A clear, protective layer applied over the colour polish. It adds shine, prevents chipping, and helps the manicure dry faster and last longer. Some formulas offer extra benefits like a plumping or gel-like effect.
Finishing and Clean-Up Tools
- Small, Angled Brush: A fine-tipped brush (like one used for eyeliner or art) is perfect for dipping in nail polish remover to clean up any smudges around the nail for a crisp, clean line.
- Nail Polish Remover: Essential for removing old polish and correcting mistakes. Consider an acetone-free formula if your nails are prone to dryness or brittleness.
Your At-Home Manicure: A Step-by-Step Guide
With your complete kit ready, you can follow these simple steps for a perfect manicure that looks professionally done.
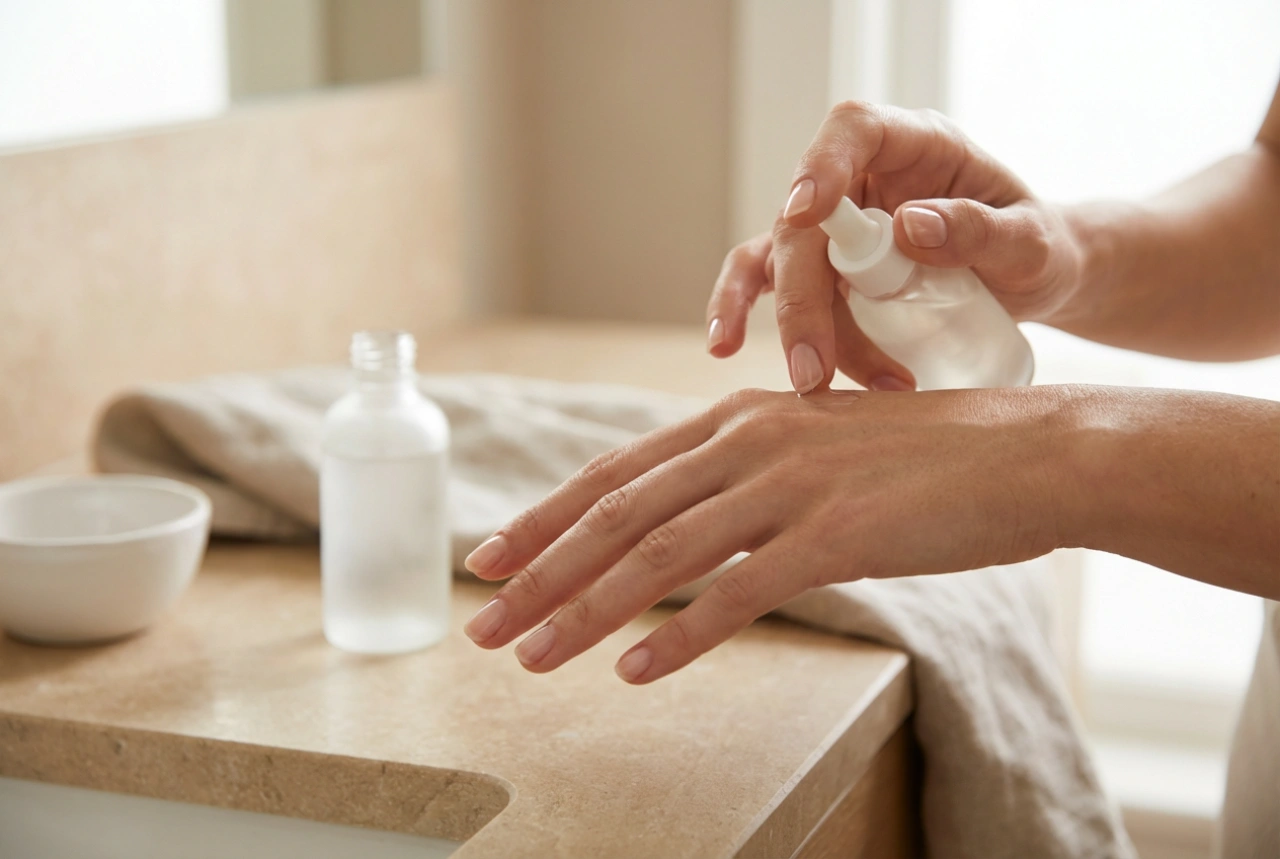
- Preparation: Start with clean, dry hands. Remove any old polish thoroughly. If desired, soak your fingertips in warm water for a few minutes to soften the skin and cuticles.
- Trim and Shape: Use nail clippers to trim your nails to the desired length. Then, use a file to shape them. Always file in one direction, from the side to the centre, to prevent splitting and weakening the nail.
- Cuticle Care: Apply a small amount of cuticle oil or a specific cuticle remover cream and let it sit for a moment. Use a cuticle pusher to gently push back the softened cuticles. Never cut live cuticle tissue, as it protects the nail matrix from bacteria.
- Buff and Cleanse: Lightly buff the surface of your nails with the finest side of a buffer block to smooth any ridges. Afterwards, wipe your nails with a lint-free pad soaked in nail polish remover or rubbing alcohol to remove any oils or dust. This step is crucial for polish adhesion.
- Apply Polish: Apply a thin layer of base coat and let it dry completely. Follow with two thin coats of your chosen colour, allowing each coat to dry in between to prevent smudging. Finish with a layer of top coat to seal everything in.
- Final Touches: Use your small brush dipped in nail polish remover to meticulously clean up any polish on the skin. Once the top coat is dry to the touch, apply cuticle oil to nourish the skin around your nails.
Keeping Your Kit Clean and Hygienic
Proper maintenance of your nail tools is crucial for safety and effectiveness. Clean your metal tools like clippers and pushers with rubbing alcohol after each use to disinfect them. Disposable items such as wooden sticks and emery boards should be replaced regularly to avoid the build-up of bacteria. Store your kit in a clean, dry place to ensure your tools are always ready for your next manicure session.