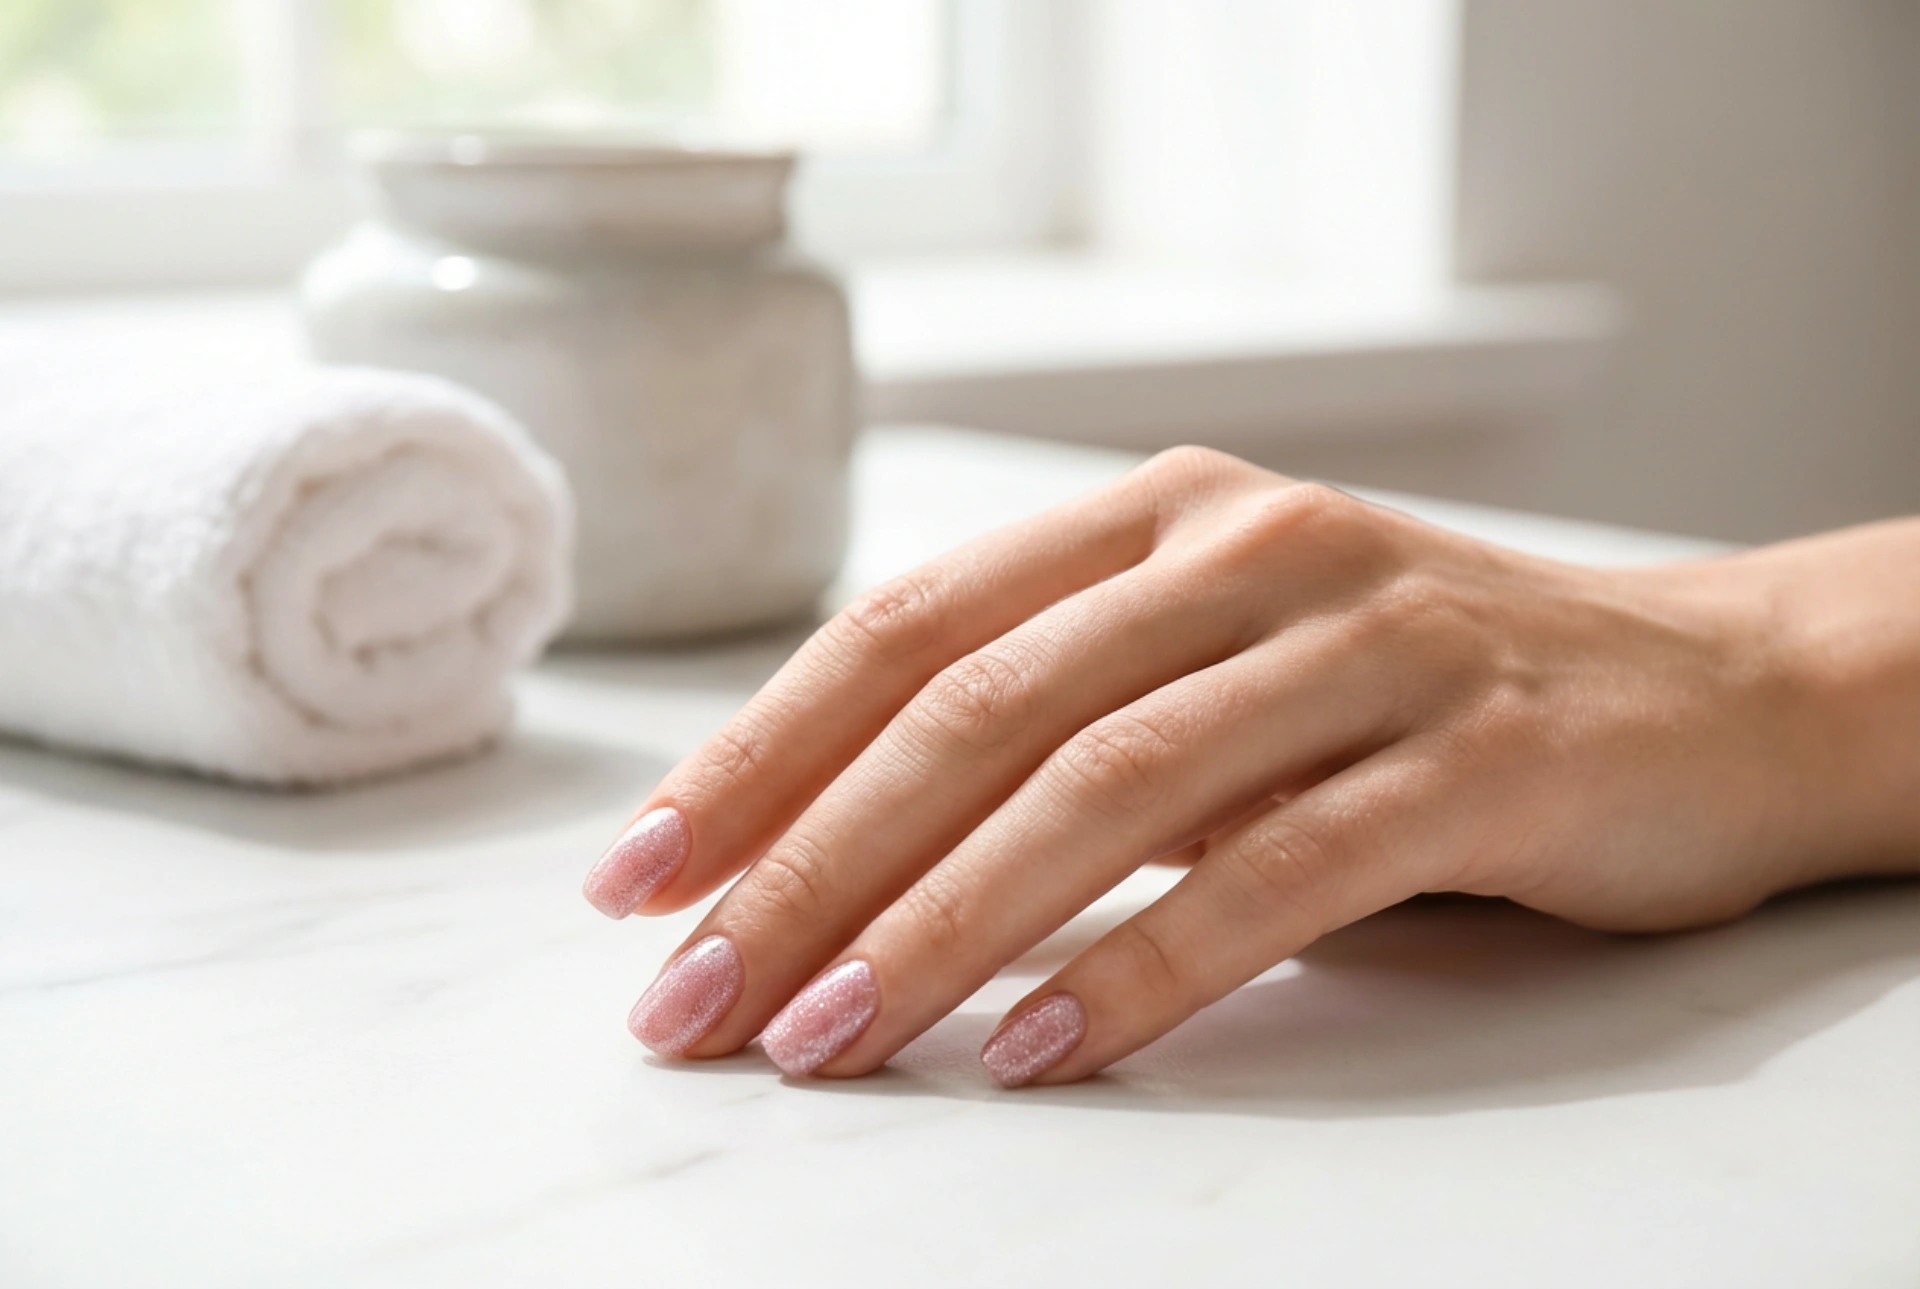


Pink glitter nails offer a touch of elegance and playful sparkle, transforming a simple manicure into a sophisticated statement. Whether you prefer a soft, subtle shimmer or a bold, dazzling effect, the key to a beautiful glitter manicure lies in the application. Achieving a smooth, flawless finish, like the one seen on perfectly manicured hands, can be tricky, but with the right techniques, you can avoid a rough, gritty texture and enjoy a professional-looking result at home.
Preparation: The Foundation for Flawless Glitter
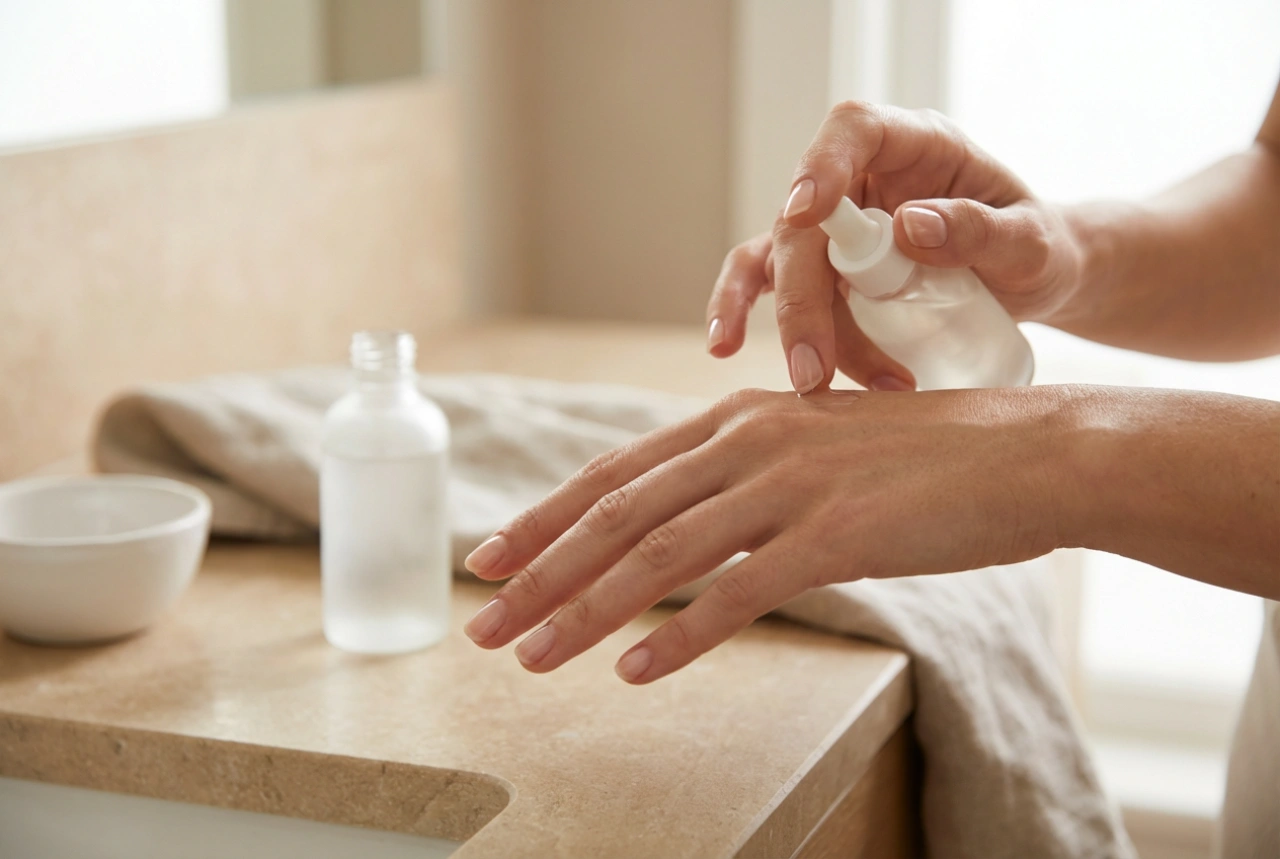
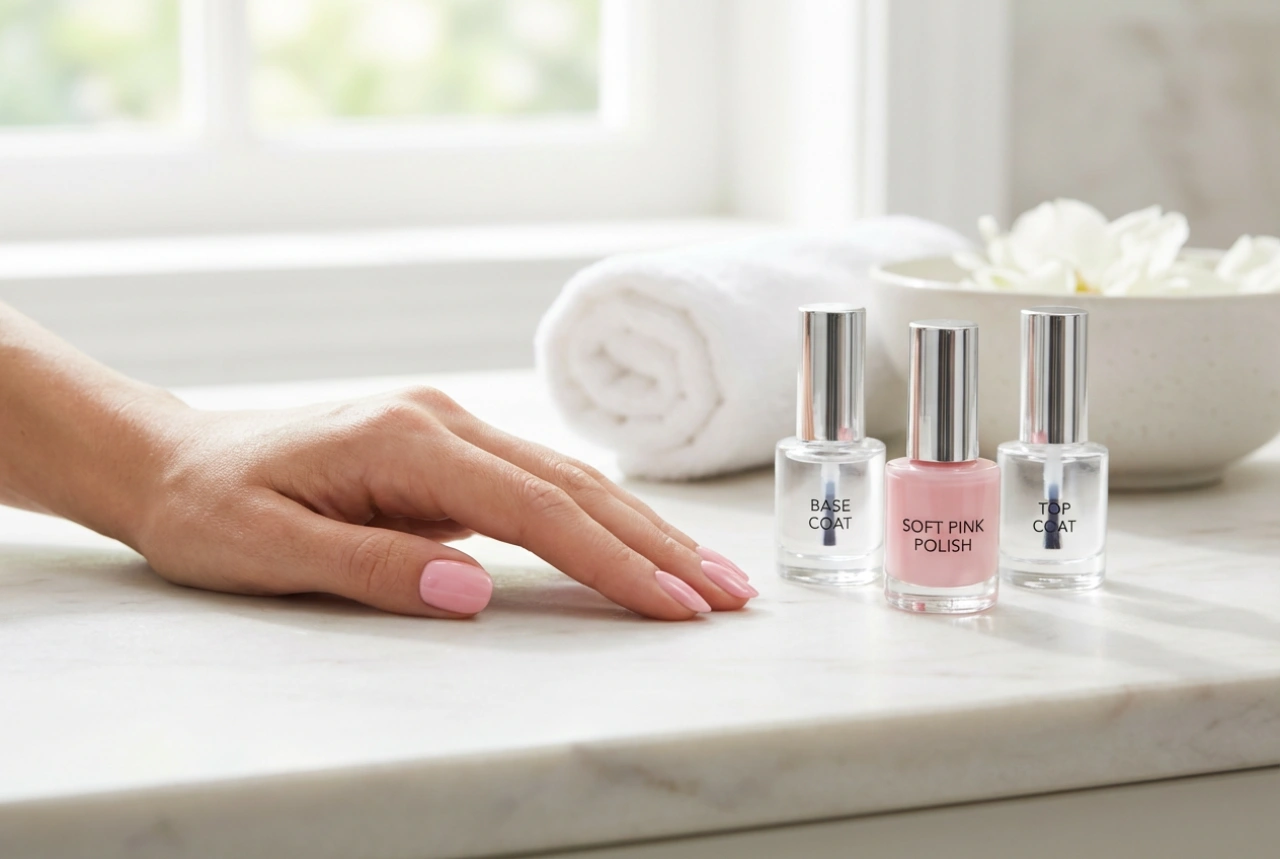
Before you even open the polish, proper nail preparation is essential. A clean and smooth canvas ensures the glitter adheres evenly and the manicure lasts longer. Begin by removing any old polish and gently cleaning your nails. Shape them with a nail file to your desired length and form, whether it's square, oval, or almond. Gently push back your cuticles, but avoid cutting them to maintain the health of your nail bed. Finally, wipe each nail with a nail polish remover or alcohol to eliminate any natural oils, which can prevent the polish from adhering properly. Always apply a quality base coat. This not only protects your natural nails from staining but also creates a tacky surface for the glitter polish to grip onto.
Mastering Glitter Application Techniques
There are several ways to apply glitter polish, each offering a different level of coverage and texture. Experiment with these methods to find which one works best for your desired look.
The Classic Brushing Method
This is the most straightforward technique. Apply the glitter polish just like you would a regular colour, using thin, even strokes from the base of the nail to the tip. The key is to work in thin layers. Applying one thick coat can lead to a clumpy, uneven finish that takes a long time to dry. Allow each layer to dry completely before applying the next. This method is ideal for sheer glitter polishes where you want a subtle wash of sparkle.
The Sponge Technique for Intense Sparkle
For a fully opaque, high-impact glitter look, the sponge method is unparalleled. Paint a small amount of the glitter polish onto a corner of a disposable makeup sponge. The sponge will absorb most of the clear base, leaving behind a concentrated amount of glitter particles. Gently dab the sponge onto your nail, building up the coverage where you want it most. This technique provides an incredibly dense and even layer of glitter, mimicking the look of professional gel applications. Be sure to protect the skin around your nails for easy clean-up.
The Loose Glitter Method
To achieve maximum brilliance, you can use loose cosmetic-grade glitter. Start by applying your base coat or a coat of pink polish in a similar shade. While the polish is still tacky, you can either dip your nail directly into a pot of loose glitter or sprinkle it over the nail. Gently press the glitter down with a clean finger or a silicone tool to ensure it lays flat. Brush away any excess with a soft fan brush before sealing everything with a top coat. This method gives you complete control over the glitter placement and density.
How to Achieve a Perfectly Smooth Finish
One of the biggest challenges with glitter polish is its naturally rough texture. The key to a glass-like surface is layering. After your final layer of glitter has been applied and is dry, the smoothing process begins. Apply a generous layer of a clear top coat. This first layer will sink into the crevices between the glitter particles, starting to fill in the gaps. Let it dry completely. You may find the surface is still slightly textured. If so, apply a second layer of the same clear top coat. This 'filler' technique builds a smooth foundation over the glitter. For the final step, apply a high-shine, quick-dry top coat. This last layer will glide over the now-smooth surface, providing a durable, glossy finish that enhances the sparkle.
Maintenance and Gentle Removal
With a beautiful manicure complete, you'll want it to last. To extend the life of your pink glitter nails, reapply your high-shine top coat every two to three days. This adds an extra layer of protection against chipping and keeps the shine looking fresh. When doing household chores, especially those involving water, wear gloves to protect your manicure.
The Challenge of Removal
Removing glitter polish can be a chore, but scrubbing at it can damage your nails. The most effective and gentle method is the foil wrap technique. Soak a small piece of a cotton pad in nail polish remover. Place the soaked cotton directly onto your nail. Wrap your fingertip tightly in a small piece of aluminium foil. The foil traps heat and prevents the remover from evaporating, allowing it to break down the polish effectively. Wait for 10-15 minutes. After the time is up, press down on the foil and slide it off your finger. The majority of the glitter polish should come off with the cotton pad. Use a fresh, remover-soaked pad to wipe away any remaining residue.