


Self-adhesive nail stickers have revolutionised the home manicure, offering a quick and creative way to achieve intricate designs without the need for a steady hand or lengthy drying times. They are a fantastic solution for anyone seeking a flawless, salon-quality look with minimal effort. The key to success lies in the preparation and application technique. With a few simple steps, you can ensure your nail stickers apply smoothly, without any creases or bubbles, and last for as long as possible. This guide will walk you through the entire process, from preparing your nails to ensuring a durable, beautiful finish.
Preparing Your Nails for a Flawless Finish
Proper preparation is the most critical step for ensuring your nail stickers adhere correctly and last longer. A clean, smooth surface is essential for optimal adhesion. Rushing this stage can lead to the stickers peeling off prematurely or developing wrinkles.
Essential Preparation Steps:
- Clean Your Nails: Start by washing your hands thoroughly. Remove any old nail polish completely using a gentle nail polish remover. Even if your nails are bare, wipe them with a remover to eliminate any natural oils or residues.
- Shape and File: Trim and file your nails to your desired shape. Ensure the edges are smooth, as any rough spots can cause the sticker to lift. Gently buff the surface of your nails with a soft buffer to create a slightly textured surface, which can help the sticker adhere better.
- Cuticle Care: Gently push back your cuticles using a cuticle pusher or an orangewood stick. Do not apply stickers over your cuticles, as this will create a gap and cause them to lift from the base.
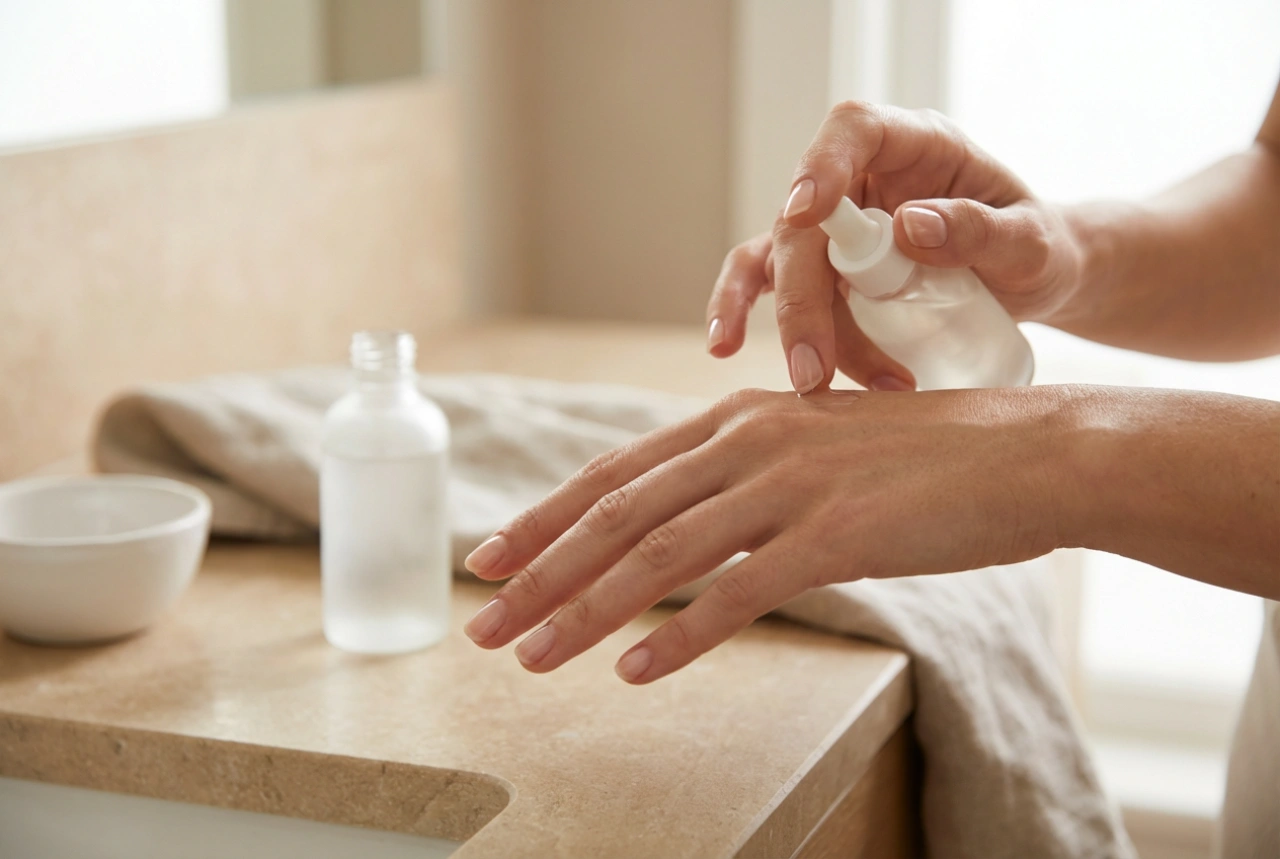
- Degrease the Nail Plate: The final and most important preparation step is to thoroughly clean the nail surface to remove any remaining oils, dust, or lotion. Use an alcohol wipe or a lint-free cotton pad soaked in rubbing alcohol to wipe each nail just before you begin the application. Let them air dry completely.
Step-by-Step Guide to Wrinkle-Free Application
Once your nails are prepped and ready, the application process can begin. Working patiently and methodically will reward you with a perfectly smooth, professional-looking manicure.
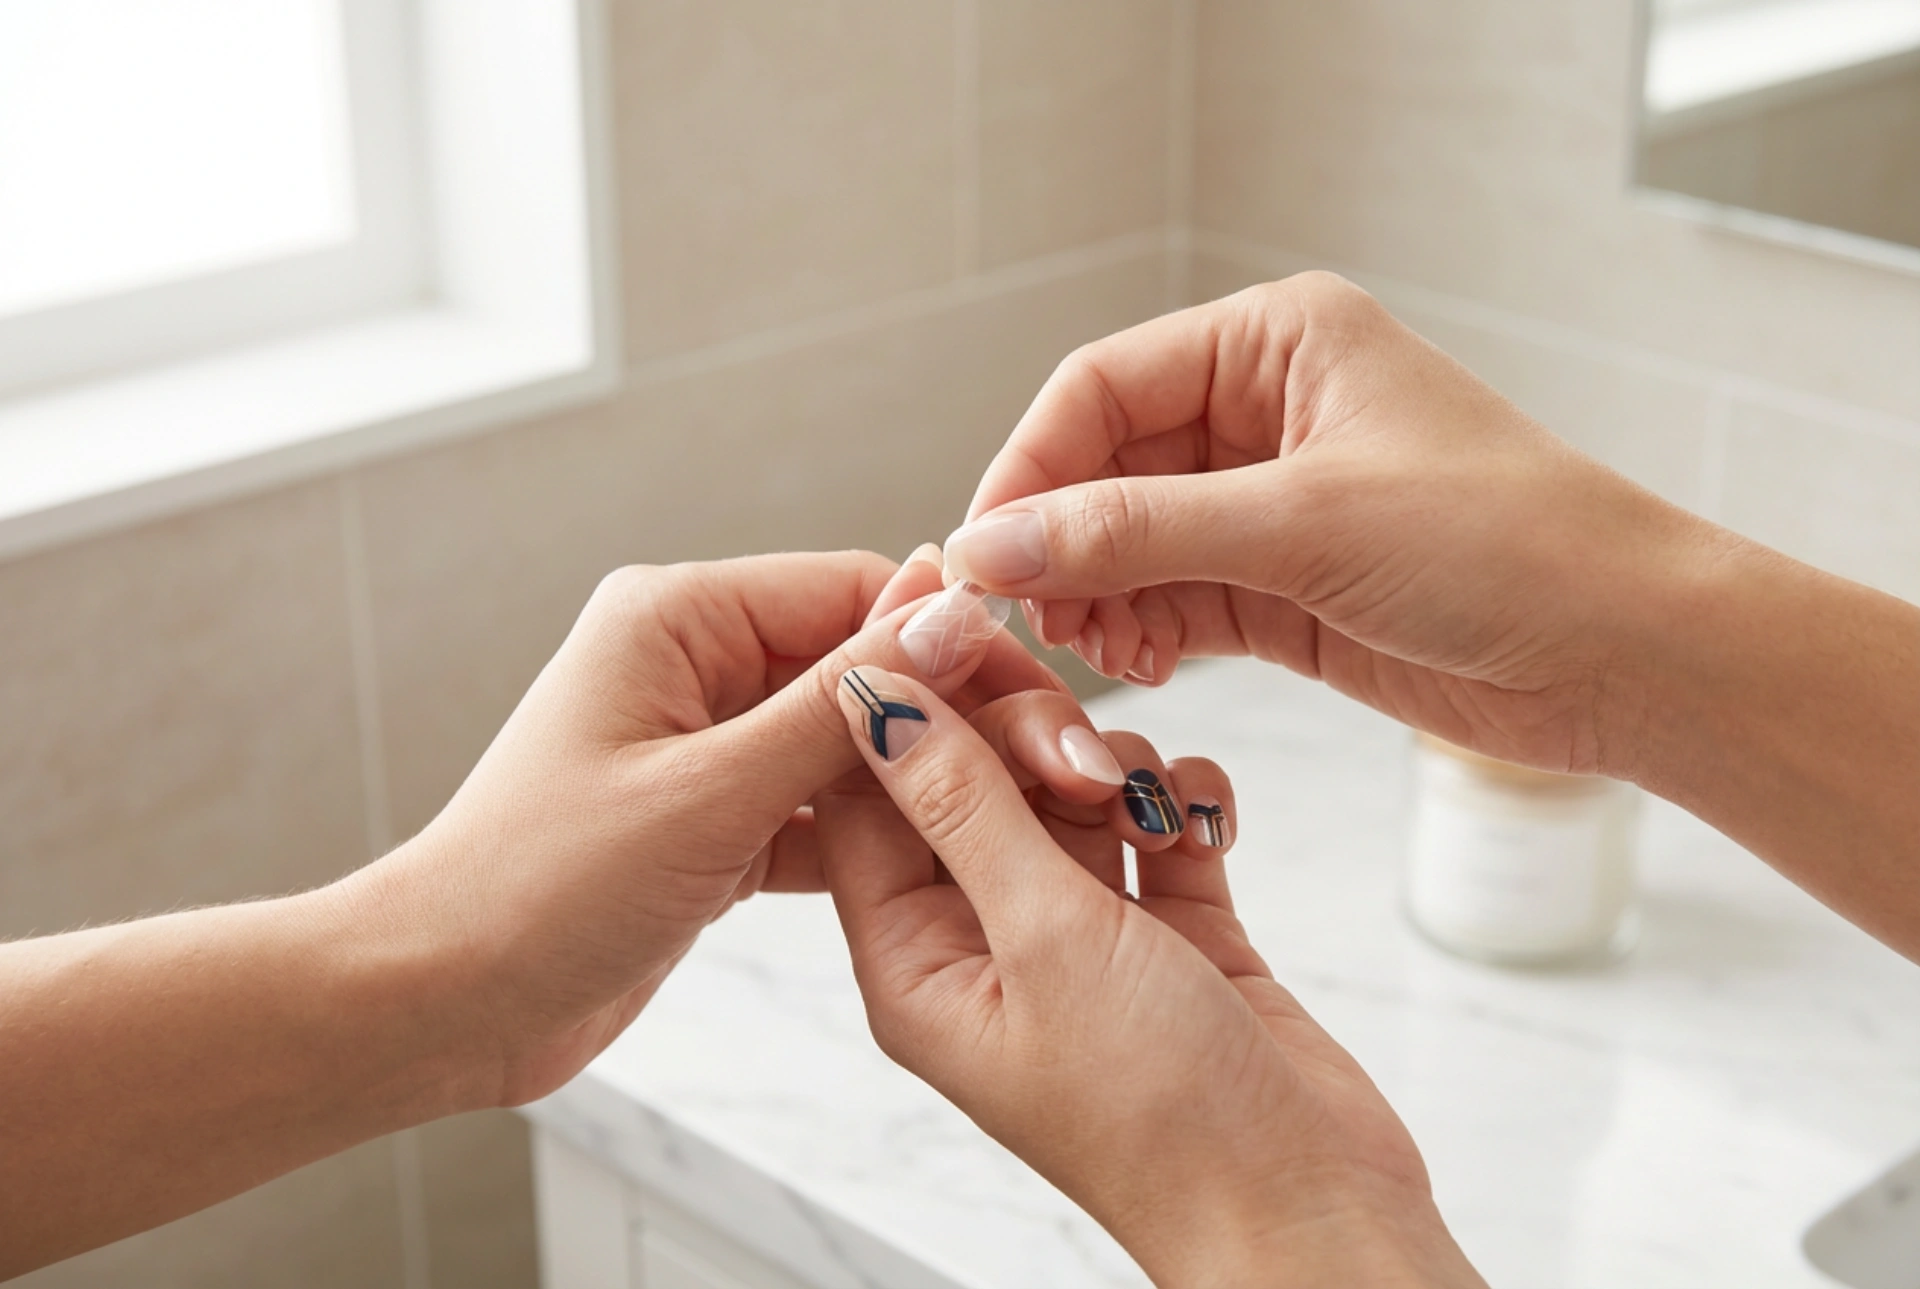
- Select the Right Size: Each set of nail stickers comes in various sizes. Before peeling a sticker, hold the sheet over your nail to find the one that fits best. It’s better to choose a sticker that is slightly smaller than your nail rather than one that is too large and overlaps onto your skin or cuticles.
- Peel with Care: Gently peel your chosen sticker from its backing sheet. Avoid touching the adhesive side with your fingers as much as possible, as the oils from your skin can reduce its stickiness.
- Position and Press: Carefully align the rounded edge of the sticker with your cuticle line, without touching the skin. Once you are happy with the placement, press the sticker down firmly in the centre, from the base of the nail towards the tip.
- Smooth It Out: Working from the centre outwards, use your fingertip or a soft silicone tool to smooth the sticker over the entire nail surface. Apply firm pressure to eliminate any air bubbles or wrinkles. Pay special attention to the sides and the tip of the nail.
- Finish the Tip: Fold the excess part of the sticker over the free edge of your nail. Use a nail file, held at a downward angle, to gently file off the excess. Use a single, downward motion to avoid tearing the sticker and to create a clean edge.
Tips for Maximising Durability
With correct application, nail stickers can be surprisingly long-lasting. A few extra touches can help protect your new manicure and extend its life even further.
Sealing for Longevity:
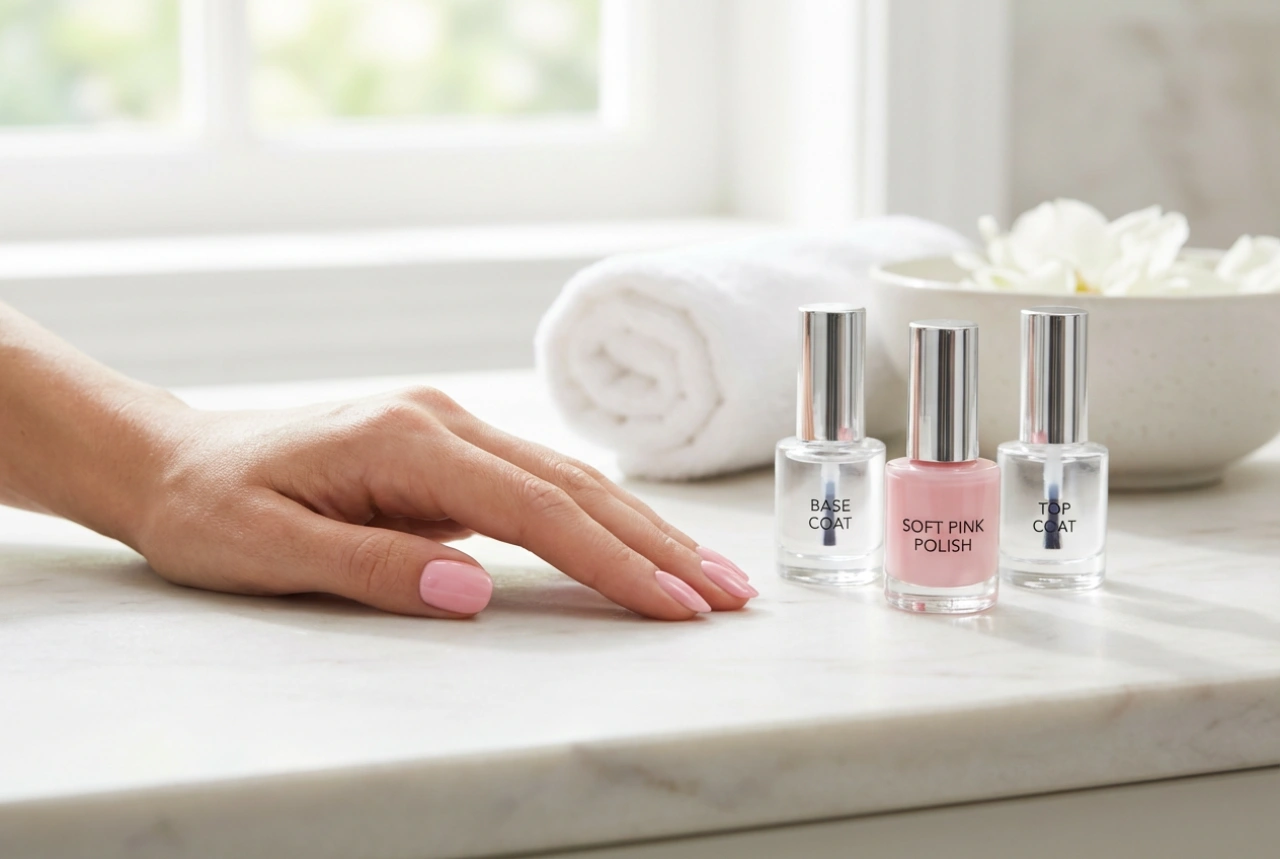
- Apply a Top Coat: The most effective way to prolong the life of your nail stickers is to apply one or two thin layers of a clear top coat. This adds a protective barrier against chipping and wear, enhances shine, and seals the edges of the sticker to the nail. Make sure to 'cap' the free edge of your nail with the top coat to prevent lifting.
- Allow Time to Set: Although nail stickers don't have a drying time like traditional polish, it's wise to be gentle with your hands for a few hours after application to allow the adhesive and top coat to fully set. Avoid tasks that involve soaking your hands in hot water or using harsh chemicals.
- Daily Care: When doing household chores, consider wearing gloves to protect your manicure from water and cleaning agents.
Safe and Gentle Removal
When you're ready for a change, it's important to remove the stickers correctly to avoid damaging your natural nails.
- Soak and Peel: The gentlest method is to soak a cotton ball in an oil-based nail polish remover or even just warm, soapy water. Hold it on the nail for a minute to loosen the adhesive.
- Gently Lift: Use an orangewood stick or your thumbnail to gently lift an edge of the sticker and slowly peel it away from the nail. If you feel any resistance, apply more remover or soak for a little longer. Never rip the stickers off forcefully, as this can strip away layers of your natural nail.
- Post-Removal Care: After removing all the stickers, wash your hands and apply a nourishing cuticle oil and hand cream to rehydrate your nails and skin.