


Modern nail styling is constantly evolving, offering solutions that are not only beautiful but also incredibly practical. One of the most popular innovations in recent years is the coloured hybrid base. This versatile product combines the properties of a traditional base coat with a delicate or vibrant colour, streamlining the manicure process. If you dream of a flawless, quick, and durable manicure, coloured hybrid bases might be the perfect solution for you. They offer a fantastic way to achieve an elegant look with minimal effort.
What Exactly Are Coloured Hybrid Bases?
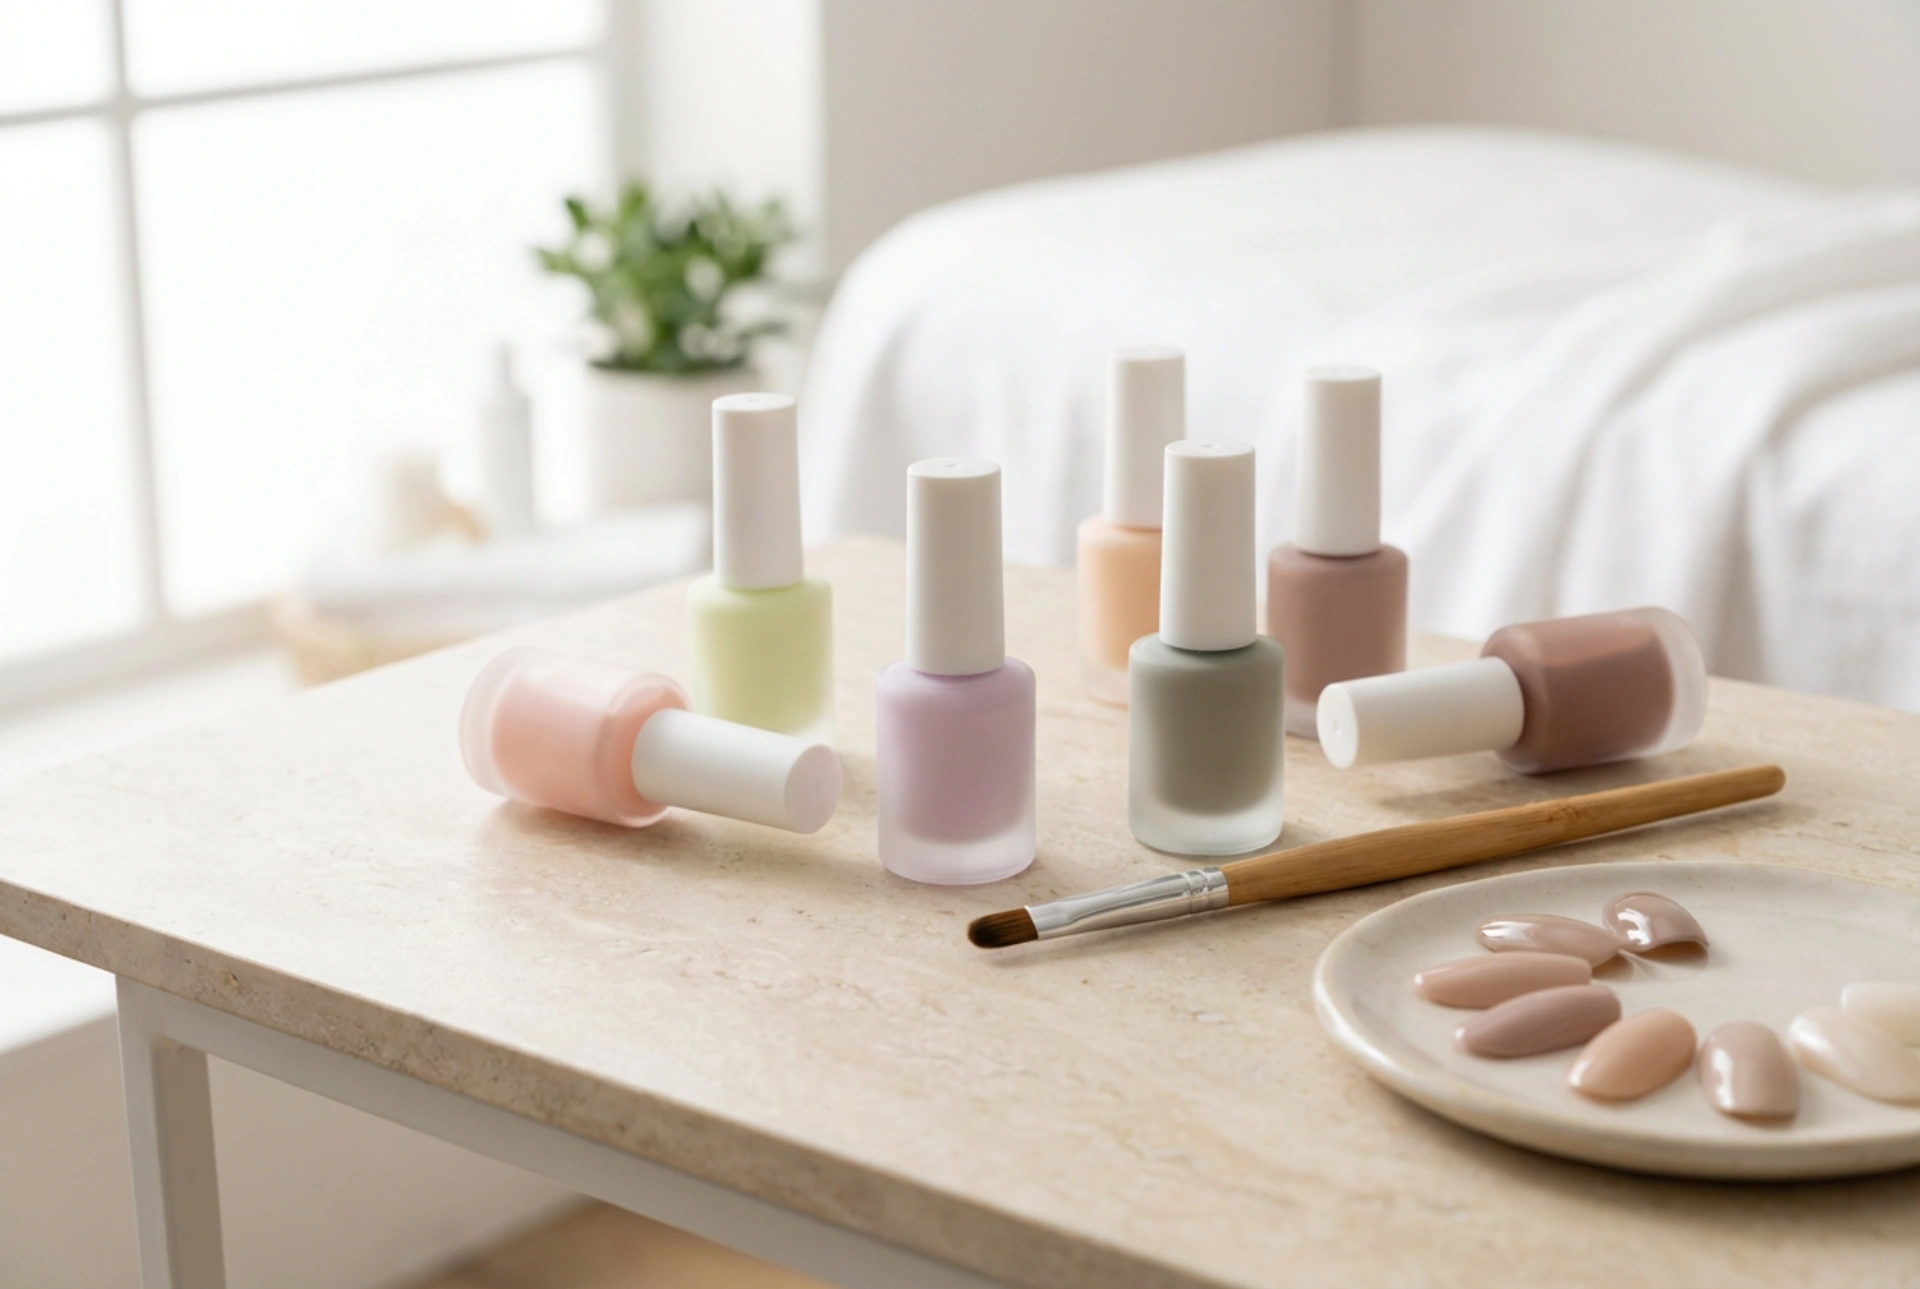
A coloured hybrid base, often called a building base or a cover base, is a 2-in-1 product designed for hybrid (gel polish) manicures. It functions as a standard base coat by ensuring adhesion to the natural nail plate, but it also contains pigment, giving the nails a uniform colour. These products come in a wide spectrum of shades, from subtle, semi-transparent nudes and milky pinks to more opaque pastel or even vibrant colours. Their primary advantage is the significant time saving they offer, as they eliminate the need to apply separate layers of coloured polish. Furthermore, many coloured bases have a slightly thicker consistency, allowing for gentle building and shaping of the nail, correcting minor imperfections and creating a perfectly smooth, reinforced surface.
The Main Advantages
- Time-Saving: Combining the base and colour steps into one application significantly shortens the duration of a manicure.
- Strengthening: Their thicker formula provides extra support for weak or brittle nails, protecting them from mechanical damage.
- Camouflaging Effect: Opaque and semi-opaque shades are excellent for masking discolouration or unevenness on the nail plate, creating a flawless canvas.
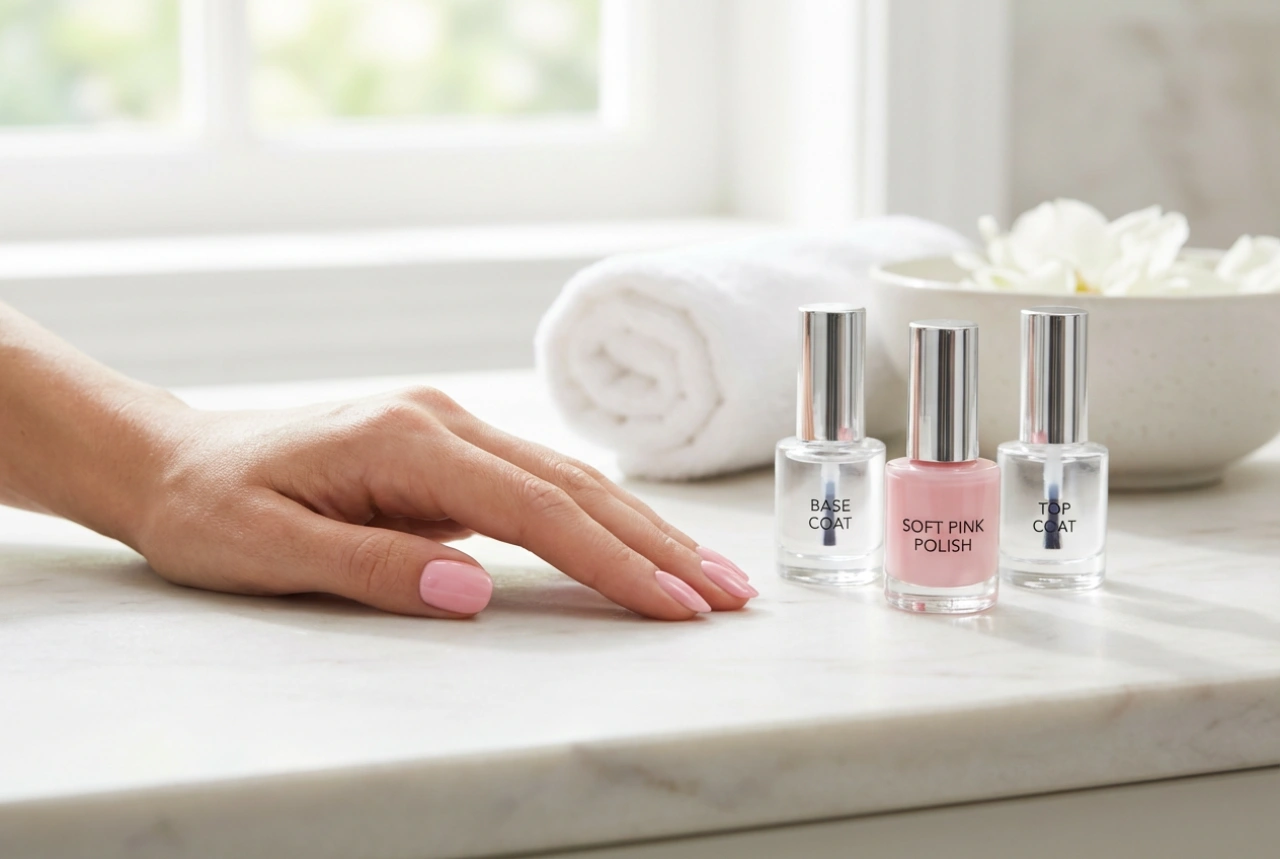
- Natural Look: Nude, pink, and milky shades are perfect for creating a classic, sophisticated, and natural-looking manicure, often referred to as a 'manicure no-manicure.'
- Versatility: They can be used as a standalone manicure finished only with a top coat, or as an ideal background for French manicures and other delicate nail art.
When to Choose a Coloured Hybrid Base?
While a coloured hybrid base is a versatile product, there are specific situations where its benefits truly shine. Consider opting for this solution when you want to achieve a particular effect or are working with specific nail types. It is an excellent choice for:
- A quick and elegant manicure: If you are short on time but still want your nails to look polished and put-together, a coloured base and a top coat are all you need.
- Minimalist styles: For lovers of natural beauty, the subtle shades of coloured bases provide a clean and understated look that enhances the natural nail.
- Creating a base for nail art: A smooth, uniformly coloured base is the perfect foundation for French tips, delicate patterns, or sticker applications. It ensures the background is flawless.
- Strengthening soft nails: If your nails are prone to bending or breaking, the building properties of a coloured base will provide an extra layer of durable reinforcement.
- Correcting nail shape: The thicker consistency allows you to build a slight apex (the highest point of the nail), which adds strength and creates a more elegant, slender nail profile.
A Step-by-Step Guide to Application
Achieving a professional-looking manicure with a coloured hybrid base is straightforward if you follow the correct steps. Precision during preparation and application is crucial for durability and a beautiful finish.
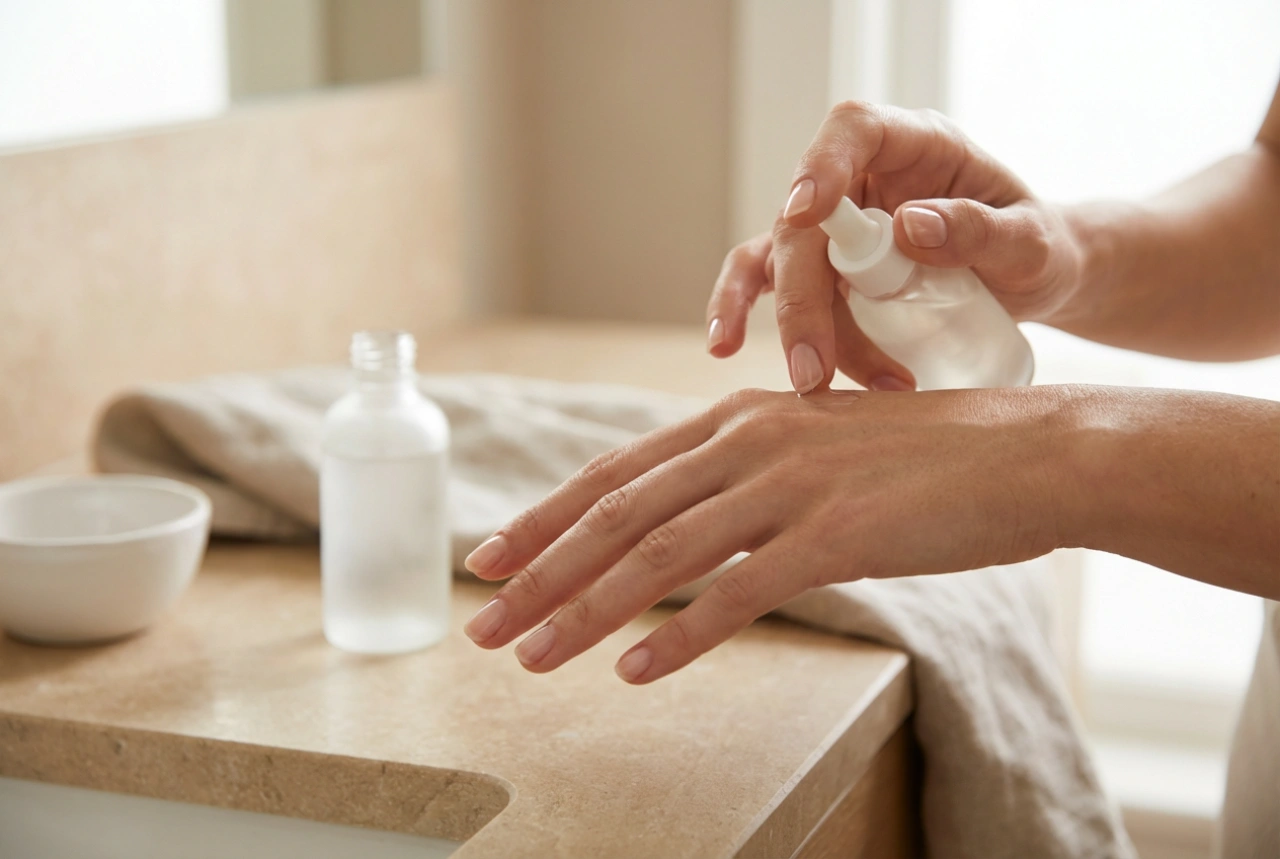
1. Nail Plate Preparation
Proper preparation is the foundation of any long-lasting manicure. Start by shaping your nails with a file to your desired length and form. Gently push back and remove the cuticles. Next, use a soft buffer to lightly mattify the entire surface of the nail plate. This removes the natural shine and creates a better surface for the product to adhere to. Finally, thoroughly wipe each nail with a lint-free pad soaked in a nail cleaner or dehydrator to remove any dust and oils.
2. Applying Primer (Optional but Recommended)
For enhanced adhesion, especially if you have problematic or oily nail plates, apply a thin layer of acid-free primer. Apply it only to the natural nail plate and allow it to air-dry for about 30-60 seconds before proceeding.
3. The Application Technique
Applying a coloured base is a two-part process. First, apply a very thin 'slip layer' of the base over the entire nail and do not cure it. This wet layer will help the next, thicker layer to self-level smoothly. Next, take a larger bead of the product on your brush and place it in the centre of the nail, slightly away from the cuticle area. Gently guide the product towards the cuticles and side walls without touching the skin. Use the product's self-levelling properties to your advantage. You can turn the hand upside down for a few seconds to allow gravity to help form a perfect apex. Once you are happy with the shape, cure the nail in a UV/LED lamp according to the manufacturer's instructions. For more opaque coverage, you can apply a second thin layer and cure it again.
4. Curing
Curing times vary depending on the lamp's power and the product's pigmentation. Generally, it takes 30-60 seconds in an LED lamp or 2 minutes in a UV lamp. Always follow the specific product's guidelines. Insufficient curing can lead to lifting and other issues, so ensure each layer is fully hardened.
How to Finish and Secure the Manicure
Once your coloured base is applied and cured, the final step is to protect it with a top coat. The top coat seals the manicure, provides a high-gloss or matte finish, and protects it from scratches, chipping, and yellowing from UV exposure.
Apply a thin, even layer of your chosen top coat, making sure to 'cap' the free edge of the nail by running the brush along its tip. This creates a seal that prevents the manicure from lifting at the edges. Cure the top coat in the lamp for the recommended time. If you are using a standard top coat (not a 'no-wipe' version), it will have a sticky inhibition layer after curing. Simply wipe this off with a cotton pad soaked in a high-purity alcohol cleaner to reveal the final, glossy shine. Finish by applying some nourishing cuticle oil to rehydrate the skin around your nails.