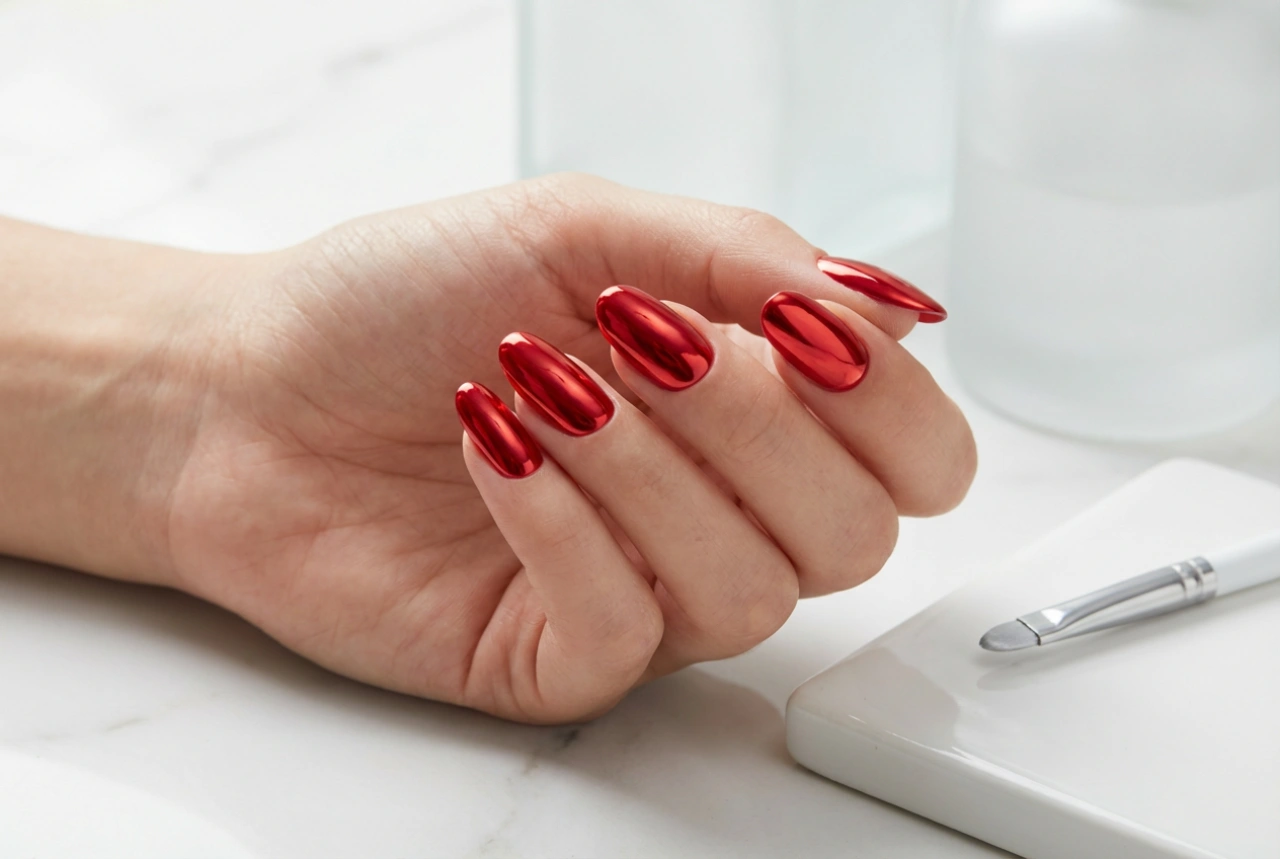


Black ombre nails represent a pinnacle of modern sophistication, blending dark, moody tones into a seamless gradient that exudes elegance. This refined style, transitioning from a lighter shade like graphite to a true, deep black, offers a versatile yet striking look suitable for any occasion. It is a perfect choice for those who appreciate classic colours but desire a contemporary twist. This guide will explore how you can achieve this beautiful effect and keep it looking flawless.
Understanding the Black Ombre Effect
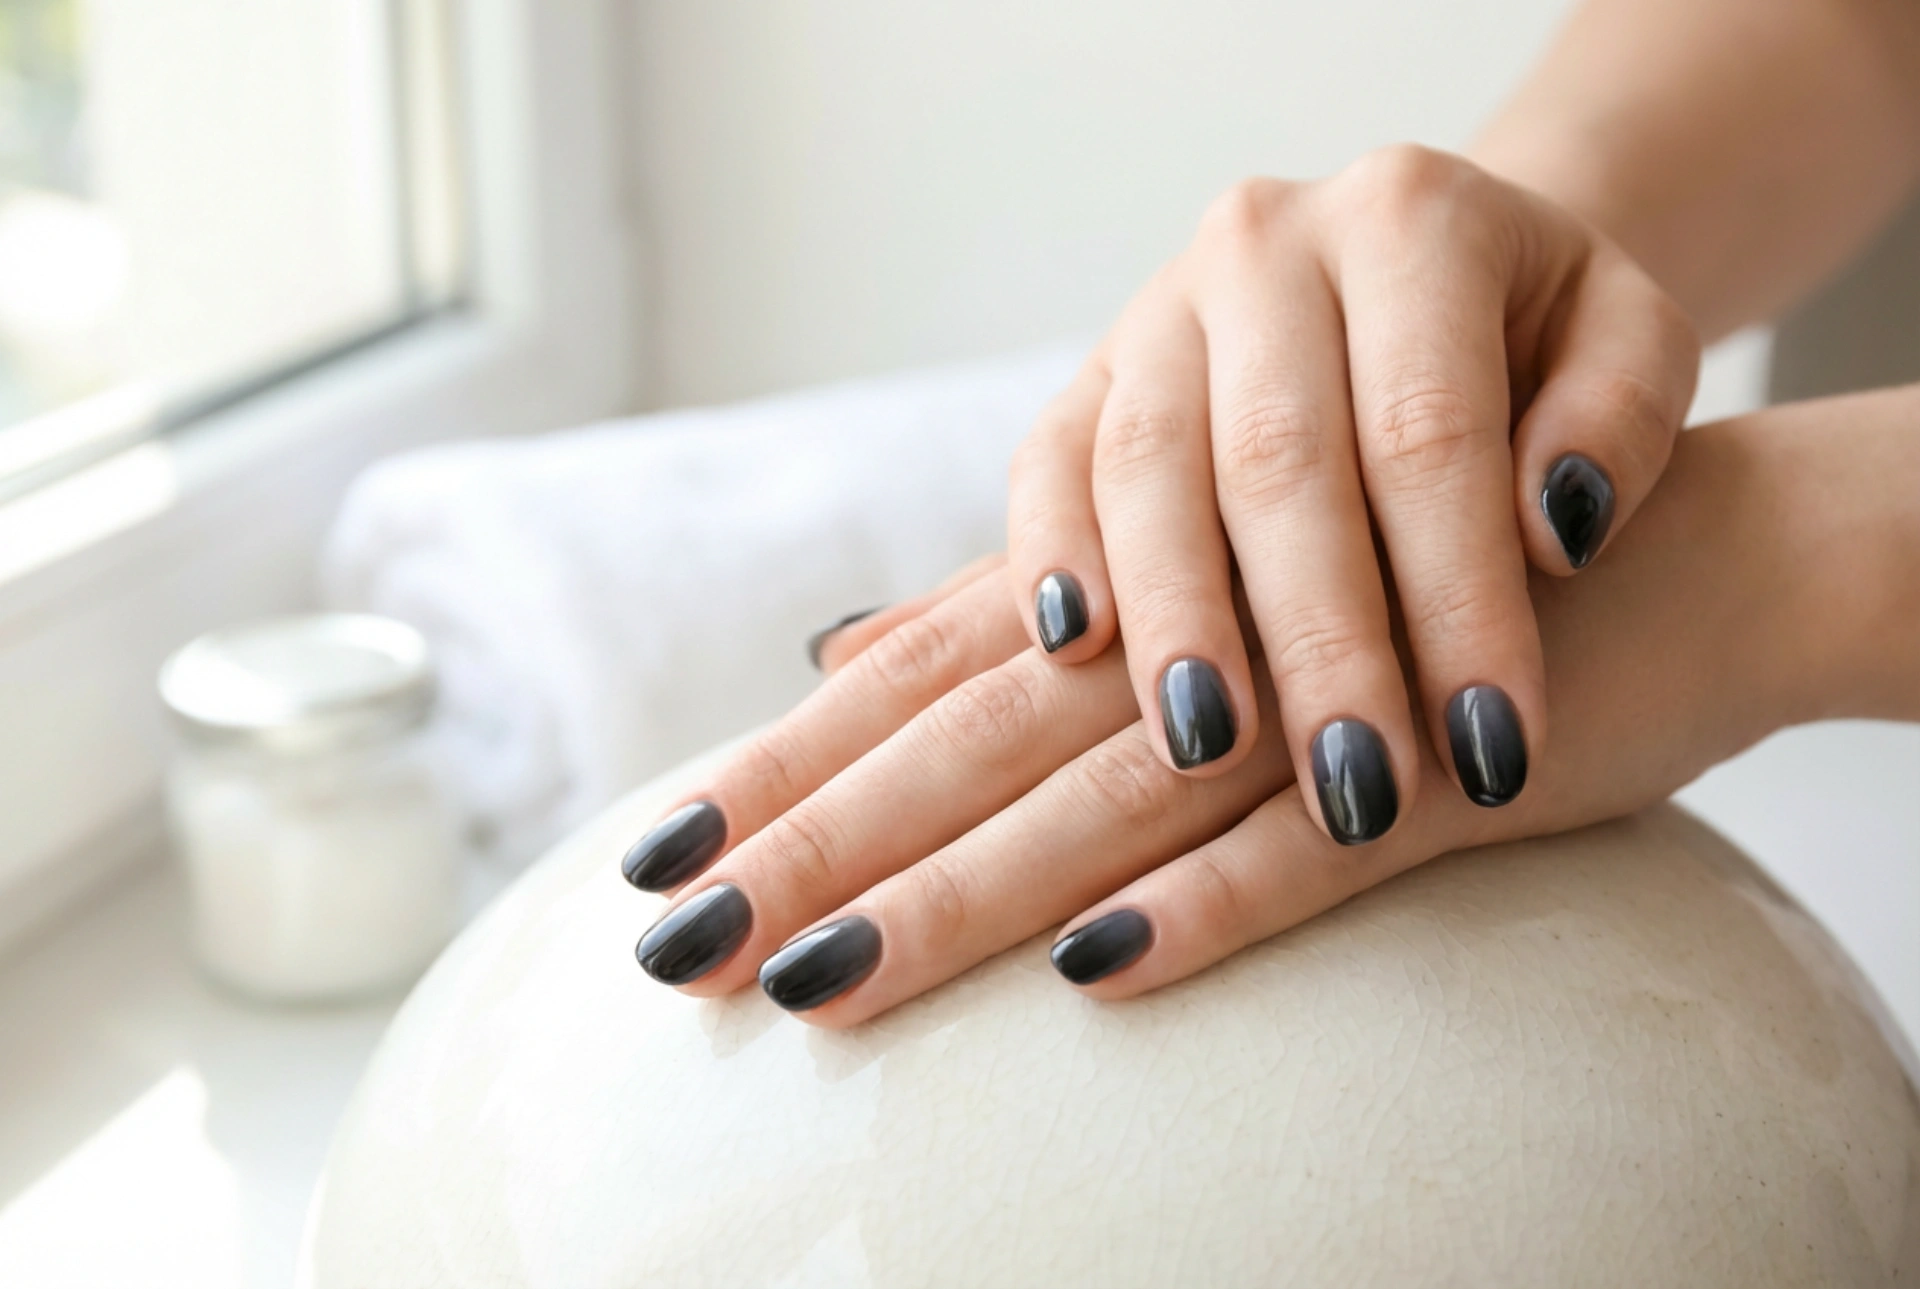
The term 'ombre' originates from the French word for 'shaded'. In nail art, it describes a gradual blending of one colour hue to another, usually moving from light to dark. Black ombre specifically focuses on a gradient that culminates in black. While the most classic version involves a transition from a dark grey or graphite, variations can include starting with a nude, silver, or even a deep colour like burgundy before fading into black at the tips. The result is a multi-dimensional look that has more depth and intrigue than a solid black manicure.
Creating Black Ombre Nails at Home
Achieving a salon-quality ombre effect at home is easier than it looks. With a few simple tools and some patience, you can create a stunning gradient manicure.
Step 1: Preparation is Key
Begin with clean, dry nails. Remove any old polish, then file and shape your nails to your desired length and form. Gently push back your cuticles and lightly buff the nail surface. This creates a smooth canvas for the polish to adhere to. Finally, apply a quality base coat to protect your nails from staining and help the manicure last longer.
Step 2: Apply the Lighter Base Colour
Once the base coat is completely dry, apply two thin coats of your chosen lighter colour, such as a deep graphite or charcoal grey. This will be the starting point of your gradient. Allow the polish to dry thoroughly between coats to ensure a smooth finish.
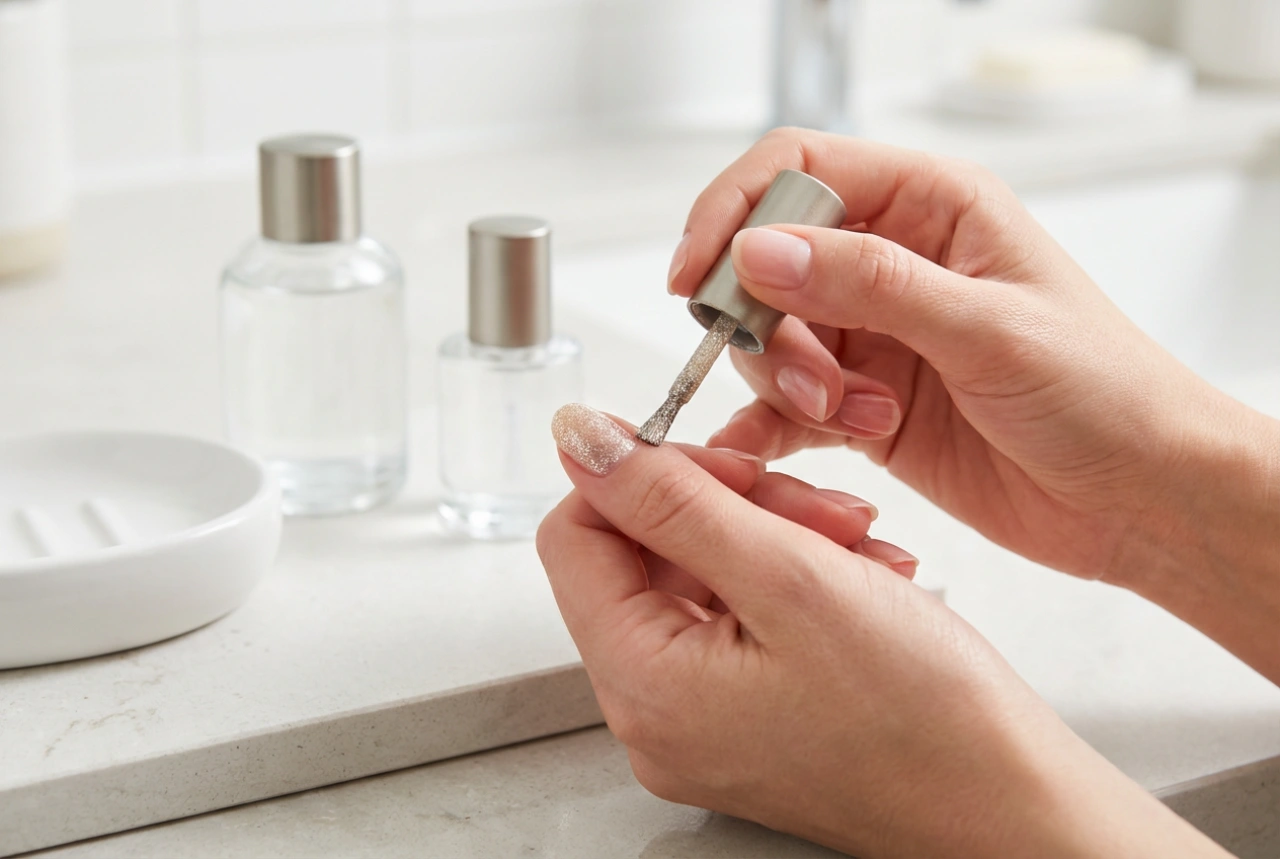
Step 3: Create the Gradient with a Sponge
This is where the magic happens. Take a small piece of a makeup sponge (a disposable wedge works well). On a non-porous surface like a piece of foil, paint a horizontal stripe of your lighter grey polish and a stripe of the black polish right next to it, slightly overlapping them. Gently press the sponge onto the painted stripes to pick up the colours. Now, carefully dab the sponge onto your nail, moving it slightly up and down to blend the colours. The first layer may look sheer, so repeat the process once the first layer is tacky, building up the colour intensity until you are happy with the gradient. You will get polish on the skin around your nail, but do not worry about that for now.
Step 4: Clean Up and Seal with a Top Coat
After creating the ombre effect on all nails, it is time to clean up. Dip a small brush or a cotton bud into nail polish remover and carefully trace around your cuticle line to remove any excess polish from your skin. Once the design is completely dry, apply a generous layer of a high-shine top coat. This will smooth out any texture from the sponging technique, blend the colours even further, and give your manicure a glossy, professional finish while protecting it from chipping.
Styling Variations for Black Ombre
While the classic graphite-to-black gradient is stunning on its own, you can customise it to suit your personal style.
- Matte Finish: Swap your glossy top coat for a matte one. A matte black ombre has an incredibly chic, velvety, and modern appearance that is both subtle and bold.
- A Touch of Glitter: Apply a fine glitter top coat over the finished ombre for a touch of sparkle. You could also use a glittery grey or black polish as part of the gradient itself for a 'galaxy' effect.
- Nude to Black: For a softer, more subtle take, create a gradient that starts with a neutral nude or beige shade at the cuticle and fades into black at the tip. This is a very elegant and popular variation.
Tips for a Long-Lasting Manicure
To keep your beautiful black ombre nails looking their best for as long as possible, follow a few simple care tips. Reapply your top coat every two to three days to maintain the shine and add an extra layer of protection. When doing household chores, especially those involving water or cleaning products, wear protective gloves. Lastly, keep your hands and cuticles hydrated by regularly applying cuticle oil and hand cream. Healthy cuticles are the foundation of a beautiful manicure.