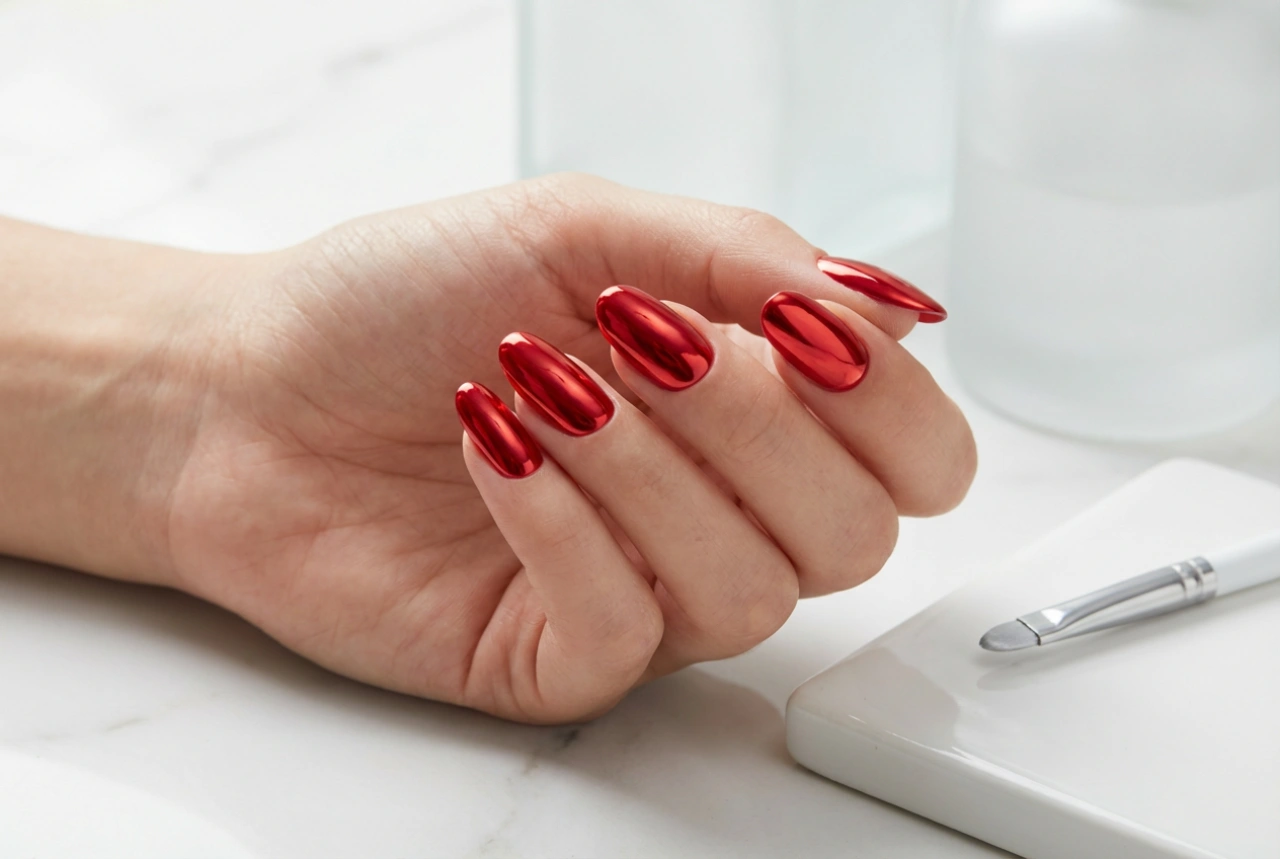


The light ombre nail trend, enhanced with a subtle touch of glitter, offers a look of pure elegance and sophistication. This style beautifully merges soft, ethereal colours into a seamless gradient, creating an effect that is both eye-catching and understated. It's a versatile design that complements any occasion, from daily wear to special events, providing a polished finish that captures the light exquisitely. Achieving this professional-looking manicure at home is entirely possible with the right techniques and a little patience, resulting in a flawless, streak-free shine.
Understanding the Light Ombre and Glitter Style
A light ombre manicure involves a gradual blending of two or more light colours, typically transitioning from a nude or pale pink at the cuticle to a soft white or another pastel shade at the tip. The key to its beauty lies in the seamless transition, which avoids any harsh lines. Adding a fine glitter element elevates the design, introducing a delicate shimmer that can be customised to your preference. This isn't about bold, chunky sparkles, but rather a fine, dust-like glitter that creates a gentle iridescence and an impression of depth.
Essential Preparation for a Perfect Base
The foundation of any lasting and beautiful manicure is proper nail preparation. A flawless finish depends on a smooth and healthy canvas. Taking the time to prepare your nails correctly will prevent imperfections and help your ombre design look its best.
Nail Shaping and Cuticle Care
Begin by shaping your nails to your desired form, whether that's a soft square, an elegant almond, or a classic oval. Use a gentle nail file to smooth the edges. Next, focus on your cuticles. Instead of cutting them, soften them with a cuticle remover or by soaking your fingertips in warm water for a few minutes. Then, gently push them back with an orangewood stick or a rubber-tipped cuticle pusher. This creates a clean, uniform nail bed, which is crucial for a neat colour application.
Creating a Smooth Canvas
After shaping and tending to your cuticles, it's vital to ensure the nail surface is smooth. Lightly buff the surface of your nails to remove any ridges or unevenness. Be careful not to over-buff, as this can weaken the nail. Once your nails are smooth, cleanse them to remove any dust or oils. Finally, apply a quality base coat. A base coat not only protects your natural nails from staining but also provides a slightly tacky, even surface for the polish to adhere to, which is essential for achieving a smooth blend.
Mastering the Seamless Ombre Technique
The secret to a streak-free ombre is the application method. While there are several ways to create a gradient, the sponge technique is one of the most effective for home manicurists. It allows for a soft, diffused blend that looks professionally done.
- Start by applying one or two thin coats of the lightest colour in your ombre palette to all your nails. This will serve as the base for your gradient. Let it dry completely.
- Take a small piece of a disposable makeup sponge. Paint stripes of your chosen ombre colours directly onto the sponge, side by side, in the order you want them to appear on your nail. Make sure the colours overlap slightly to encourage blending.
- Gently dab or roll the sponge onto your nail. The first press will transfer a light, speckled gradient. Don't worry if it looks sheer.
- Reload the sponge with polish and repeat the dabbing motion 2-3 times, slightly shifting the sponge's position on each pass to enhance the blend. This will build up the colour opacity and create a seamless transition.
- This process can be messy. You can apply a liquid latex barrier around your nails before sponging or clean up any excess polish on your skin afterwards with a small brush dipped in nail polish remover.
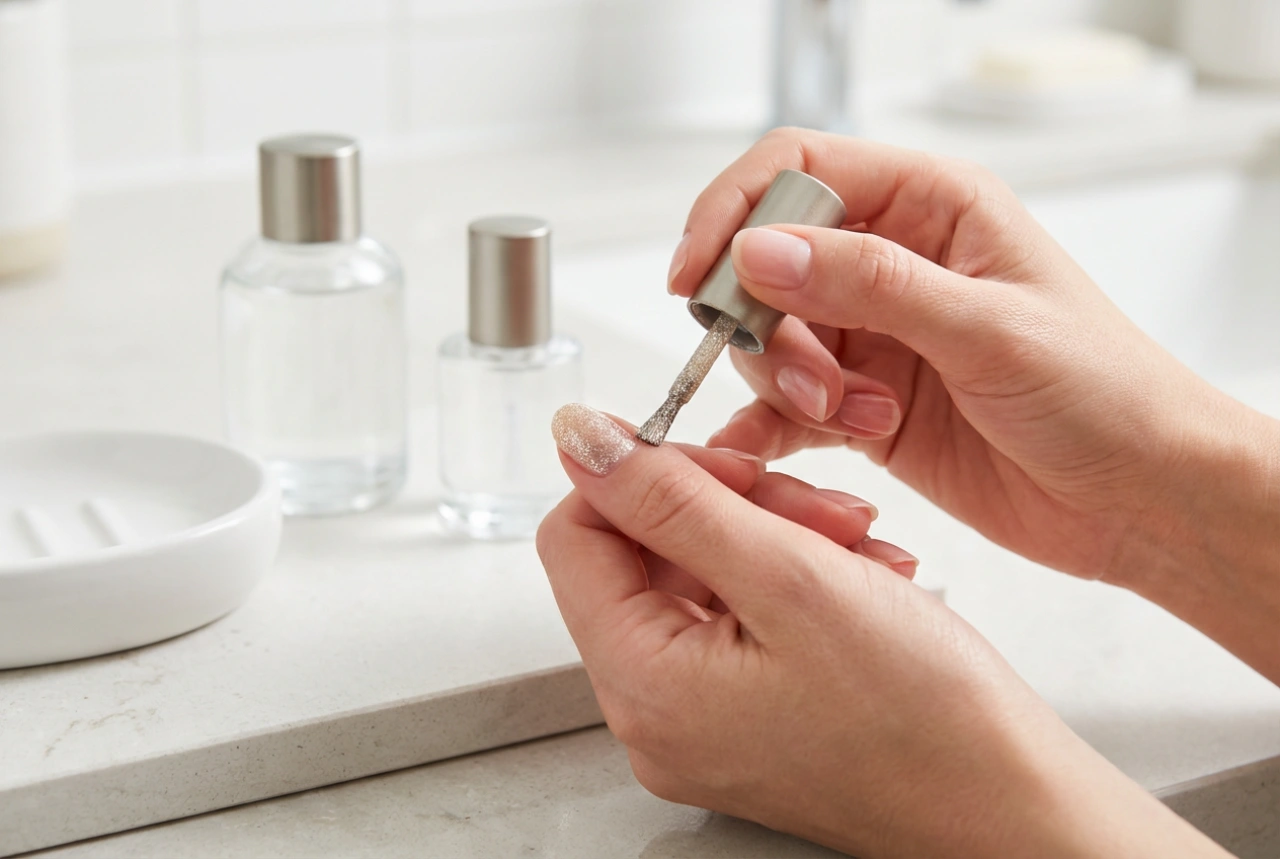
Adding a Delicate Touch of Glitter
With your colour gradient complete, it's time to add the shimmer. The key is subtlety to maintain the design's elegant feel. Choose a fine-milled glitter for a delicate sparkle rather than a chunky one.
Controlled Glitter Application
There are two primary ways to apply glitter for a refined look. The first is to use a sheer polish that contains fine glitter particles. Apply a single, thin layer over your entire nail or concentrate it on one part, such as the tip, to enhance the ombre effect. The second method offers more control: while your final colour coat or a fresh top coat is still wet, dip a small, dry brush (like a fan brush or an eyeshadow brush) into loose, fine glitter and lightly tap it over the nail. This allows you to place the sparkle exactly where you want it, creating a customised and delicate finish.
Sealing Your Design for a Lasting Shine
The final and most crucial step is to seal your artwork with a high-shine top coat. This step is non-negotiable for an ombre manicure. A generous layer of a good quality top coat will smooth out any texture left by the sponging and glitter application, creating a glossy, glass-like surface. It also melds the layers of polish together, enhances the colours, and protects your manicure from chipping, ensuring your delicate, sparkling ombre nails last for days. For an extra durable and plump finish, apply a second layer of the top coat after the first one has dried.