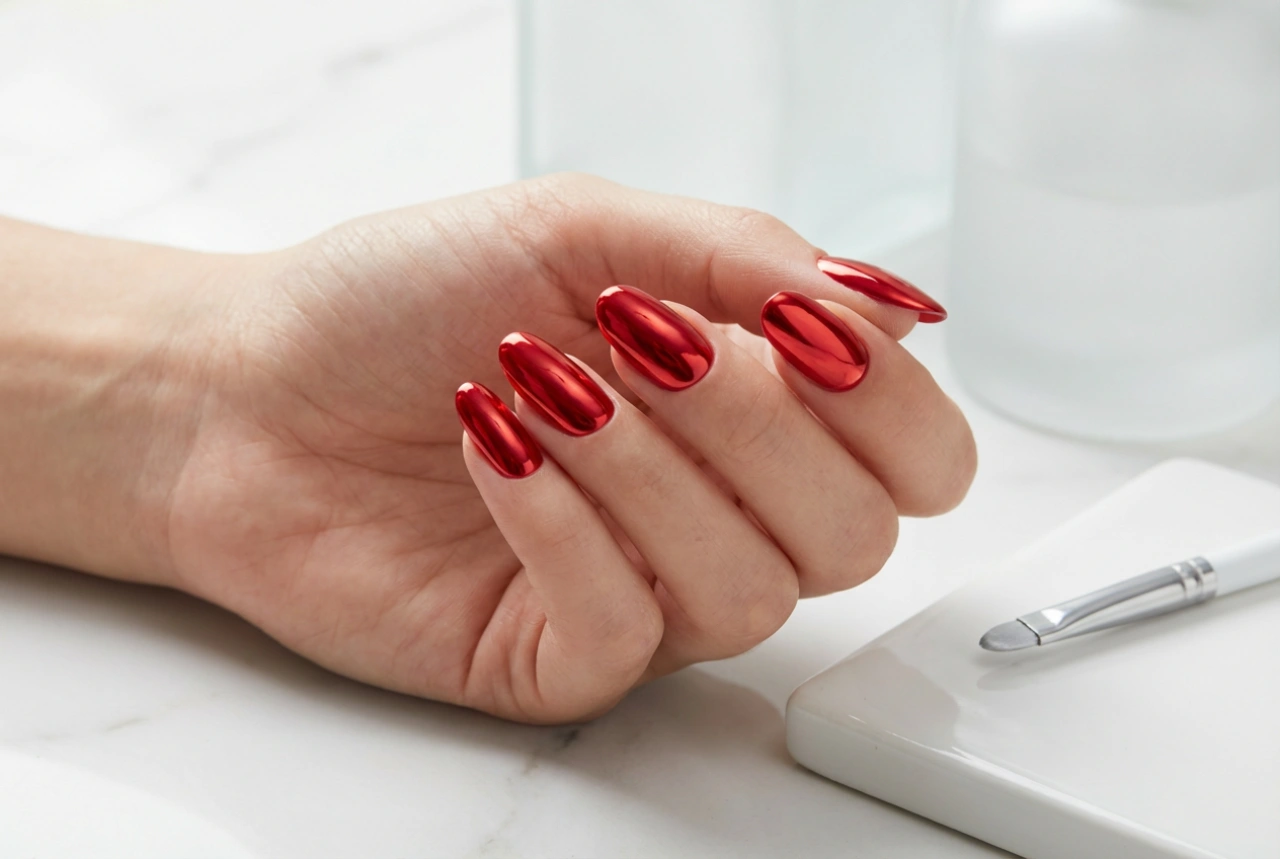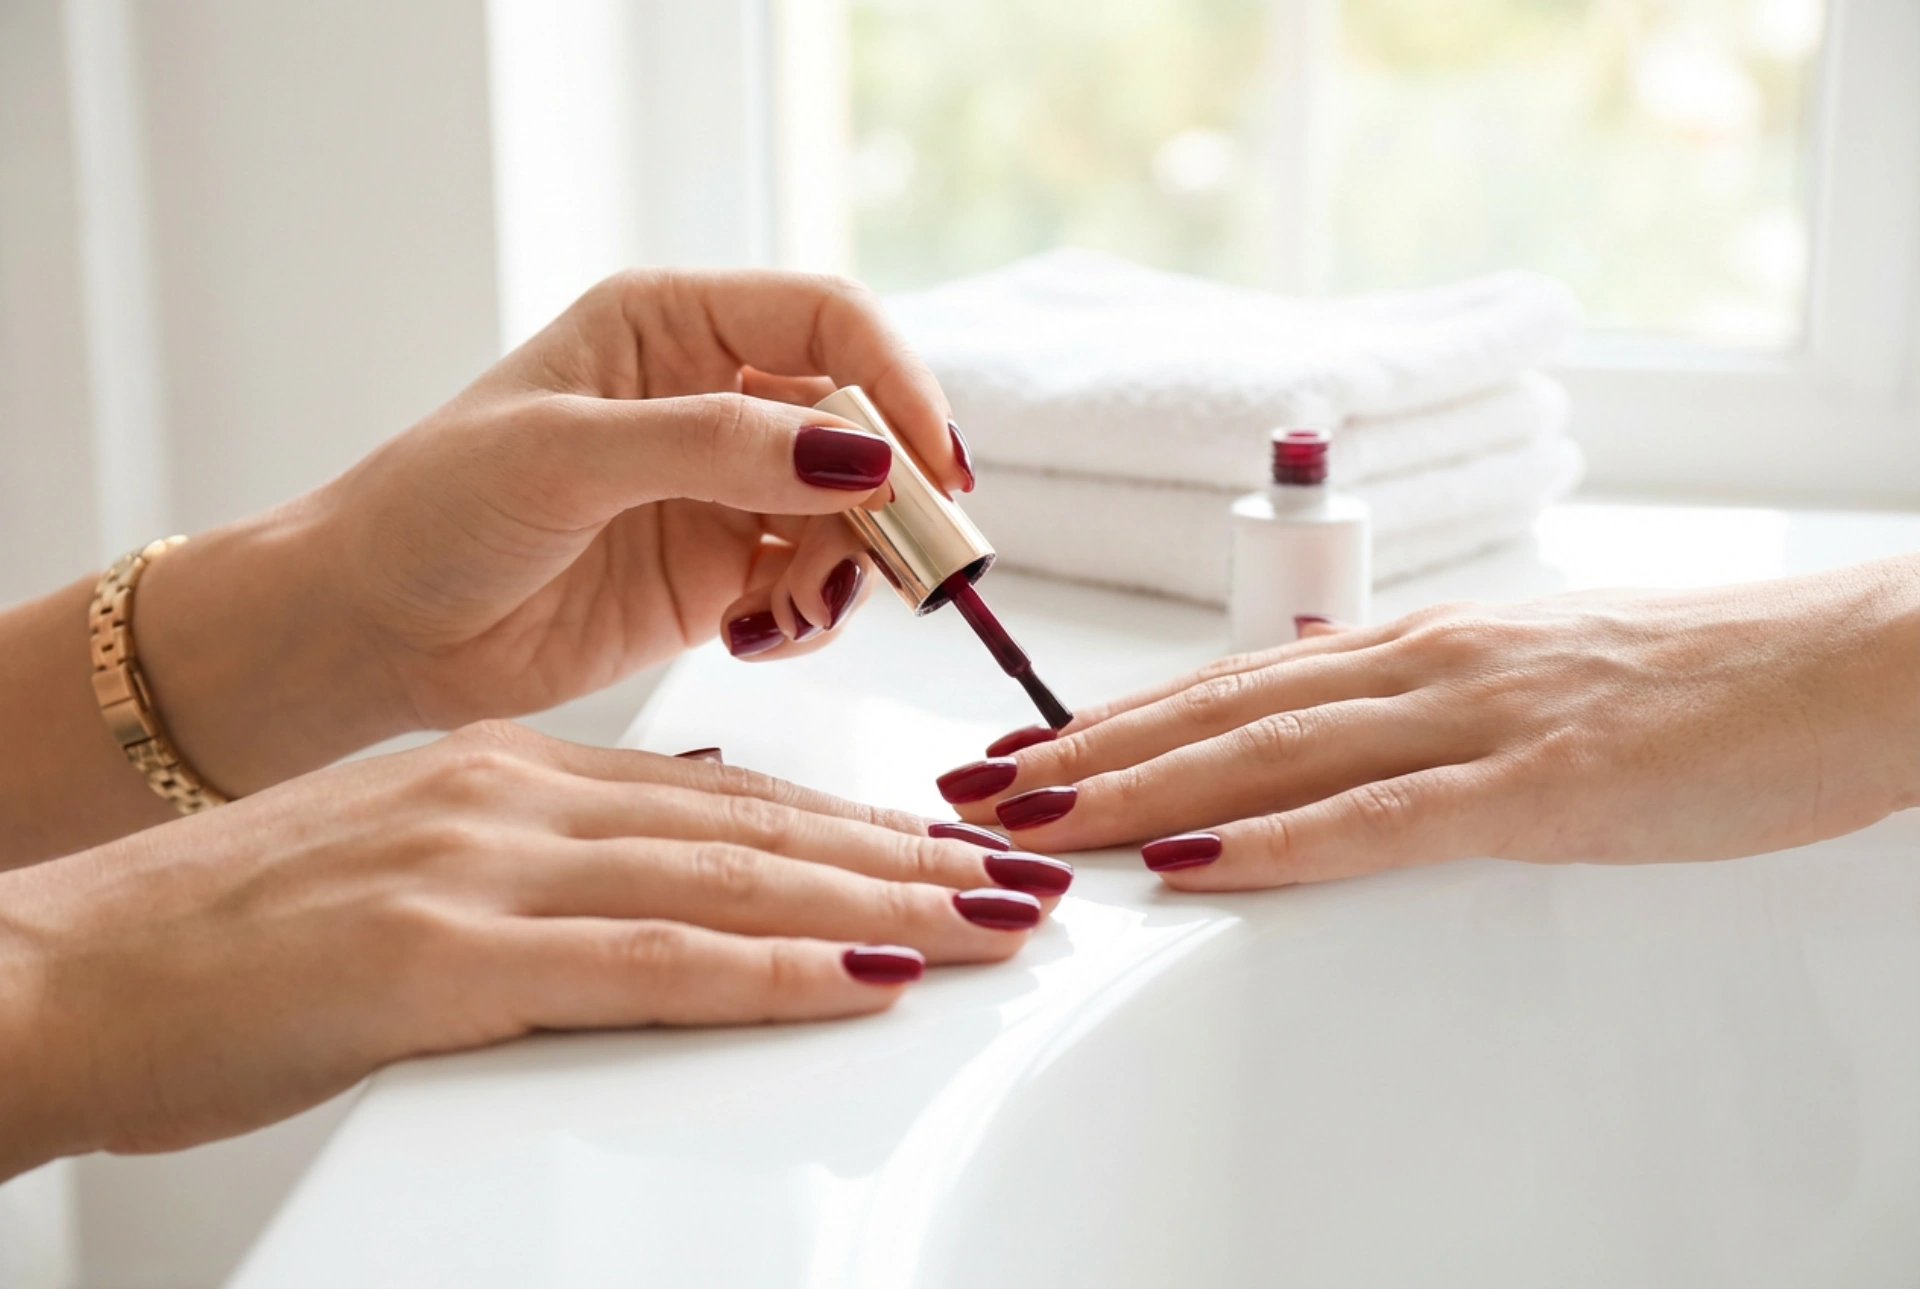


A burgundy manicure is the epitome of classic elegance and sophistication. This deep, rich red hue is incredibly versatile, transitioning seamlessly from a professional setting to an evening gala. As seen in the delicate application of a lustrous polish, achieving that perfect, high-gloss burgundy finish at home is entirely possible with the right techniques. This guide will walk you through selecting the ideal shade, mastering the application process, and ensuring your manicure remains brilliantly shiny for as long as possible.
Choosing Your Ideal Burgundy Shade
The term 'burgundy' encompasses a wide spectrum of deep reds, and finding the one that complements your style and skin tone is the first step towards a stunning manicure. Not all burgundies are created equal; they can have different undertones that significantly alter their appearance.
Understanding Undertones
- Blue-based Burgundies: These are cooler shades, often leaning towards plum or wine. They create a bold, dramatic look and are particularly striking against cool or neutral skin tones.
- Brown-based Burgundies: These shades, like oxblood or maroon, have a warmer, earthier feel. They are very flattering on warm and olive skin tones, offering a sophisticated and grounded appearance.
- True Red Burgundies: These are balanced shades that sit right in the middle. They are universally flattering and a safe bet if you are unsure which undertone suits you best.
Matching to Your Skin Tone
To determine your skin's undertone, look at the veins on your wrist. Blue or purple veins suggest a cool undertone, while greenish veins indicate a warm undertone. If you cannot decide, you likely have a neutral undertone. For cool skin tones, opt for burgundies with hints of purple or deep berry. For warm skin tones, shades with a touch of brown or rich brick red are ideal. Those with neutral undertones are fortunate, as almost any shade of burgundy will look fantastic.
A Guide to Flawless Gel Application at Home
Achieving a salon-quality gel manicure requires patience and attention to detail. Rushing the process is the most common reason for imperfections. Follow these steps for a smooth, durable, and professional-looking result.
Step 1: Meticulous Nail Preparation
Proper preparation is the foundation of a long-lasting manicure. Start by gently filing your nails to your desired shape. Next, lightly buff the surface of each nail with a fine-grit buffer. This removes any natural oils and creates a slightly textured surface for the polish to adhere to. Pay close attention to your cuticles; use a cuticle remover and gently push them back. Finally, cleanse each nail with a lint-free wipe soaked in a nail preparation solution to dehydrate the nail plate and remove all dust and oils.
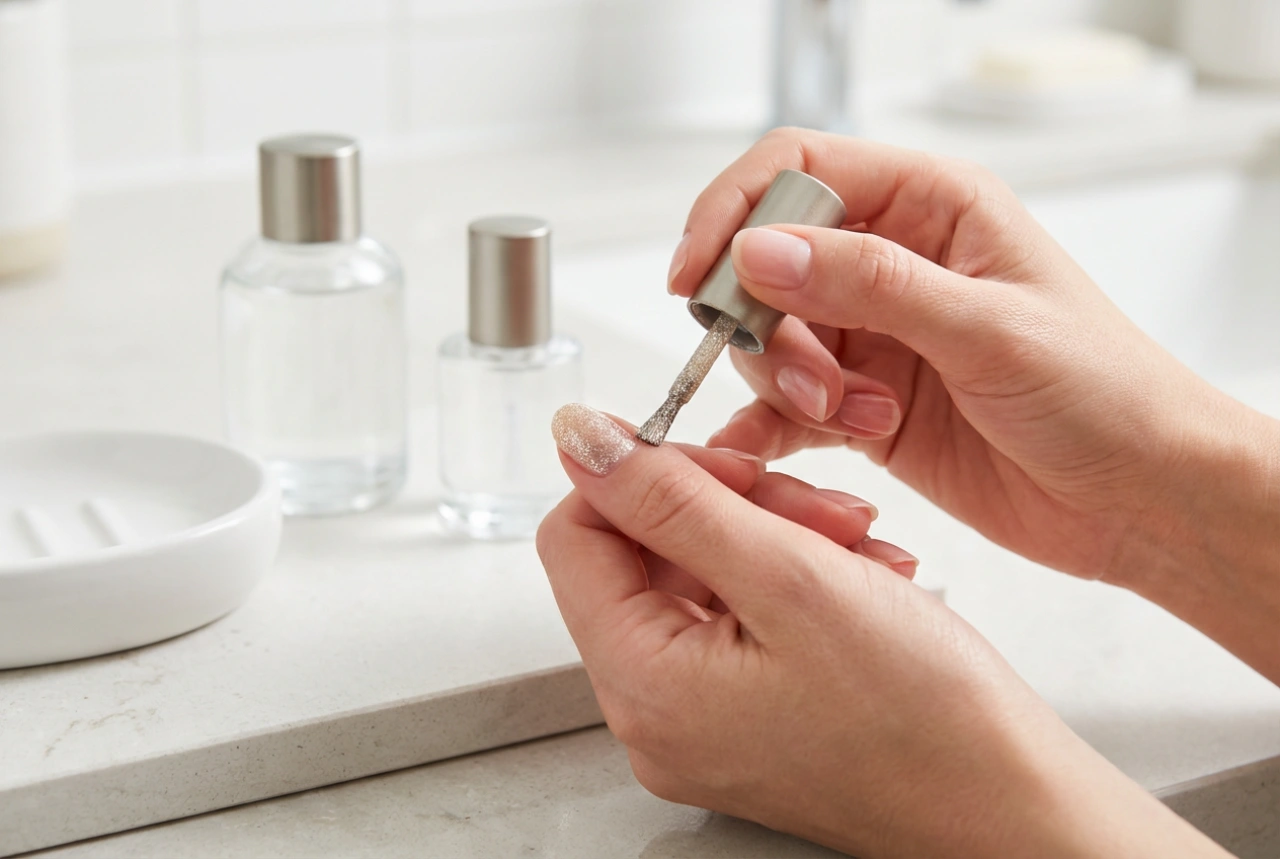
Step 2: The Essential Base Coat
Never skip the base coat. It serves two critical functions: protecting your natural nail from potential staining from the dark pigment and providing a sticky surface for the colour to grip onto, which significantly extends the life of your manicure. Apply a thin, even layer, making sure to cap the free edge of the nail. Cure the base coat under your curing lamp according to its instructions.
Step 3: Applying the Burgundy Colour
This is where the magic happens. The key to an opaque, even colour is to apply multiple thin coats rather than one thick one. A thick coat is more likely to bubble, wrinkle during curing, and chip prematurely. Apply your first thin coat of burgundy gel polish, again capping the free edge. Be precise and avoid getting polish on your skin or cuticles. If you do, clean it up with a small brush dipped in a cleanser before curing. Cure the layer fully. Apply a second coat for full depth and opacity, and cure again. Some very deep shades might even benefit from a third ultra-thin coat.
Step 4: Sealing with a High-Gloss Top Coat
The top coat is what provides that enviable high-gloss shine and protects the colour from scratches and chipping. Apply a generous but even layer of a non-wipe top coat over the entire nail, once again sealing the free edge. This final capping is crucial for preventing chips. Cure this final layer thoroughly. After curing, if your top coat has a tacky layer, wipe it off with a lint-free pad and a suitable cleansing solution to reveal the brilliant shine.
Secrets to a Lasting, Brilliant Shine
The shine of a fresh gel manicure is unparalleled, and there are ways to maintain it. The quality of your top coat is paramount, so choose one known for its durability and high-gloss finish. After your manicure is complete, apply a nourishing cuticle oil. This not only keeps your cuticles healthy but also adds moisture to the surrounding area, making your manicure look fresh and well-maintained. To protect the shine and prevent premature wear, wear gloves when doing household chores, especially when using cleaning agents or washing dishes. Regular application of cuticle oil will keep your nails looking their best for weeks.
Styling Your Burgundy Manicure
One of the greatest attributes of burgundy is its versatility. It is a power colour that looks polished and professional in the workplace, yet it is also deep and romantic enough for a special date night or formal event. It pairs beautifully with neutral-coloured clothing, such as cream, beige, grey, and black, allowing the nails to be a sophisticated focal point. For a touch of creativity, consider a simple accent nail. A single nail on each hand painted with a complementary gold or fine silver glitter can elevate the look. Alternatively, a minimalist design, such as a thin vertical line in a metallic shade, can add a modern, artistic touch to the classic burgundy base.