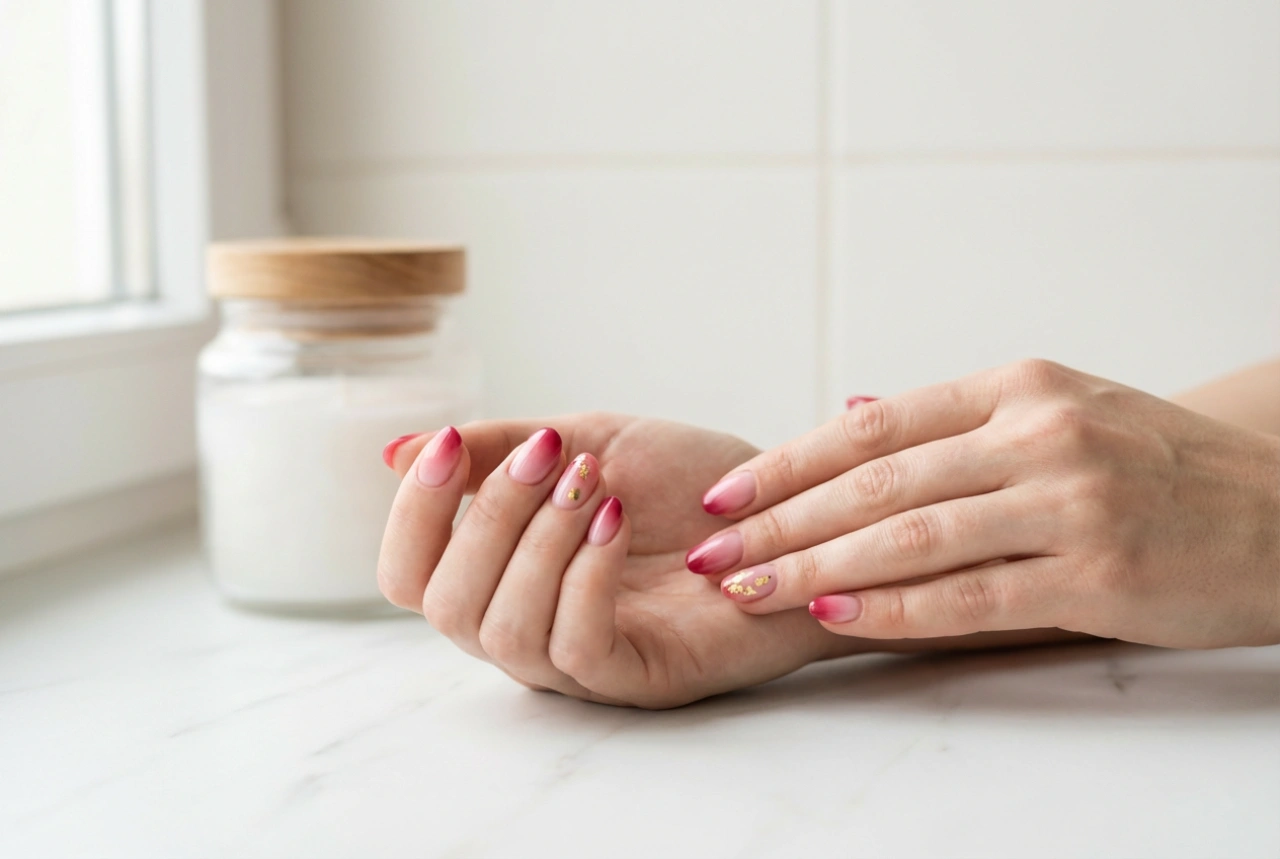
Red glitter nails are a timeless choice that adds a touch of glamour and sophistication to any look. Perfect for festive seasons, special occasions, or simply when you want your hands to sparkle, a red glitter manicure is surprisingly achievable at home. With the right techniques and a little patience, you can create a durable, professional-looking finish that catches the light beautifully. This guide will walk you through the essential steps, from preparing your nails to the final glossy top coat.
Step 1: Nail Preparation is Key
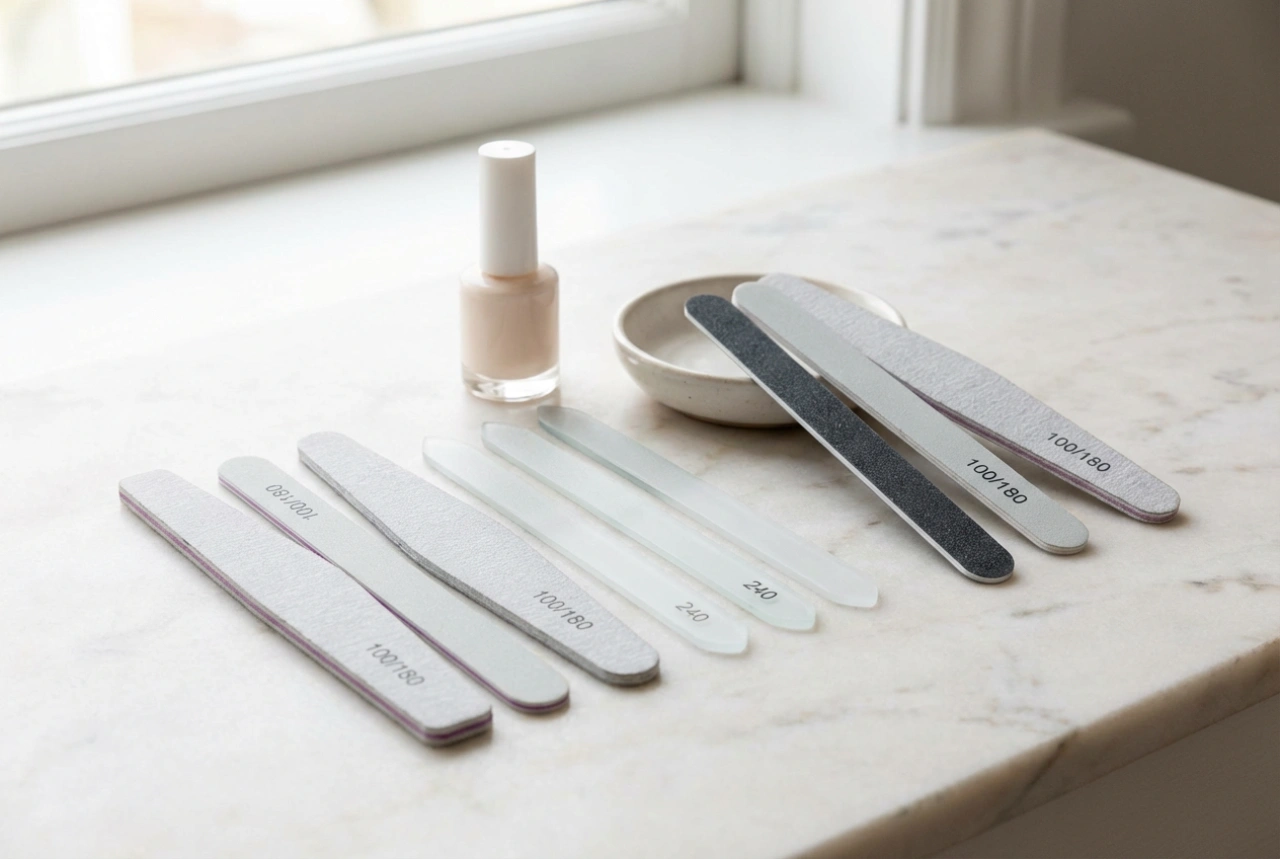
A flawless manicure begins with well-prepared nails. A clean and smooth canvas ensures the polish adheres correctly and lasts longer. Start by removing any old nail polish completely. Wash your hands and gently scrub your nails to ensure they are free from oils and dirt. Next, shape your nails with a file, moving it in one direction to prevent splitting. You can choose any shape you like, from classic oval to modern square. Once you are happy with the shape, gently push back your cuticles using a cuticle pusher or an orange stick. Avoid cutting your cuticles, as this can lead to irritation. Finally, lightly buff the surface of your nails to create a smooth base for the polish.
Step 2: Don't Skip the Base Coat
Applying a base coat is a crucial step that should never be overlooked, especially when using a vibrant colour like red. The base coat serves several important purposes:
- It creates a barrier that protects your natural nails from being stained by the dark pigments in the red polish.
- It helps the coloured polish adhere better to the nail, extending the life of your manicure.
- It provides a smooth surface, filling in any minor ridges for a more even colour application.
Apply one thin, even layer of a quality base coat to each nail, from the cuticle to the tip. Be sure to cap the free edge of the nail by running the brush along the tip. Allow it to dry completely before moving on to the next step. This usually takes one to two minutes.
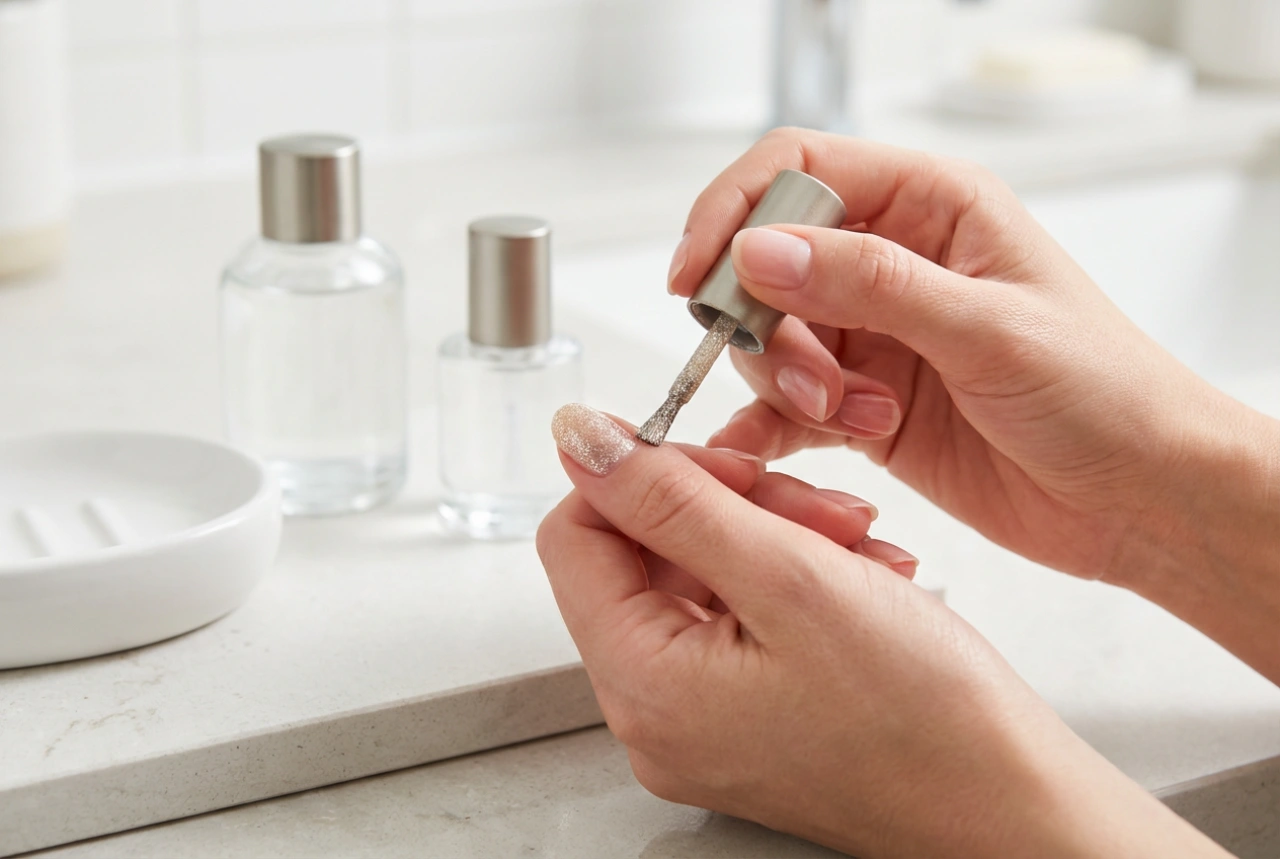
Step 3: The Art of Applying Glitter
Now for the most exciting part – adding the sparkle! There are two main methods for achieving a dazzling red glitter effect: using a pre-mixed glitter varnish or applying loose cosmetic glitter. Your choice depends on the intensity of the sparkle you desire.
Using a Red Glitter Varnish
This is the most straightforward method. Red glitter varnishes contain glitter particles suspended in a coloured or clear base. For an opaque and even finish, you will likely need to apply two to three thin coats. Start by applying the first coat, covering the entire nail. Let it dry for a few minutes before applying the next. With each layer, the glitter will become more concentrated and the colour more intense. Remember that thin coats dry faster and are less prone to smudging than one thick coat.
Using Loose Cosmetic Glitter
For a more textured and intensely sparkly look, using loose glitter is an excellent option. First, apply one coat of a regular red nail varnish that matches your glitter. While the polish is still tacky, work one nail at a time. You can either dip the wet nail directly into a pot of loose cosmetic-grade glitter or use a small fan brush to sprinkle it over the nail. Once the nail is covered, gently press the glitter down with your fingertip or a clean brush to set it into the polish. Wait for it to dry slightly before dusting off any excess glitter from the skin around your nail.
Step 4: Seal with a Glossy Top Coat
A top coat is essential for any glitter manicure. Glitter polish has a naturally rough and gritty texture, and a top coat will smooth it out, creating a sleek, high-gloss finish. More importantly, it seals in the glitter and protects your manicure from chipping, ensuring it lasts for days. Apply a generous layer of a quick-drying, high-shine top coat over the entire nail, making sure to cap the free edge. For very textured glitter, you may want to apply a second layer of top coat after the first one has dried to achieve a perfectly smooth, glass-like surface. This will also enhance the sparkle and make the colour pop.