


Achieving a flawless, salon-worthy manicure at home has never been more accessible. Self-adhesive, or press-on, nails offer a quick and convenient way to change your nail look without the commitment or drying time of traditional polish. They are perfect for a special event or simply when you fancy a change. The key to a beautiful and lasting result lies in the correct preparation, application, and removal. Following the right steps ensures not only a professional finish but also protects the health of your natural nails.
Essential Preparation for Natural Nails
Before you even think about applying your new nails, proper preparation of your natural nail plate is crucial. This step ensures better adhesion and a longer-lasting manicure. Rushing this stage can lead to the false nails lifting prematurely.
Cleaning and Shaping
Start with clean, dry hands. Remove any old nail polish completely. Wash your hands with soap and water to get rid of any oils or residue, then dry them thoroughly. Next, trim and file your natural nails to your desired length. It's generally best to keep them short, so they don't peek out from underneath the false nails. Gently push back your cuticles using a wooden or rubber cuticle stick. Avoid cutting your cuticles, as they act as a protective barrier against bacteria.
Buffing the Nail Surface
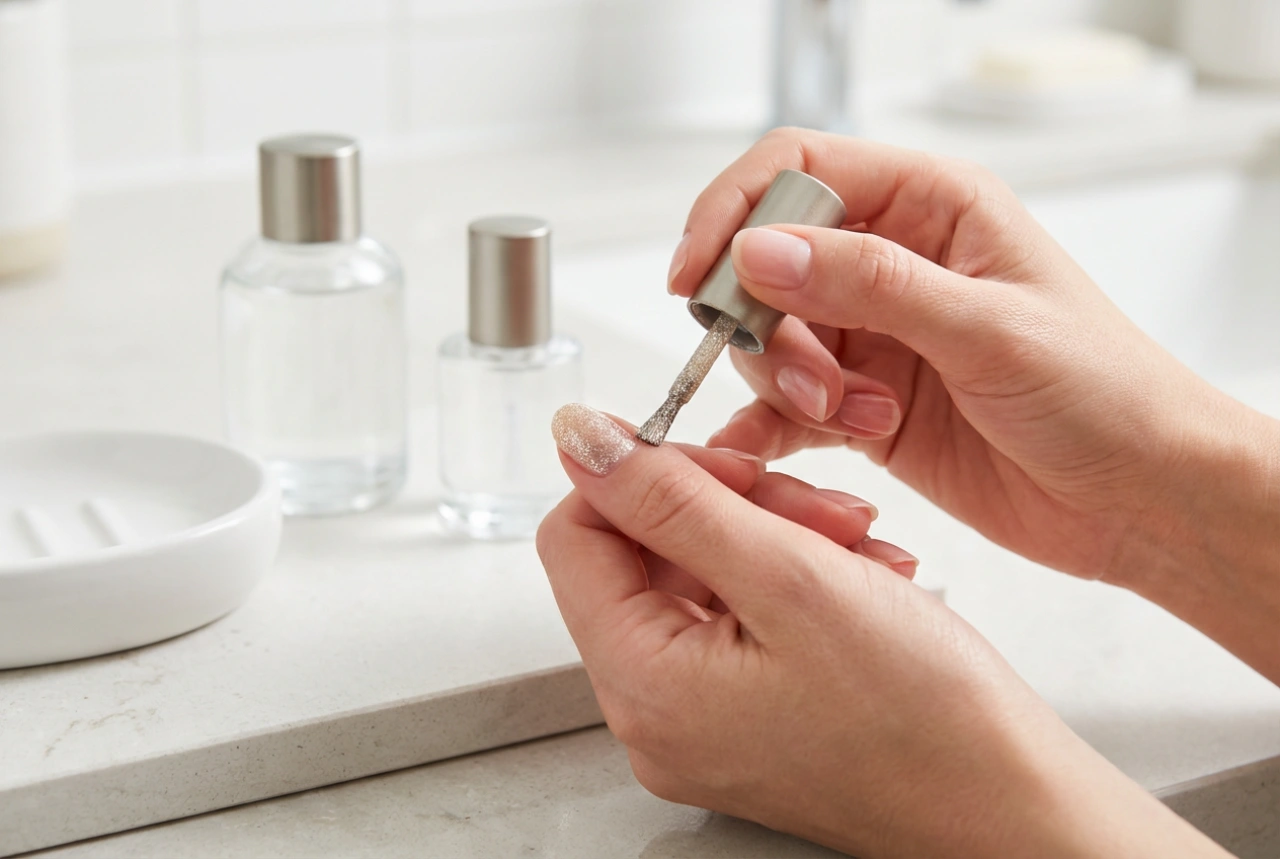
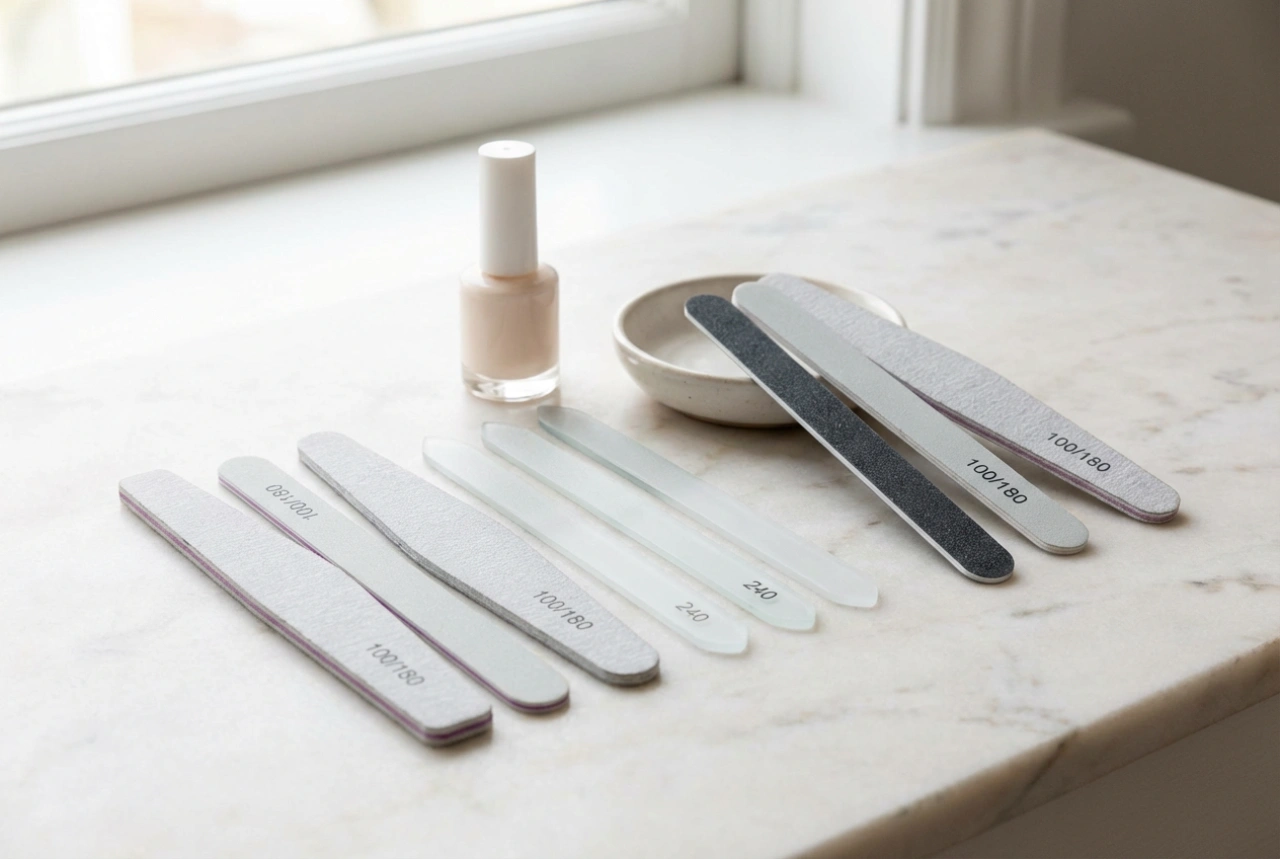
The secret to strong adhesion is a slightly textured surface. Use a gentle nail buffer to lightly scuff the shine from your natural nails. This creates a better grip for the adhesive. Be careful not to over-buff, as this can weaken the nail. The goal is to remove the natural oils and shine, not to thin the nail itself. Once buffed, wipe each nail with a lint-free pad soaked in a non-acetone polish remover or an alcohol prep pad to dehydrate the nail plate and remove any dust and oils. This final clean is a non-negotiable step for longevity.
The Application Process: A Step-by-Step Guide
With your nails perfectly prepped, you are now ready for the application. Work on one hand at a time, laying out the nails in order before you begin to make the process smoother.
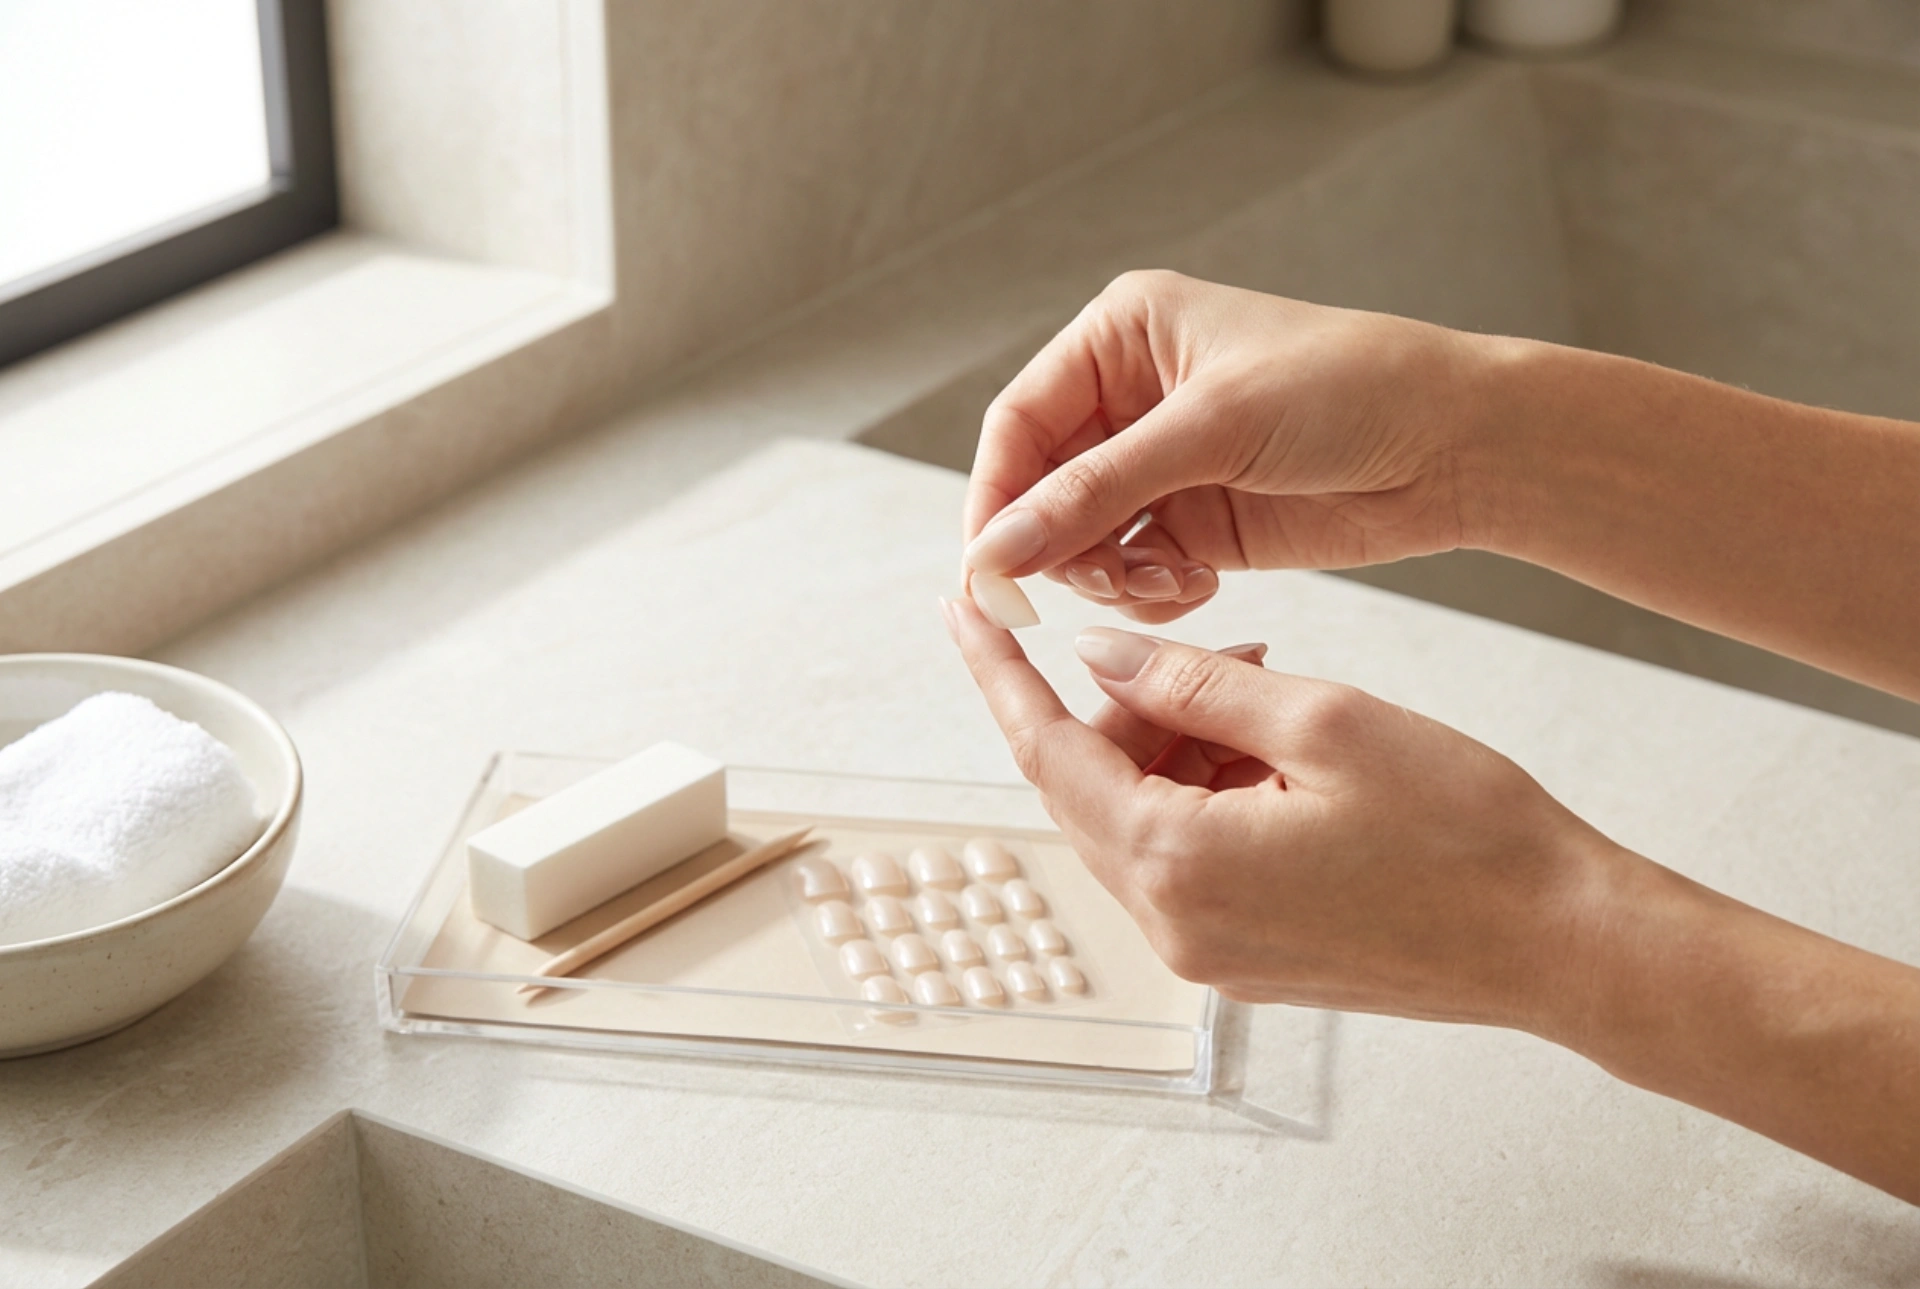
Finding the Perfect Fit
Most press-on nail kits come with a variety of sizes. Before peeling off any adhesive backing, size each artificial nail against your natural nails to find the best fit. The false nail should cover your entire natural nail from side to side without overlapping onto the skin. If you are in between sizes, it is always better to choose the slightly smaller size and file the sides gently for a perfect fit, rather than one that is too large.
Applying the Nail
Once you have your sizes selected and laid out, the application is straightforward. Follow these steps for each finger:
- Peel the protective film from the adhesive tab on the back of the false nail.
- Align the artificial nail with your cuticle, making sure it is straight.
- Press the nail down firmly, starting at the base near the cuticle and then moving towards the tip.
- Hold it in place with firm pressure for at least 20-30 seconds. This helps the adhesive bond securely to your natural nail.
Ensure you apply pressure across the entire surface of the nail to eliminate any air bubbles and secure the edges.
Tips for a Long-Lasting Manicure
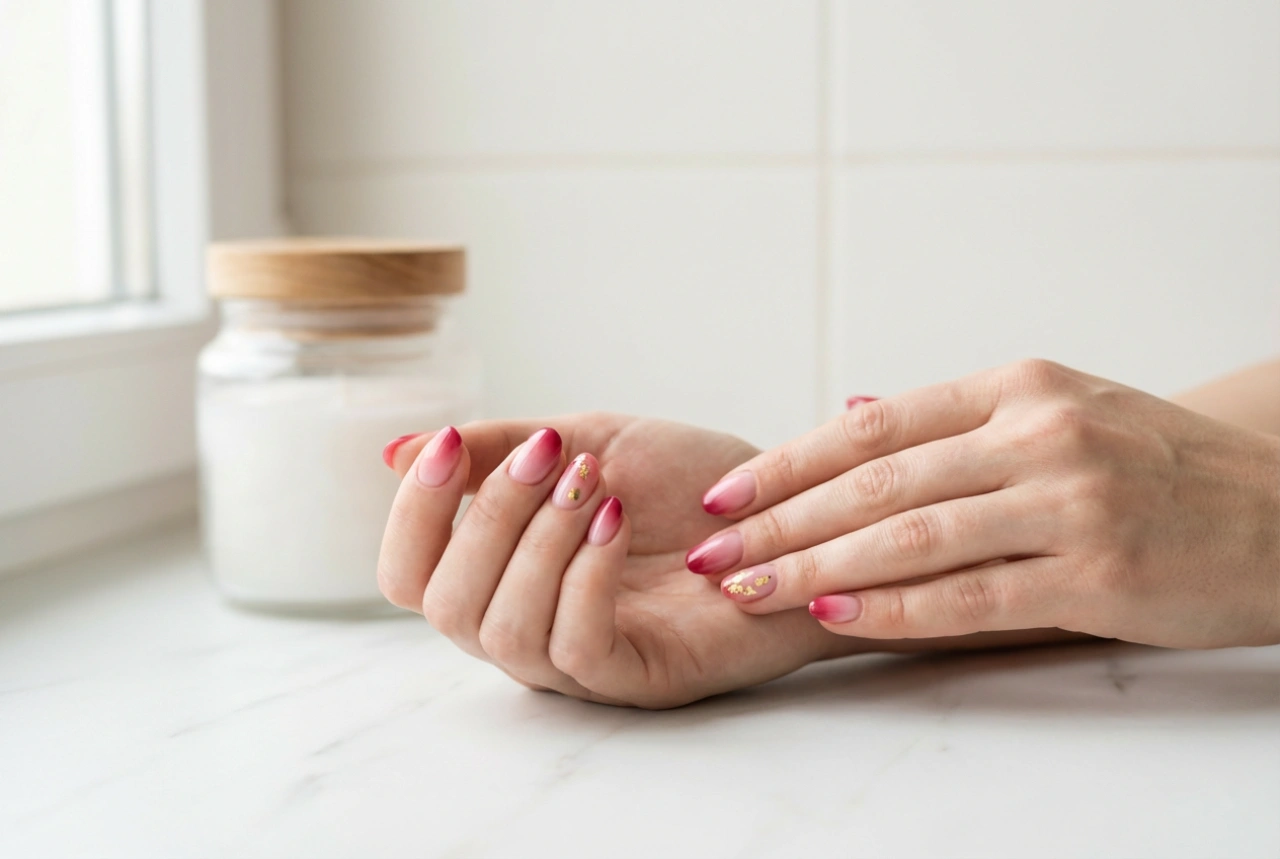
To get the most out of your press-on manicure, a little aftercare goes a long way. The first hour is the most critical for the adhesive to cure and create a strong bond. Avoid contact with water during this time. For the duration of wear, be mindful of your nails. While they are durable, they are not tools. Avoid using them to open cans or scrape things. If you need to shorten or reshape the nails, use a file rather than clippers to prevent cracking the plastic. Applying a clear top coat along the seam where the artificial nail meets your natural nail can also help to seal the edge and prolong wear.
Safe and Gentle Removal
When you are ready to remove your press-on nails, resist the urge to pull or rip them off. Forcing them off can peel away layers of your natural nail, causing damage and weakness. The correct method is gentle and patient. Soak your fingertips in a bowl of warm, soapy water for 10-15 minutes. This will help to loosen the adhesive. After soaking, gently use a wooden cuticle stick to pry the nail from the side. If it doesn't lift easily, soak for a few more minutes. Never force it. Once all the nails are removed, you may have some adhesive residue left on your natural nails. You can buff this off gently or use a small amount of nail oil to help dissolve it. Finish by moisturising your hands and applying cuticle oil to rehydrate your nails and skin.