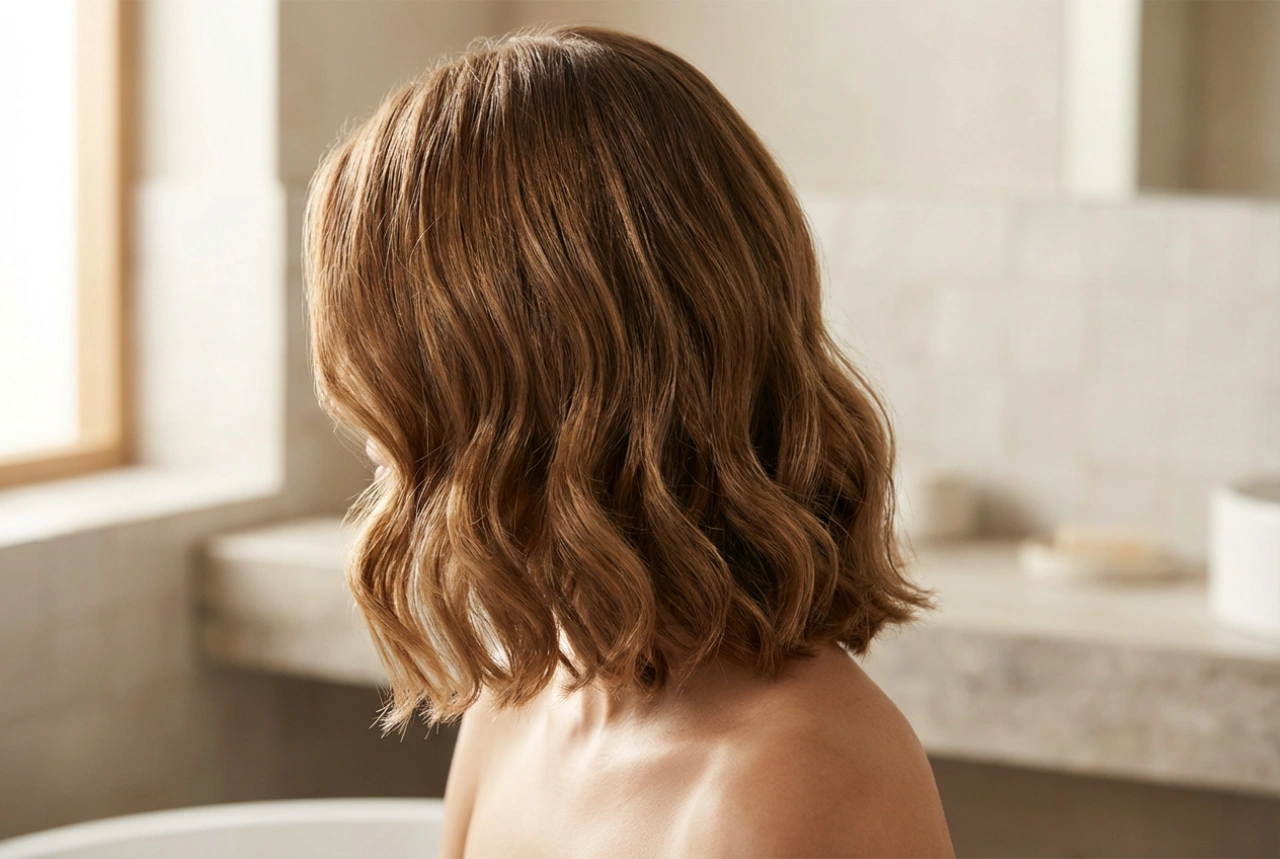


Defined, bouncy curls can add incredible volume and texture to your hair, and a thin curling iron is the perfect tool for achieving this look. Unlike larger barrels that create loose waves, a slender wand allows for the creation of tight, springy ringlets with precision. Mastering the technique is key to achieving a beautiful style without compromising the health of your hair. With the right preparation and a gentle approach, you can create a stunning cascade of small curls safely at home.
Preparing Your Hair for Styling
Proper preparation is the foundation of any successful heat-styled look and is crucial for protecting your hair. Always start with completely dry hair. Using a hot tool on damp hair can cause significant damage as the water inside the hair shaft turns to steam. It's best to wash your hair, allow it to air-dry or use a blow-dryer on a low heat setting. Before you even think about plugging in your curling iron, apply a heat protectant spray generously from roots to ends. This creates a barrier between your hair and the heat, minimising moisture loss and reducing the risk of damage.
Choosing the Right Tool and Temperature
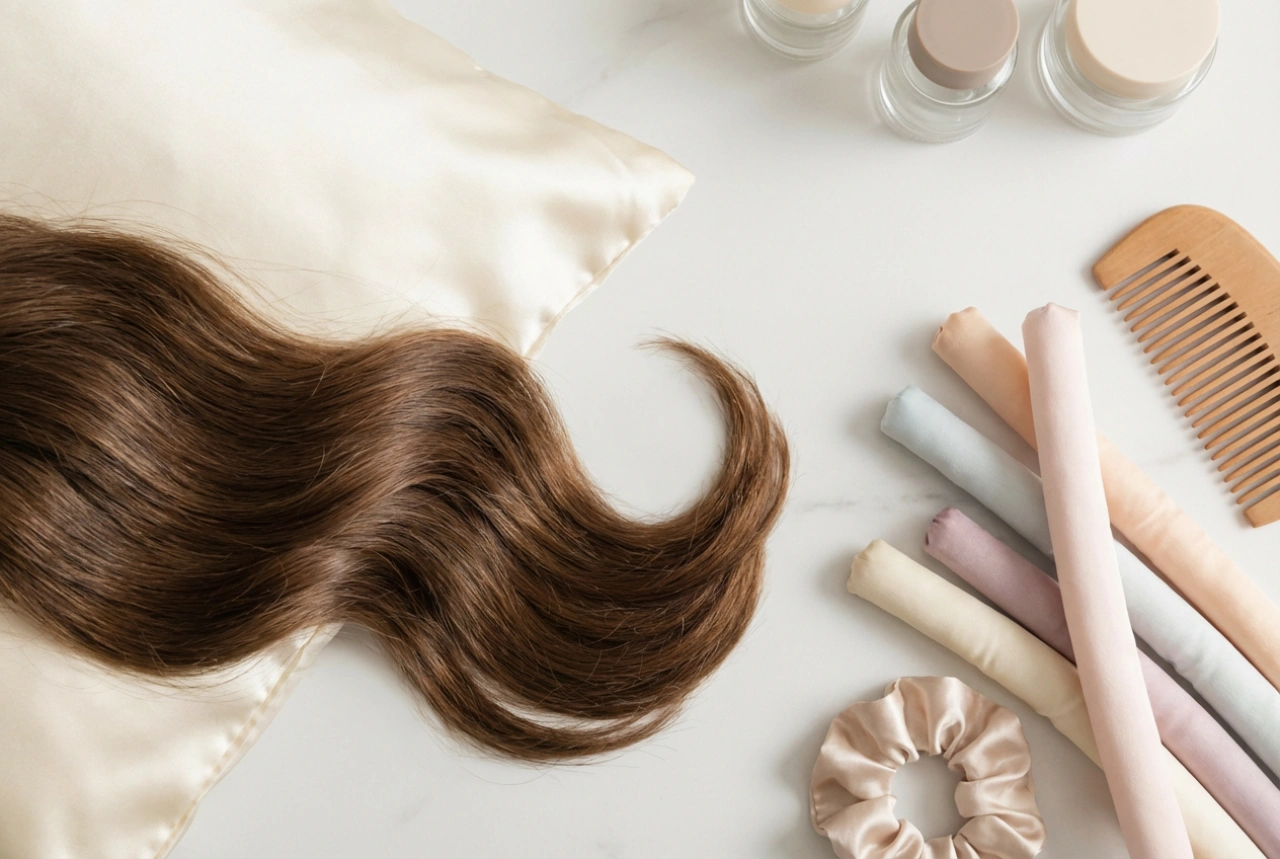
The success of your small curls depends heavily on your tool. For tight, defined curls, look for a curling iron with a barrel diameter between 10mm and 19mm. The material of the barrel also matters; ceramic, tourmaline, or titanium irons provide even heat distribution, which helps prevent hot spots that can singe your hair. Most importantly, choose a tool with adjustable temperature settings. This allows you to tailor the heat to your hair type.
- Fine or colour-treated hair: Use a lower temperature, typically between 140°C and 160°C.
- Normal hair: A medium heat setting around 160°C to 180°C should be effective.
- Thick or coarse hair: You may need a higher temperature, from 180°C to 200°C, but always start lower and increase only if necessary.
The Step-by-Step Curling Technique
With your hair prepped and your tool ready, it's time to start curling. Patience and a methodical approach will yield the best results.
Section Your Hair
Divide your hair into manageable sections using clips. Working with smaller, organised sections ensures that every strand is curled evenly and prevents you from becoming overwhelmed. A good starting point is to create four main sections: two at the front and two at the back. You can then work with smaller sub-sections from there.
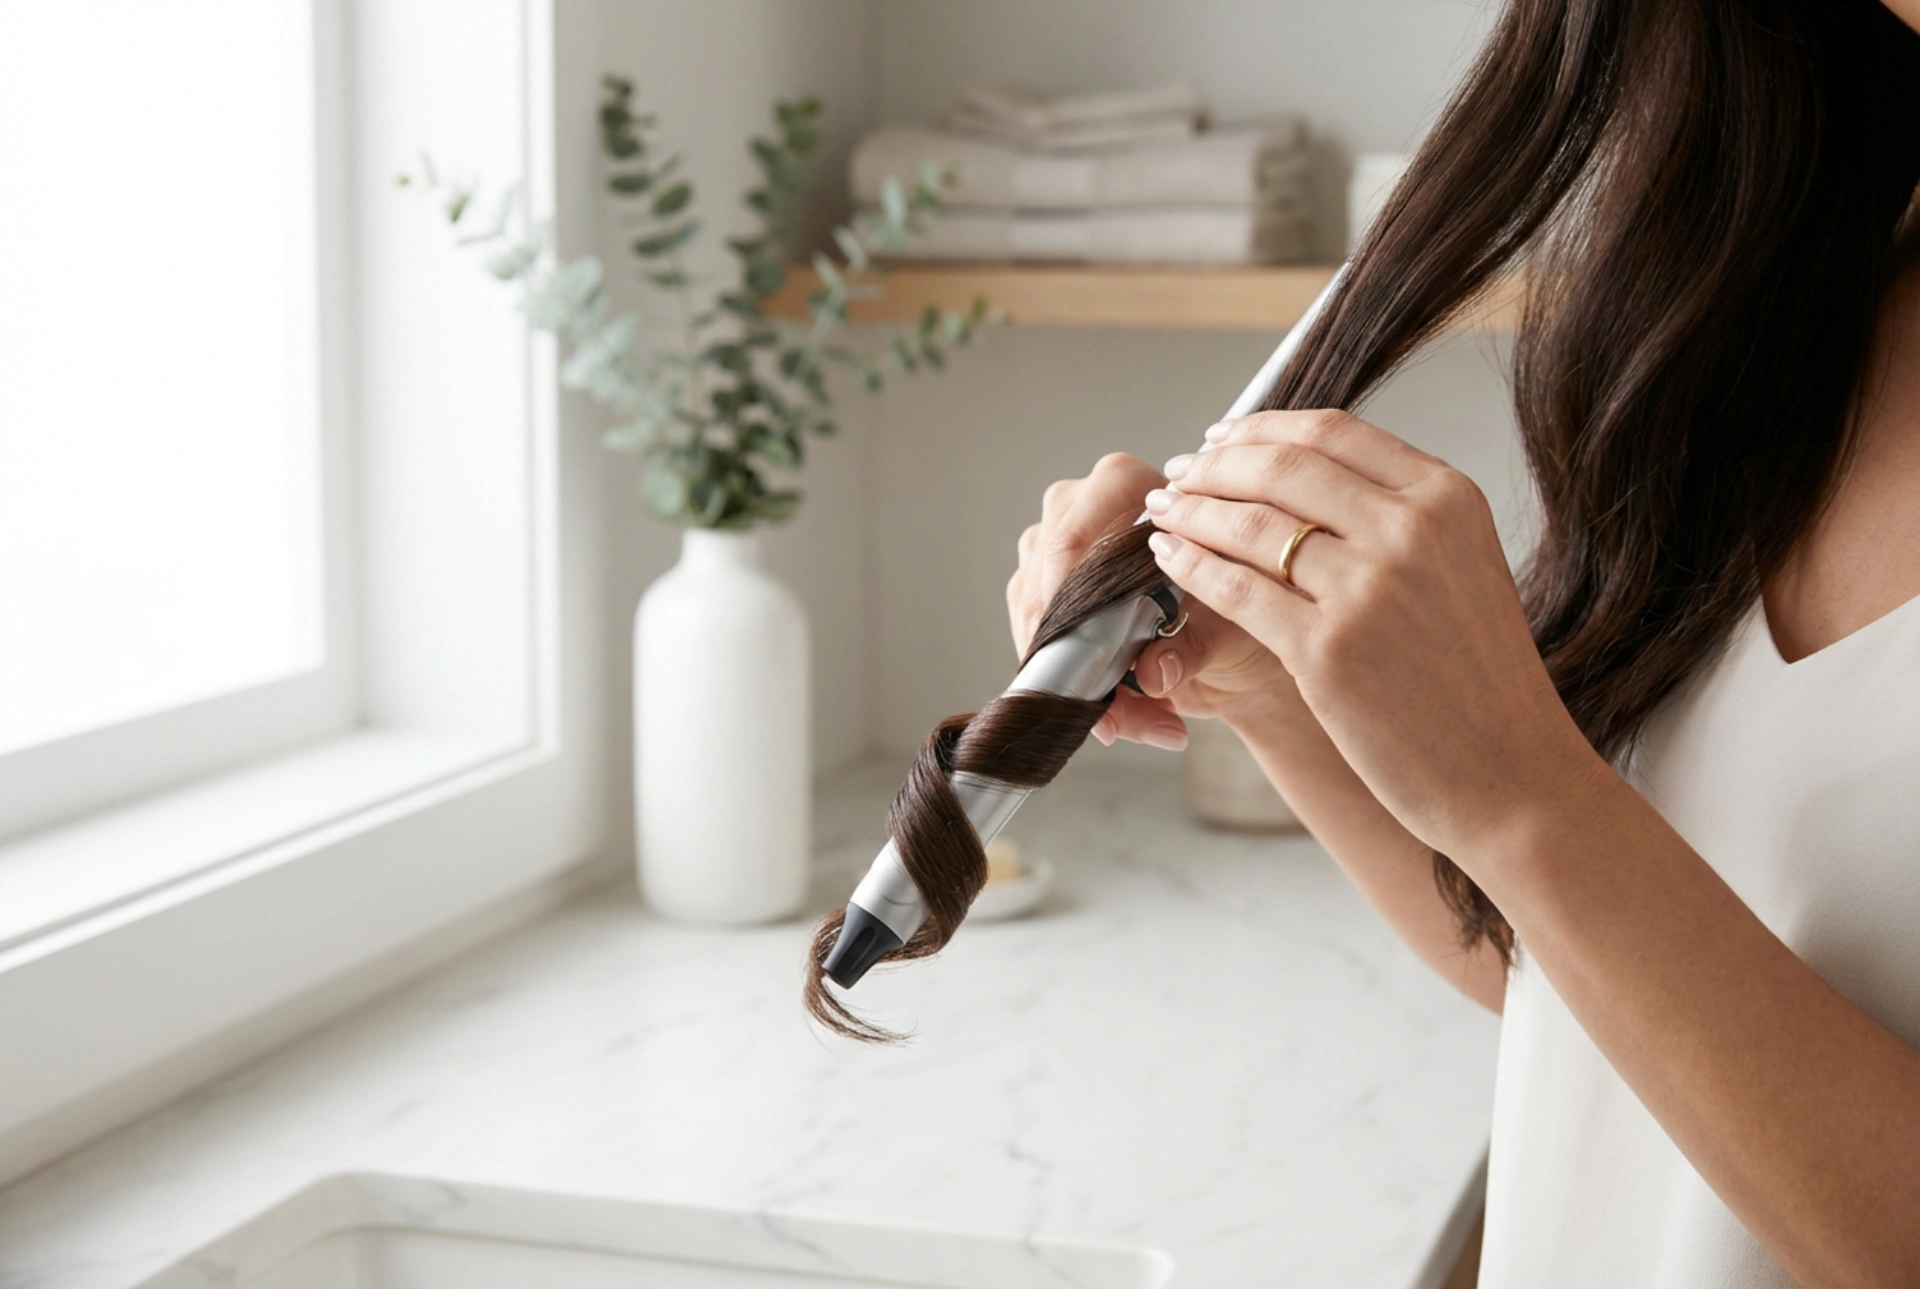
The Curling Process
Take a small section of hair, about 1-2 cm wide. The smaller the section, the tighter the curl. Starting a few centimetres away from the root, wrap the hair flat against the barrel. Avoid twisting the hair as you wrap it, as this will create a less defined curl. Hold the hair on the barrel for about 5-8 seconds. The exact time depends on your hair type and the temperature, so it may require some experimentation. Avoid holding the hair for too long to prevent damage. Gently release the hair from the iron.
Setting the Curls for Longevity
As you release each curl from the iron, don't let it drop immediately. To create a long-lasting, springy curl, either catch it in the palm of your hand and let it cool for a few seconds, or use a small clip to pin the coiled curl to your scalp. This allows the hair to cool and set in its curled shape, which dramatically increases the style's staying power. Repeat this process for all sections of your hair.
Finishing Touches and Aftercare
Once all your hair is curled and has completely cooled, it's time for the final steps. Gently remove any clips you used. You can either leave the curls as tight ringlets or separate them for a more voluminous look. For a softer, fluffier style, run your fingers through your hair. Avoid using a brush, as this can pull out the curls and create frizz. If you want to enhance hold, you can finish with a light-mist hairspray. To maintain hair health after heat styling, incorporate a hydrating hair mask into your weekly routine to replenish moisture.