


Algae masks, also known as alginate masks, offer a unique, spa-like experience with their satisfying rubbery texture and cooling sensation. Their effectiveness, however, largely depends on the right application technique. From mixing the mask to the perfect consistency to peeling it off cleanly, mastering a few key steps can transform your at-home treatment. Achieving the precision often seen in professional settings is simpler than it seems and is crucial for maximising the soothing and hydrating benefits for your skin.
The Ideal Consistency and Thickness
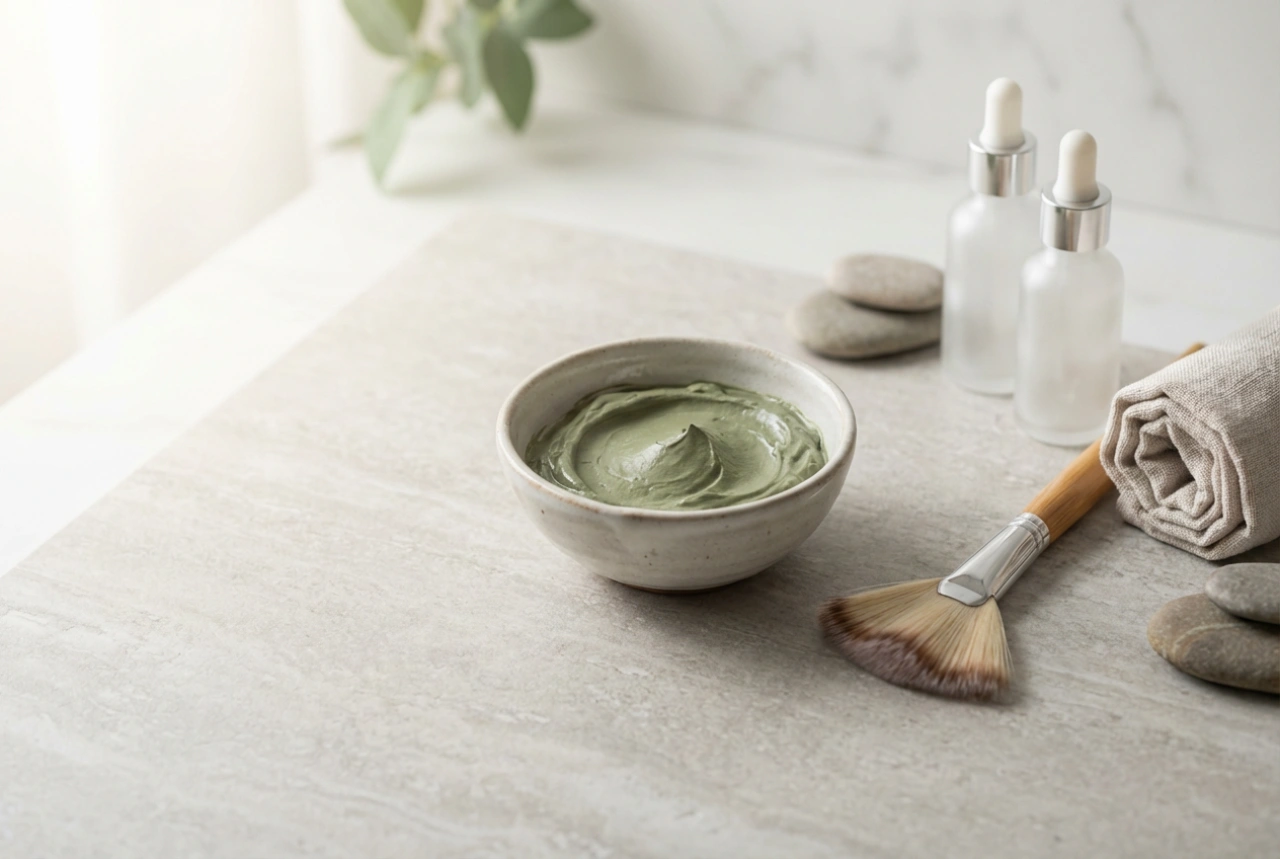
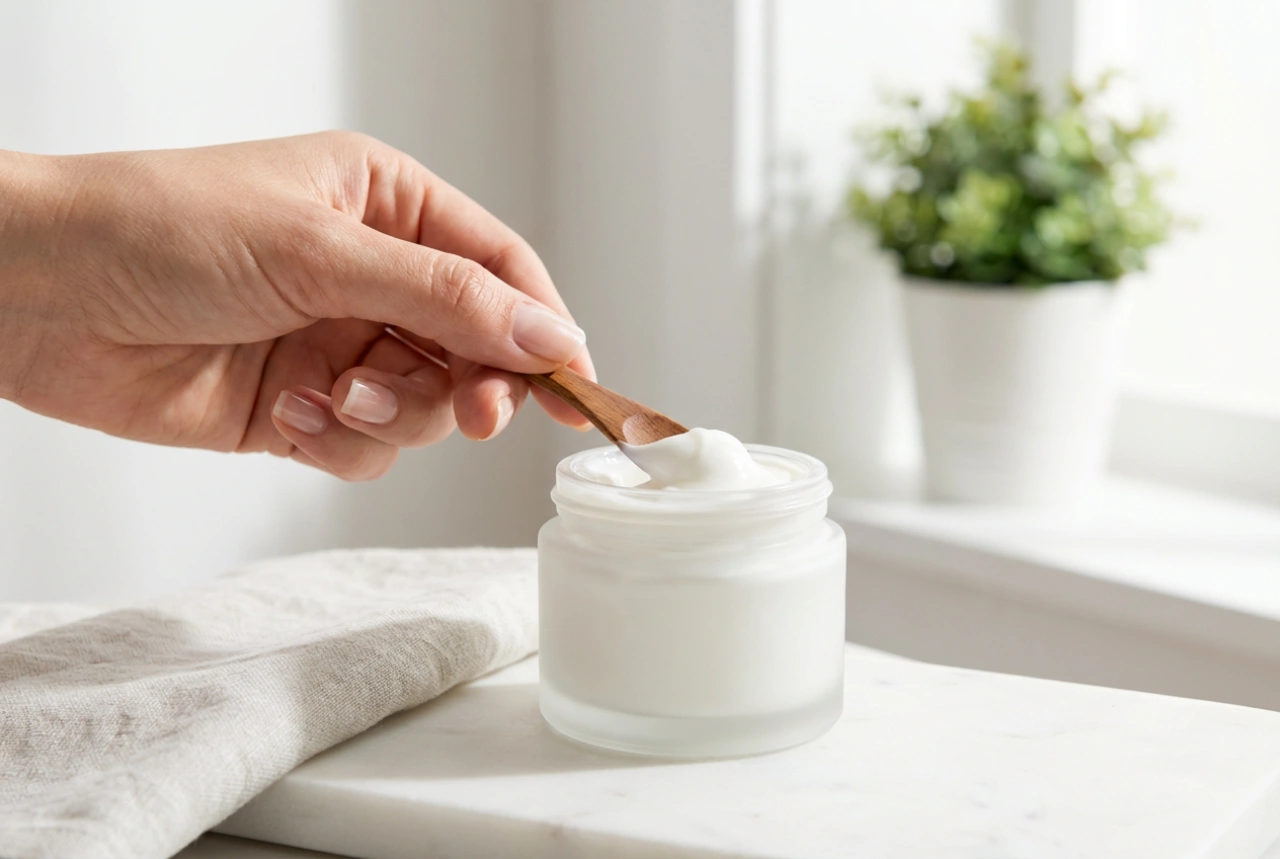
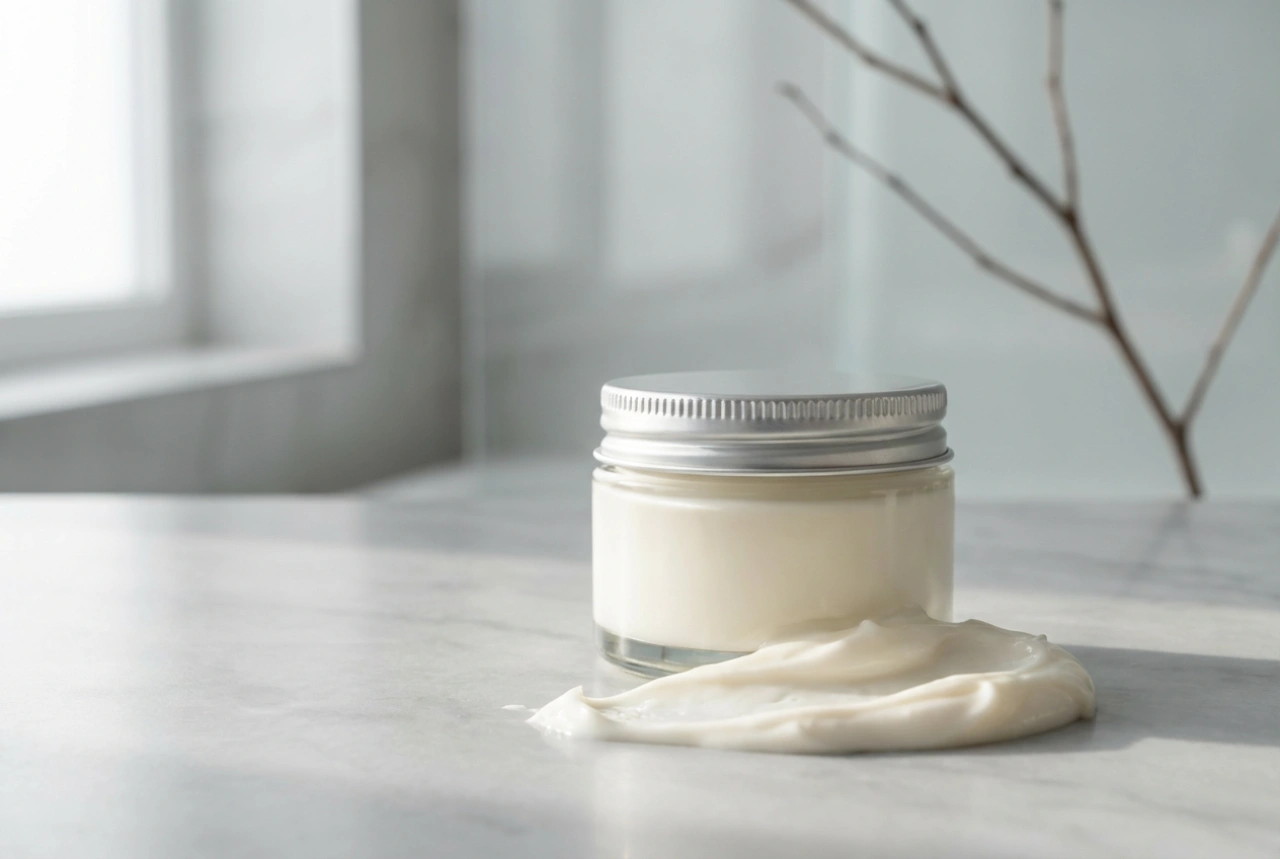
The foundation of a successful algae mask application lies in its preparation. The goal is to create a smooth, homogenous paste without any lumps. The final consistency should resemble thick pudding or Greek yoghurt—rich enough to not drip down your face, but pliable enough to spread easily. A common mistake is adding too much water at once. It's best to add the liquid gradually to the powder, stirring vigorously with a spatula until you reach the desired texture. The thickness of the applied layer is equally important. Aim for a layer that is at least 2-3 millimetres thick. A generous layer ensures two things:
- It prevents the mask from drying out too quickly on the skin, allowing the active ingredients to work effectively.
- It creates a solid, rubbery sheet that is easy to remove in one piece, which is the signature 'peel-off' effect.
A layer that is too thin will dry out, crack, and be difficult to remove, often requiring scrubbing that can irritate the skin.
Preparing Your Skin and Protecting Sensitive Areas
Before you even think about applying the mask, proper skin preparation is essential. This ensures that your skin receives the maximum benefits from the treatment.
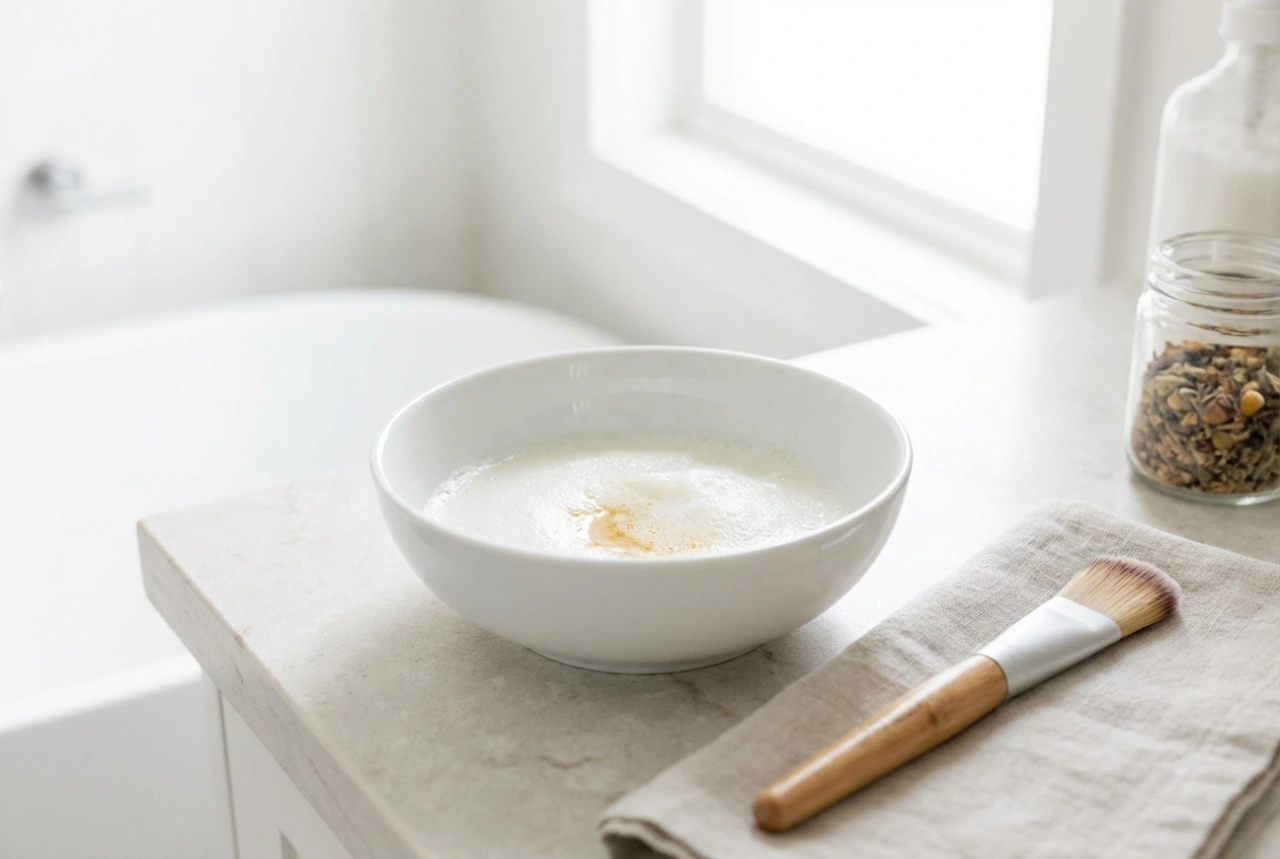
Cleansing and Prepping the Skin
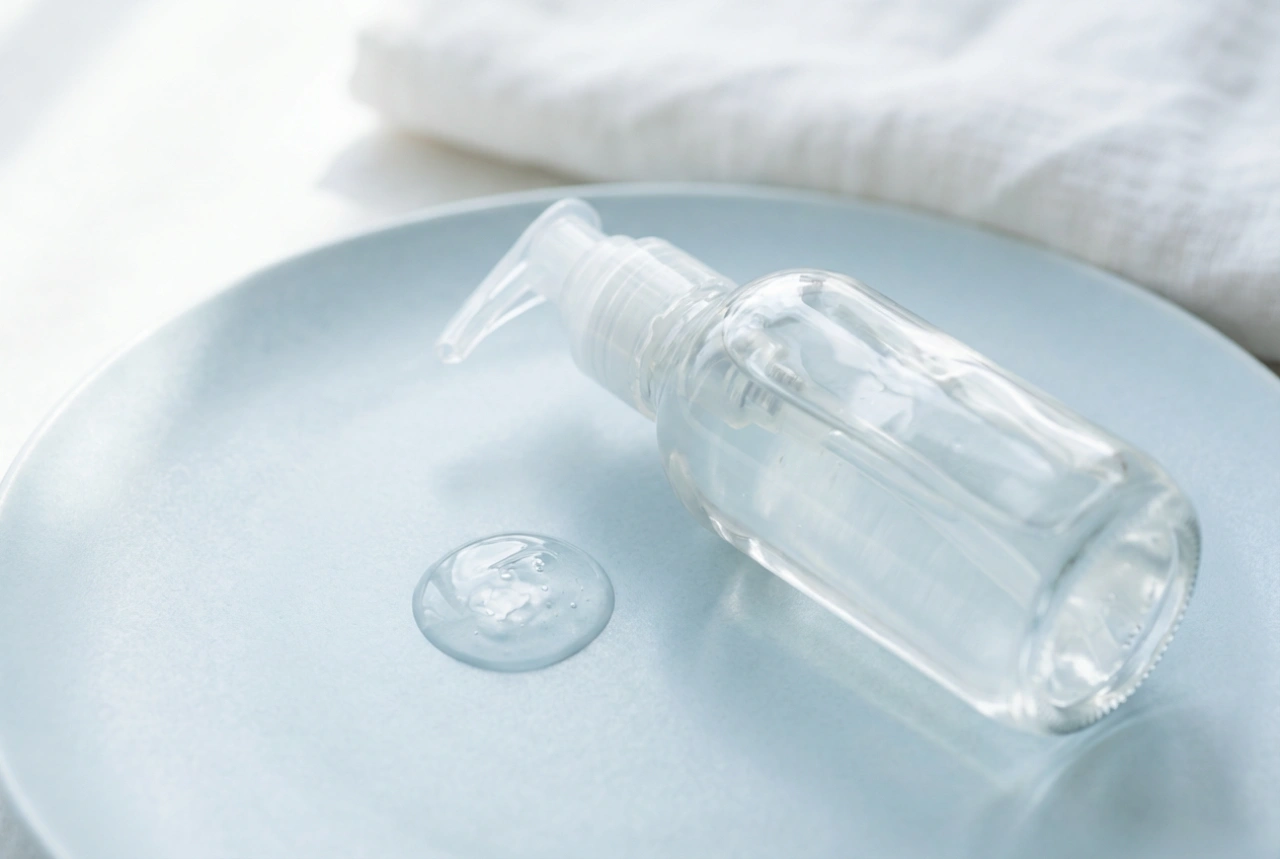
Start with a thoroughly cleansed face. Remove all makeup, dirt, and excess oil using your regular gentle cleanser. Pat your skin dry. For an enhanced effect, you can apply a thin layer of a water-based serum or ampoule before the mask. The algae mask will create an occlusive barrier, pushing these beneficial ingredients deeper into the skin and boosting their efficacy.
Protecting Eyebrows, Hairline, and Lips
One of the most critical steps is protecting areas with hair. An alginate mask sets firmly and can pull on fine hairs during removal, causing discomfort. To avoid this, apply a thick barrier cream, petroleum jelly, or even a rich oil to your eyebrows and along your hairline. This creates a protective film that prevents the mask from sticking to the hair. If you have a beard or moustache, this step is particularly important. You may also want to apply a lip balm to protect your lips if you plan on covering them.
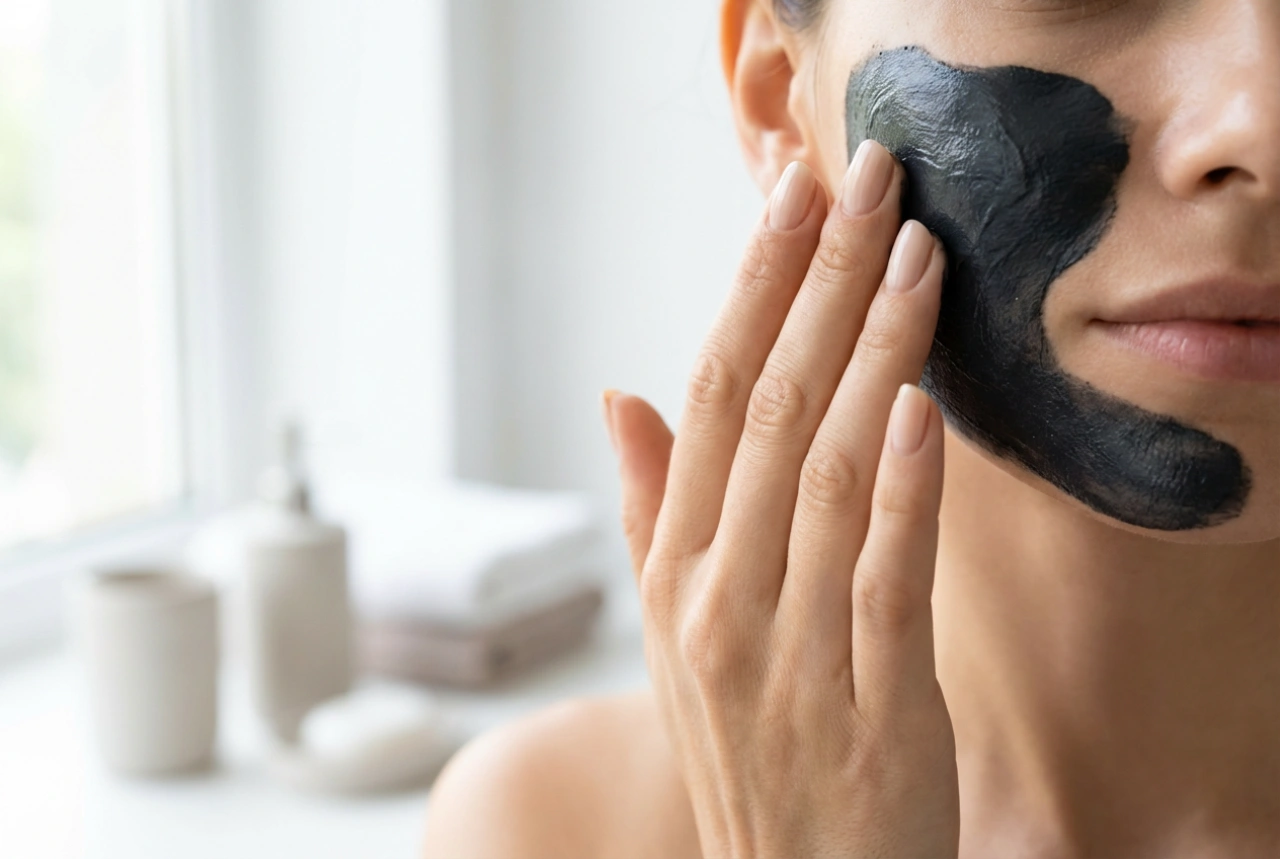
The Art of Application
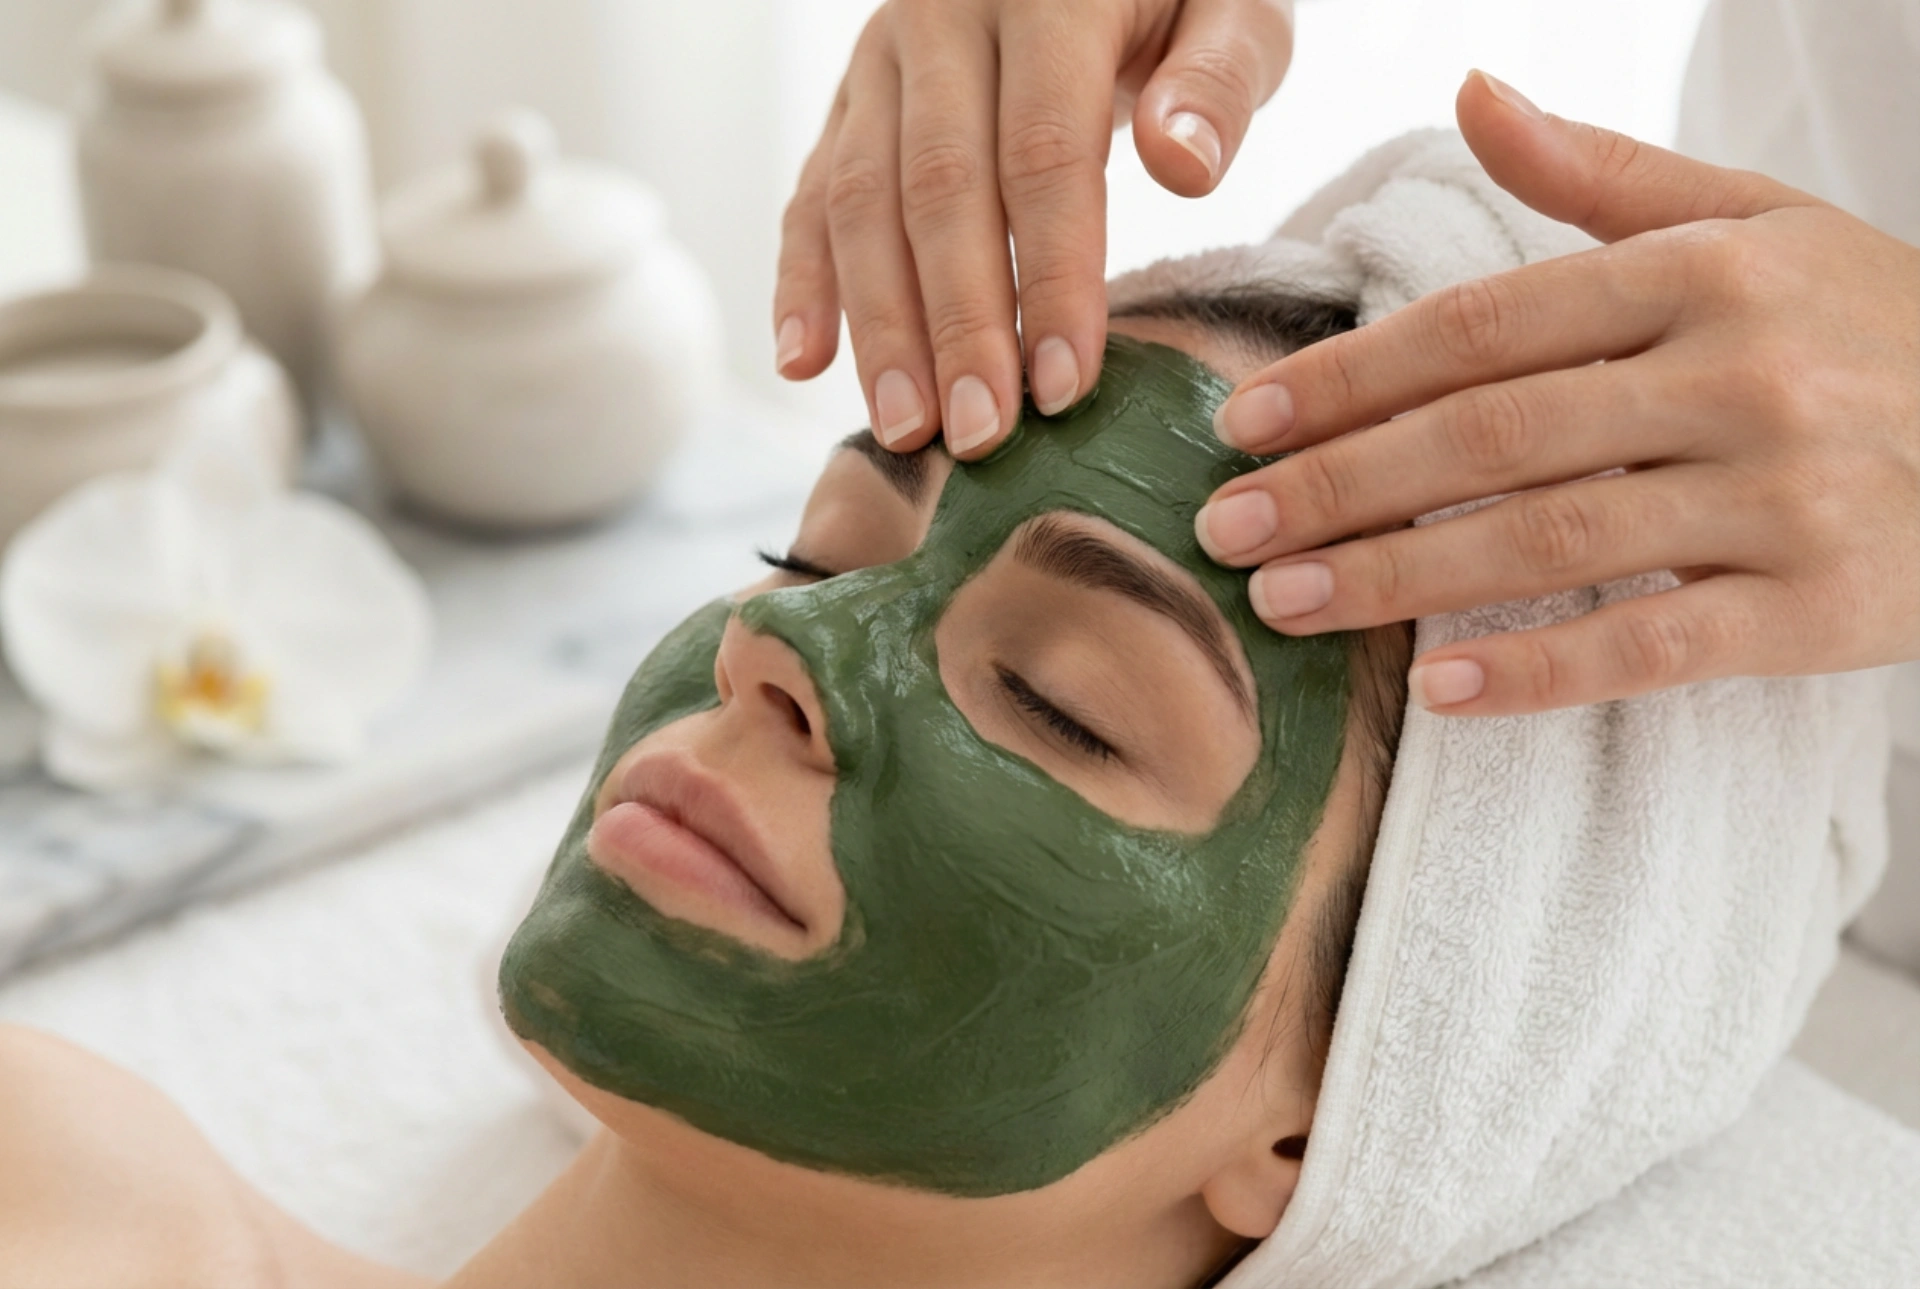
Once your mask is mixed and your skin is prepped, you need to work relatively quickly, as most algae masks begin to set within 5-7 minutes. Using a cosmetic spatula, scoop up a good amount of the paste. Start applying the mask to the larger areas of your face, such as the cheeks and forehead, using smooth, even strokes. Continue covering the chin, nose, and jawline. Work from the centre of the face outwards. Don't be afraid to apply a thick, even layer. Many professional-grade algae masks are designed to be applied over the eyes and mouth (leaving the nostrils clear for breathing). If you are comfortable with this, place damp cotton pads over your eyes first for extra protection and comfort, then apply the mask over them. Always check the manufacturer's instructions to see if the specific mask is suitable for use on these delicate areas.
Timing and Correct Removal Technique
An algae mask typically needs to set for about 15-20 minutes. During this time, it's best to lie down and relax, as this helps the mask stay in place and enhances the calming experience. You will feel the mask transform from a paste into a firm, flexible, rubber-like solid. To check if it's ready, gently touch the surface; it should not feel sticky. The removal process should be simple and satisfying. Start by gently loosening the edges of the mask all around your face, perhaps starting from the chin or jawline. Once the edges are lifted, grip the bottom edge and begin to peel the mask upwards in a slow, steady motion. Ideally, it will come off in a single piece. If any small bits of residue are left behind, especially around the hairline, simply wipe them away with a damp cloth or a cotton pad soaked in toner. Avoid rubbing the skin harshly. After removal, your skin will feel refreshed and hydrated. Follow up immediately with your favourite moisturiser to seal in all the benefits.