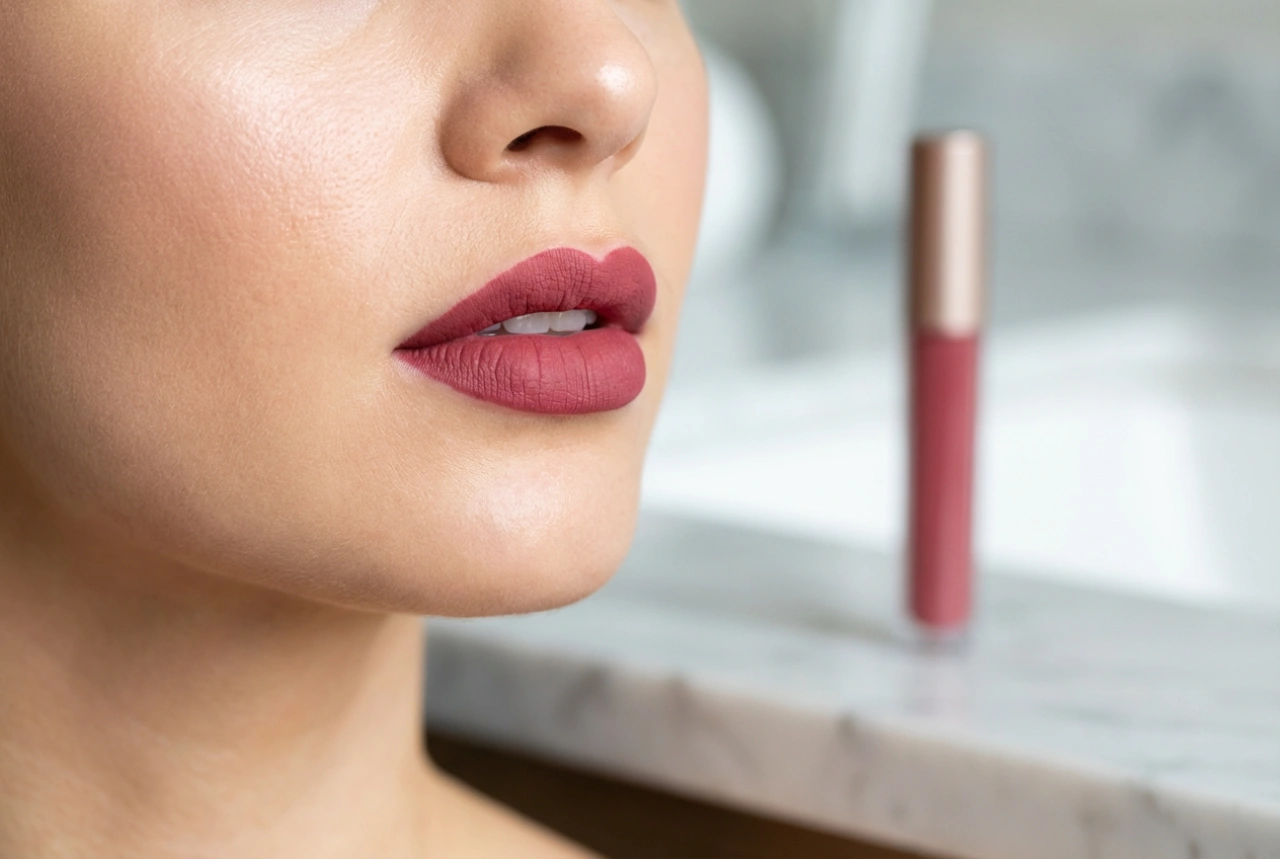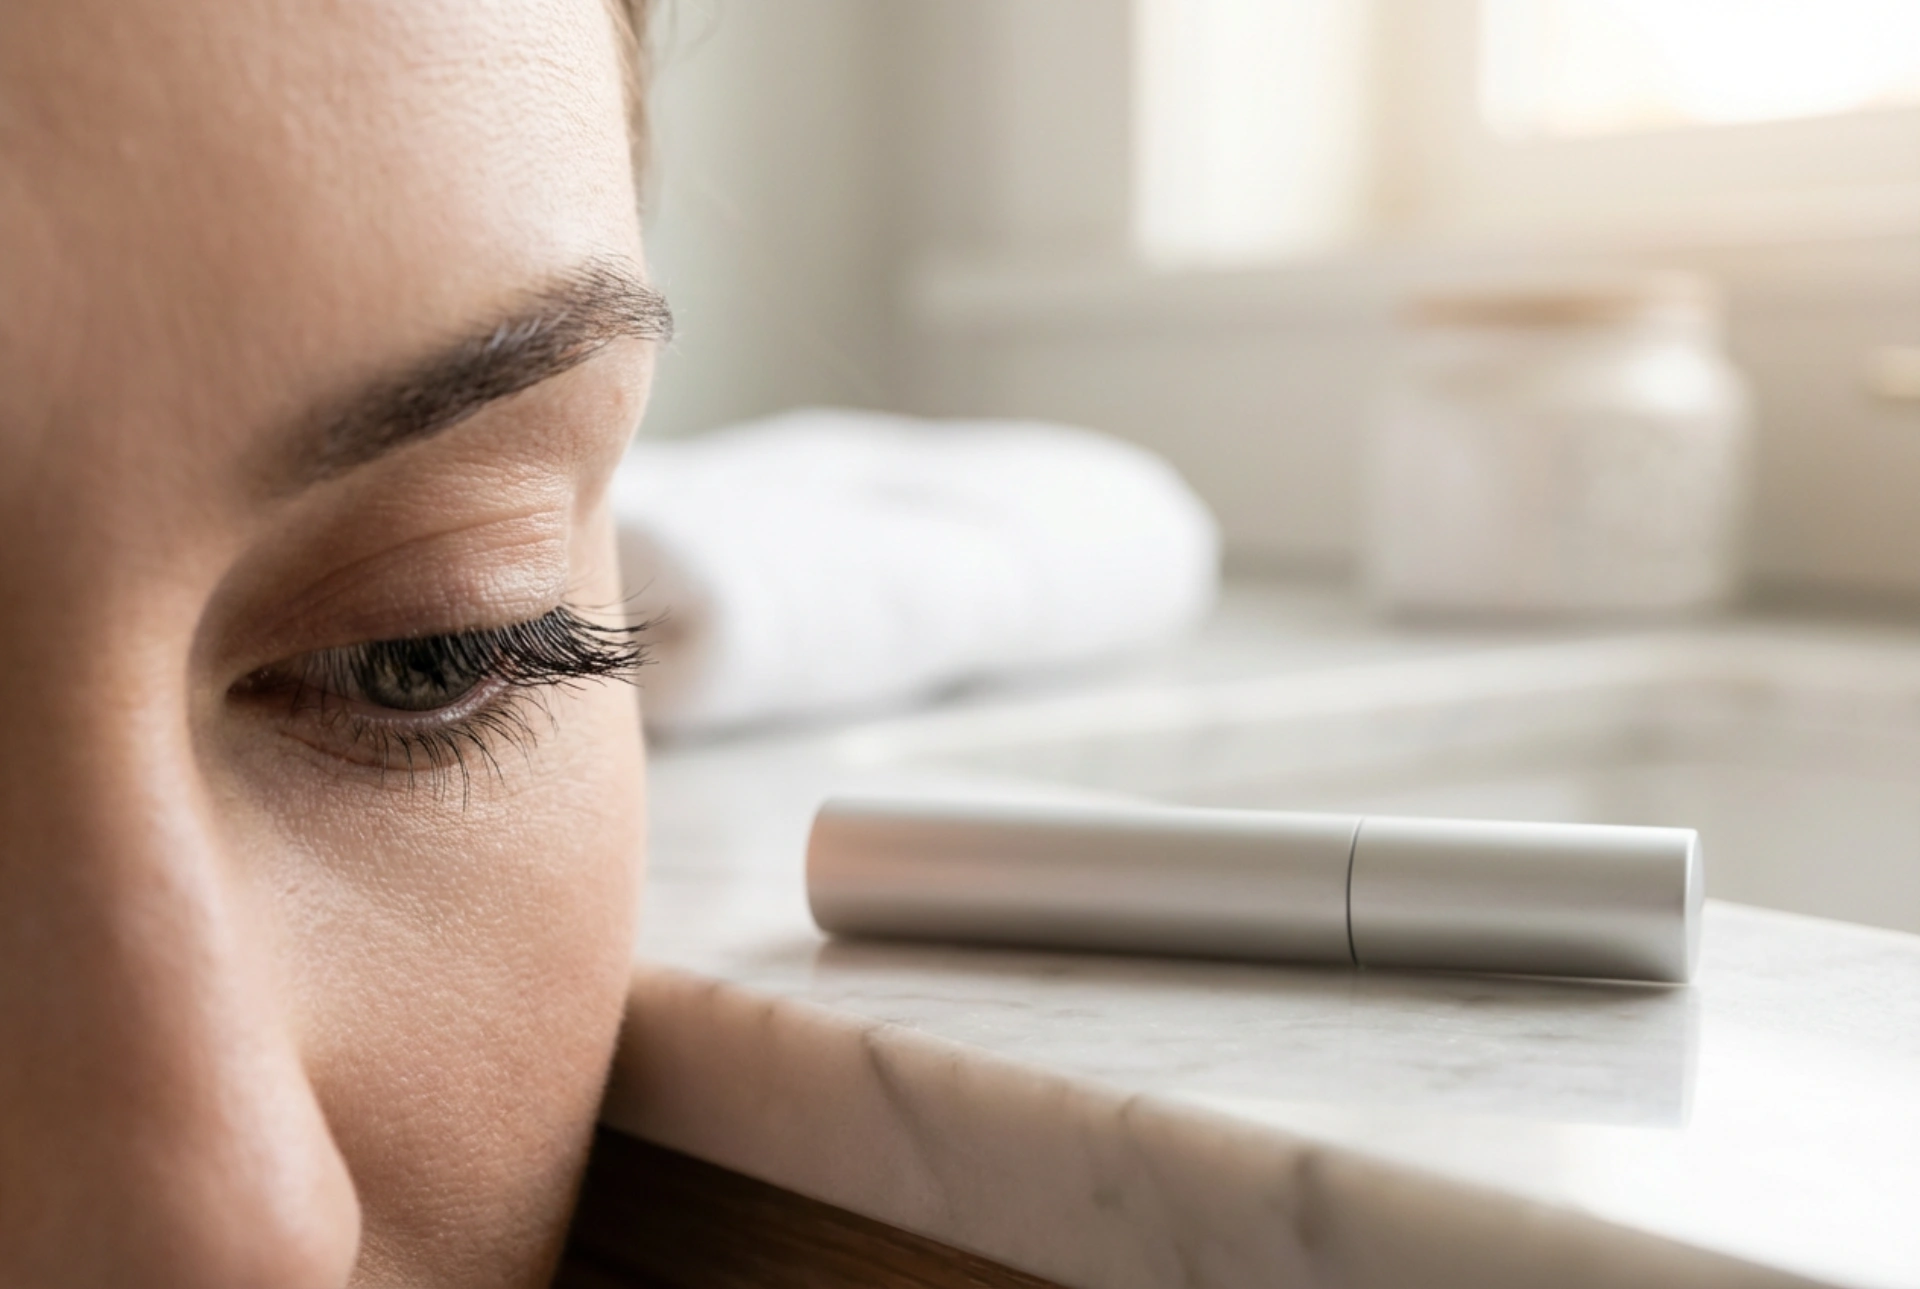


Perfectly applied mascara can transform your look, framing the eyes and adding a touch of elegance. The secret to achieving long, voluminous, and beautifully separated lashes lies not just in the product itself, but in the preparation and application technique. A smooth, even finish prevents clumps and ensures your lashes look their absolute best, creating a gentle yet impactful gaze. This guide will walk you through the essential steps to master your mascara application for a flawless result every time.
Preparing Your Lashes for Application
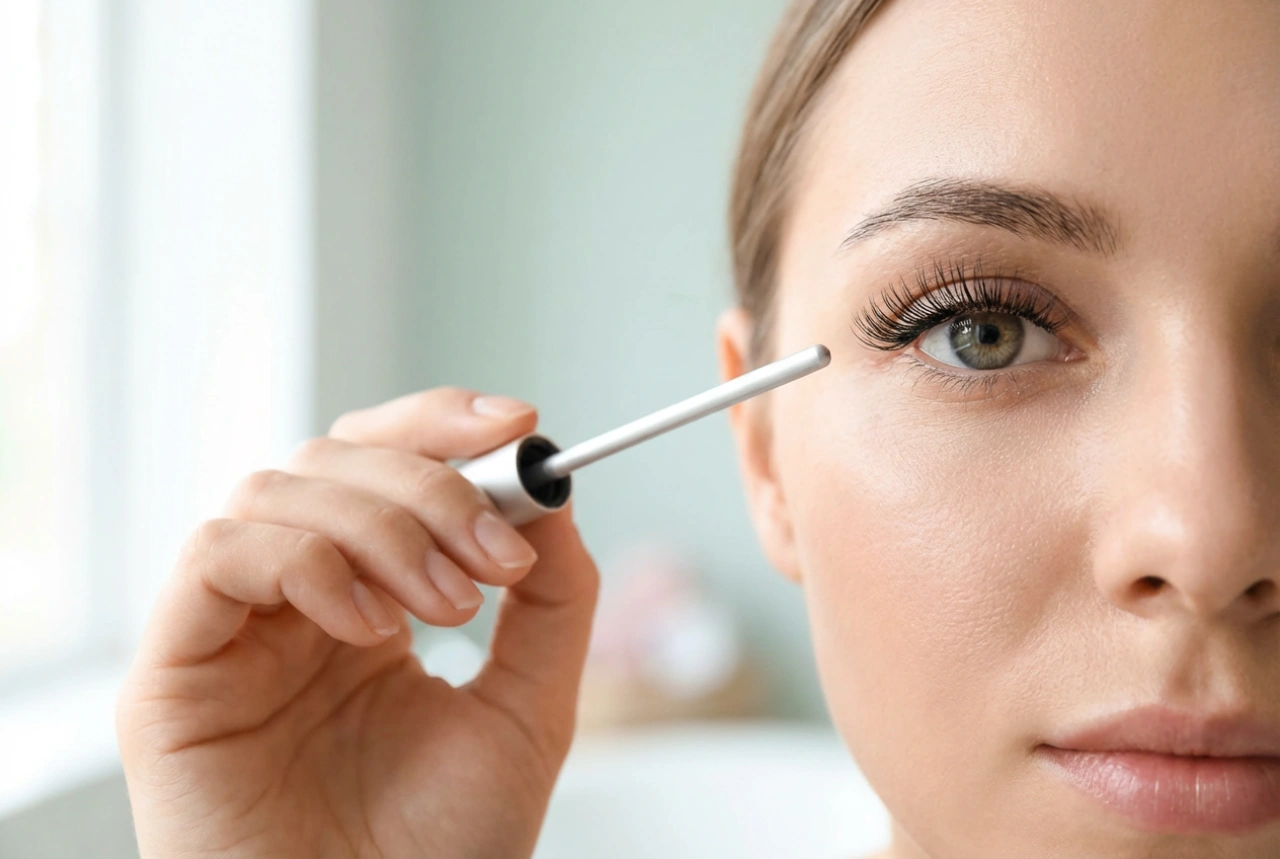
The foundation of a perfect mascara application is well-prepared lashes. Starting with a clean canvas is crucial for helping the formula adhere properly and last longer. Before you even reach for your mascara tube, ensure your eyelashes are completely free of any residual makeup, oils, or creams. Use a gentle, oil-free makeup remover and a cotton pad to carefully wipe your lashes, then allow them to dry completely. For an extra lift and curl that opens up the eyes, consider using an eyelash curler. Position the curler at the base of your upper lashes, hold for a few seconds, and gently press. Avoid squeezing too hard to prevent creating a harsh crimp. A proper curl helps the mascara to lift the lashes upwards, enhancing the lengthening effect.
Choosing the Right Wand and Formula
The variety of mascara wands and formulas available can seem overwhelming, but understanding the basics will help you choose the right tools for your desired effect. The wand, or applicator, plays a significant role in the final look.
- Bristle Wands: Traditional fibre bristle wands are often dense and are excellent for building volume. They tend to pick up a lot of product, making it easy to create a fuller, thicker lash line.
- Silicone Wands: Moulded plastic or silicone wands typically have shorter, more rigid bristles. They excel at separating lashes and providing a clean, defined look, which is perfect for avoiding clumps and achieving a natural-looking length.
- Wand Shape: Wands come in various shapes. Hourglass-shaped applicators are designed to build volume at the outer and inner corners while lifting the centre. Straight, thin wands offer precision and are great for reaching smaller lashes, including those on the lower lash line.
Formulas also differ. Some are enriched with fibres to add visible length, while others have a whipped, lightweight texture designed to build volume without weighing the lashes down. For a combined effect, look for a formula that promises both volumising and lengthening properties, often paired with a wand designed for separation.
Mastering the Application Technique
The way you apply mascara is just as important as the product you use. A methodical approach ensures even coverage and minimises the risk of clumps or smudges.
The Wiggle and Roll Method
The most effective technique for applying mascara is the 'wiggle and roll' or 'zig-zag' method. Start by placing the wand at the very base of your upper lashes. Gently wiggle the wand back and forth to deposit product right at the root, which creates the illusion of a thicker lash line. As you move the wand upwards, slowly roll it towards the tips of your lashes. This combined motion helps to coat each lash evenly from root to tip, providing both volume and length.
Building Layers Without Clumps
For a more dramatic effect, you can apply multiple coats of mascara. The key is to build layers strategically. Apply the first coat using the wiggle method, then wait about 30 seconds for it to become slightly tacky but not completely dry. Applying a second coat while the first is still wet can cause lashes to stick together. When applying the next layer, focus more on the mid-lengths and tips to add length and volume without overloading the base. Avoid applying more than two or three coats, as excessive layering is a common cause of clumping.
Post-Application Finishing Touches
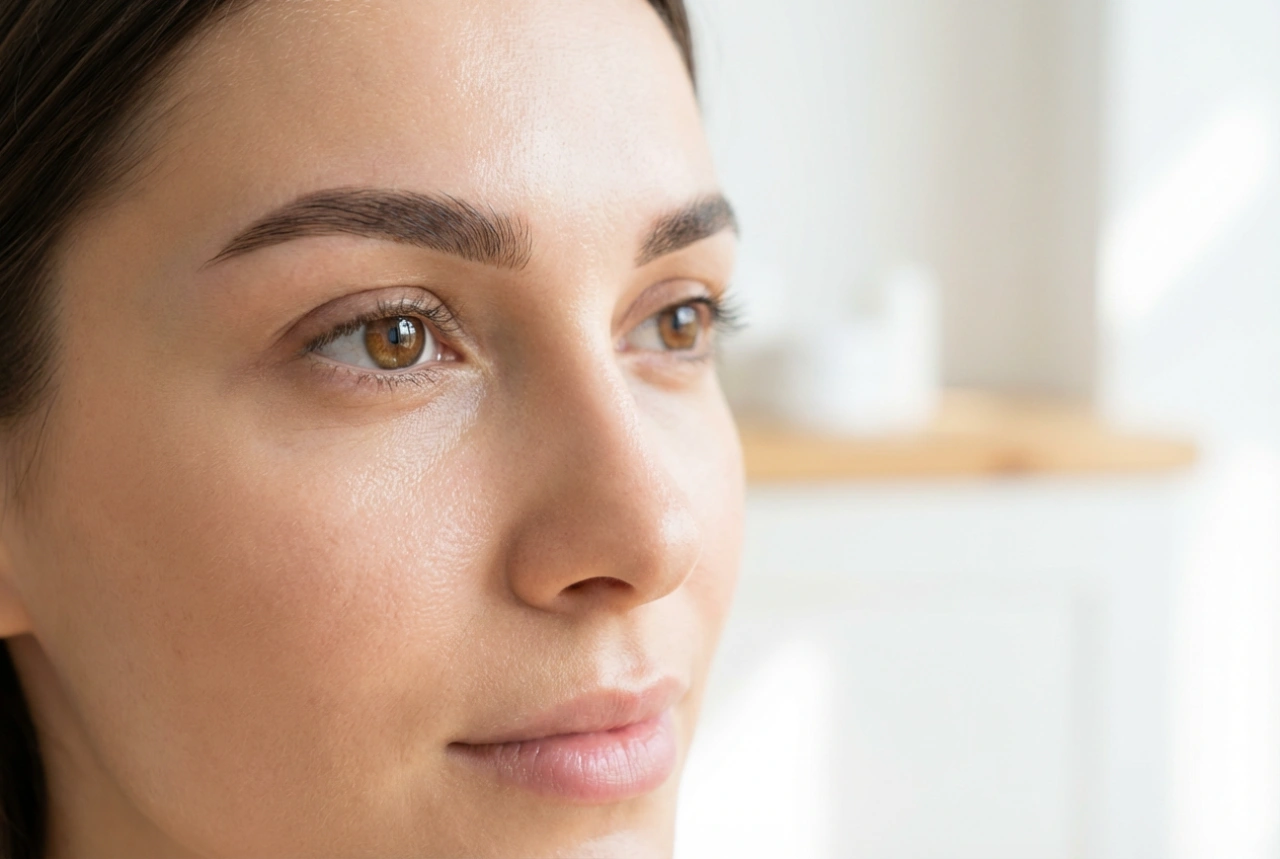
Once you've applied your mascara, a few final touches can perfect the look. If you notice any small clumps or lashes sticking together, take a clean, dry spoolie brush or a dedicated lash comb. While the mascara is still slightly wet, gently brush through your lashes from base to tip. This simple step helps to separate each lash for a feathery, defined finish. If you've accidentally smudged mascara onto your eyelid or under-eye area, don't panic. Let the smudge dry completely. Once dry, take a dry cotton bud and gently flick it away. The dried mascara will flake off easily without smearing or ruining the rest of your makeup.
Gentle and Effective Removal
Proper mascara removal is essential for maintaining healthy, strong lashes. Going to bed with mascara on can make lashes brittle and prone to breakage. To remove it, use a gentle eye makeup remover. Soak a cotton pad in the remover and hold it against your closed eye for about 20-30 seconds. This gives the remover time to dissolve the mascara. Afterwards, gently wipe downwards in the direction of your lash growth. Avoid rubbing back and forth, as this can pull out lashes and irritate the delicate skin around your eyes. Repeat until the cotton pad comes away clean, ensuring all traces of the product are gone.