


Achieving salon-smooth skin without leaving your home is entirely possible with the right tools and knowledge. Using professional-grade wax can provide long-lasting results, but success lies in mastering the correct technique, understanding the importance of temperature, and prioritising safety. This guide will walk you through the essential steps to ensure your at-home waxing session is both effective and comfortable, transforming it into a seamless part of your beauty ritual.
Choosing the Right Wax for Your Needs
The first step is selecting the appropriate type of wax. The two main categories used by professionals are hard wax and soft wax, each suited to different areas and hair types.
Hard Wax (Stripless Wax)
Hard wax is ideal for smaller, more sensitive areas such as the face, underarms, and bikini line. It's applied thicker than soft wax and allowed to cool and harden. Once solid, it's removed on its own without the need for a cloth or paper strip. It works by 'shrink-wrapping' the hair as it cools, making it excellent for gripping coarse, short hairs while being gentler on the skin itself, as it adheres less to the skin and more to the hair.
Soft Wax (Strip Wax)
Soft wax is better suited for larger areas like the legs, arms, and back. It has a runnier consistency and is applied in a very thin layer. A cloth or paper strip is then pressed firmly onto the wax and used to remove it. This method is very efficient for covering large surface areas quickly. However, because it adheres to both the hair and the top layer of skin, it can sometimes cause more irritation for those with very sensitive skin.
Preparing for Your At-Home Waxing Session
Proper preparation is key to a successful and less painful waxing experience. Taking these preliminary steps will help the wax perform better and minimise skin irritation.
Clean, Dry Skin is Essential
Before you begin, wash the area you intend to wax with a gentle soap and water to remove any oils, lotions, or dirt. Afterwards, dry the skin thoroughly. Any moisture left on the skin will prevent the wax from adhering properly to the hair. You can apply a light dusting of talc-free powder to absorb any excess moisture.
Exfoliate in Advance
Gently exfoliate your skin a day or two before you plan to wax. This helps to remove dead skin cells, which can clog hair follicles and lead to ingrown hairs. Use a mild body scrub or an exfoliating mitt, but avoid harsh scrubbing right before your session, as this can make the skin too sensitive.
Check Your Hair Length
For the wax to grip effectively, your hair should be approximately 6mm long (about the length of a grain of rice). If the hair is too short, the wax won't be able to grab it. If it's too long, the removal process can be more painful and less effective. You can trim longer hair carefully with scissors before you start.
Mastering the Correct Technique
The process itself requires precision and confidence. Pay close attention to temperature and the direction of application and removal.
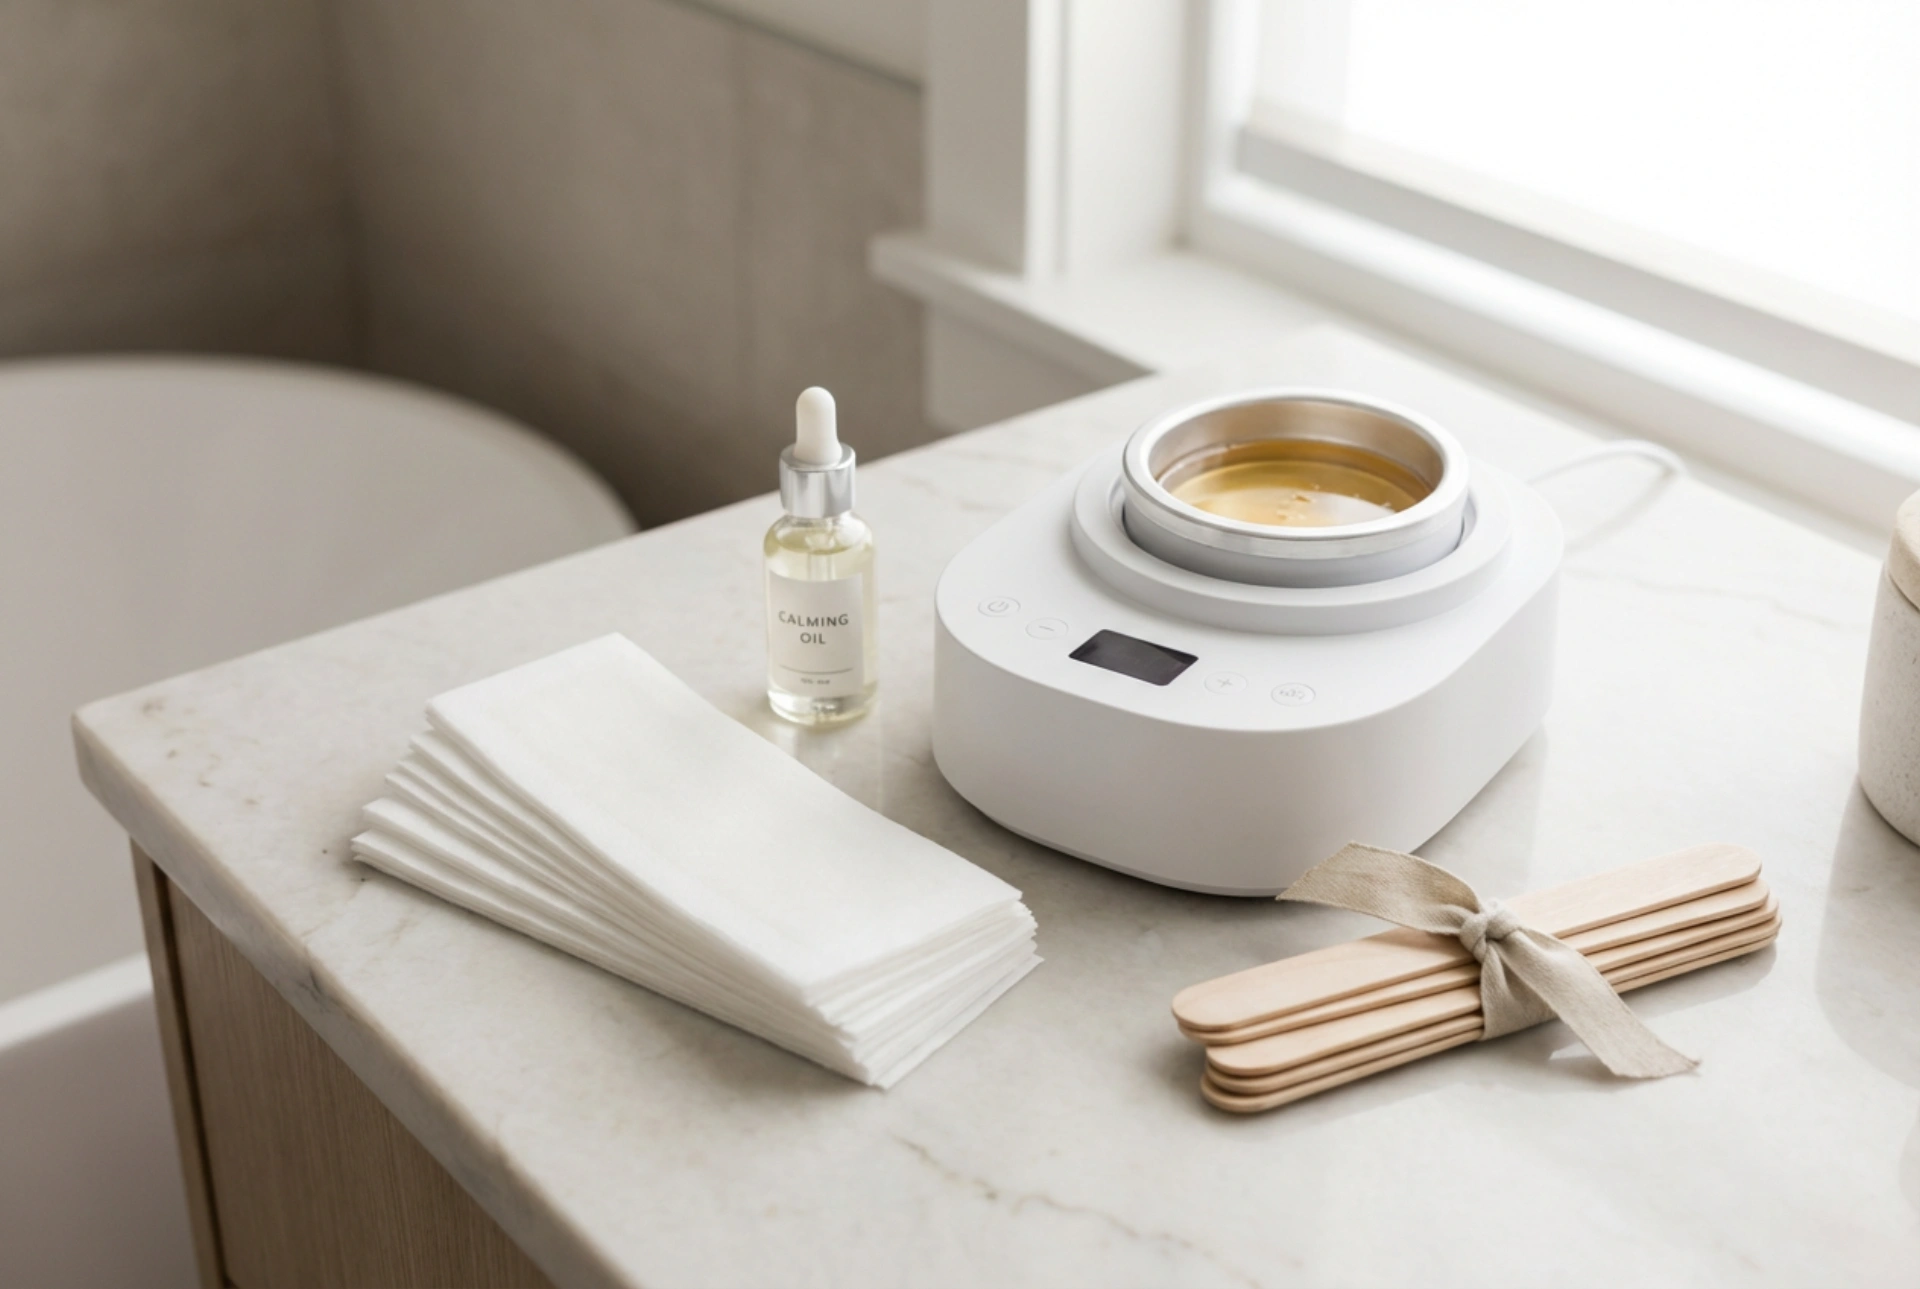
Heating the Wax to the Perfect Temperature
This is arguably the most critical step for safety and effectiveness. Always use a dedicated wax warmer designed for the type of wax you are using. Follow the manufacturer's instructions to melt the wax. The ideal consistency is similar to thick, warm honey. If it is too thin and watery, it is too hot and could burn your skin. Before applying it to the treatment area, always test a small amount on the inside of your wrist to ensure the temperature is comfortable and safe.
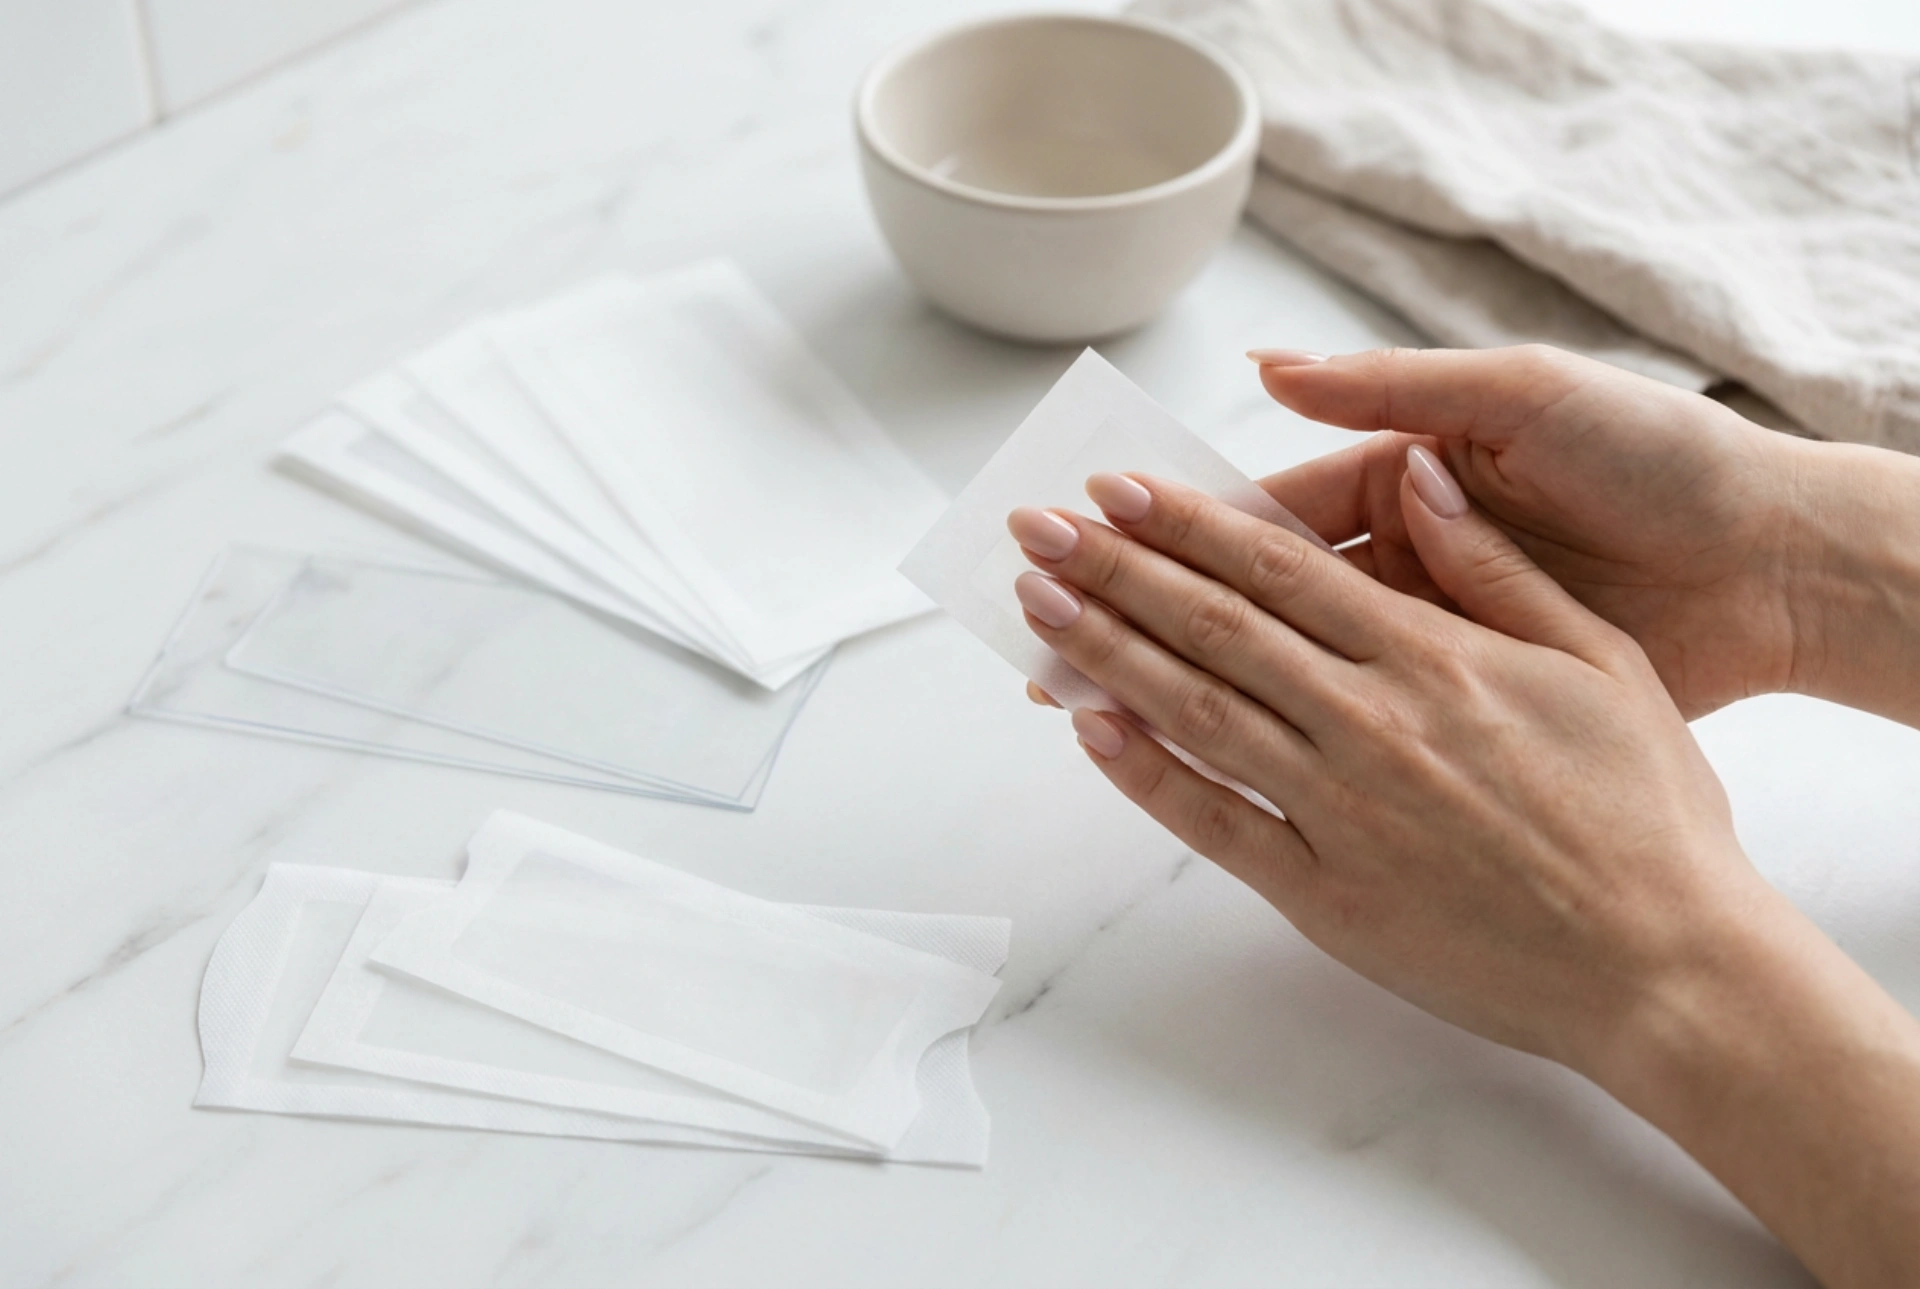
Application and Removal
Using a clean wooden spatula, scoop up some wax. Apply a layer of wax in the direction of hair growth. For hard wax, apply a thicker, even layer, creating a slightly thicker 'lip' at the end that you'll pull from. Let it cool until it is firm but still pliable. For soft wax, apply a very thin, even layer. Place a strip over the wax, leaving a small tail at the end to grip. Rub the strip firmly in the direction of hair growth a few times. To remove, hold your skin taut with one hand. With the other hand, grip the end of the wax (or strip) and pull it back quickly and decisively against the direction of hair growth. The pull must be parallel to the skin, not upwards away from it, to avoid bruising and hair breakage.
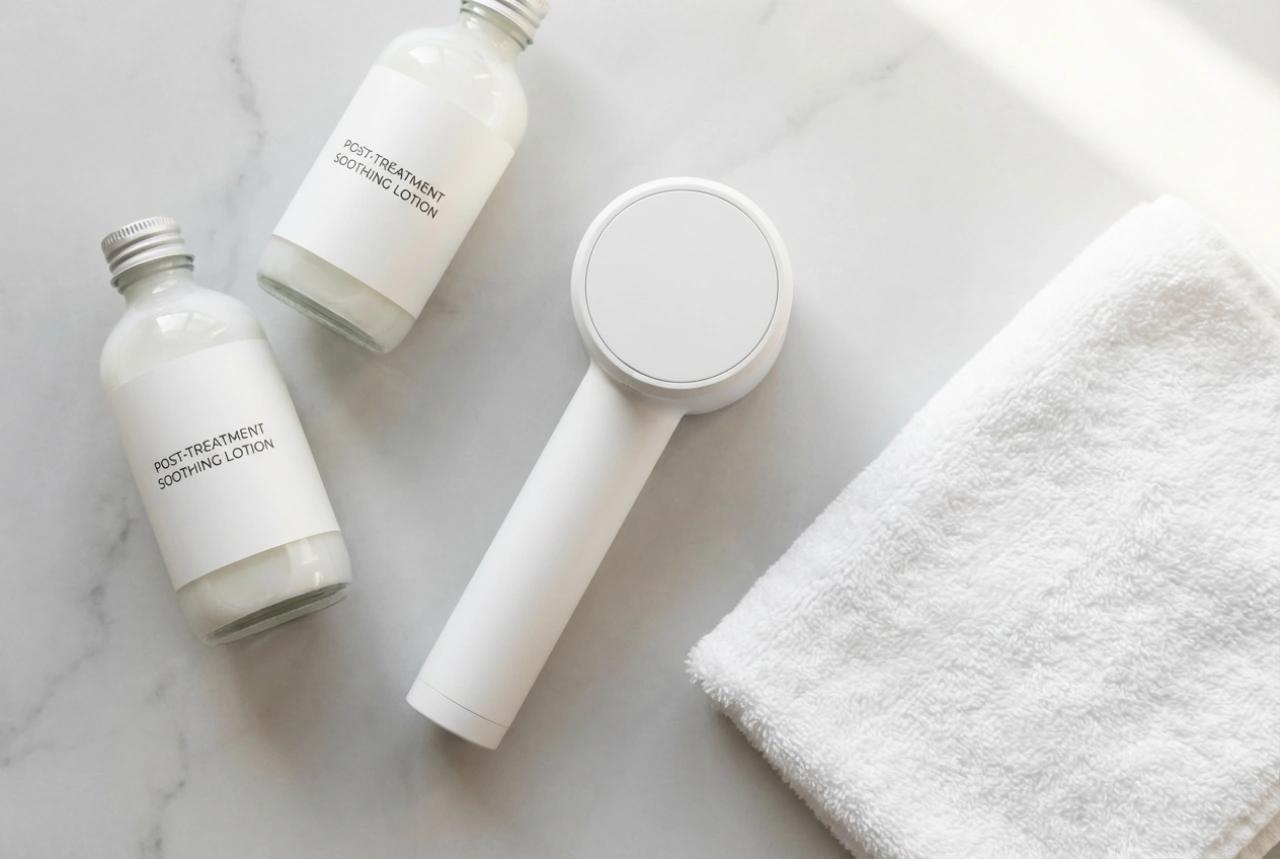
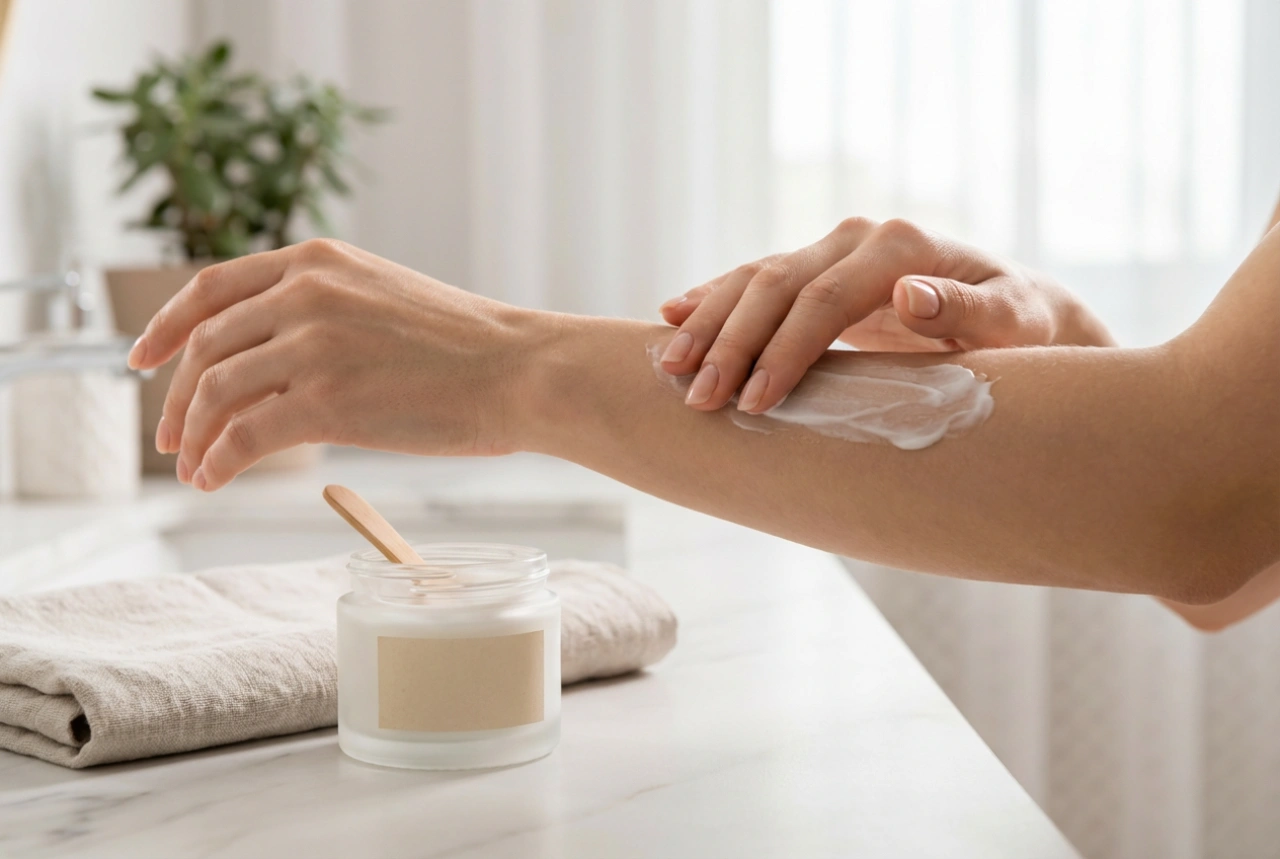
Post-Waxing Care and Safety
Aftercare is just as important as the waxing itself to soothe the skin and maintain your smooth results.
Immediate Aftercare
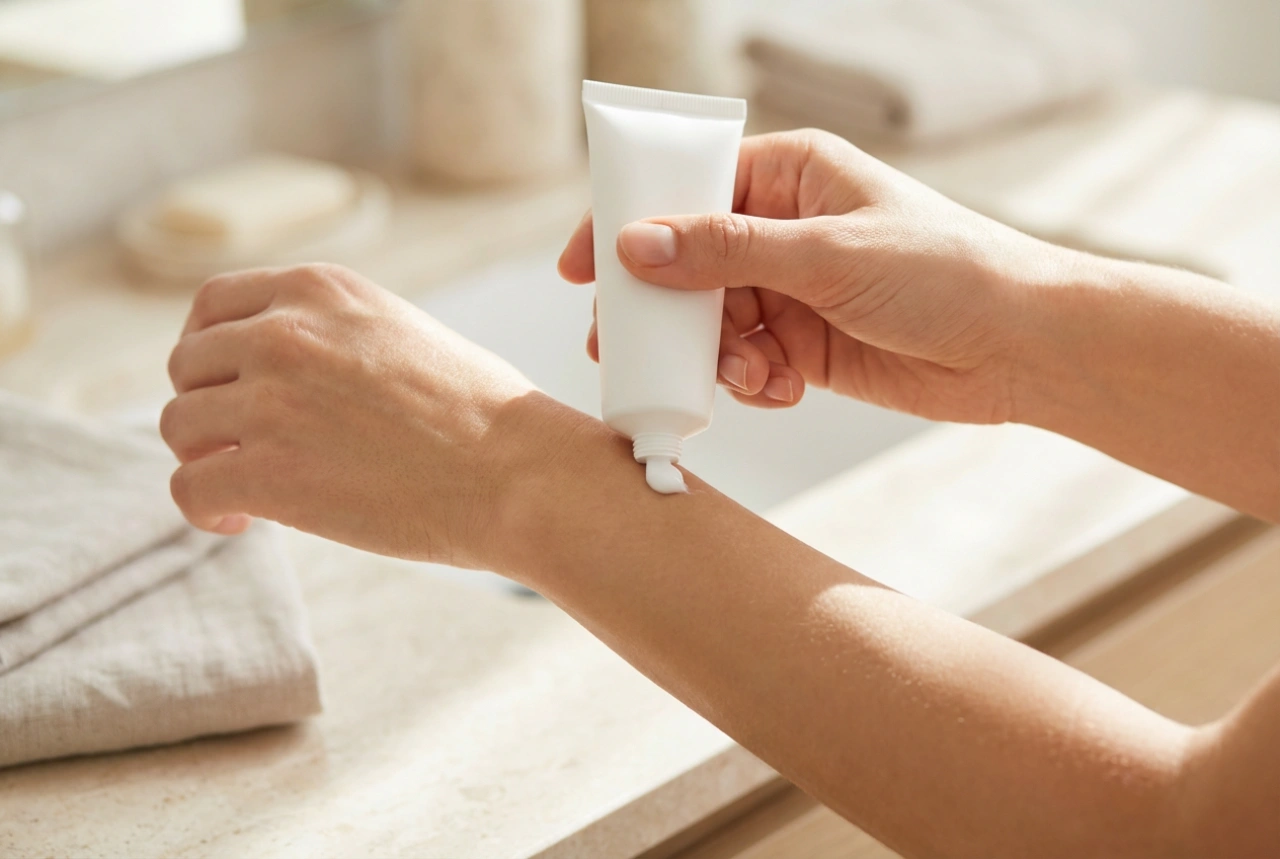
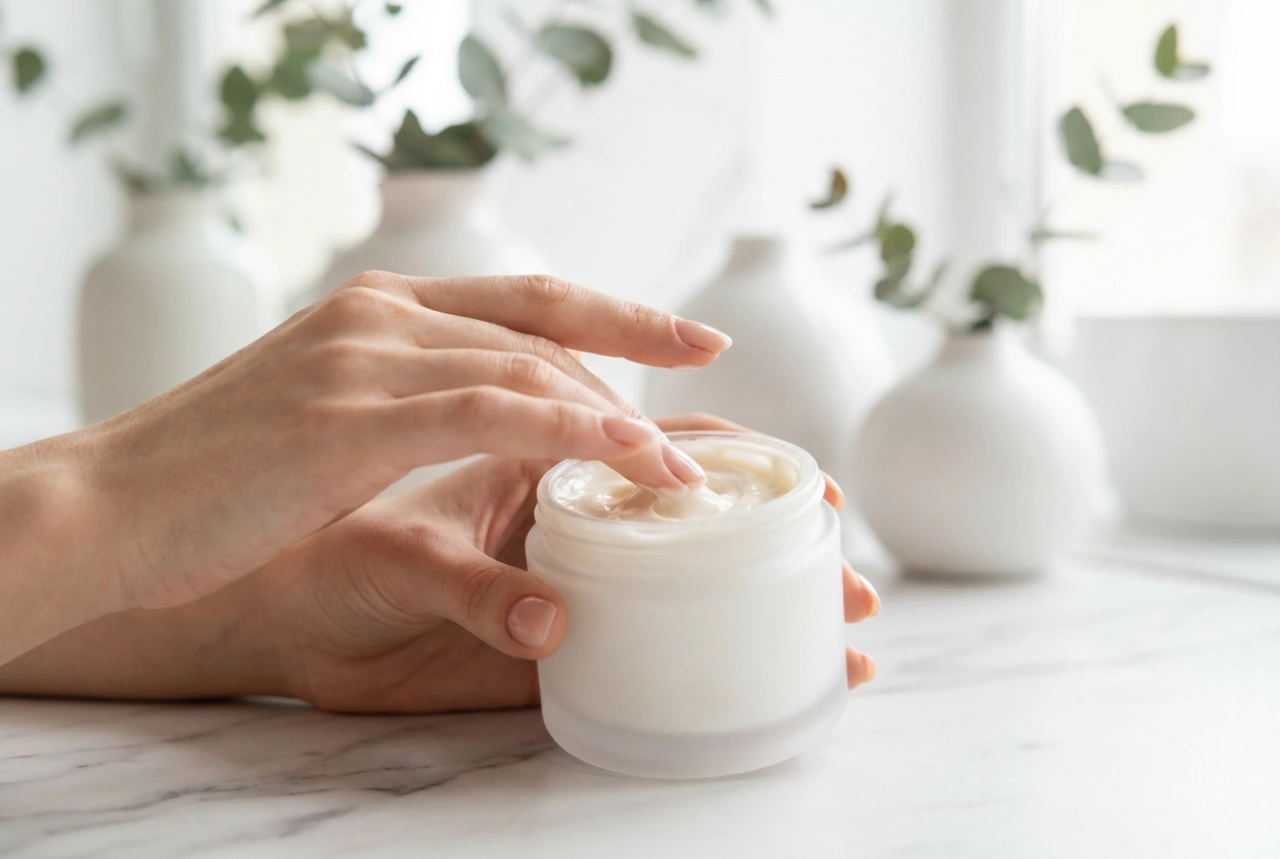
Your skin will likely be red and feel sensitive. This is normal. To remove any sticky wax residue, use a specially formulated post-wax oil or a natural oil like jojoba or almond oil; water will not be effective. Afterwards, apply a calming, alcohol-free lotion, a pure aloe vera gel, or a cold compress to help soothe the skin and reduce redness.
What to Avoid for 24-48 Hours
To prevent irritation and allow your skin to recover, avoid the following for a day or two after waxing:
- Hot baths, saunas, steam rooms, and hot tubs.
- Tight-fitting clothing that can cause friction.
- Sun exposure and tanning beds.
- Products containing alcohol or fragrance on the waxed area.
- Intense exercise that causes excessive sweating.
By following these guidelines, you can safely perform professional-quality waxing at home, enjoying smooth, hair-free skin for weeks at a time.