


The hair crimper, a styling tool once synonymous with the bold looks of the 80s and 90s, has made a sophisticated comeback. Far from just creating zig-zag patterns, the modern approach to crimping is all about adding texture, dimension, and, most importantly, impressive volume. When used correctly, a hair crimper can be a secret weapon for elevating your hairstyle from flat to full-bodied. This guide will walk you through the techniques for achieving various looks while ensuring your hair remains healthy and protected.
Preparing Your Hair for Crimping
Proper preparation is the foundation of any successful heat styling session. It not only ensures a better result but also safeguards your hair from potential damage. Before you even plug in your crimper, follow these essential steps.
Start with Dry, Clean Hair
Always work on hair that is 100% dry. Applying high heat to damp or wet hair can cause the water within the hair shaft to boil, leading to severe damage, breakage, and a 'fried' texture. For best results, use the crimper on hair that has been washed and dried on the same day or the day before. Hair that is excessively oily may not hold the crimp as well.
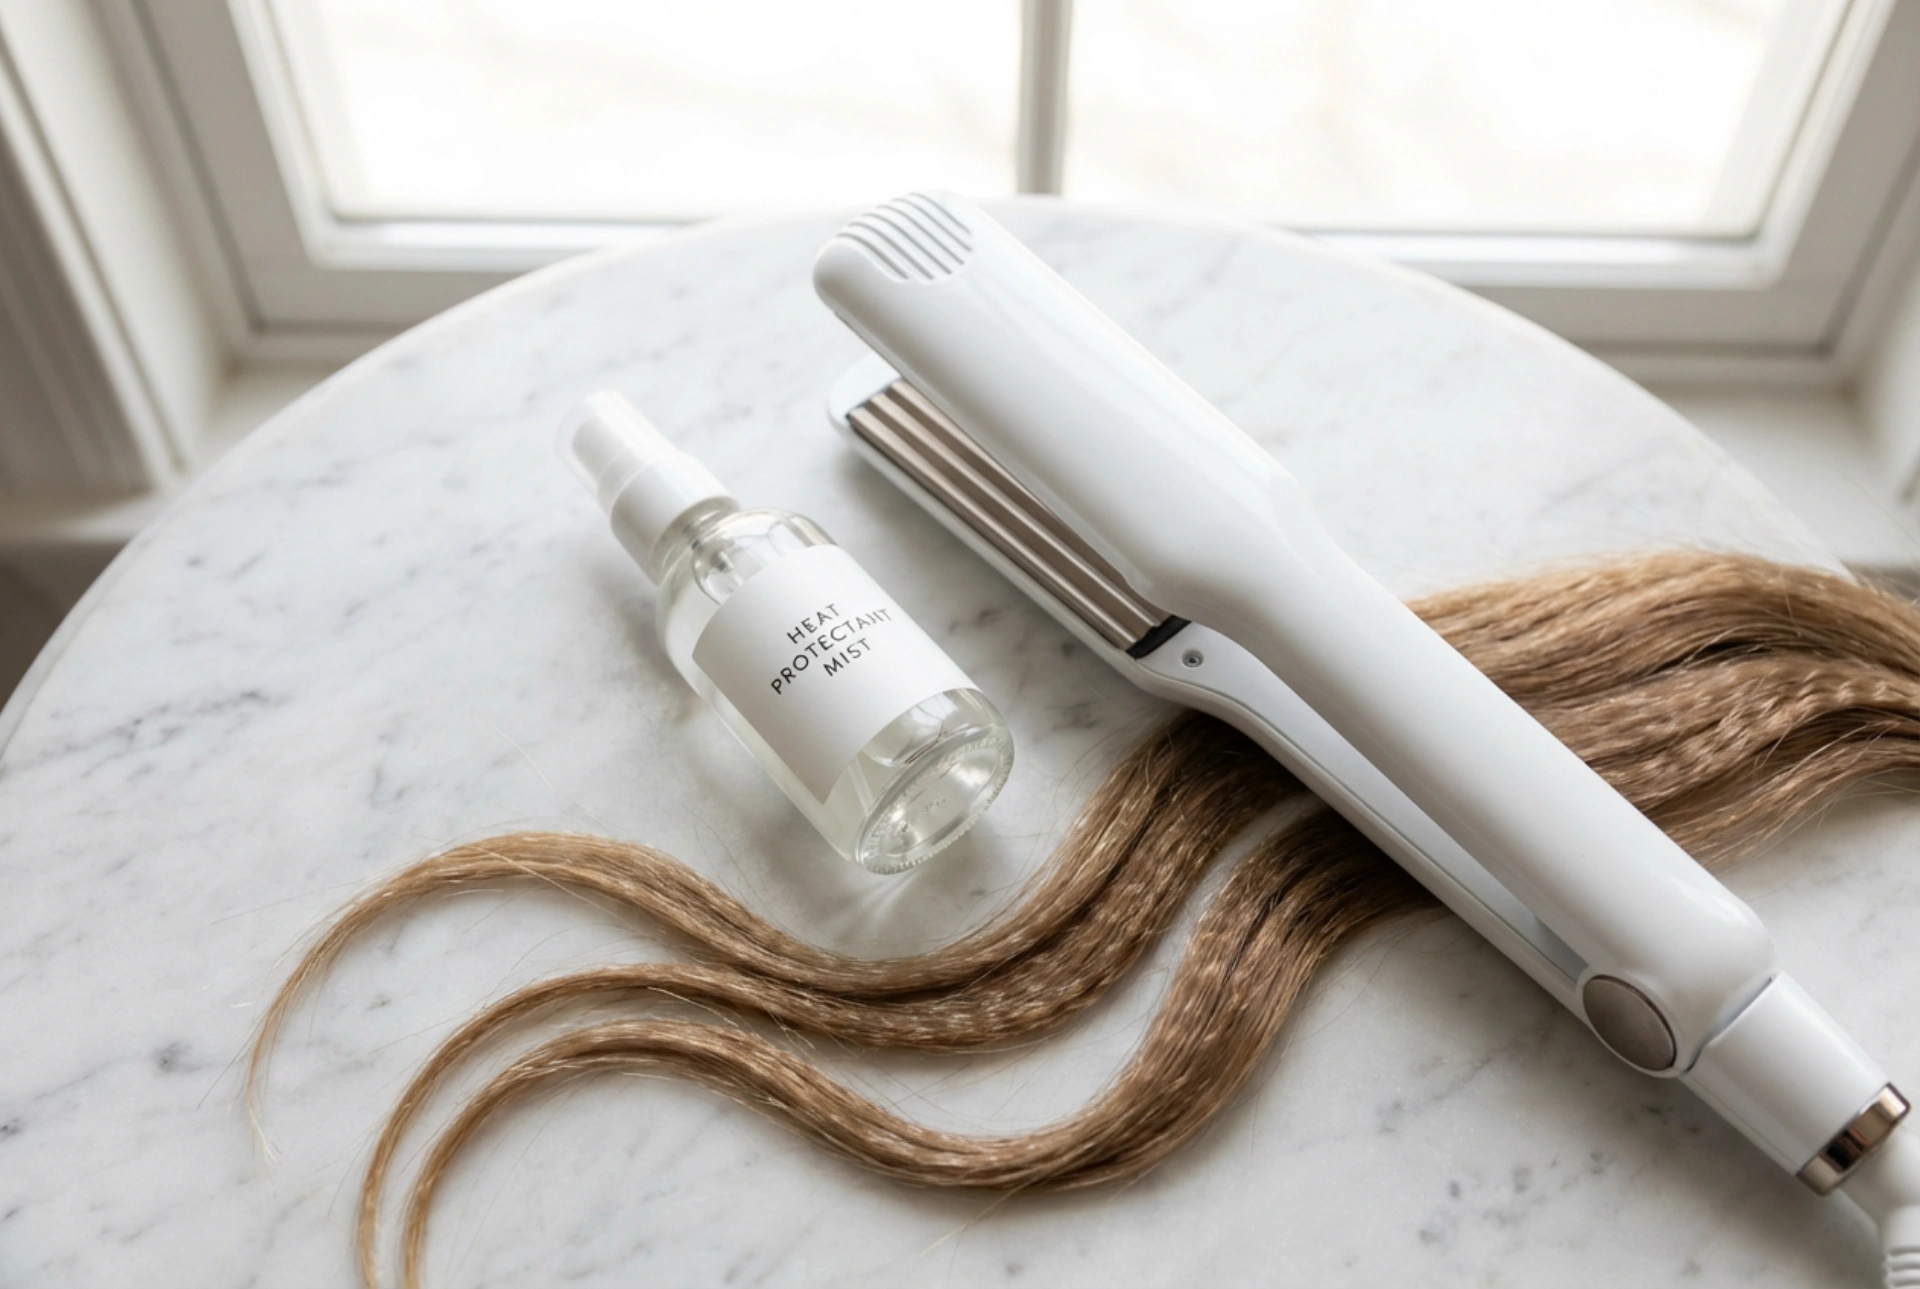
Apply a Heat Protectant
This step is non-negotiable. A good quality heat protectant spray creates a protective barrier between the hot plates and your hair strands. It helps to minimise moisture loss and reduces the risk of heat damage. Mist it evenly throughout your hair, from roots to ends, and gently comb it through to ensure every strand is coated. Let it sit for a minute to dry before you begin styling.
The Art of Crimping: Techniques for Different Looks
A hair crimper is more versatile than it might seem. Depending on how you use it, you can achieve anything from a full-on textured mane to a subtle, hidden lift at the roots. Experiment with these techniques to find the style that suits you.
Technique 1: For Subtle Root Volume
This is a fantastic trick for creating the illusion of thicker, more voluminous hair without any visible crimps. The key is to work on the under-layers of your hair.
- Section off the top layer of your hair (the parting and crown area) and clip it out of the way.
- Take a small, one-to-two-inch section from the underlying hair near the roots.
- Place the crimper as close to the scalp as you can without touching it and clamp down for 3-5 seconds.
- You only need to crimp the first couple of inches from the root. There is no need to crimp the full length of the hair.
- Continue this process on the under-layers around the crown.
- Once you've finished, unclip the top section of smooth hair. It will fall over the crimped roots, hiding the texture but benefiting from the lift, creating instant, lasting volume.
Technique 2: For All-Over Texture
For a bolder, more fashion-forward look, you can crimp your entire head of hair. The key to a modern feel is to create a soft, uniform pattern rather than a harsh, disjointed one.
- Divide your hair into manageable sections. The smaller the section, the more defined the crimp will be.
- Starting near the roots, clamp the crimper on a section of hair for a few seconds.
- Open the tool, move it down the hair shaft, and clamp it again just below the last crimped segment. Try to line up the plates with the last wave to create a continuous pattern.
- Repeat this process until you reach the ends of the hair.
- Continue section by section until your entire head is complete. Gently brush through with your fingers to soften the look slightly.
Technique 3: Textured Accents
You don't have to commit to a full head of crimped hair. Using the tool to create accents can add an unexpected and stylish detail to an otherwise simple look.
- Pull your hair back into a sleek ponytail or plait. Crimp a few random sections within the ponytail to add texture and fullness.
- Frame your face by crimping just the two front sections of your hair, leaving the rest smooth.
- Create a 'peekaboo' effect by crimping some of the lower layers of your hair, which will be revealed as you move.
Tool Safety and Hair Aftercare
Using any heat tool requires care. To get the best results without compromising your hair's health, pay attention to your tool's settings and your post-styling routine. Look for a crimper with adjustable temperature settings; fine or colour-treated hair requires a lower temperature, while thicker, coarser hair may need slightly more heat. Never exceed the recommended temperature for your hair type and avoid holding the plates on any section of hair for more than a few seconds. After styling, let your hair cool down completely before touching it too much. This allows the style to set. To finish, you can use a light-hold hairspray or a texturising mist to enhance the effect. On your next wash day, consider using a hydrating hair mask or a deep conditioner to replenish any moisture lost during the heat styling process.


