


The timeless elegance of 1920s hairstyles, with their glossy waves and sophisticated silhouettes, continues to inspire contemporary beauty. The artful arrangement of S-waves and precise finger waves can transform your look, adding a touch of vintage glamour. Whether you're preparing for a special event or simply wish to experiment with a classic style, mastering these techniques is easier than you might think. This guide will walk you through creating these iconic looks, including the clever faux bob, at home.
Preparing Your Hair for a Vintage Look
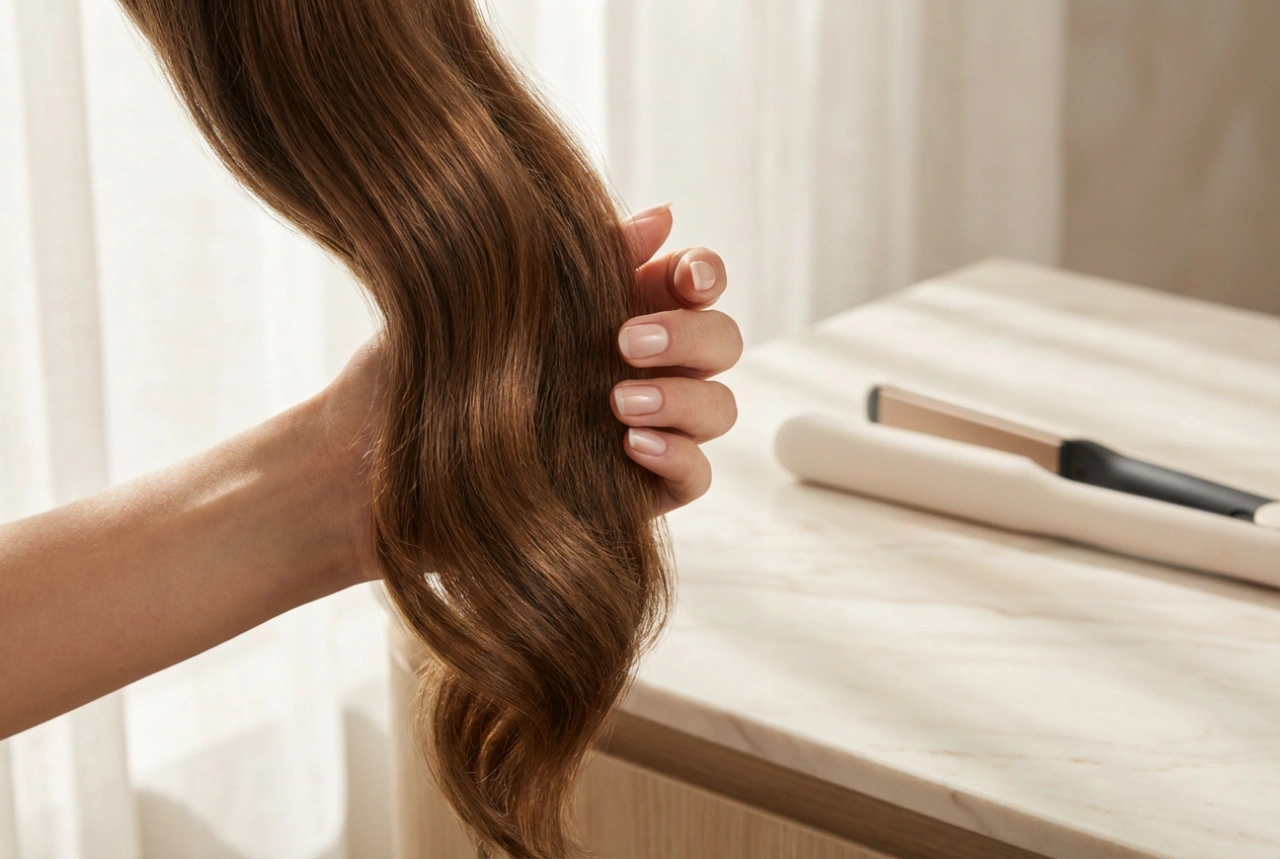
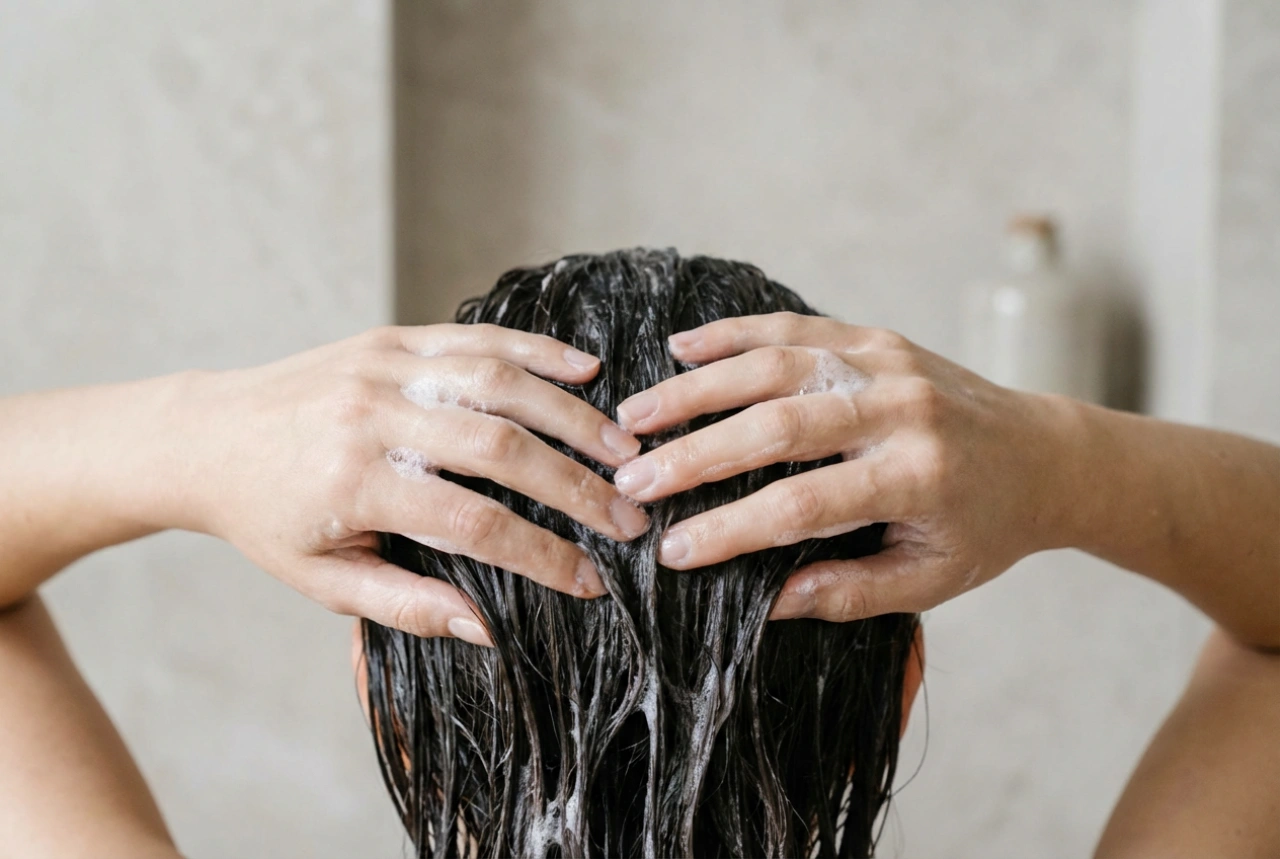
The key to a successful 1920s hairstyle is preparation. These styles require a smooth, controlled base and excellent hold. Start with clean, damp hair for wet-set styles like finger waves, or completely dry hair for heat styling. The right products are essential for achieving the characteristic sleekness and structure.
Essential Tools and Products
Before you begin, gather your styling arsenal. You will not need a vast collection, but a few key items will make the process much smoother. Having everything ready will allow you to work efficiently, which is particularly important when setting damp hair.
- Fine-toothed Comb: Crucial for creating clean partings and sharp ridges in finger waves.
- Styling Gel or Mousse: A strong-hold gel is traditional for finger waves, providing the necessary slip and setting power. A mousse can be used for a slightly softer finish.
- Wave-setting Clips or Alligator Clips: These are used to hold the ridges of your waves in place as they dry.
- Hairspray: A firm-hold hairspray is essential for locking in the finished style and taming any flyaways.
- Bobby Pins: Indispensable for creating a faux bob and securing sections.
- Heat Protectant Spray: If you plan to use a curling iron or straightener for S-waves, this is a non-negotiable step to protect your hair from damage.
Mastering Finger Waves: A Step-by-Step Guide
Finger waves are the hallmark of 1920s hair. This technique involves sculpting wet hair into a series of S-shaped waves that sit flat against the head. It requires patience but creates a striking, authentic look.
- Start with Wet Hair: Your hair should be damp, not dripping wet. Create a deep side parting. Apply a generous amount of strong-hold gel, combing it through to ensure every strand is saturated.
- Form the First Ridge: Place your fine-toothed comb into the hair about an inch from your parting. Push the comb forward slightly, towards your forehead. Lay your index finger parallel to the comb.
- Create the 'S' Shape: Now, comb the hair under your finger back in the opposite direction. This action creates the first ridge of the wave against your finger. Your finger is essentially the mould for the wave.
- Secure the Wave: Without removing your finger, use your other hand to place a wave-setting clip into the groove you have just created. This will hold the shape.
- Continue Down the Hair: Move your finger down about an inch and repeat the process, combing the hair in the opposite direction to form the next part of the 'S' shape. Secure this ridge with another clip. Continue this pattern down the length of the hair section.
- Dry Completely: The most critical step is allowing the hair to dry 100%. You can air dry or use a hooded dryer on a low setting. Do not touch the hair while it is drying. Once completely dry, carefully remove the clips and finish with a mist of hairspray.
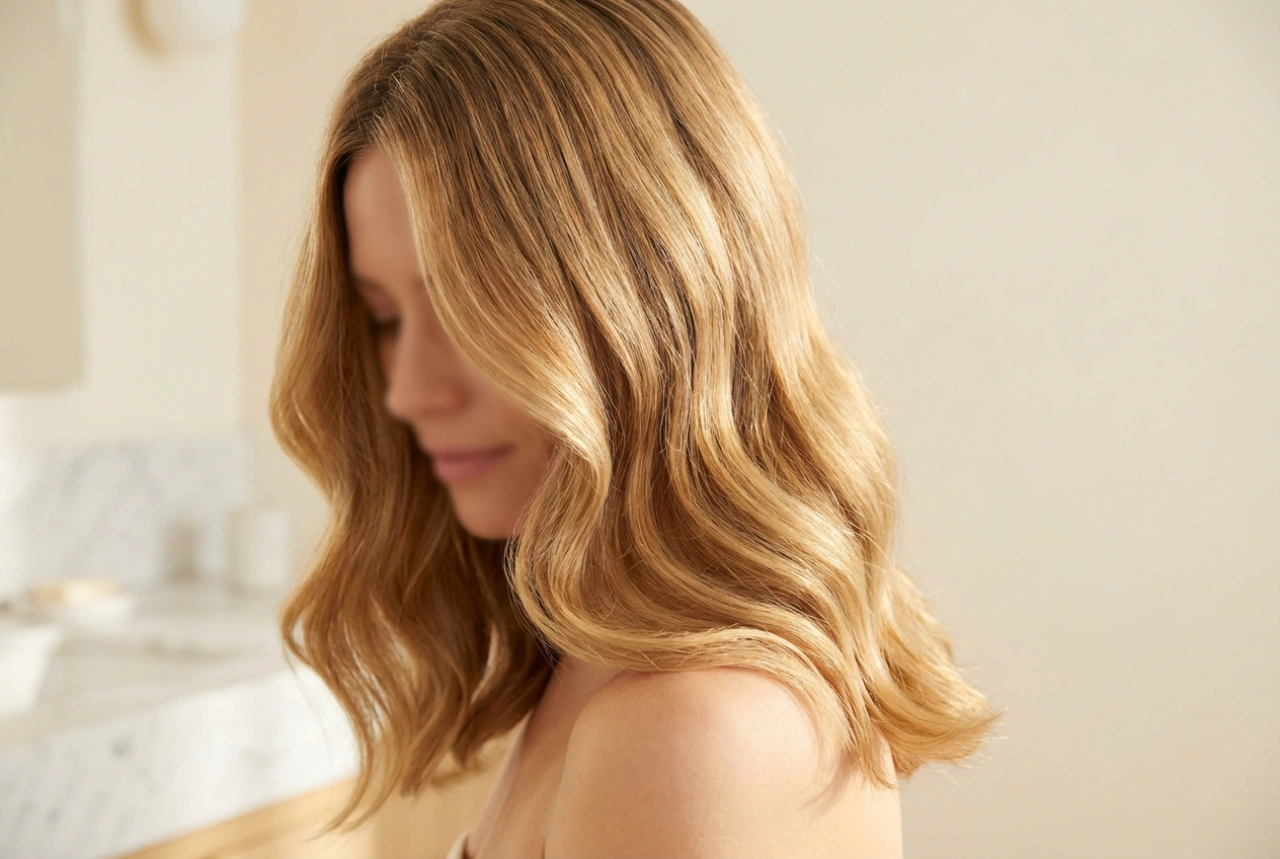
Creating Softer S-Waves
If finger waves feel too severe, softer S-waves offer a similar vintage feel with more volume and movement. These are often easier to create on dry hair using heat tools and are more forgiving for beginners.
The Heat Styling Method
Using a curling iron or a flat iron is a quick way to achieve beautiful S-waves. The technique involves alternating the direction of the curl to create a wave pattern rather than a spiral curl.
- Prep and Section: Start with dry hair that has been treated with a heat protectant. Section your hair into manageable 1- to 2-inch pieces.
- Alternate Directions: Take the first section of hair. With a curling iron, clamp the hair and turn it one full rotation towards your face. Hold for a few seconds and release. Move the iron down the same strand of hair and turn it one full rotation away from your face. Continue this alternating pattern down to the ends.
- Using a Flat Iron: You can achieve a similar effect by clamping a section of hair and bending your wrist to create a 'C' shape, then moving down the hair shaft and bending your wrist in the opposite direction.
- Set and Finish: Once all sections are waved, gently brush through them with your fingers or a wide-toothed comb to soften the look. A light mist of flexible-hold hairspray will keep the waves in place without making them stiff.
The Faux Bob: Short Hair Without the Commitment
The faux bob is a brilliant styling trick that gives the illusion of a short, 1920s-style bob without having to cut your long hair. It works best on hair that already has some texture, such as the S-waves created in the previous step.
- Create Texture: Ensure your hair has body and wave. This helps the style hold and look more natural.
- Section Your Hair: Separate the top layer of your hair, from your temples upwards, and clip it out of the way.
- Create the Base: Take the bottom section of your hair and create one or two loose, low ponytails or braids at the nape of your neck.
- Tuck and Pin: Fold the ponytails or braids up and tuck them flat against your head. Secure them firmly with bobby pins. This tucked-under section creates the 'shelf' that the top layers of your hair will rest on, forming the bob shape.
- Drape and Shape: Unclip the top section of your hair. Let it drape over the pinned-up base. Gently arrange the ends, tucking them slightly under and pinning them into the hidden base to create your desired bob length and shape.
- Final Touches: Pull out a few face-framing pieces and ensure the shape is balanced. A final, generous application of hairspray will secure everything for a look that lasts all night.