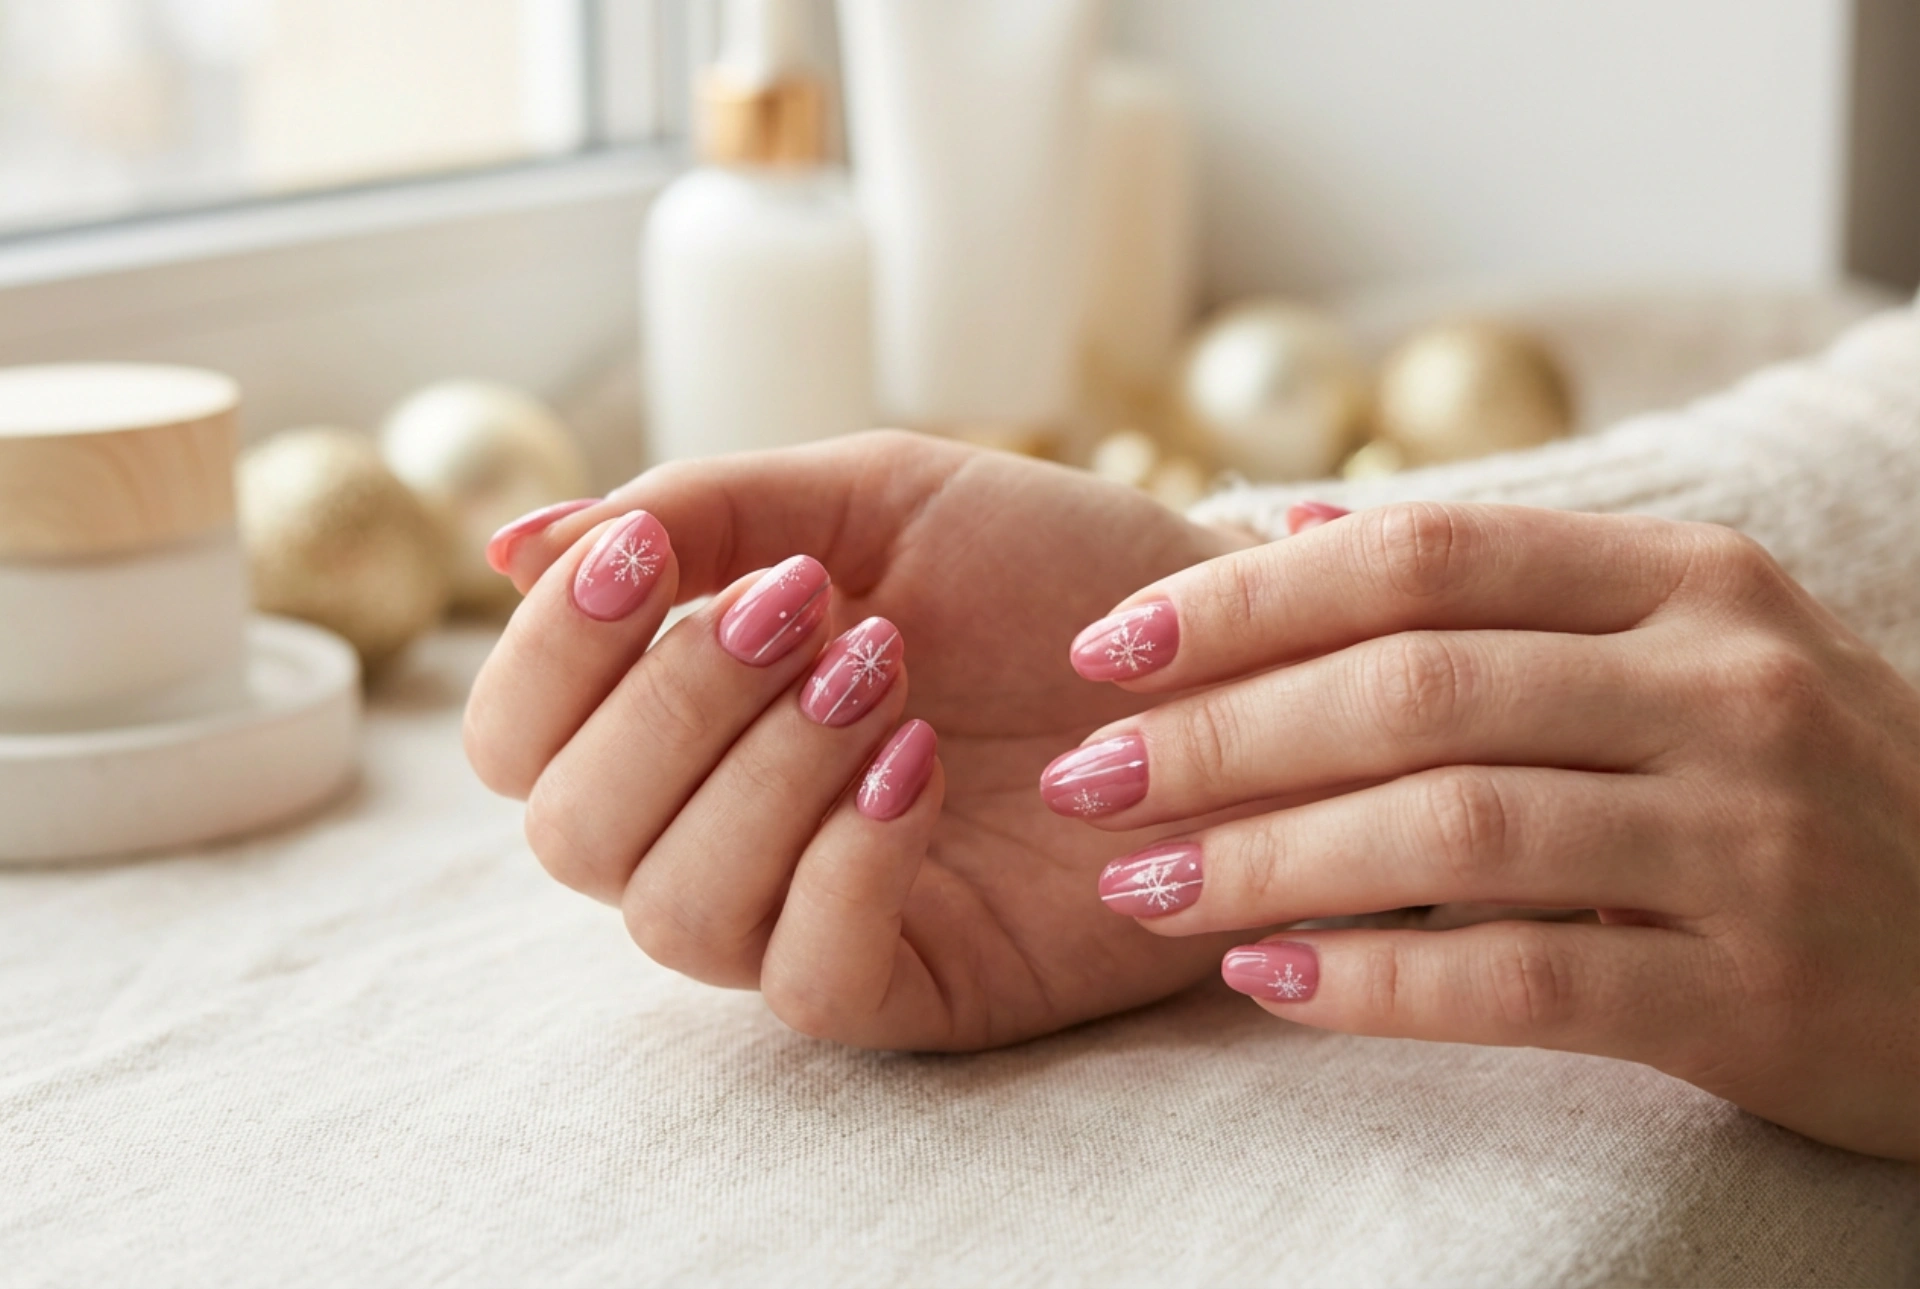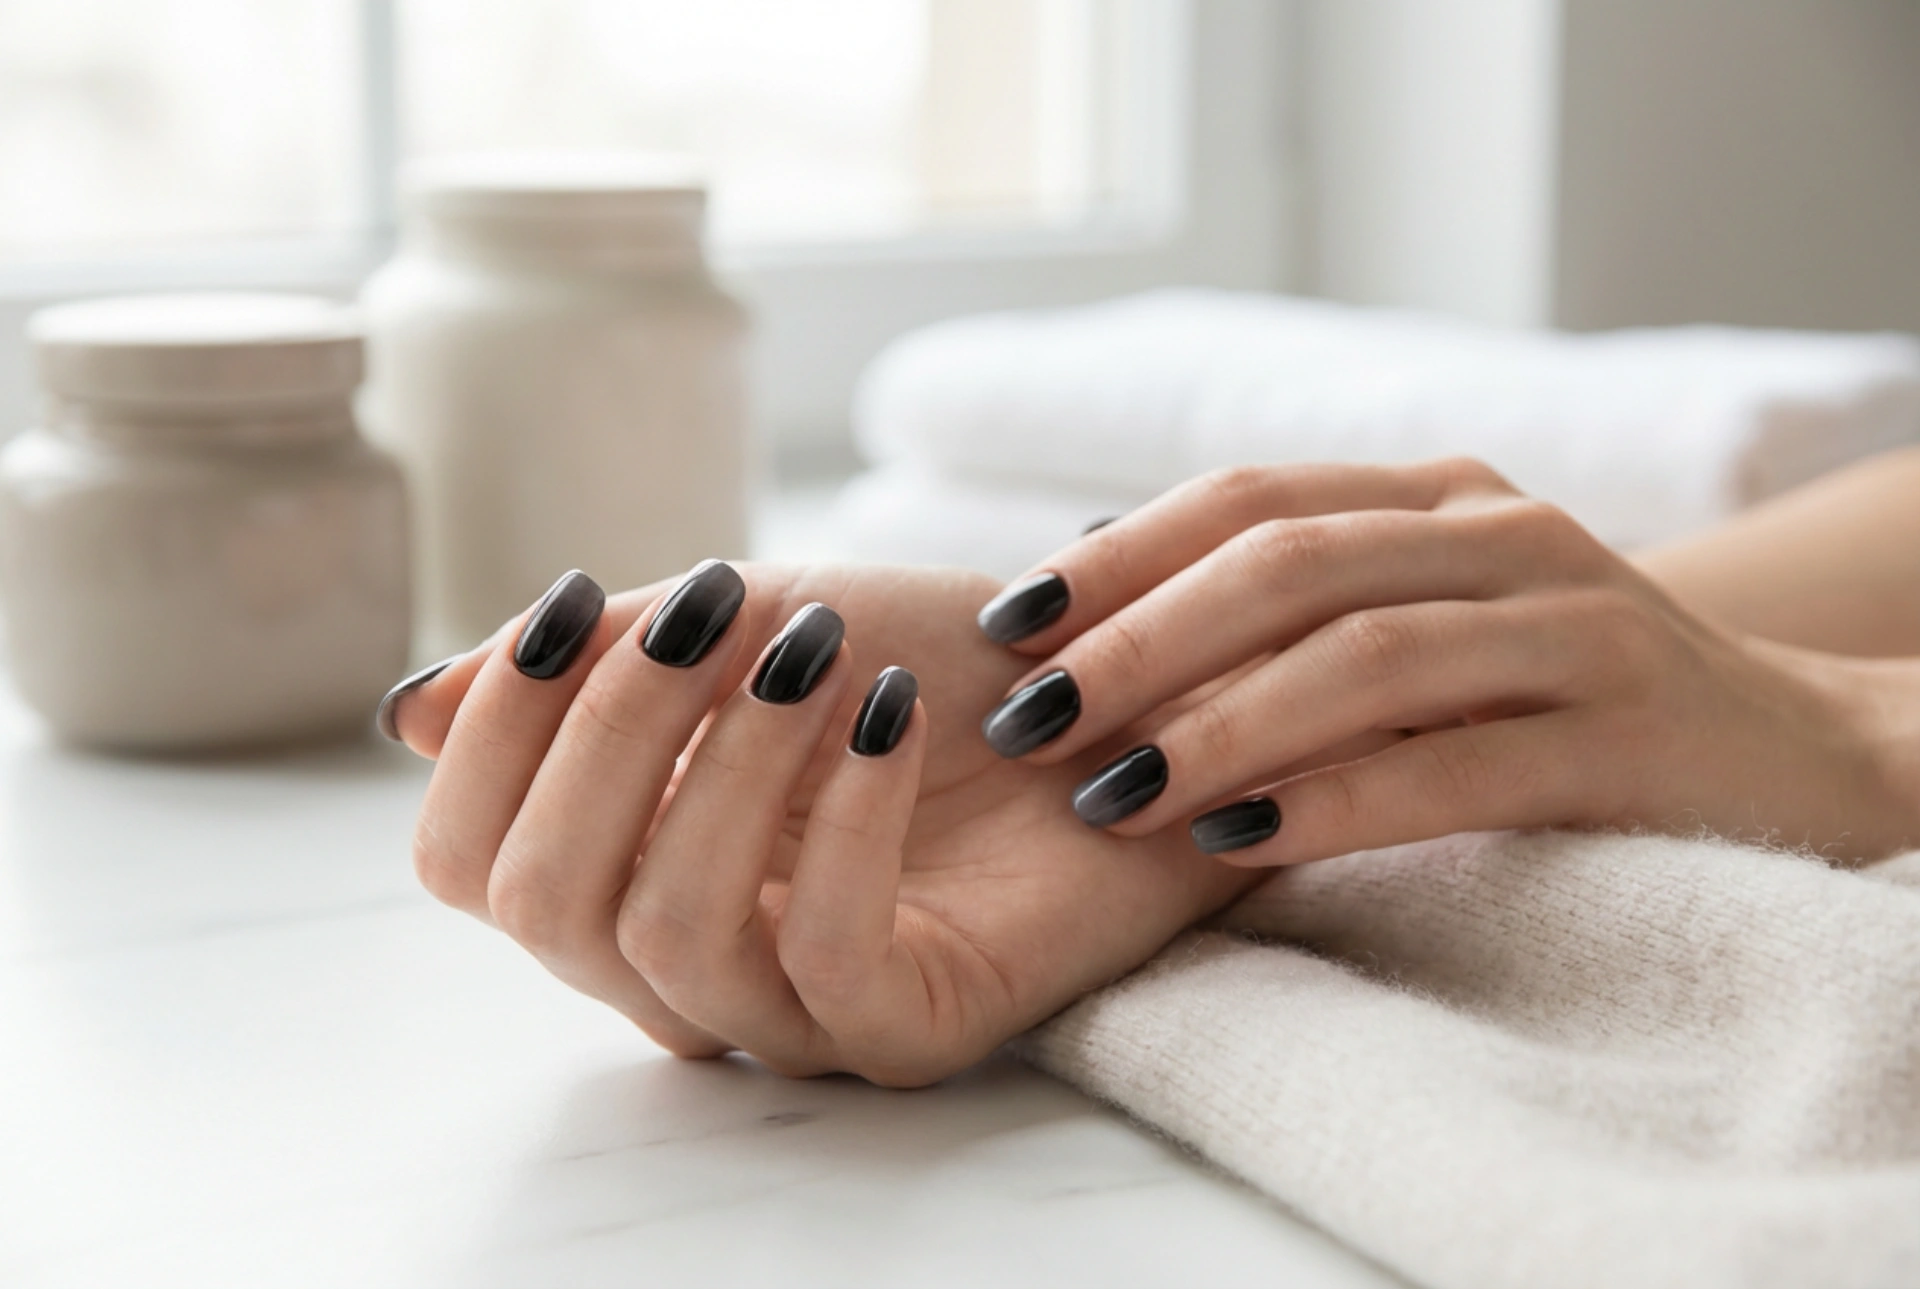


The black ombre nail effect offers a sophisticated and modern twist on classic dark manicures. This elegant style, characterised by a seamless gradient from a dark base to a lighter or sheer tip, has become a staple for those seeking a refined yet edgy look. Achieving that perfect, soft transition seen in professional manicures is possible at home with the right techniques and a little practice. Whether you prefer a dramatic black-to-nude fade or a subtle smokey effect, understanding the core principles of colour blending is key to mastering this beautiful nail art design.
What Defines Black Ombre Nails?
Ombre, from the French word for 'shaded', refers to a gradual blending of one colour hue to another, usually moving from light to dark or vice versa. In the context of black ombre nails, this typically involves a deep, solid black at one end of the nail—often the cuticle—that softly transitions into another shade towards the tip. The complementary colour can be anything from a soft grey, a chic nude, or a bold silver, to even a completely clear tip for a 'smokey' look. The beauty of this style lies in its versatility and the illusion of depth it creates on the nails.
Achieving the Perfect Soft Transition at Home
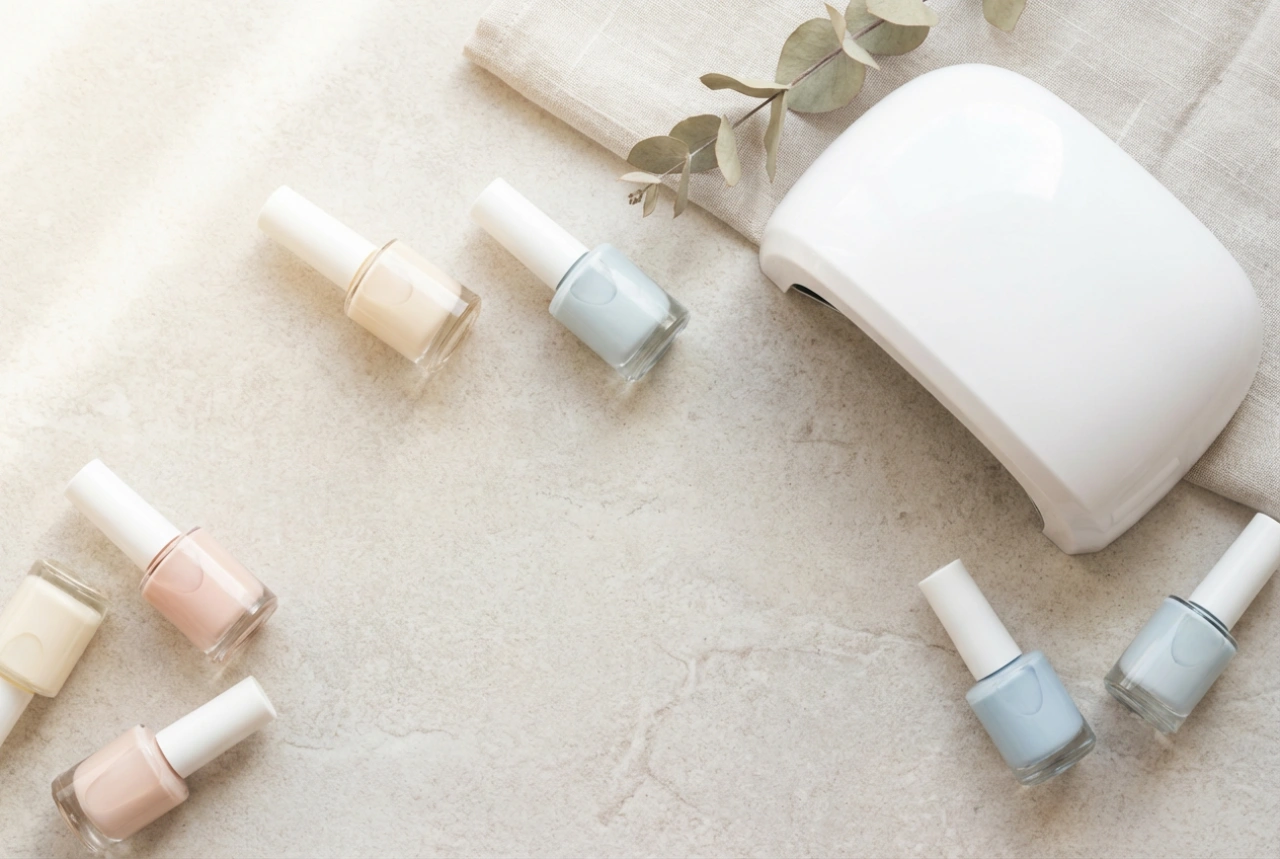
The most popular and accessible method for creating a smooth ombre effect at home involves using a simple makeup sponge. With a little patience, you can achieve a salon-quality finish.
Essential Tools and Preparation
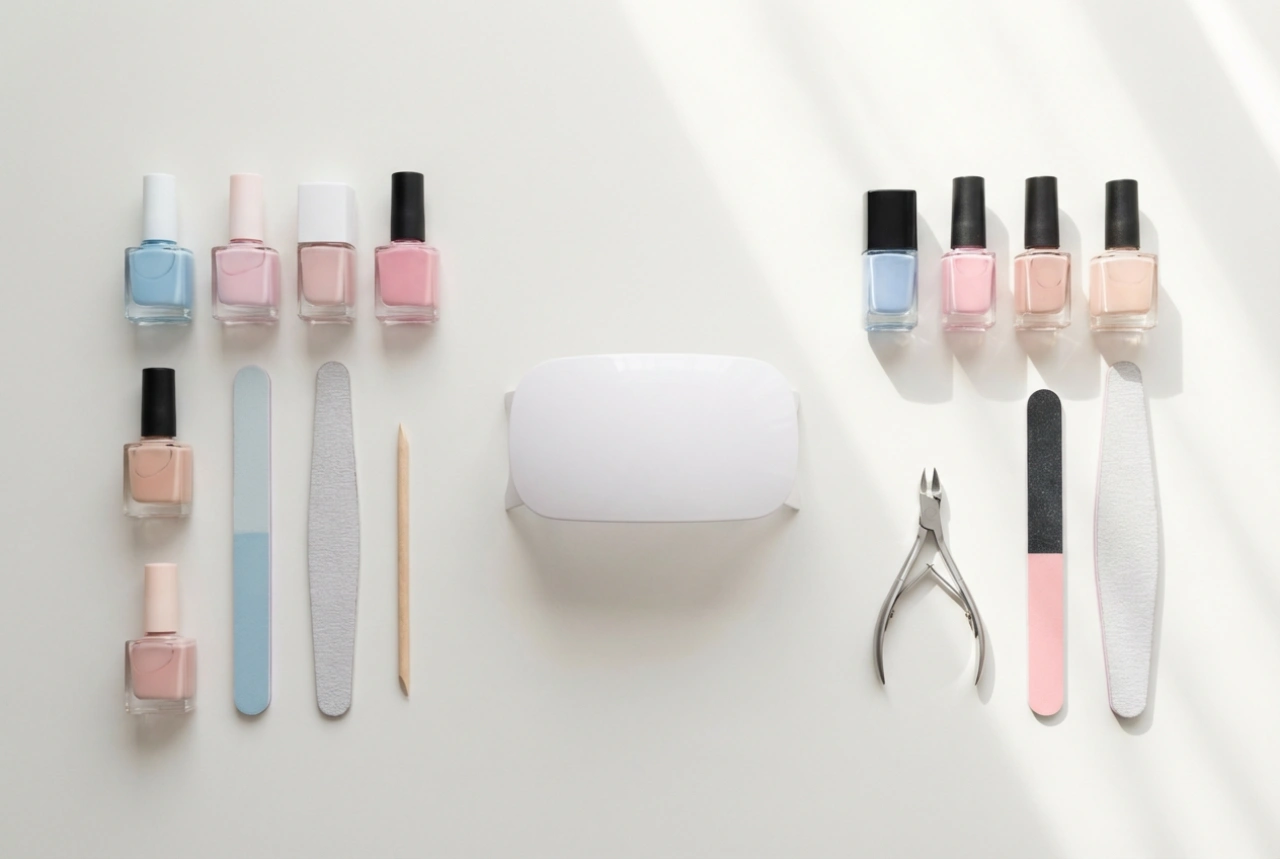
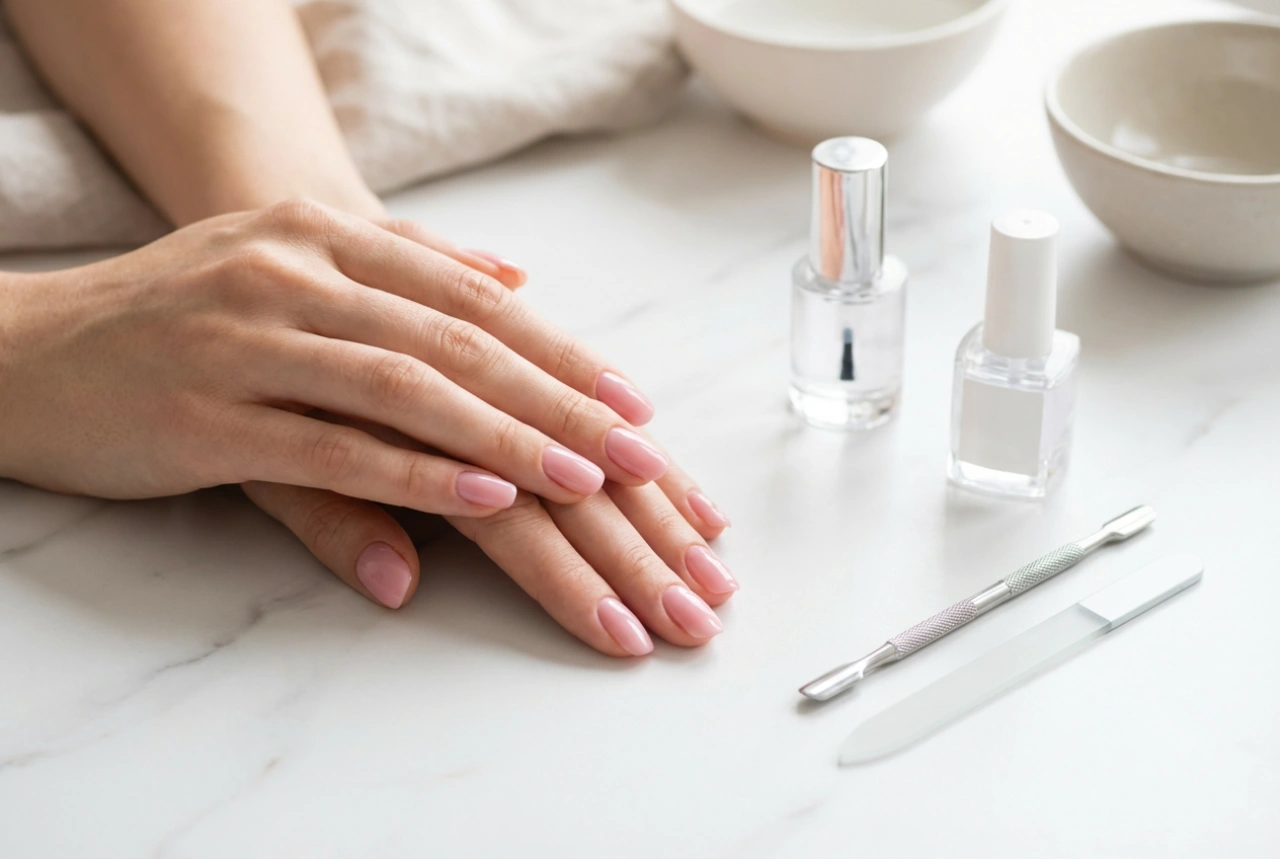
Before you begin, gather your supplies. A clean and well-prepped nail surface is crucial for a lasting manicure. You will need:
- A base coat to protect your nails.
- A solid black nail polish.
- A complementary lighter polish (e.g., grey, silver, or beige). For a smokey effect, a sheer black or a clear top coat to mix with the black will work well.
- A disposable makeup sponge (a fine-pored one works best for a smoother finish).
- A high-gloss top coat to seal the design and add shine.
- A liquid nail tape or petroleum jelly to protect the skin around your nails.
- A small brush and nail polish remover for clean-up.
The Sponge Application Technique
Once your nails are prepped and a base coat is applied, follow these steps. For a classic black ombre, you may not need a full base colour, as the black will be opaque. 1. Apply your chosen protective barrier around your cuticles and the skin on your finger. 2. On a flat, non-porous surface, paint a stripe of black polish and a stripe of your lighter colour right next to it, slightly overlapping them. Alternatively, you can apply the polish directly to the sponge. 3. Use a toothpick to gently swirl the area where the two colours meet to encourage a softer blend. 4. Lightly press the sponge onto your nail, dabbing gently up and down to transfer the gradient. Do not press too hard, as this can create a textured surface. 5. Repeat the dabbing motion, slightly shifting the sponge's position to build up the opacity and perfect the blend. You can re-apply polish to the sponge for each nail. 6. Once you are happy with the gradient, carefully remove the skin protector. 7. Use a small brush dipped in nail polish remover to clean up any polish on your skin. 8. Wait for the design to dry completely before applying a generous layer of top coat. This is a vital step, as it smooths out any minor texture from the sponge and gives a glossy, unified finish.
Common Mistakes and How to Avoid Them
Creating a flawless ombre takes practice. Here are some common pitfalls and how to steer clear of them:
- A Harsh Line: This often happens when the colours are not blended enough on the sponge. Be sure to gently mix the polishes where they meet before dabbing onto the nail.
- Bumpy Texture: Using a coarse sponge or applying too much pressure can lead to a rough finish. Opt for a dense makeup wedge and use light, bouncing motions. A thick top coat will also help to smooth the surface.
- Messy Application: The sponge technique is inherently messy. Never skip the step of protecting the skin around your nails. It will save you significant time and effort during clean-up.
- Choosing Clashing Colours: While black is versatile, ensure the second colour creates a harmonious blend. Greys, silvers, deep reds, and nudes are generally safe and elegant choices.
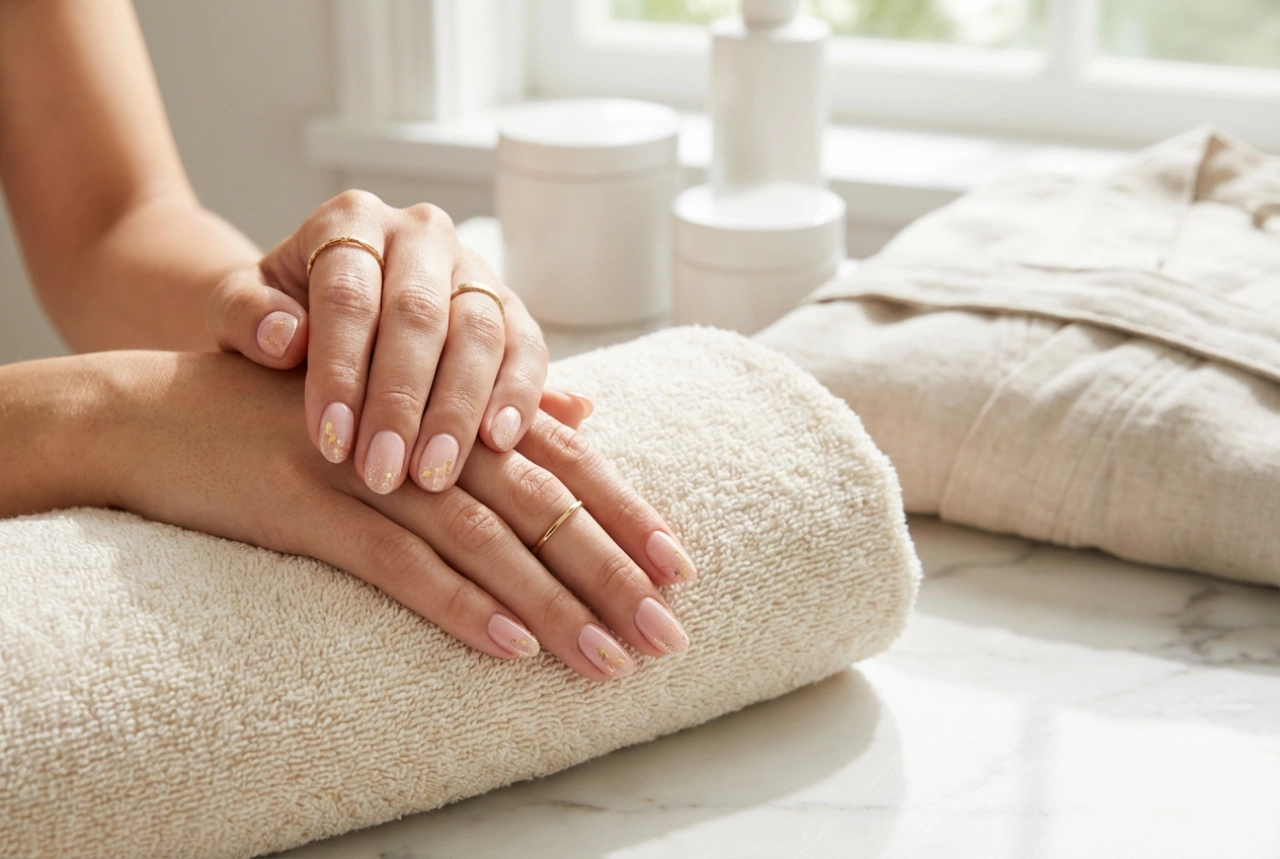
Aftercare for a Long-Lasting Manicure
To keep your black ombre nails looking pristine, proper aftercare is essential. Apply a thin layer of top coat every two to three days to maintain the shine and prevent chipping. Keep your cuticles and the surrounding skin hydrated with a nourishing cuticle oil daily. This not only promotes healthy nails but also frames your nail art beautifully, making the overall look more polished and refined.