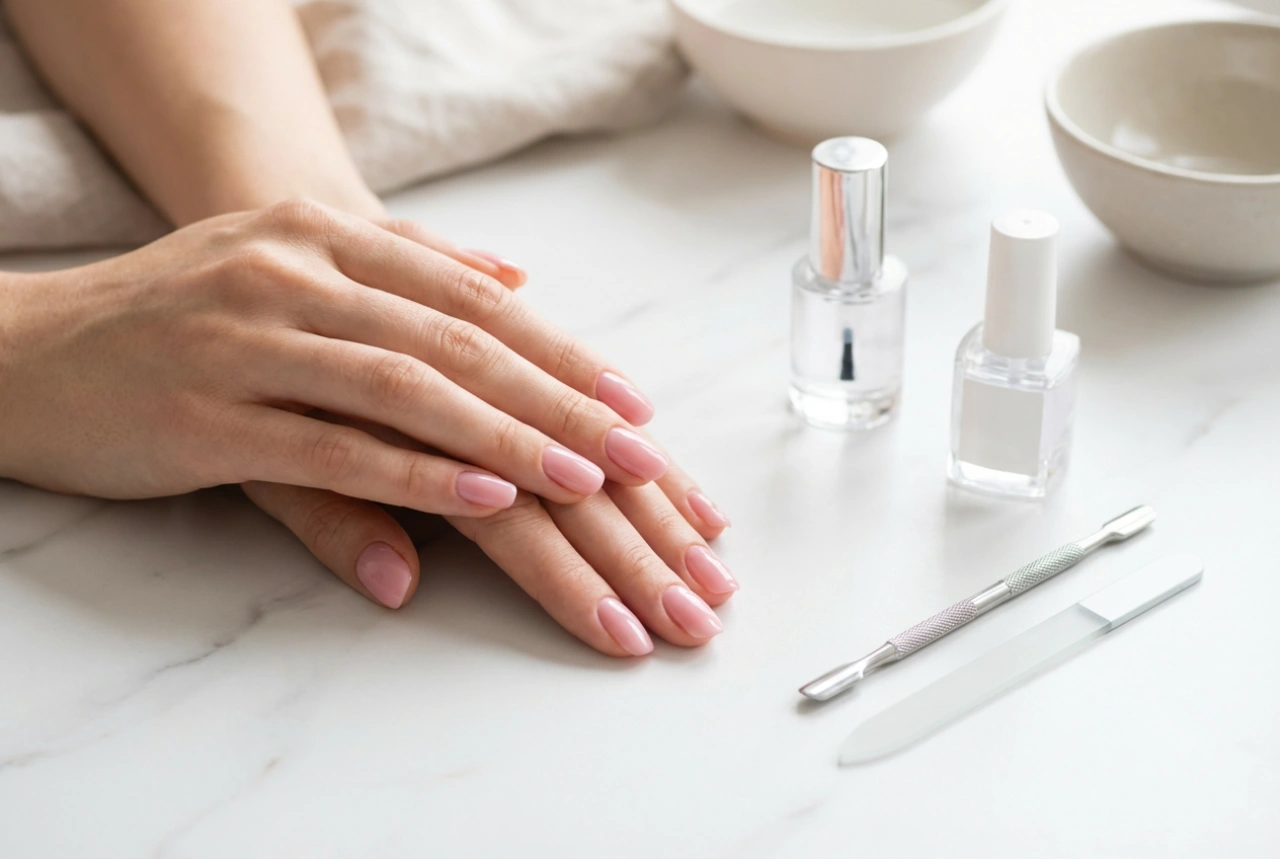


Well-groomed nails are a subtle yet significant element of a polished and tidy appearance. Achieving a clean, neat look begins with the right tools, and a high-quality pair of nail clippers is a fundamental component of any home manicure or pedicure kit. Understanding how to select the best clippers, use them correctly, and keep them clean is essential for maintaining both the health and beauty of your nails. This guide will walk you through everything you need to know about this indispensable beauty tool.
Choosing the Right Nail Clippers
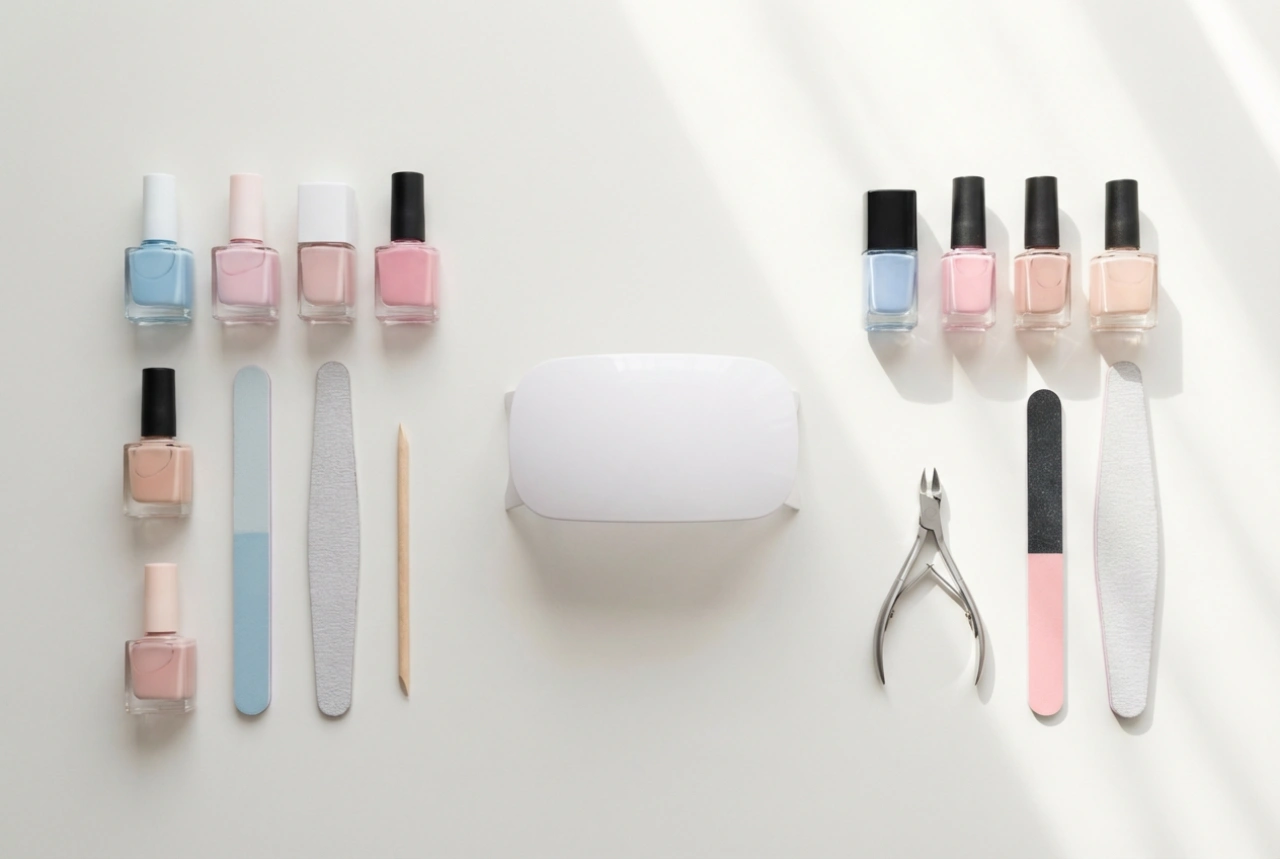
The market offers a variety of nail clippers, and selecting the right one can make a significant difference in your nail care routine. The main factors to consider are the shape of the blade and the quality of the material.
Blade Shape: Straight vs. Curved
The cutting edge of nail clippers typically comes in two shapes: curved or straight. Each is designed for a specific purpose.
- Curved Blades: These are the most common type and are ideal for fingernails. The curve of the blade naturally follows the shape of the fingertip, making it easy to achieve a rounded, smooth edge. They are perfect for general maintenance and shaping.
- Straight Blades: These clippers are often recommended for toenails. Cutting toenails straight across can help maintain their structural integrity and is a good practice for general nail health. A straight edge provides a clean, precise cut without encouraging the nail corners to grow into the skin.
Material and Build Quality
The durability and effectiveness of your nail clippers depend heavily on their construction.
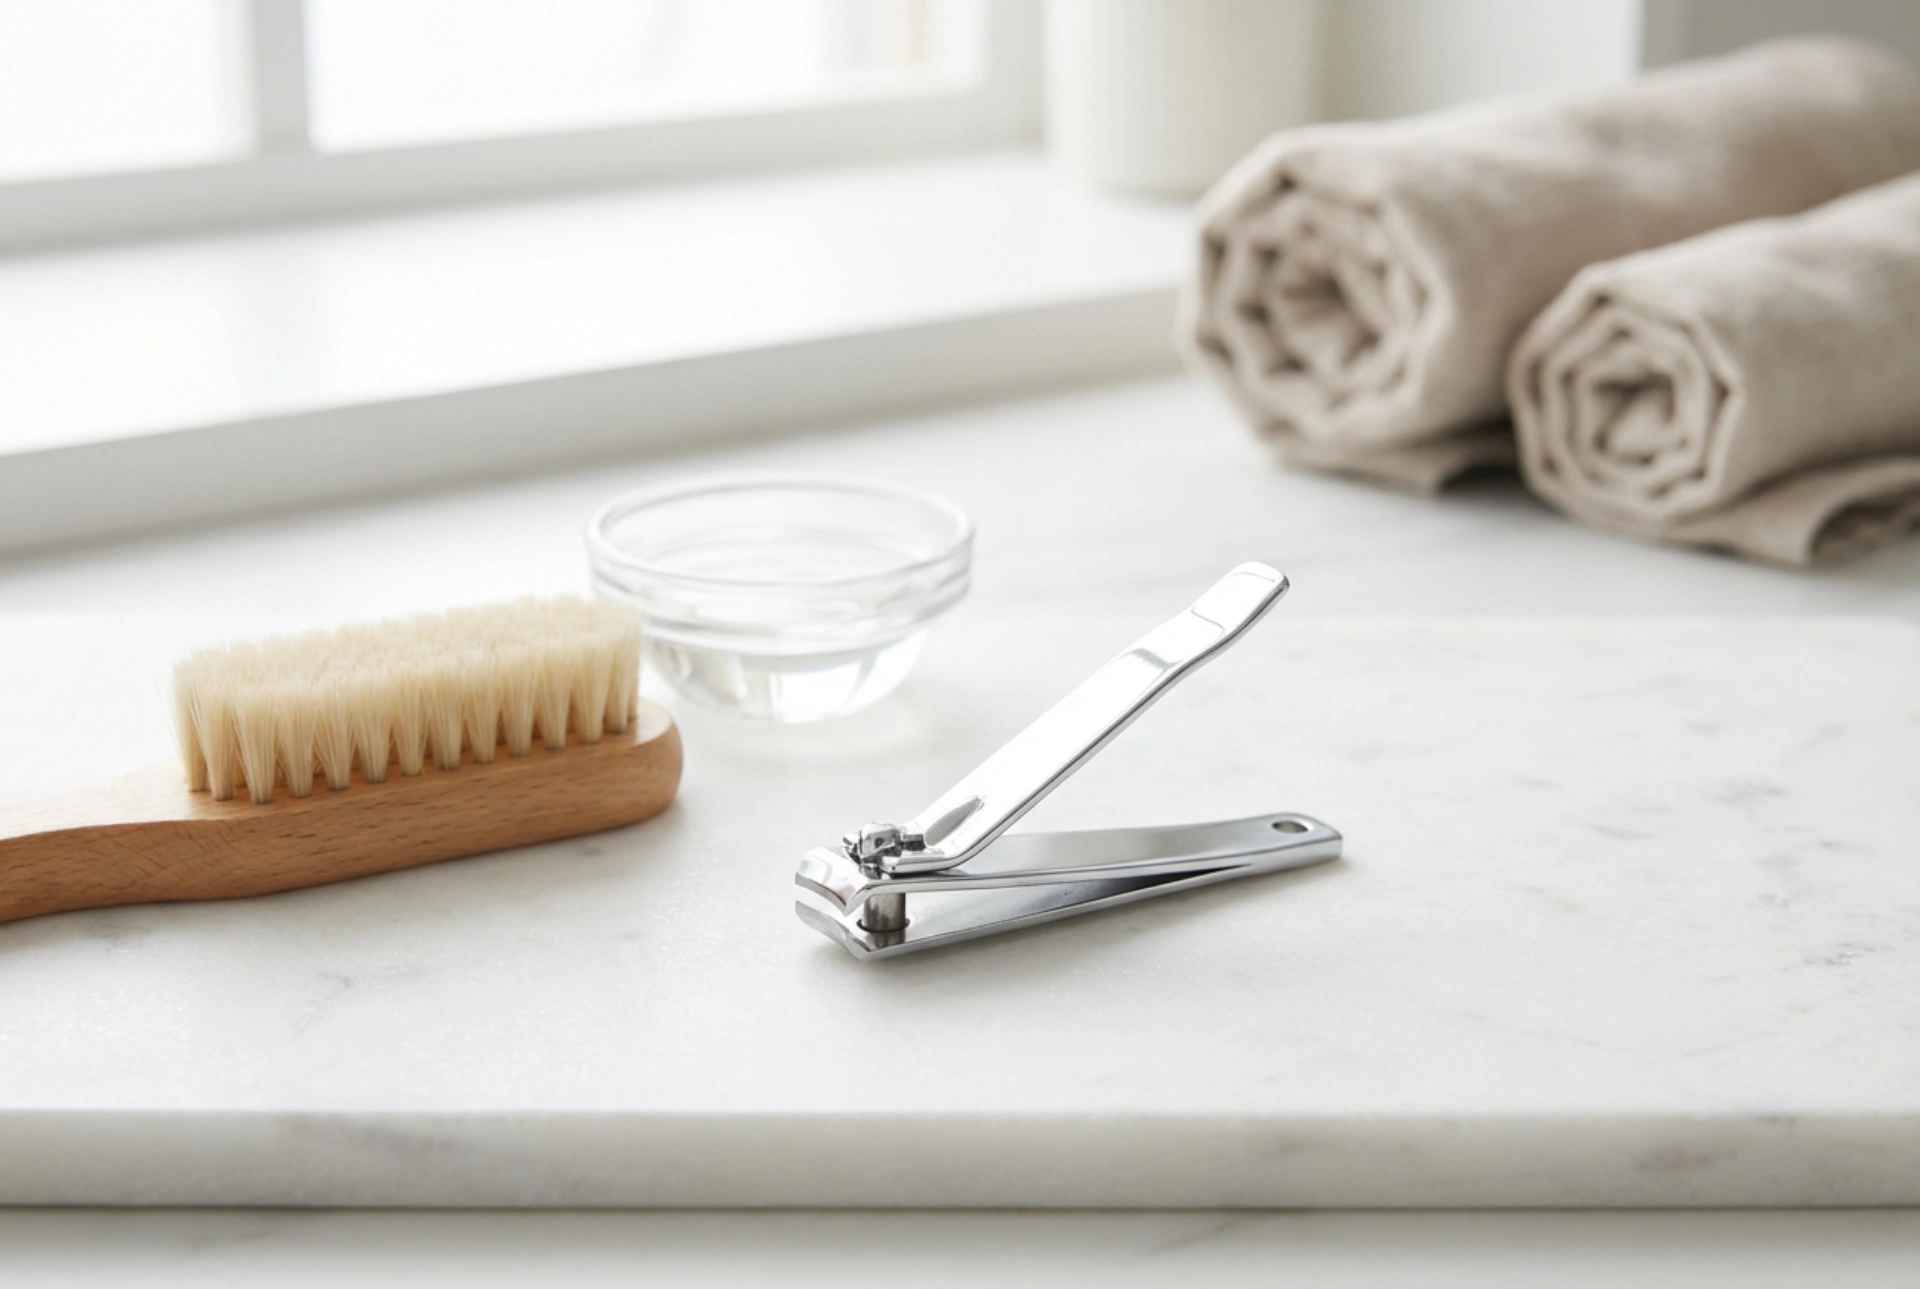
- Material: Look for clippers made from stainless steel. This material is strong, resistant to rust and corrosion, and can be easily disinfected, making it the most hygienic option. It also holds a sharp edge for longer, ensuring clean cuts rather than crushing or splitting the nail.
- Alignment and Sharpness: Before purchasing, check that the blades align perfectly when closed. There should be no gaps between them. A good pair of clippers will feel sturdy, with a lever that operates smoothly but firmly. Sharp blades are crucial for a clean cut that doesn't leave jagged edges or cause damage.
The Correct Technique for Clipping Nails
Using the right technique is just as important as having the right tool. Improper clipping can lead to split nails or discomfort. Follow these steps for a perfect trim every time.
Preparation is Key
For the best results, it's wise to clip your nails when they are slightly softened. The ideal time is after a warm bath or shower, as the water makes them more pliable and less prone to splitting. However, make sure your nails are completely dry before you start cutting to ensure a clean, precise clip. Clean under your nails with a soft brush before you begin.
The Art of the Cut
Avoid the common mistake of trying to trim the entire nail in one single clip. This can put too much pressure on the nail plate and cause it to crack or bend. Instead:
- Start at one side of the nail and make a small, straight cut.
- Make another small cut on the opposite side.
- Finally, make a third cut in the centre to connect the first two and remove the excess length.
- For fingernails, you can then make a few more tiny snips to gently round the corners, following their natural curve.
- For toenails, continue cutting straight across to maintain a square shape.
- Be careful not to cut your nails too short. Leave a small white tip to protect the sensitive nail bed beneath.
After clipping, you can gently file the edges with a nail file to smooth any roughness.
Maintaining Your Nail Clippers for Hygiene and Longevity
Proper maintenance ensures your clippers remain effective and hygienic, preventing the transfer of bacteria and extending the life of your tool.
Regular Cleaning
It's crucial to clean your clippers after every use. Debris, such as nail clippings and skin cells, can build up on the blades. Use a small, stiff brush (an old, clean toothbrush works well) to scrub away any residue. Then, wash the clippers with soap and warm water and rinse them thoroughly.
Disinfection
To ensure your tool is completely hygienic, disinfect it regularly. After cleaning, you can wipe the blades with a cotton pad soaked in rubbing alcohol or let the clippers soak in a disinfectant solution for about 10 minutes. This step is particularly important if the tool is shared among household members.
Drying and Storage
After washing and disinfecting, make sure the clippers are completely dry before storing them, as moisture can lead to rust, even on stainless steel. Pat them dry with a clean towel and then let them air dry fully. Store your clippers in a clean, dry place, such as a dedicated pouch or a drawer organizer, to protect the blades from damage and keep them sharp.