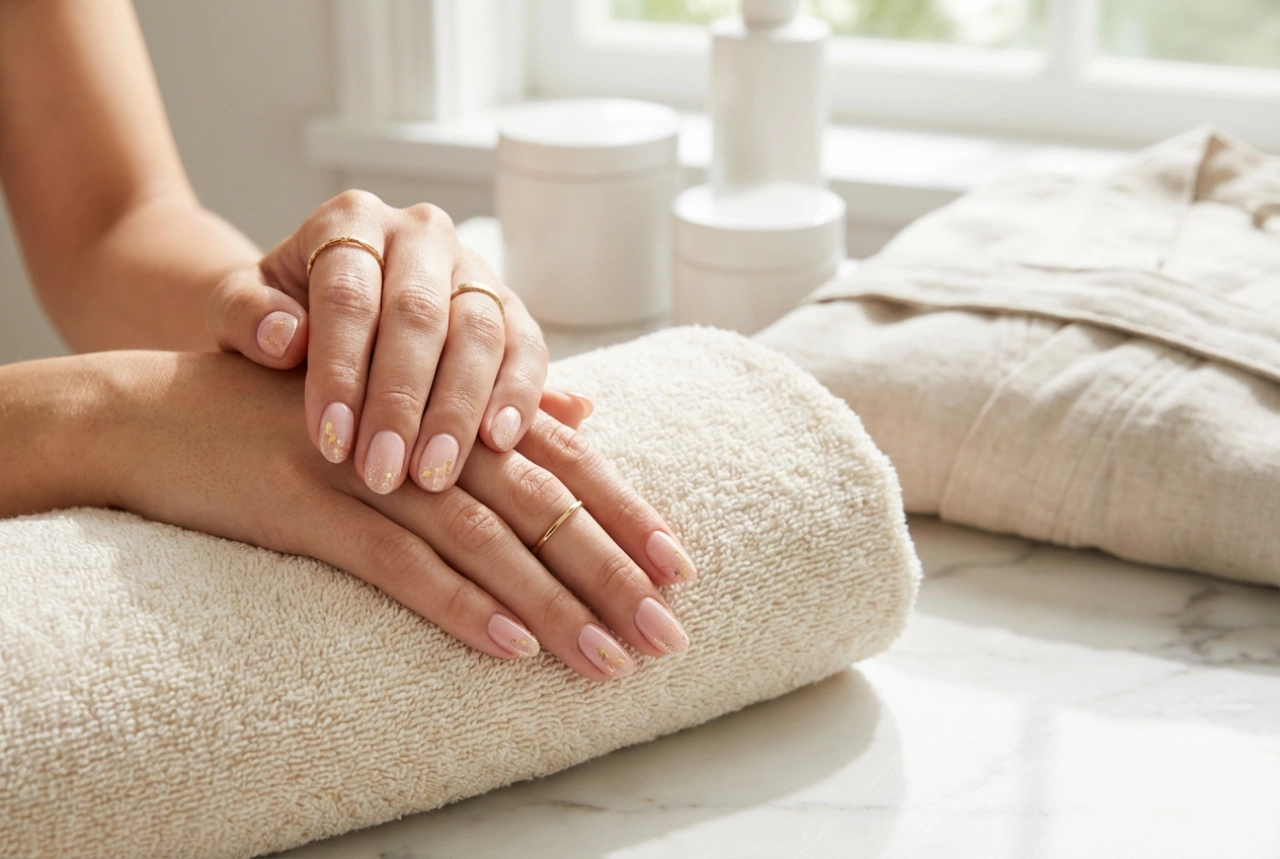
Achieving a flawless, salon-quality manicure at home is a rewarding experience. The sight of perfectly polished nails, like those in a refined aesthetic, brings a sense of accomplishment. However, the frustration is real when that beautiful colour starts to chip after just a day or two. The key to extending the life of your manicure and keeping it looking pristine lies in a simple, yet crucial final step: the application of a quality nail top coat. This protective layer is your best defence against the daily wear and tear that threatens your handiwork.
What is a Nail Top Coat and Why is it Essential?
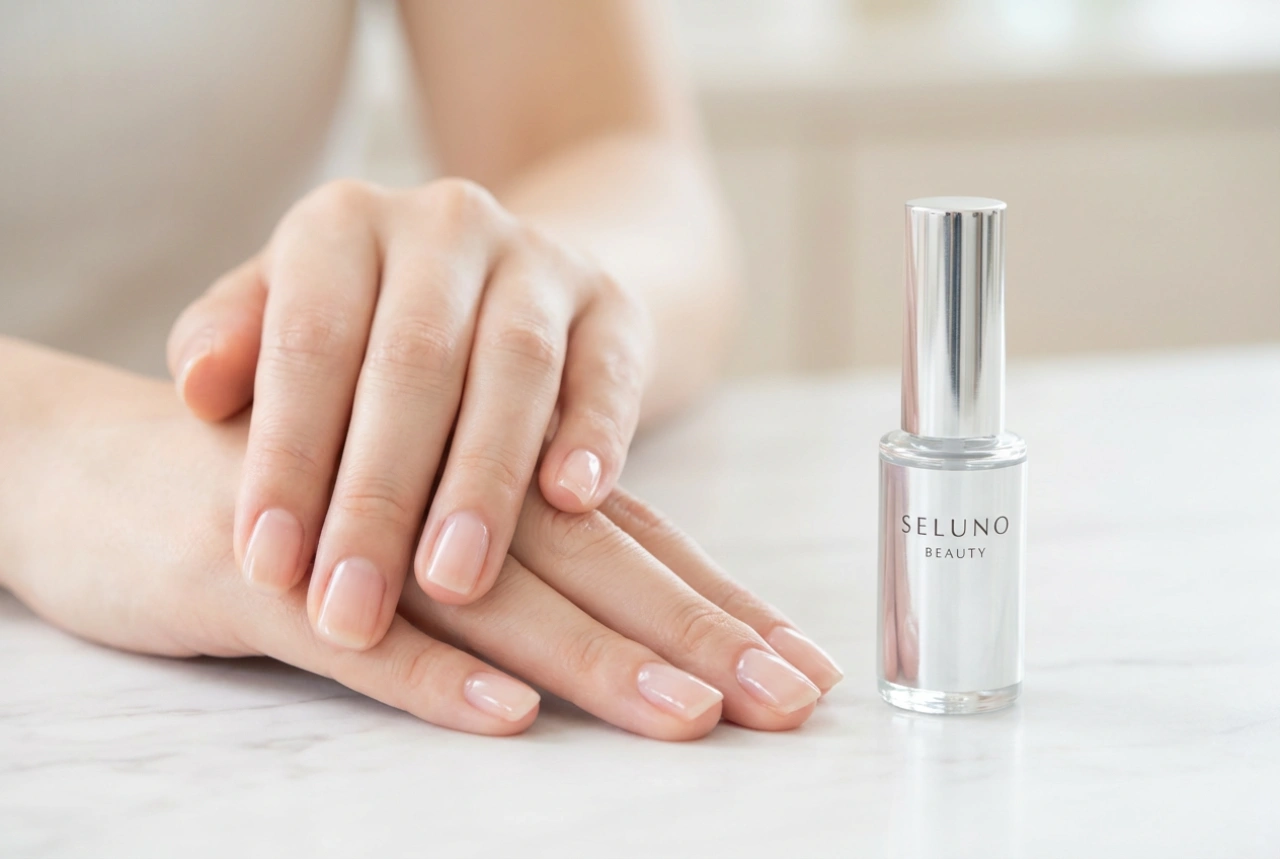
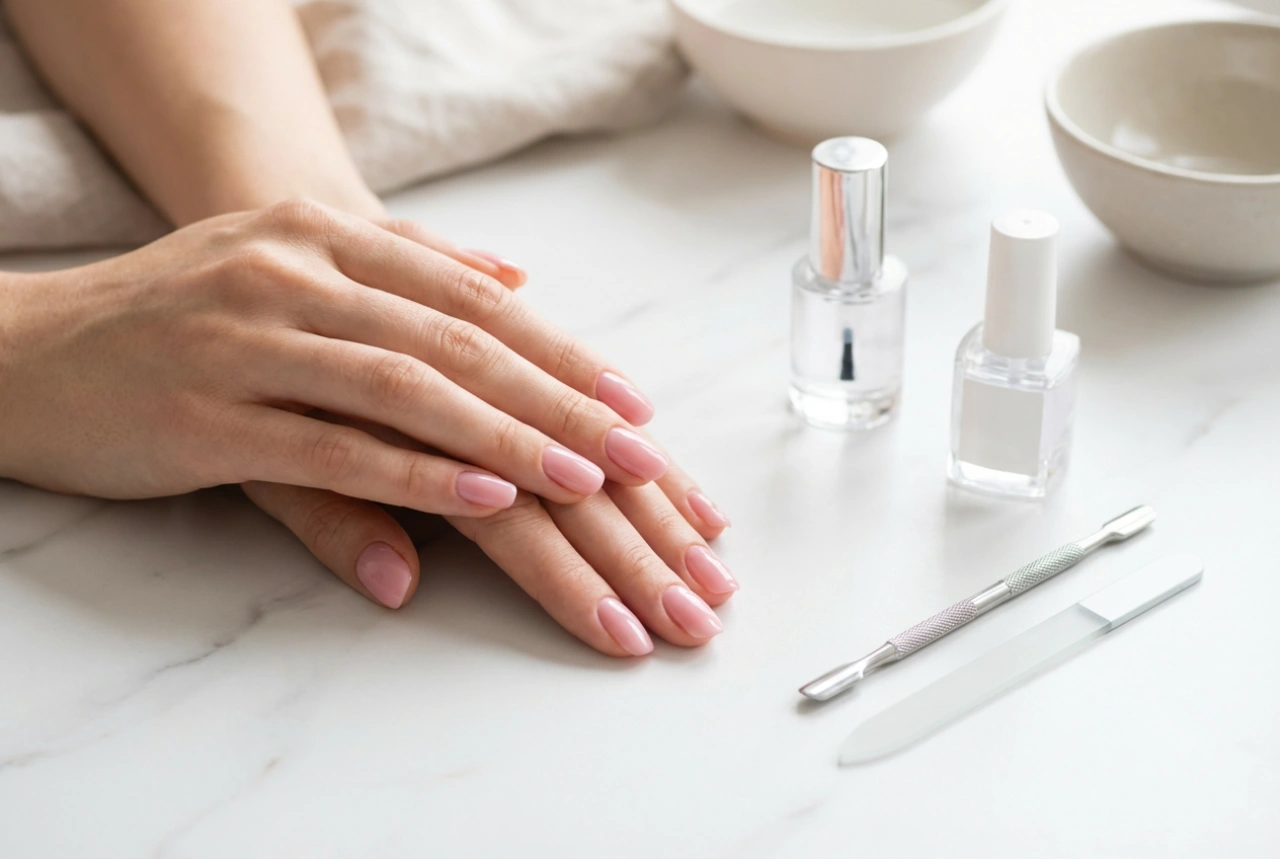
A nail top coat is a clear or lightly tinted polish applied over your chosen nail colour. Its primary function is to create a durable, protective barrier over the polish. Think of it as a shield for your manicure. This shield is indispensable for several reasons. Firstly, it significantly reduces the likelihood of chipping, scuffing, and peeling. By sealing the colour, it prevents it from being directly exposed to impacts and friction. Secondly, a top coat adds a beautiful finish. Depending on the type, it can provide a high-gloss, gel-like shine that makes the colour appear more vibrant, or a sophisticated matte effect. Finally, many modern top coats are formulated to speed up the drying time of the nail polish layers beneath, helping you get back to your day sooner without risking smudges.
Top Coat vs. Base Coat
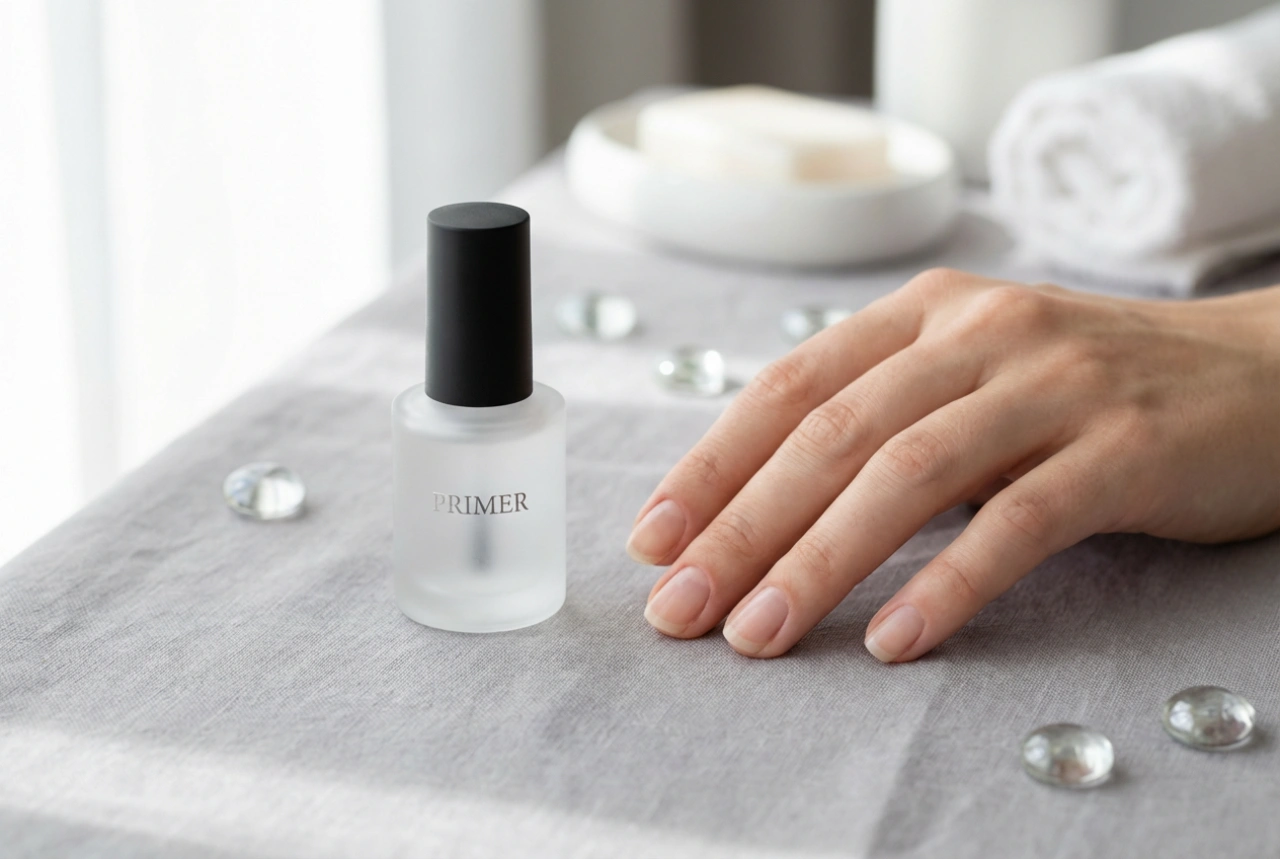
It's important not to confuse a top coat with a base coat. While both are clear polishes, they serve very different purposes. A base coat is applied to the bare nail before any colour. Its formula is designed to grip the nail plate and create a smooth, even surface for the colour polish to adhere to. It also helps prevent dark polishes from staining your natural nails. A top coat, on the other hand, is formulated to bond with the nail polish colour and create a hard, protective outer layer. Using them together is the ultimate strategy for a long-lasting manicure.
Choosing the Right Top Coat for Your Needs
The market offers a variety of top coats, each designed to deliver a specific result. Understanding the differences will help you choose the best one for your personal style and lifestyle. Without focusing on specific brands, here are the main categories:
- Quick-Dry Top Coats: Ideal for anyone who is short on time. These formulas are engineered to dry to the touch within minutes, significantly cutting down the overall manicure time. They penetrate through the polish layers to help them cure faster.
- High-Shine Top Coats: If you love the plump, ultra-glossy look of a gel manicure, this is the type for you. They provide a brilliant, long-lasting shine that enhances the colour and gives a professional, luxurious finish.
- Matte Top Coats: For a more modern and understated look, a matte top coat is the perfect choice. It instantly transforms any glossy polish into a velvety, non-reflective finish, offering a completely different aesthetic.
- Strengthening Top Coats: Some top coats are infused with ingredients like proteins or vitamins that aim to fortify the nails while protecting the polish. These can be a good option if your nails are prone to breaking or feeling weak.
The Correct Application Technique for Maximum Durability
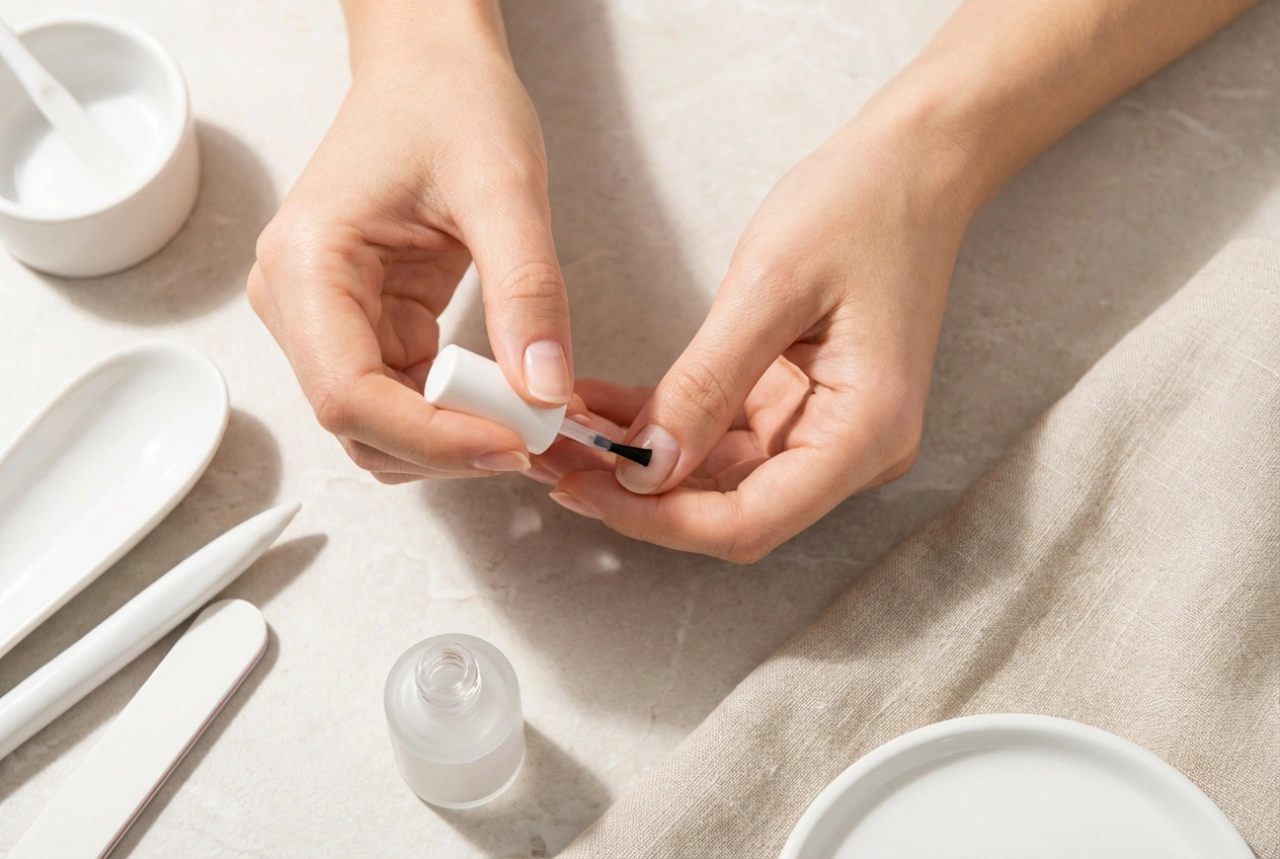
How you apply the top coat is just as important as the product itself. Following the correct technique ensures an even finish and maximises its protective qualities. After applying your final coat of colour, wait a couple of minutes for it to become slightly firm but not completely dry. Then, follow these steps:
Step-by-Step Application
Start by loading your brush with a decent amount of top coat, but not so much that it will flood your cuticles. Place the brush in the centre of your nail, slightly away from the cuticle line, and gently push back towards the cuticle without touching it. Then, pull the brush straight down the middle of the nail to the tip. Return to the base of the nail and sweep the brush down the left side, and then again down the right side. This three-stroke method ensures full, even coverage.
The Secret Weapon: Capping the Free Edge
This is the single most effective trick to prevent chipping. The 'free edge' is the very tip of your nail. After applying the top coat to the nail surface, take the brush and gently swipe it horizontally along the tip. This seals the edge of the nail and the polish, which is the area most vulnerable to chipping from typing, opening cans, and other daily activities. This simple step creates a complete seal around your manicure.
Extra Tips for a Chip-Free Manicure
Beyond the top coat, a few other habits can help your manicure last longer. Proper preparation is paramount; always start with clean, dry nails, wiping them with a polish remover to eliminate any oils that could hinder adhesion. Always use a base coat to help the polish stick better. When applying your colour, use two or three thin coats rather than one thick one, as thin layers are more flexible and less prone to chipping. To maintain that 'just-done' look, consider reapplying a thin layer of your top coat every two to three days. This refreshes the shine and reinforces the protective barrier. Finally, be mindful of your hands. Wear gloves when washing dishes or using cleaning products to protect your nails from harsh chemicals and prolonged water exposure.