


Achieving a beautiful, long-lasting manicure at home is a goal for many beauty enthusiasts. While we often focus on the colour and top coat, the secret to durability lies in the preparation. One of the most crucial yet often overlooked steps is the application of a nail primer. This simple product acts as the foundation for your entire manicure, ensuring that your hard work doesn't go to waste after just a few days. Proper preparation, including the use of a primer, is the key to achieving a flawless and resilient finish.
What is a Nail Primer and Why is It Essential?
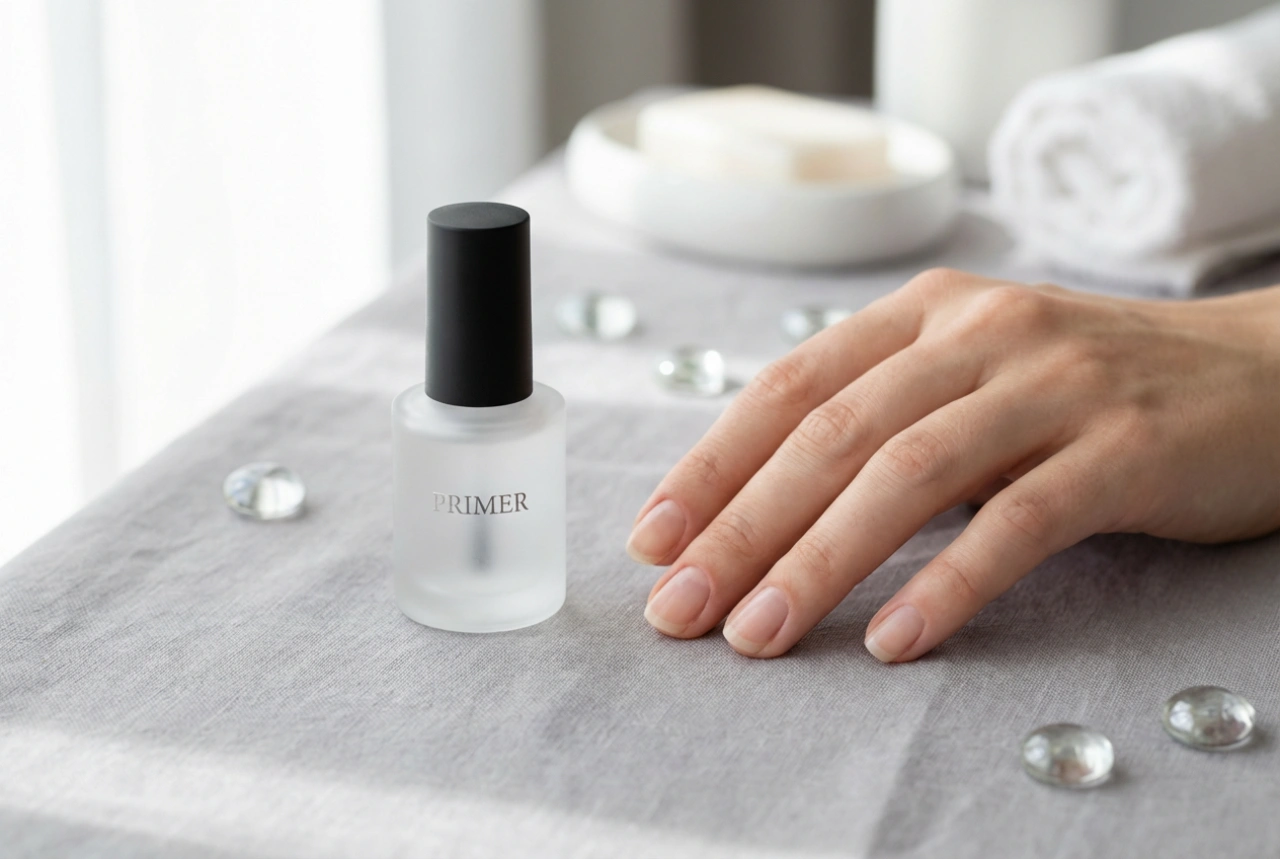
A nail primer is a liquid formula applied to the natural nail plate before any other product, like a base coat for gel or hybrid polishes. Its primary function is to prepare the nail surface for maximum adhesion. It works by removing any residual oils and moisture, and by altering the pH of the nail to create a more receptive base for the products that follow. Think of it as a double-sided tape for your nails; it bonds securely to your natural nail on one side and to the base coat on the other. Using a primer significantly reduces the chances of lifting, chipping, and peeling, thereby extending the life of your manicure by days or even weeks.
Understanding the Types of Nail Primers
When choosing a primer, you will generally encounter two main categories: acid-free and acid-based. Understanding their differences will help you select the appropriate one for your needs.
Acid-Free Primer
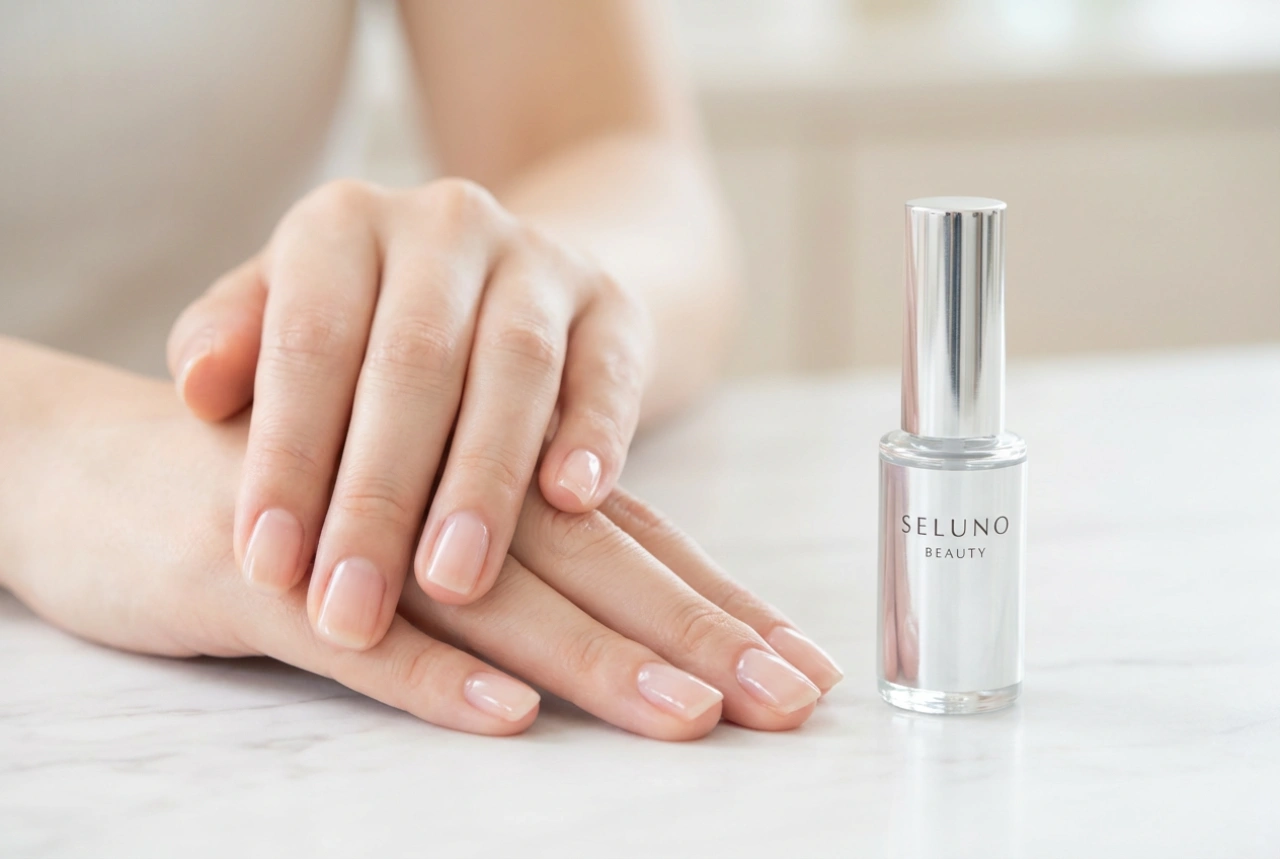
This is the most popular and commonly used type of primer, especially for at-home manicures with hybrid or gel polishes. It is gentler on the nail plate and skin. An acid-free primer works by leaving a slightly sticky layer on the nail surface after it dries. This tacky finish provides an excellent grip for the base coat, promoting a strong but flexible bond. It is suitable for most nail types and is the recommended starting point for anyone new to using primers.
Acid Primer
Acid-based primers offer a stronger level of adhesion. They contain ingredients that create microscopic etches on the surface of the nail plate, allowing for a much deeper and more secure bond. These primers are typically reserved for more demanding applications or for individuals with particularly oily or problematic nail plates where lifting is a persistent issue. When it dries, it usually leaves a chalky, matte finish. While effective, it requires more careful application to avoid contact with the skin.
How to Apply Nail Primer: A Step-by-Step Guide
Correct application is key to getting the most out of your nail primer. Rushing this step can undermine its effectiveness. Follow these instructions for a perfect application every time.
- Step 1: Prepare the Nail Plate. Begin by ensuring your nails are clean and properly shaped. Gently push back your cuticles. Use a soft buffer block to lightly remove the shine from the entire nail surface. This creates a subtle texture for the products to adhere to. Finally, use a file to shape the free edge of your nail as desired.
- Step 2: Cleanse the Nail. After buffing and filing, there will be fine dust on the nail plate. Use a lint-free wipe saturated with a dedicated nail cleanser or isopropyl alcohol to thoroughly wipe each nail. This step removes all dust, debris, and natural oils. Allow the nails to air dry completely.
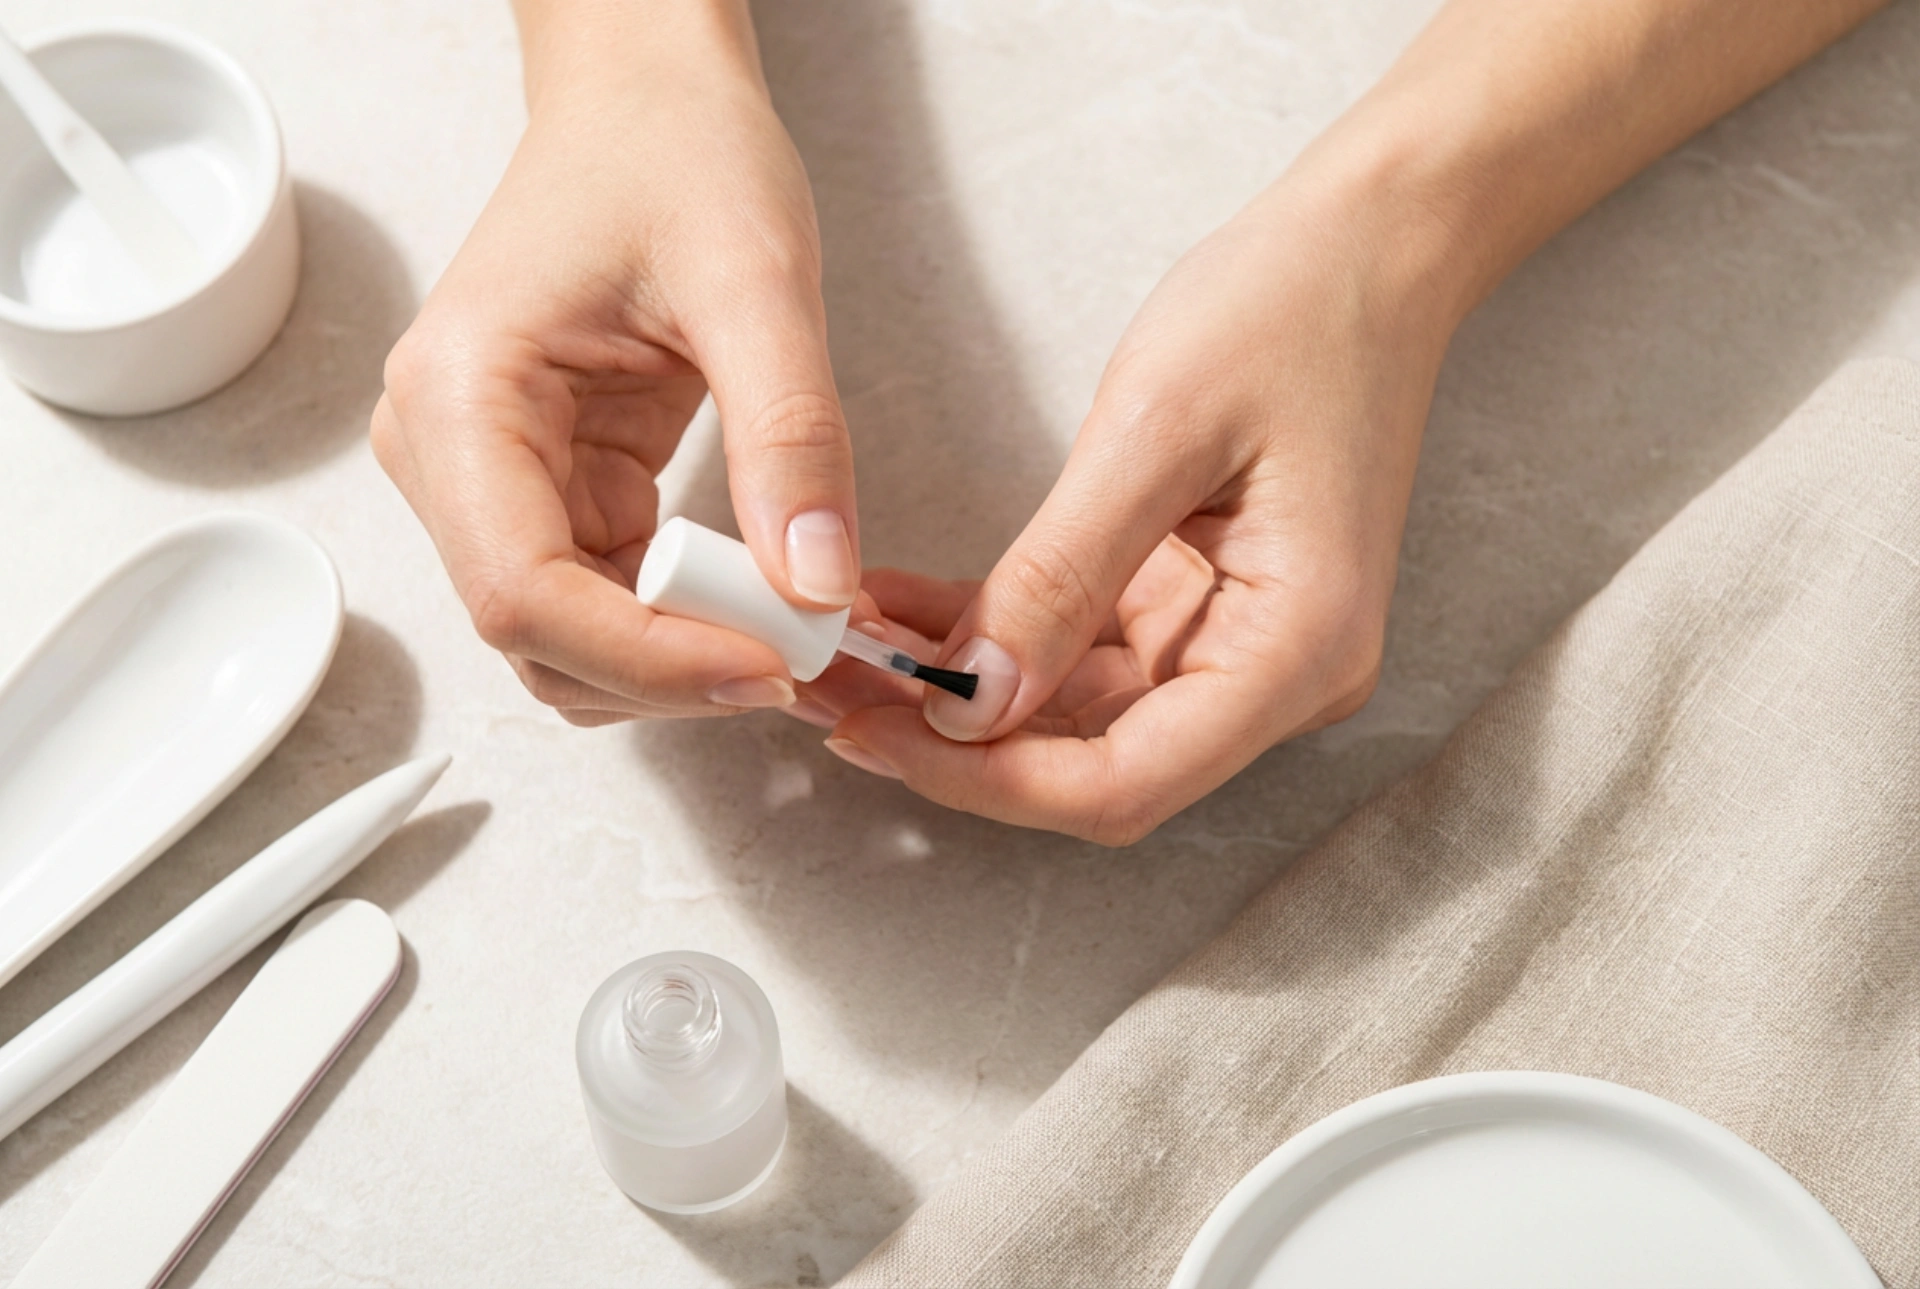
- Step 3: Apply the Primer. Dip the brush into the primer bottle and wipe off any excess on the rim. You only need a very small amount of product. Apply a thin layer of the primer to the nail plate, avoiding any contact with the surrounding skin and cuticles. A good technique is to place a small dot of primer in the centre of the nail and allow it to spread out naturally.
- Step 4: Allow it to Dry. Let the primer air dry for the time recommended by the manufacturer, typically 30-60 seconds. An acid-free primer will remain slightly tacky, while an acid primer will dry to a chalky-white appearance. Do not touch the nail or attempt to wipe it after application.
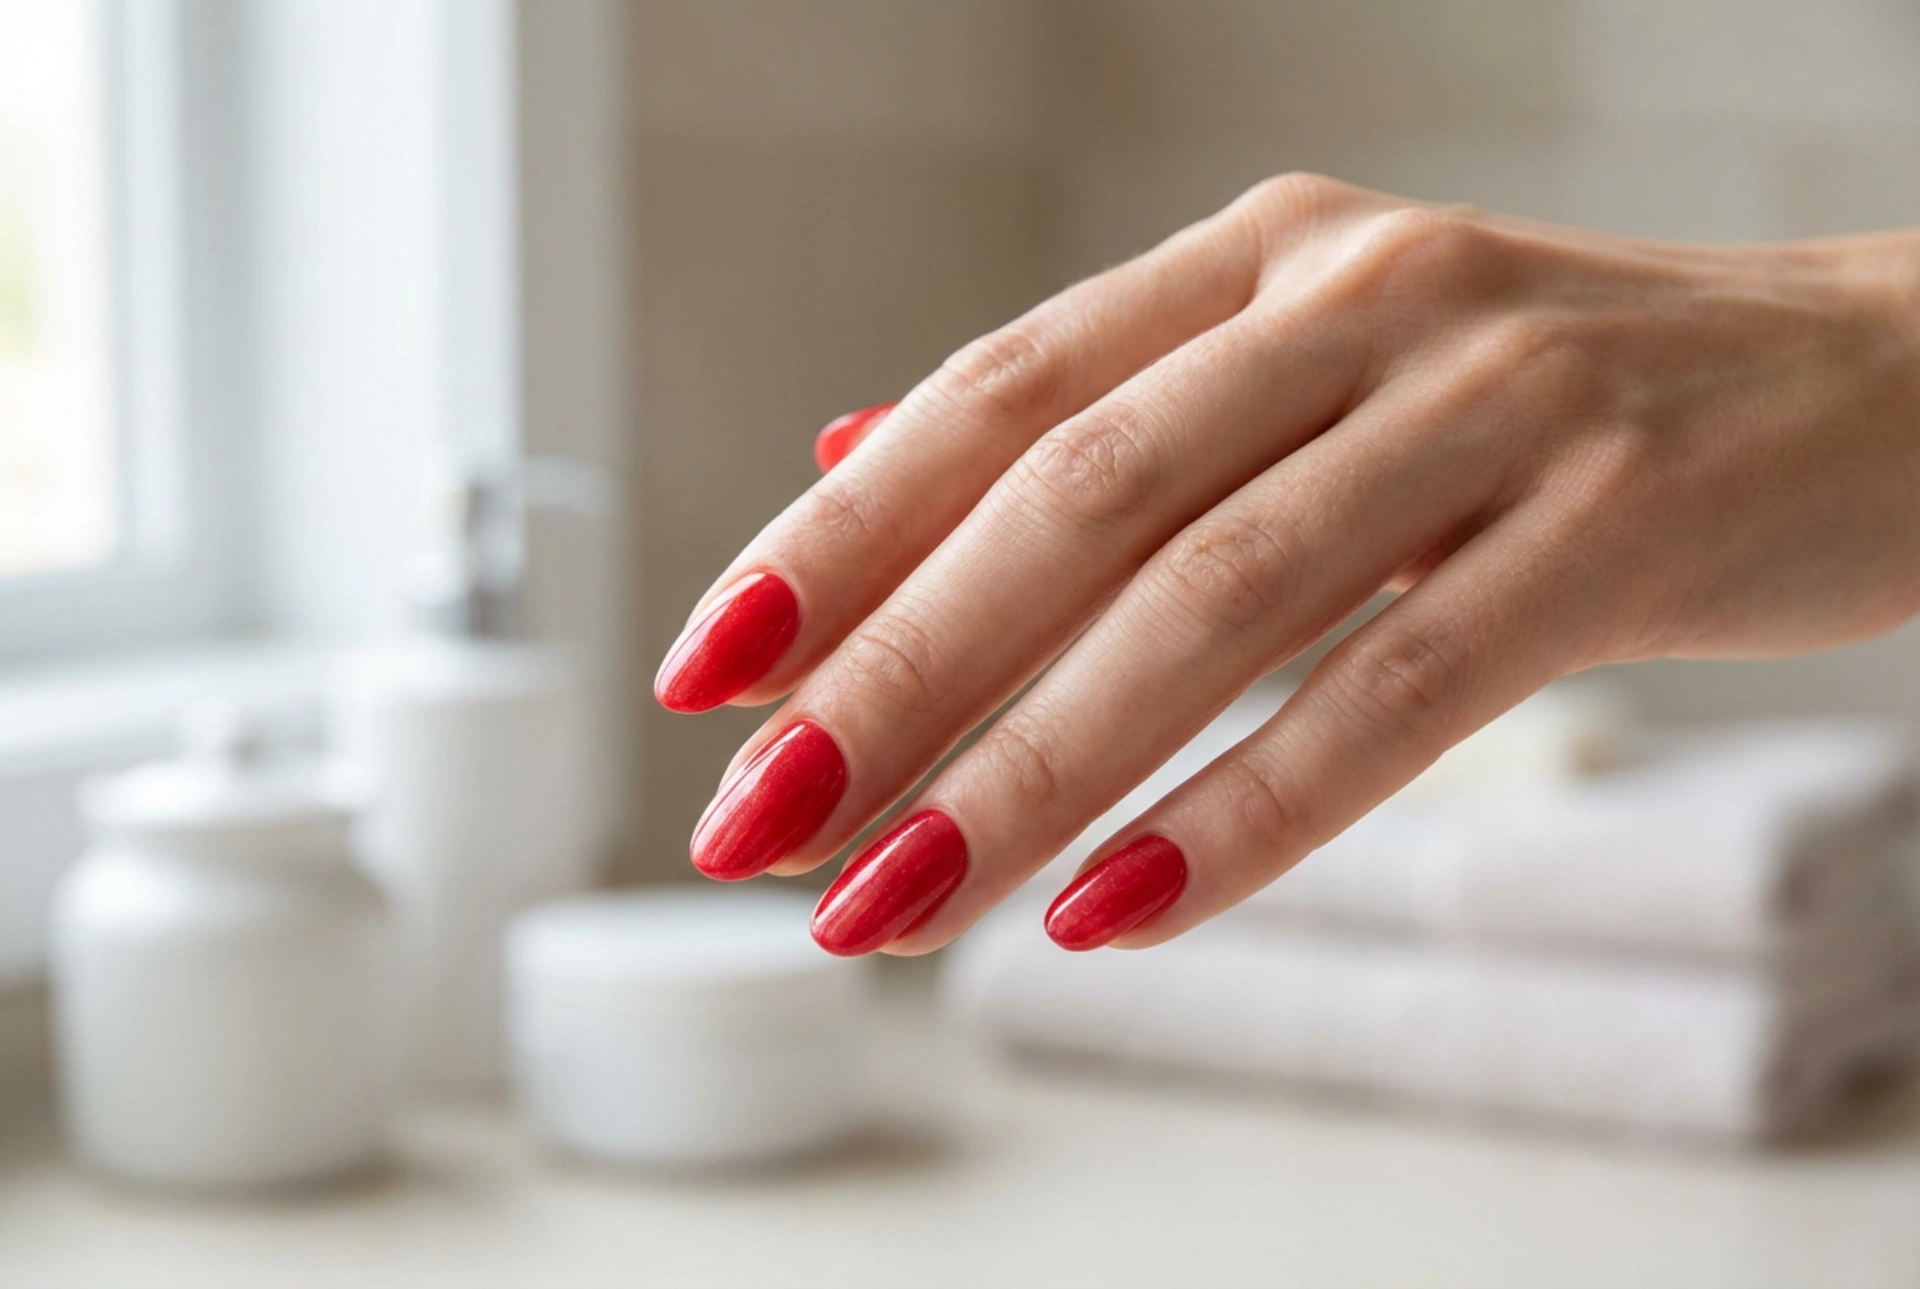
- Step 5: Proceed with Your Manicure. Once the primer is ready, you can continue with your manicure by applying your chosen base coat, followed by colour and a top coat.
Common Mistakes to Avoid
To ensure the best results, be mindful of these common errors when using a nail primer:
- Using too much product: A thick layer of primer will not improve adhesion and can actually cause lifting. Less is more.
- Getting primer on the skin: Primer is formulated only for the nail plate. Contact with the skin can cause irritation and may compromise the manicure's seal around the edges.
- Skipping nail preparation: Applying primer to a shiny, unprepared nail will not be effective. Buffing and cleansing are non-negotiable steps.
- Not waiting for it to dry: Applying a base coat over a wet primer will prevent it from working correctly and can lead to a messy application.
- Contaminating the nail: After applying primer, avoid touching your nails with your fingers, as this will transfer oils back onto the prepared surface.
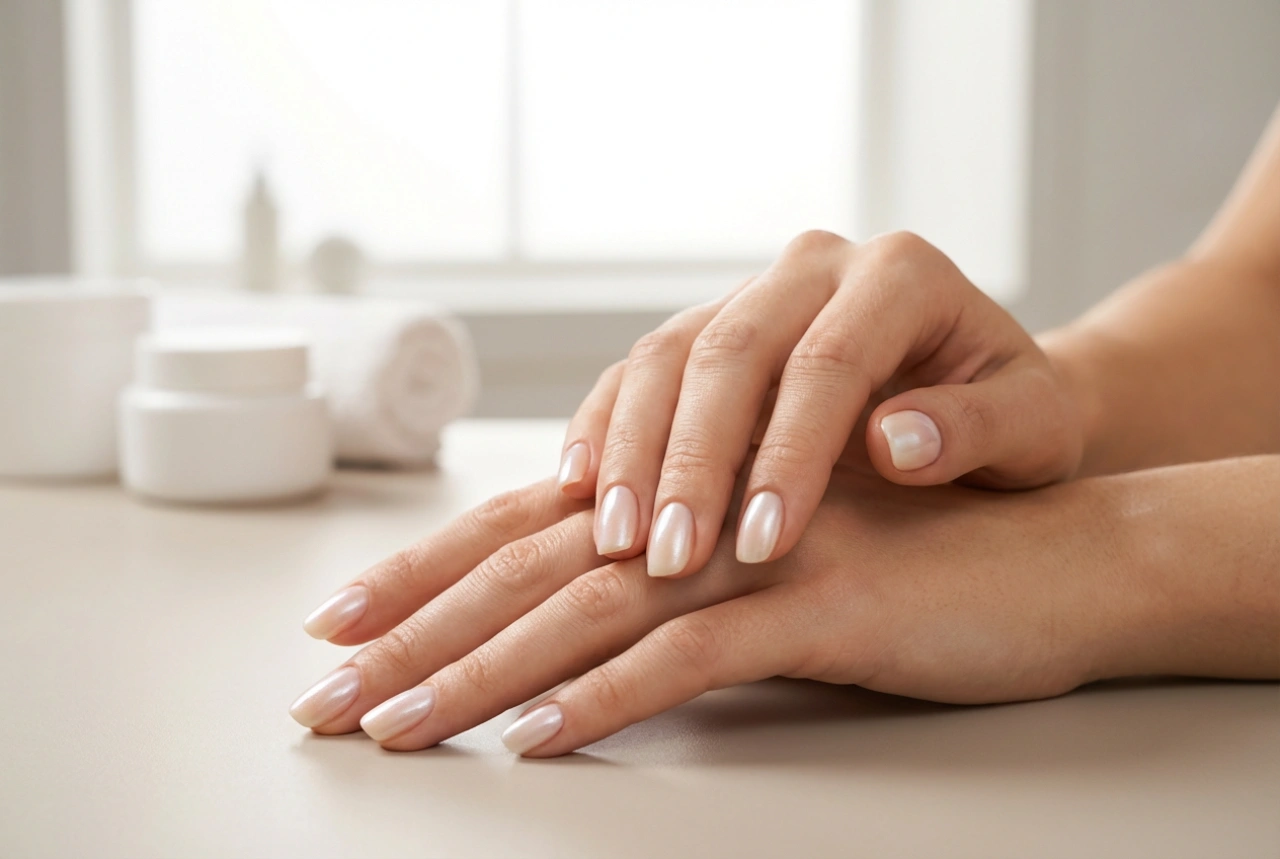
Incorporating a nail primer into your routine is a simple change that yields professional-level results. This small step provides the perfect canvas for any manicure, ensuring your nails look immaculate for as long as possible.