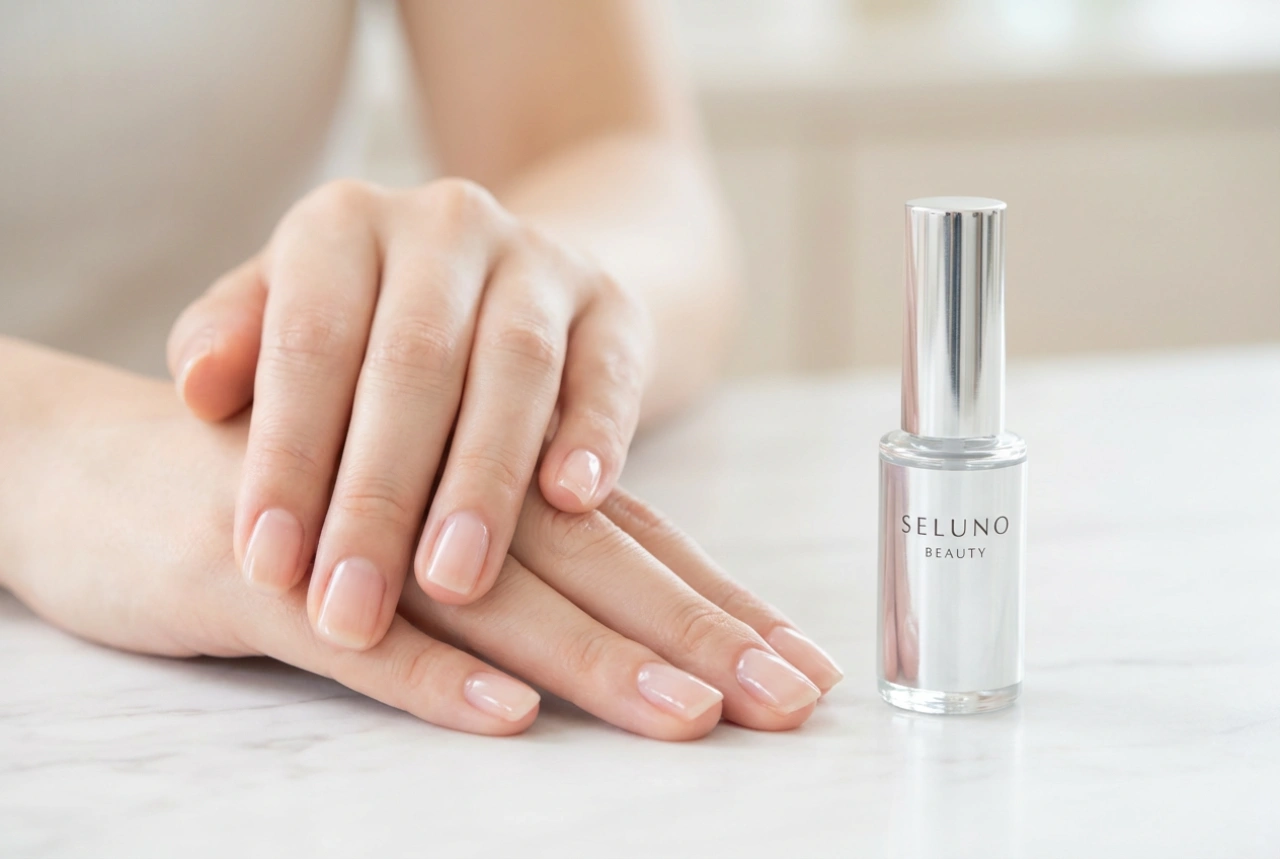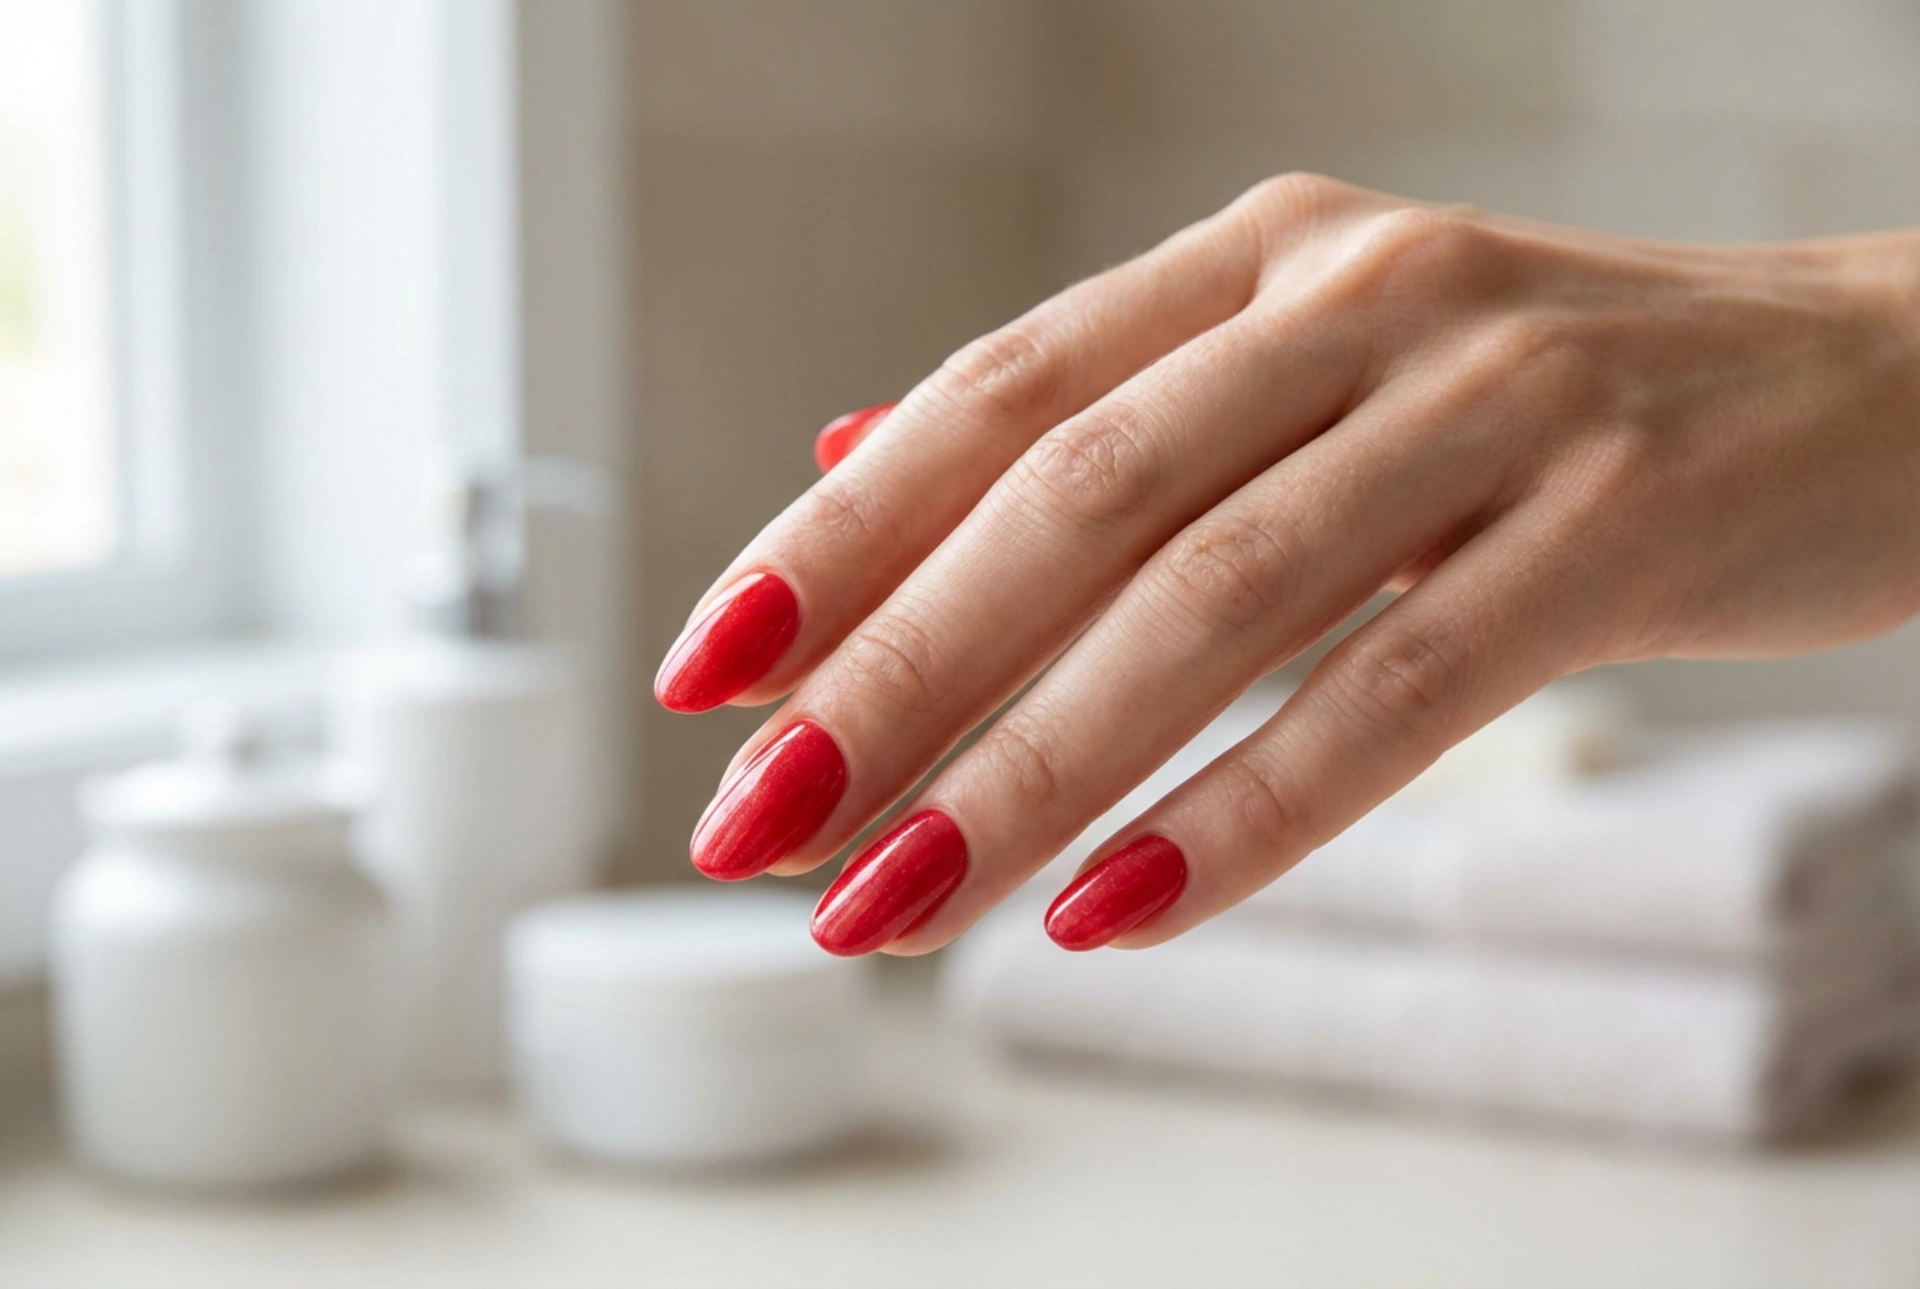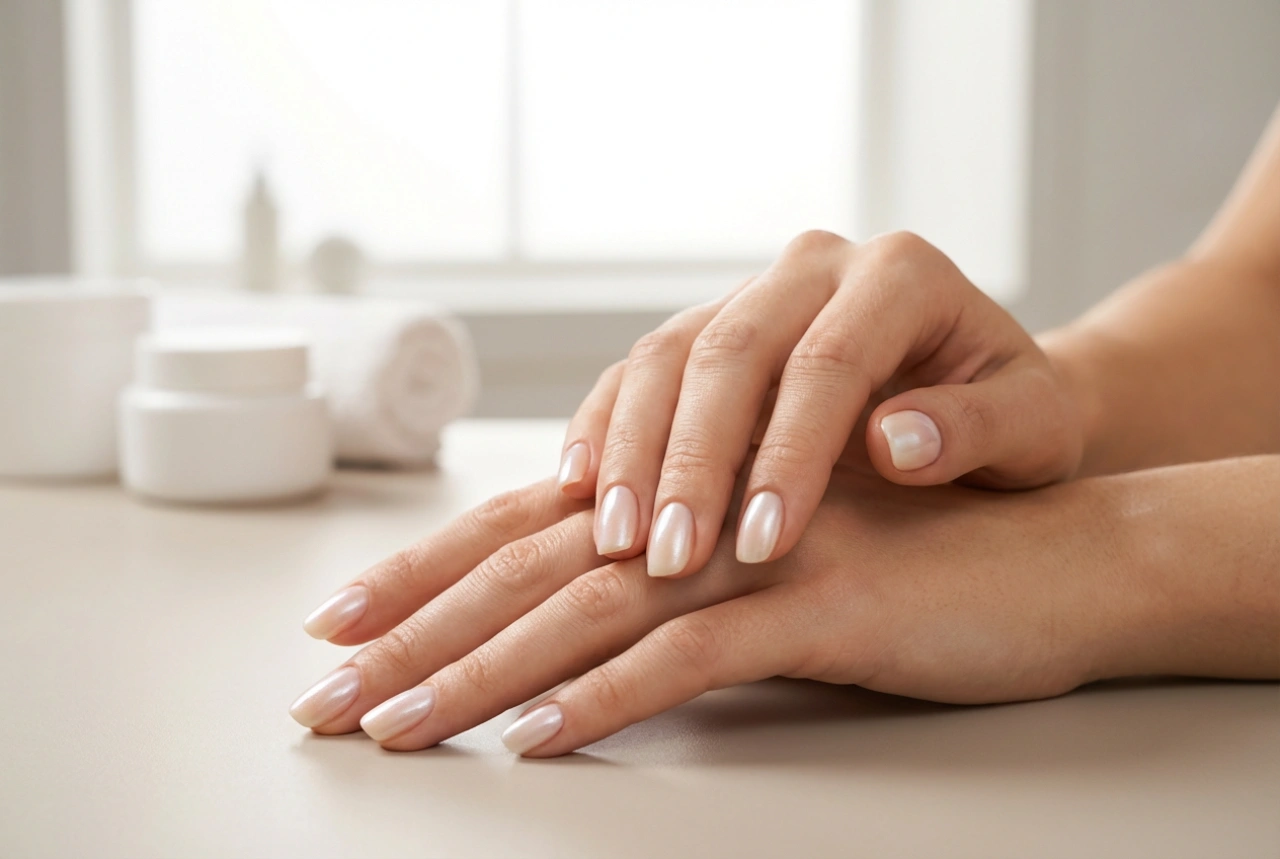


Achieving a beautiful, long-lasting hybrid manicure at home begins long before you apply the first coat of colour. Proper nail preparation is the foundation of a durable and professional-looking result, and a key, often underestimated, product in this process is the nail primer. It's the secret weapon for ensuring your manicure withstands daily wear and tear, preventing chipping and lifting. Understanding its role, types, and correct application is essential for anyone wanting to master the art of hybrid nails.
What is a Hybrid Nail Primer and Why is it Important?
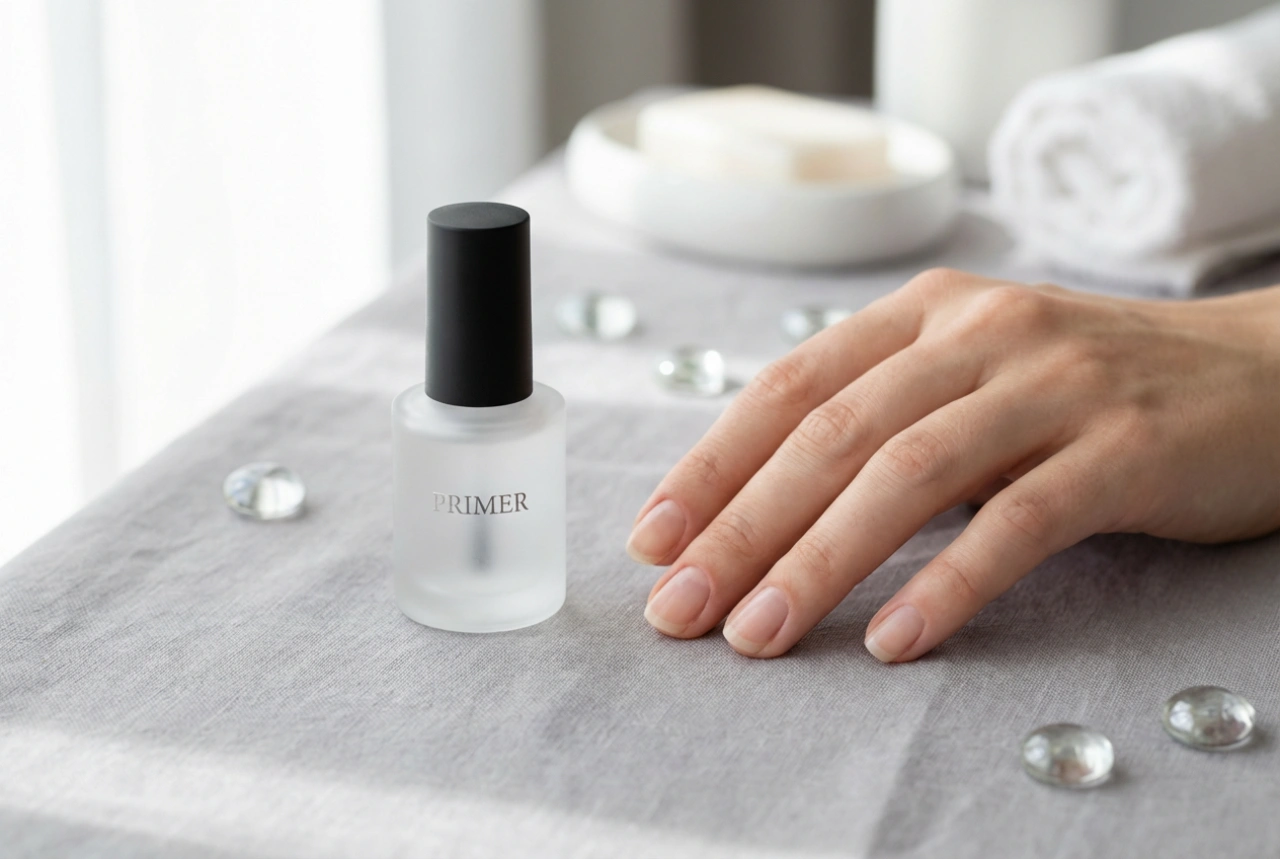
A hybrid nail primer is a liquid solution applied to the natural nail plate after it has been prepped (filed, buffed, and cleaned) but before the base coat is applied. Its primary function is to increase the adhesion between the natural nail and the hybrid base coat. Think of it as a bonding agent. The natural nail can have oils and moisture that make it difficult for products to stick securely. The primer dehydrates the surface and alters its pH, creating an ideal canvas for the subsequent layers of your manicure. Using a primer significantly extends the life of your hybrid nails, ensuring they remain flawless for weeks.
The Science of Adhesion
Primers work by creating a stronger chemical or mechanical bond. An unprepared nail plate is a relatively smooth, non-porous surface. A primer fundamentally changes this surface on a microscopic level. It ensures that the base coat has something to 'grip' onto, preventing the entire manicure from peeling off in one piece. Skipping this step, especially if you have nails that are prone to being oily or flexible, is often the main reason for premature manicure failure.
Types of Hybrid Nail Primers
Not all primers are created equal. They are generally categorised into two main types: acid-free and acid-based. Choosing the right one depends on your specific nail type and condition.
Acid-Free Primer
This is the most popular and universally recommended type of primer for at-home use. It's much gentler on the nail plate and surrounding skin. It works like double-sided tape, leaving a slightly sticky layer on the nail after it dries. This tacky surface provides an excellent grip for the base coat. Acid-free primer is the ideal choice for individuals with normal, healthy, and relatively unproblematic nails. It provides excellent adhesion without the harshness of its acid-based counterpart.
Acid Primer
Acid primers are a more powerful solution designed for 'problematic' nail plates. This includes nails that are naturally very oily, flexible, or for individuals who experience persistent lifting issues with their manicures. This type of primer contains methacrylic acid, which microscopically etches the surface of the nail plate, creating tiny pores for the base coat to anchor into. It offers maximum adhesion but must be used with caution. It should be applied very sparingly and must not come into contact with the skin, as it can cause irritation. It has a strong, distinct odour and evaporates completely from the nail, leaving a chalky-white finish.
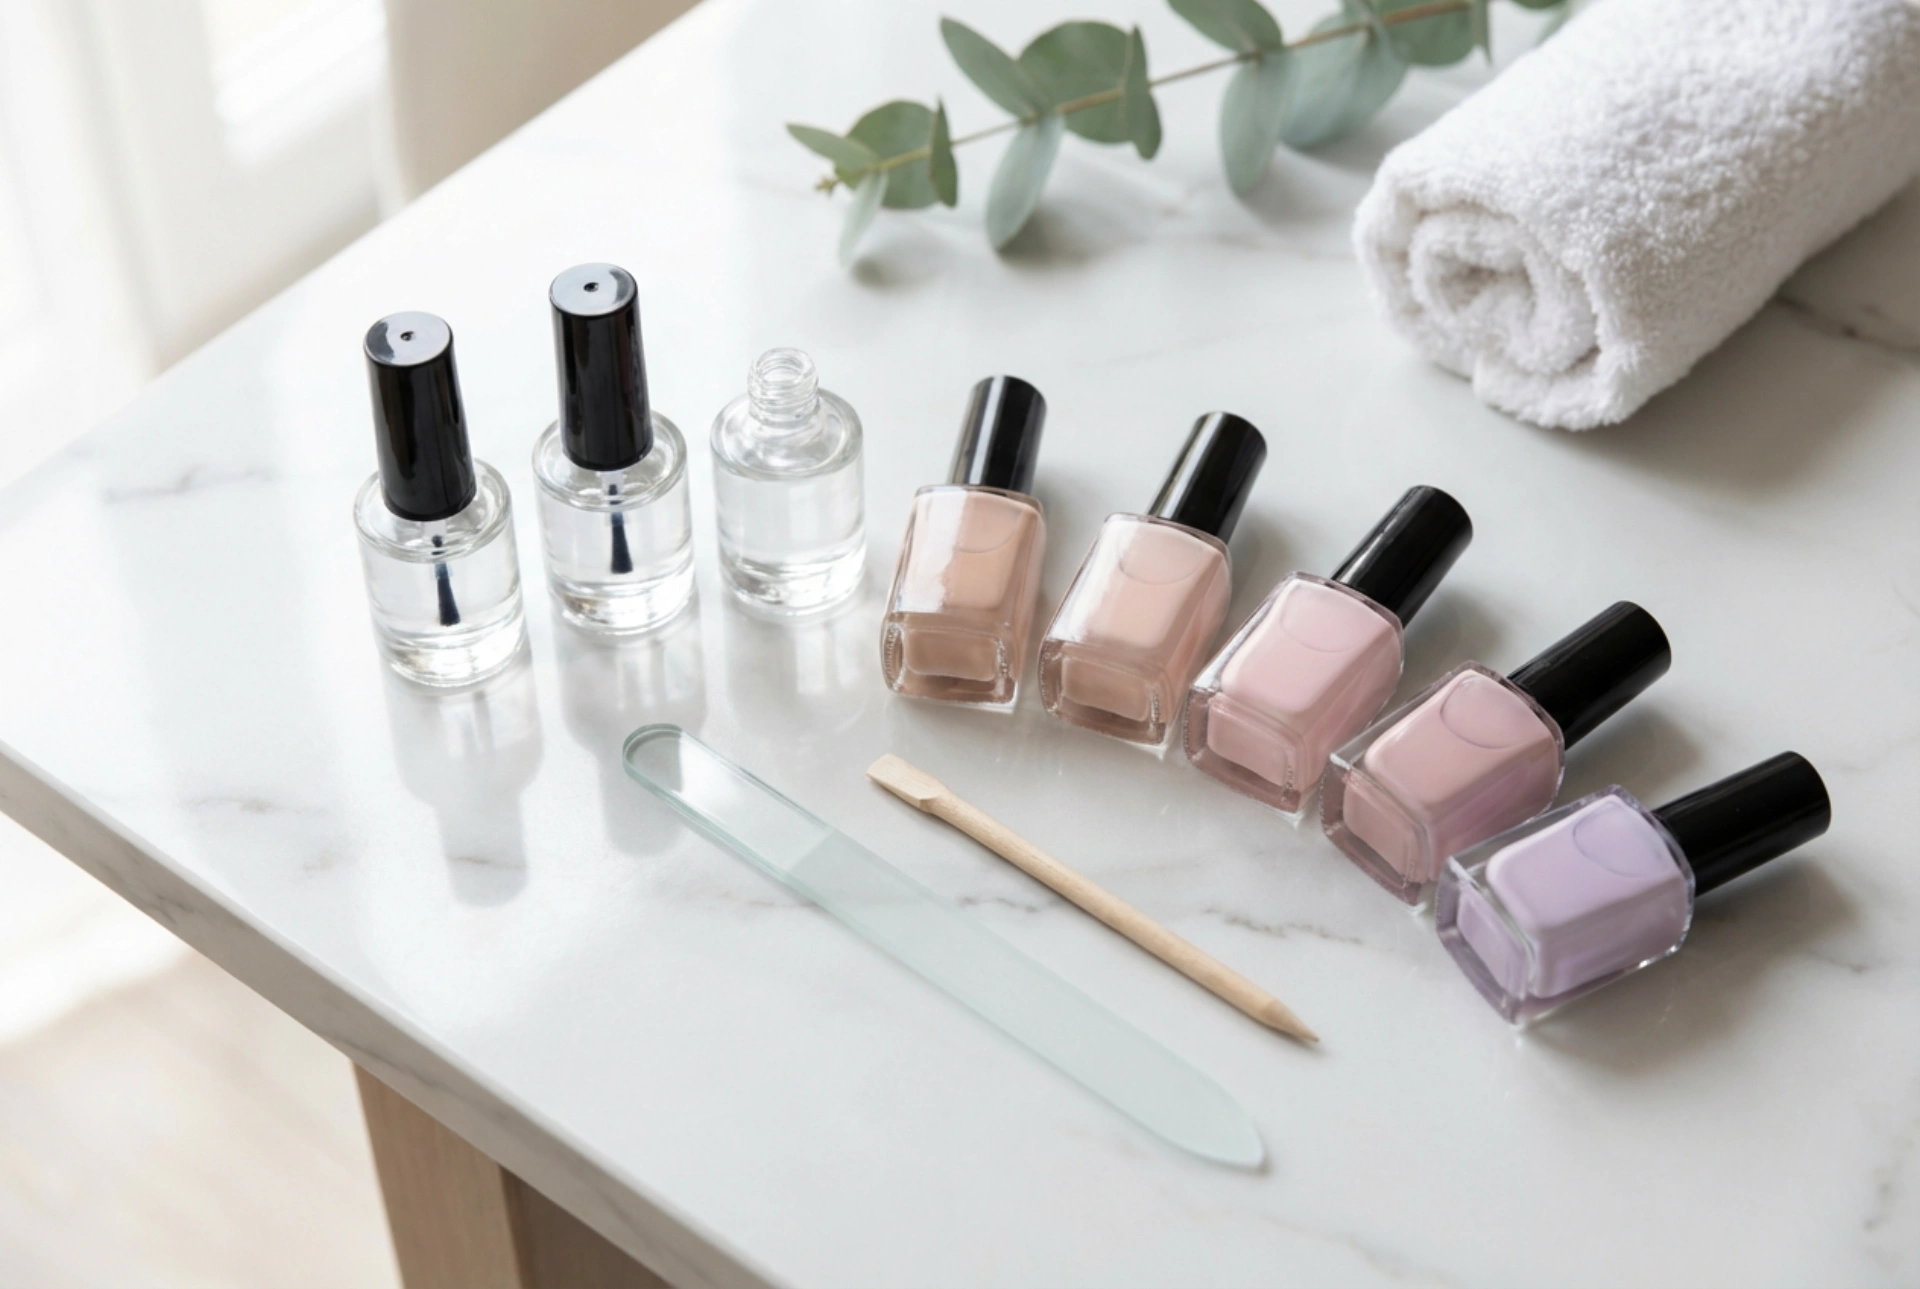
How to Apply Primer Correctly: A Step-by-Step Guide
Correct application is crucial for the primer to work effectively and safely. Rushing this step or applying it incorrectly can negate its benefits and even damage your nails or skin.
- Step 1: Prepare the Nail Plate. Start by shaping your nails with a file. Gently push back and remove the cuticles. Then, using a soft buffer block, lightly buff the entire surface of the nail plate to remove its natural shine. The goal is to create a matte surface, not to thin the nail.
- Step 2: Cleanse and Dehydrate. Wipe each nail thoroughly with a lint-free wipe soaked in a nail cleaner or dehydrator solution. This removes any dust from buffing and any remaining surface oils. Allow it to evaporate completely.
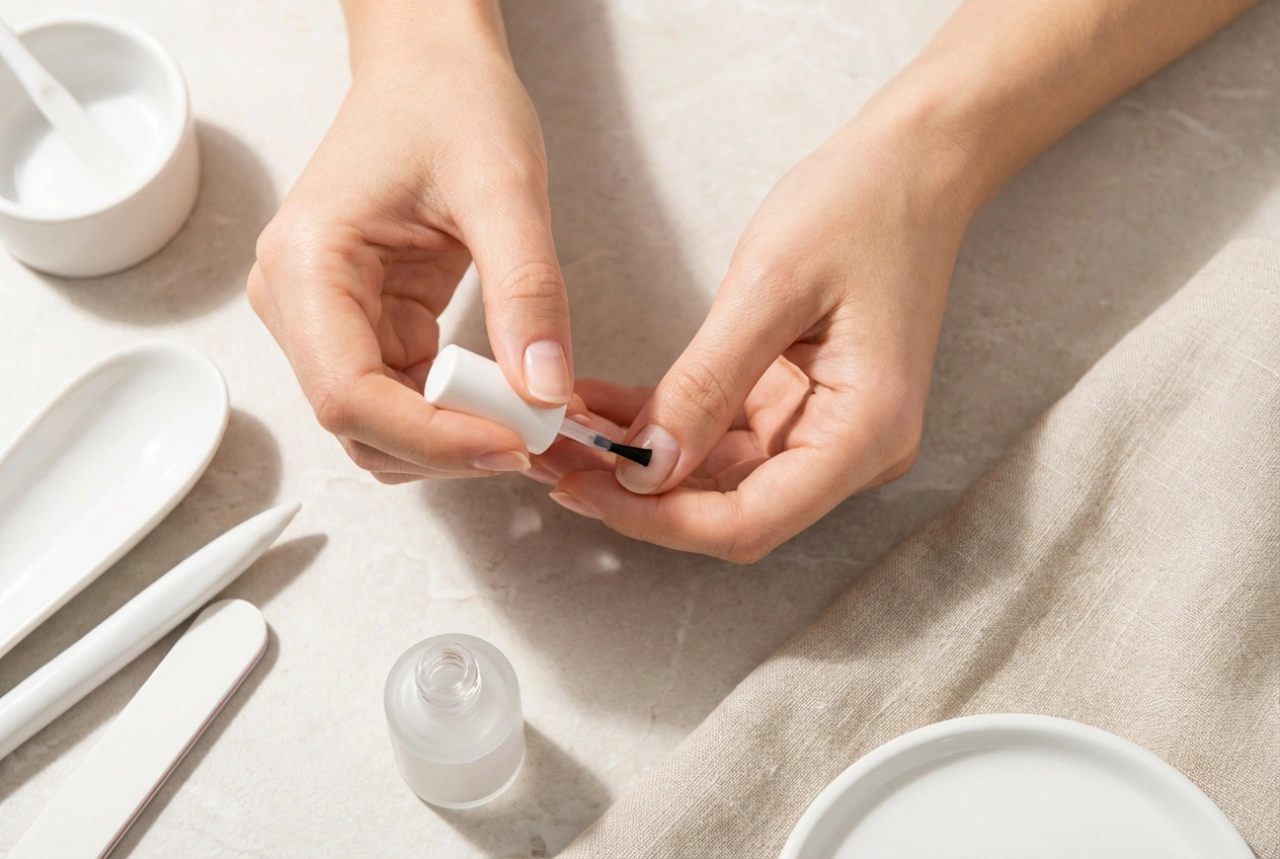
- Step 3: Apply the Primer. Now it's time for the primer. Remove the brush from the bottle and wipe off the excess product on the bottle's neck. You need a very small amount. For an acid-free primer, apply a thin layer over the entire nail plate, avoiding the skin. For an acid primer, apply 1-2 tiny dots in the centre of the nail. The product will spread on its own.
- Step 4: Wait for it to Dry. Do not proceed to the next step until the primer is completely dry. An acid-free primer will leave a slightly shiny, tacky film. An acid primer will evaporate entirely, leaving a dry, chalky-white look. This usually takes about 30-60 seconds. Do not cure the primer in a lamp.
Common Mistakes to Avoid
To get the most out of your primer, be mindful of these common application errors:
- Applying Too Much Product: More is not better. An excessive amount of primer can flood the cuticles, cause skin irritation (especially with acid primers), and can paradoxically weaken the bond.
- Contact with Skin: Always avoid getting primer on your cuticles or the skin around the nail. This can lead to irritation and over time, may cause sensitivities.
- Not Waiting for it to Dry: Applying a base coat over a wet primer will compromise adhesion. You must wait for it to either leave a tacky film (acid-free) or completely evaporate (acid).
- Using the Wrong Type: Using an acid primer on healthy, normal nails is unnecessary and can be overly harsh. Conversely, using only an acid-free primer when you have very oily nails might not be enough to prevent lifting.
- Skipping the Step: The most common mistake is omitting the primer altogether. For a truly durable and long-lasting hybrid manicure, this step is non-negotiable. It makes a world of difference in performance and wear time.