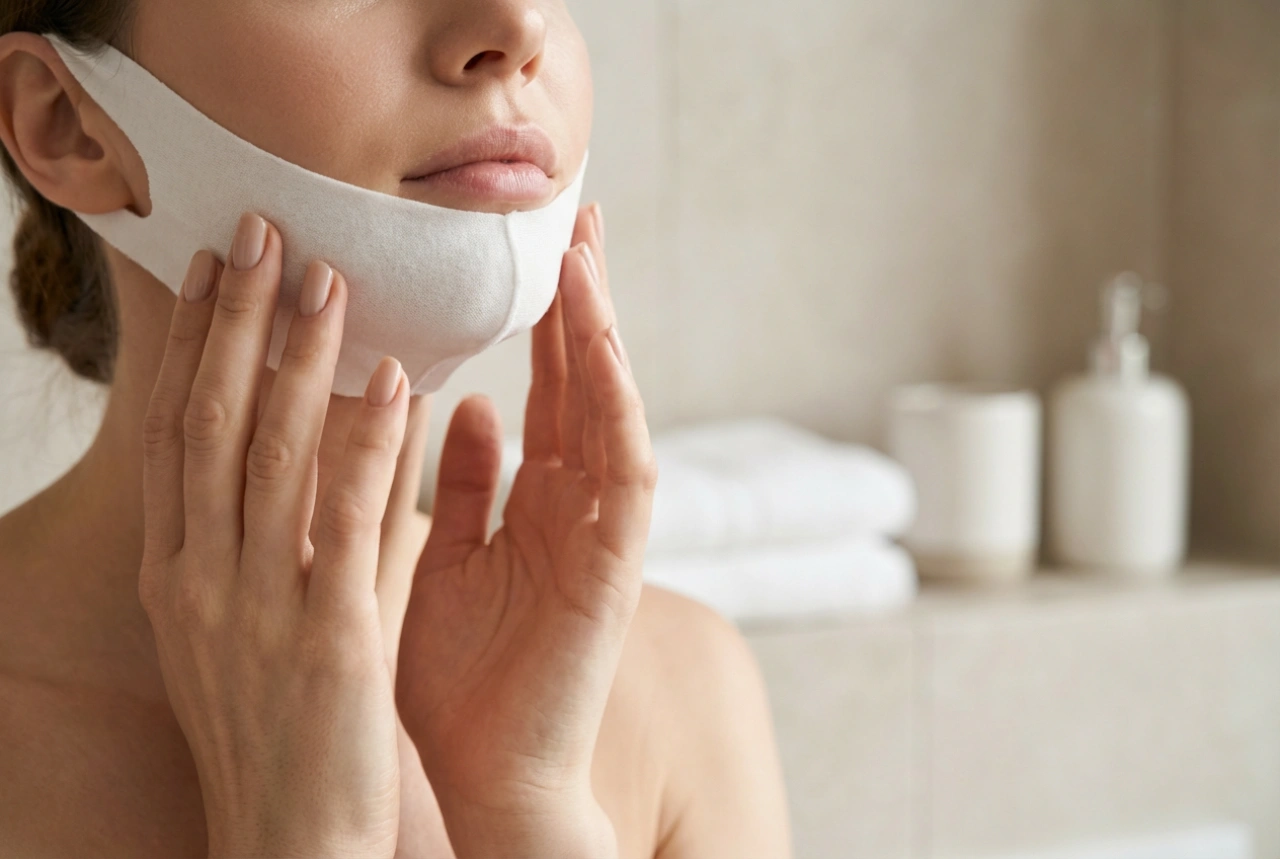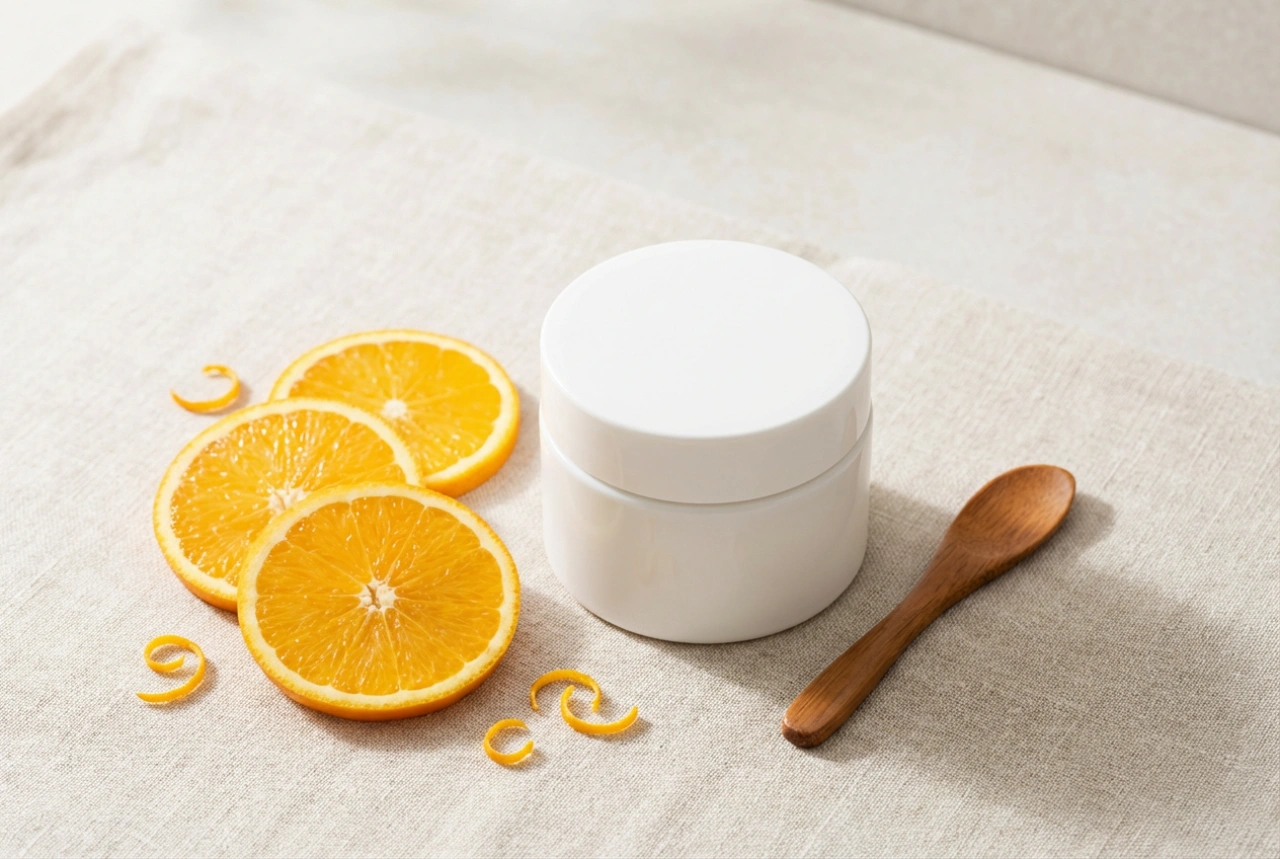


The ritual of preparing a face mask at home can be a deeply calming and rewarding experience. Creating a skincare treatment with your own hands, like a natural clay mask, connects you to the ingredients and your self-care routine. Clay masks are a timeless beauty staple, celebrated for their ability to purify and refresh the complexion. For those new to this wonderful ingredient, understanding how to prepare, apply, and, most importantly, remove it gently is key to unlocking its full benefits without causing irritation.
Choosing the Right Clay for Your Skin
Not all clays are created equal, and selecting one that suits your skin type is the first step to a successful mask experience. While there are many varieties, a few are particularly popular for home use. It's always best to choose a clay that aligns with your skin's current needs.
- White Clay (Kaolin): This is one of the mildest clays, making it ideal for sensitive, dry, or mature skin. It offers very gentle cleansing and helps to soften the skin without drawing out excess oils.
- Green Clay (e.g., Bentonite or Montmorillonite): Known for its excellent absorbent properties, green clay is a popular choice for those with oily or combination skin. It helps to draw out impurities from the pores and can leave the skin feeling deeply cleansed and mattified.
- Pink Clay: Often a combination of red and white clays, pink clay offers a balanced approach. It's suitable for most skin types, including normal and so-called 'tired' skin. It helps to gently cleanse and improve skin tone and texture without being overly drying.
How to Prepare Your Clay Mask
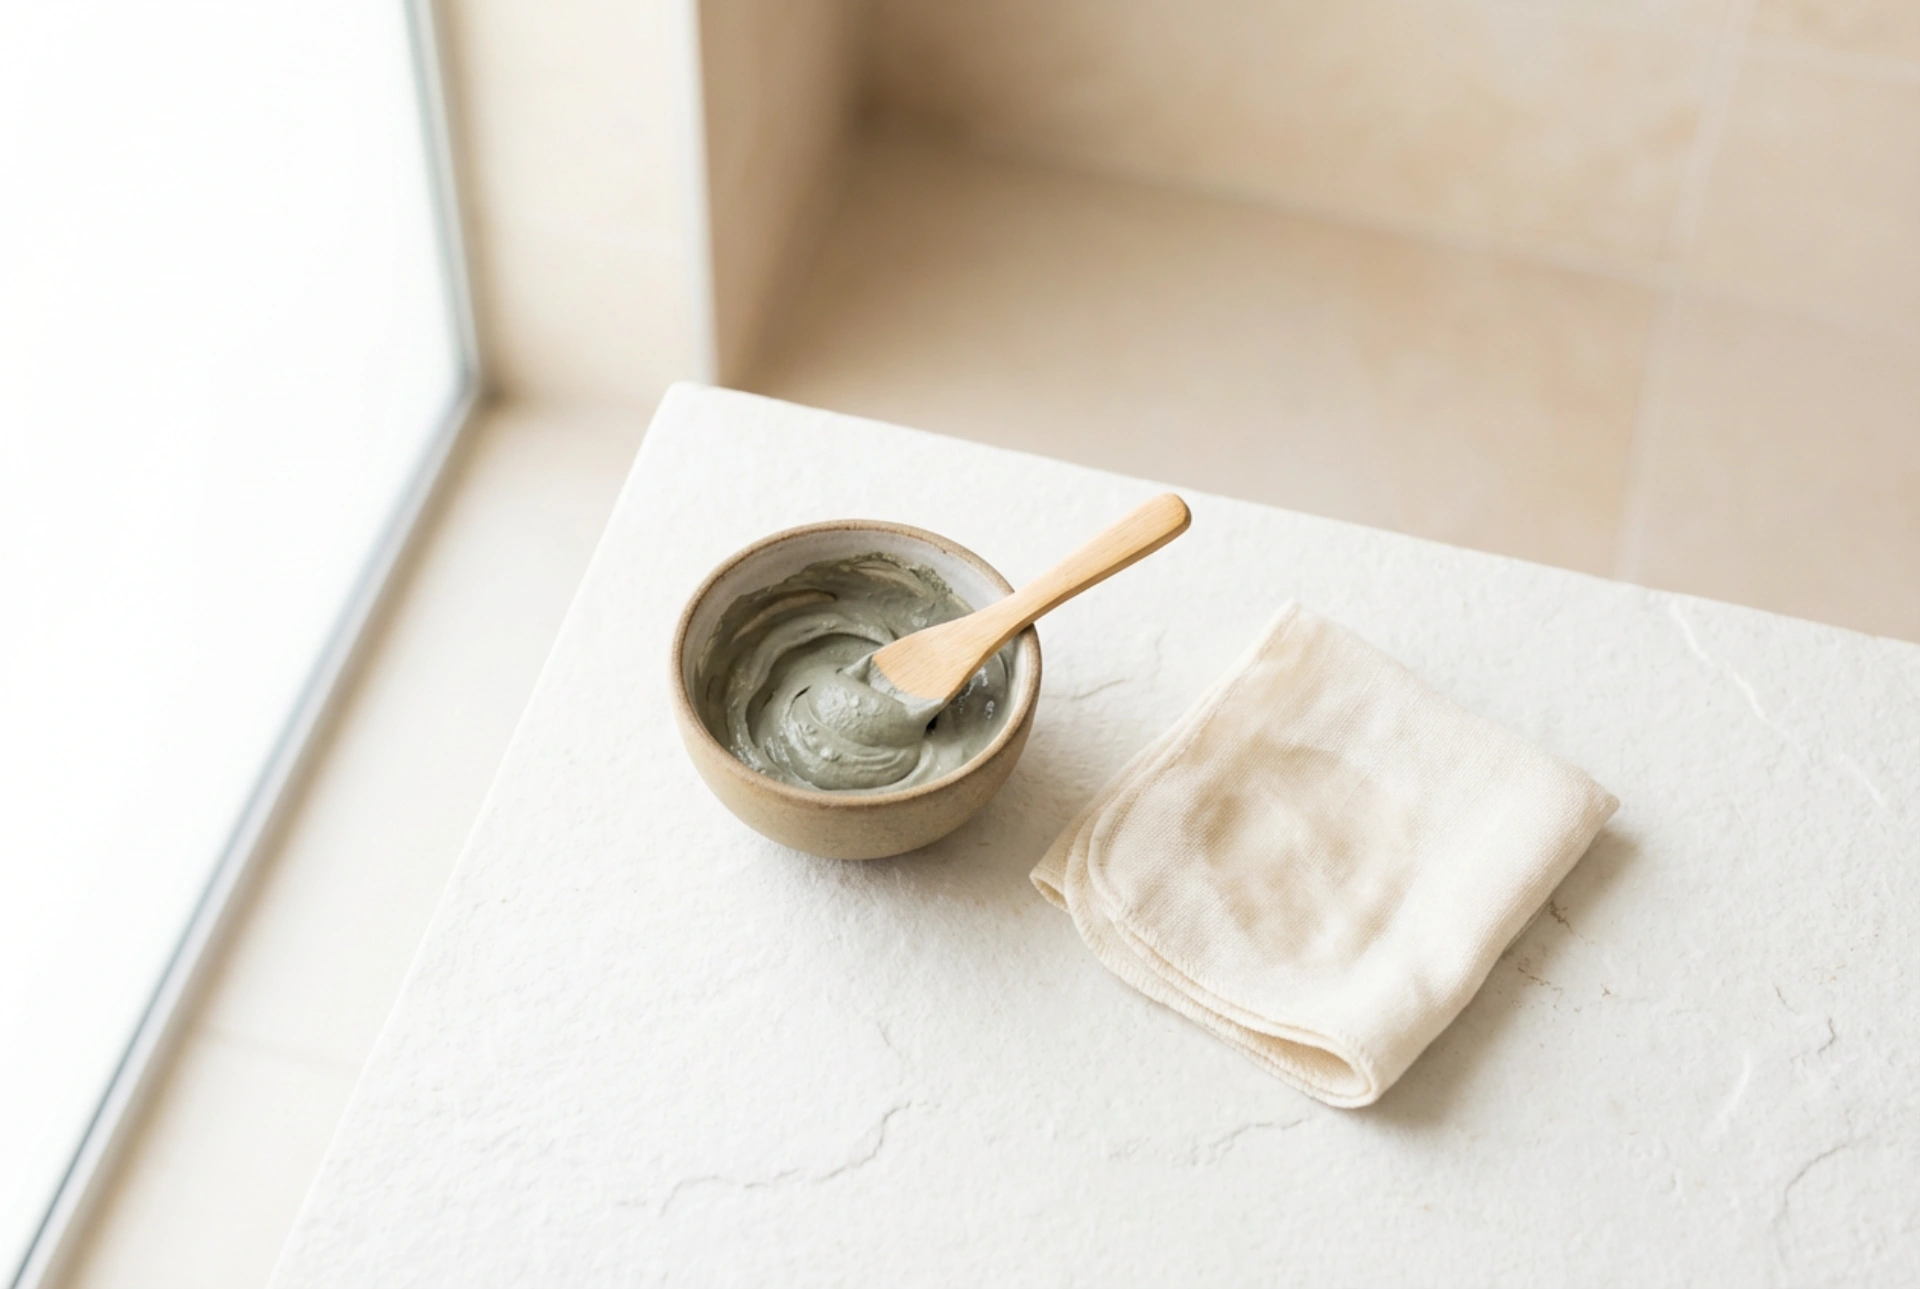
Mixing your clay mask is a simple process, but a few details make all the difference. The goal is to create a smooth, homogenous paste that is easy to apply.
Essential Tools
To start, you will need a small bowl and a mixing utensil. It is crucial to use non-metallic tools, such as a ceramic, glass, or wooden bowl and a wooden or silicone spatula. Metal can react with the active minerals in the clay, potentially reducing its effectiveness.
The Mixing Process
Start by placing one to two teaspoons of clay powder into your bowl. Then, slowly add your liquid of choice, starting with about one teaspoon and adding more as needed. You can use purified water, a floral water (hydrolat) like rose or chamomile, or even a cooled herbal infusion. Mix thoroughly until you achieve a creamy, smooth consistency, similar to yoghurt. If it's too thick, add a few more drops of liquid. If it's too runny, add a little more clay powder. Allow the paste to sit for a minute to fully hydrate before application.
Application and The Golden Rule of Timing
Using your clean fingers or a soft brush, apply a thin, even layer of the mask to your clean, dry face. Avoid the delicate areas around your eyes and lips. Now comes the most important part: timing. Never let your clay mask dry completely to the point where it cracks and feels tight. A drying clay mask goes through three phases:
- The Wet Phase: Immediately after application, your skin is absorbing the beneficial minerals from the paste.
- The Damp Phase: The mask starts to cool and contract, stimulating blood flow and beginning to draw out impurities. This is the optimal time to remove it.
- The Dry Phase: If left on too long, the mask becomes completely dry and begins to draw moisture *from* your skin's surface, which can lead to feelings of dehydration and irritation.
A mask should typically be on for 5-10 minutes, depending on the clay type and thickness of application. Remove it once it feels tacky and is lighter in colour, but still slightly damp to the touch.
The Art of Gentle Removal
Scrubbing a dry clay mask off your face is a recipe for redness and sensitivity. Gentle removal is paramount to keeping your skin calm and happy.
First, if the mask has become too dry, don't panic. Simply press a warm, very damp washcloth onto your face for 30 seconds or spritz it with water to rehydrate it. This will soften the clay, making it easy to wipe away. Once softened, use the damp cloth or a soft facial sponge to gently wipe the mask off in downward and outward motions. Avoid rubbing back and forth. Finally, rinse your face with lukewarm water to remove any remaining residue and gently pat your skin dry with a clean, soft towel.
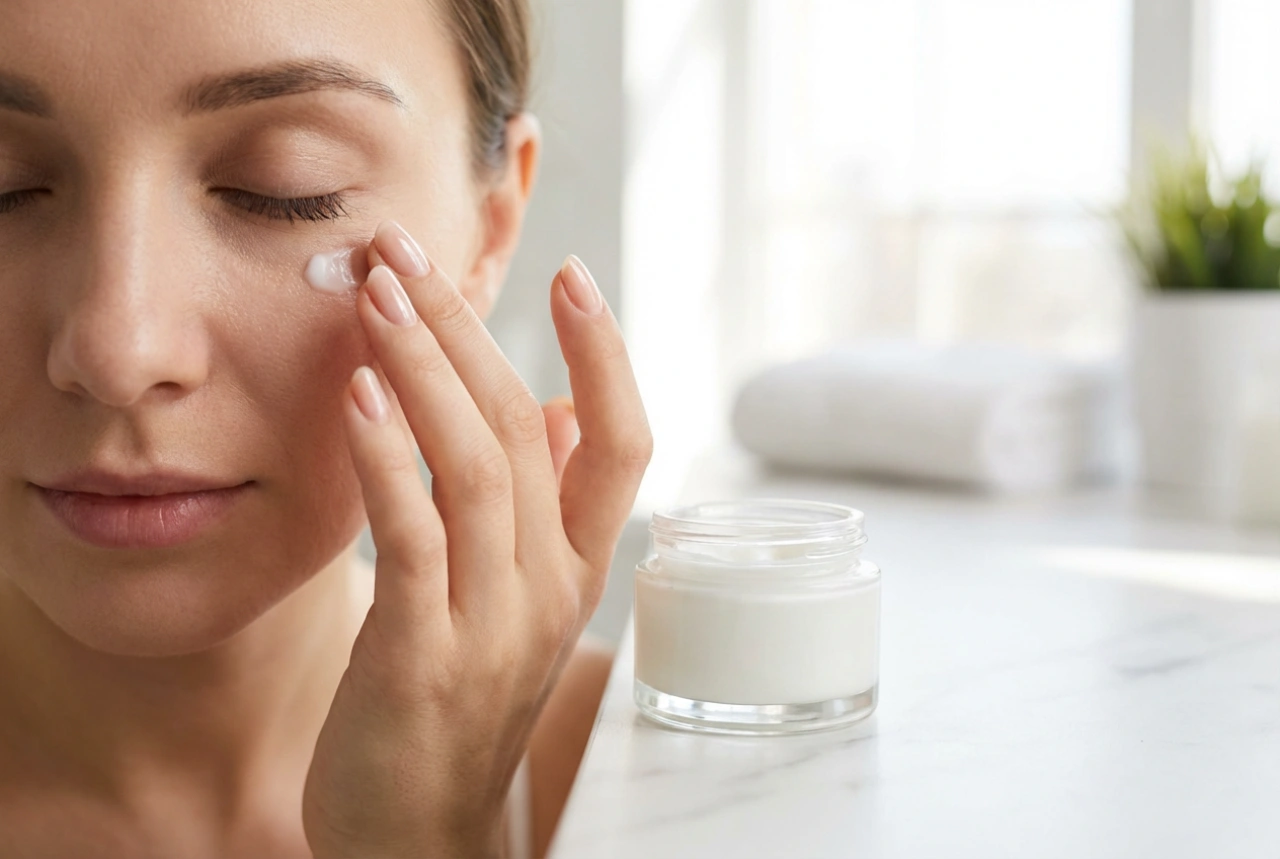
Post-Mask Aftercare
After cleansing your skin of the mask, it's important to complete your routine. Your pores are clean and receptive, making it the perfect time for subsequent products. You may wish to apply a gentle, hydrating toner to help soothe the skin. Follow up with your favourite serum and a good moisturiser to lock in hydration and nourish your newly refreshed complexion. A little temporary pinkness can be normal after a clay mask, but it should fade quickly, leaving you with a soft, smooth, and radiant glow.