


Achieving smooth, hair-free underarms is a common beauty goal, and waxing is a popular method for its long-lasting results. Unlike shaving, which cuts hair at the surface, waxing removes it from the root, meaning you can enjoy weeks of smoothness. While effective, waxing the delicate underarm area requires proper technique and care to ensure the best outcome and minimise discomfort. This guide will walk you through preparing your skin, the waxing process itself, and the essential aftercare steps for beautifully smooth results.
Preparing Your Skin for Underarm Waxing
Proper preparation is the key to a successful and less painful waxing experience. Taking a few simple steps beforehand can make a significant difference in both the process and the final result. It helps the wax adhere properly to the hair and reduces the risk of skin irritation.
Cleanse and Dry the Area
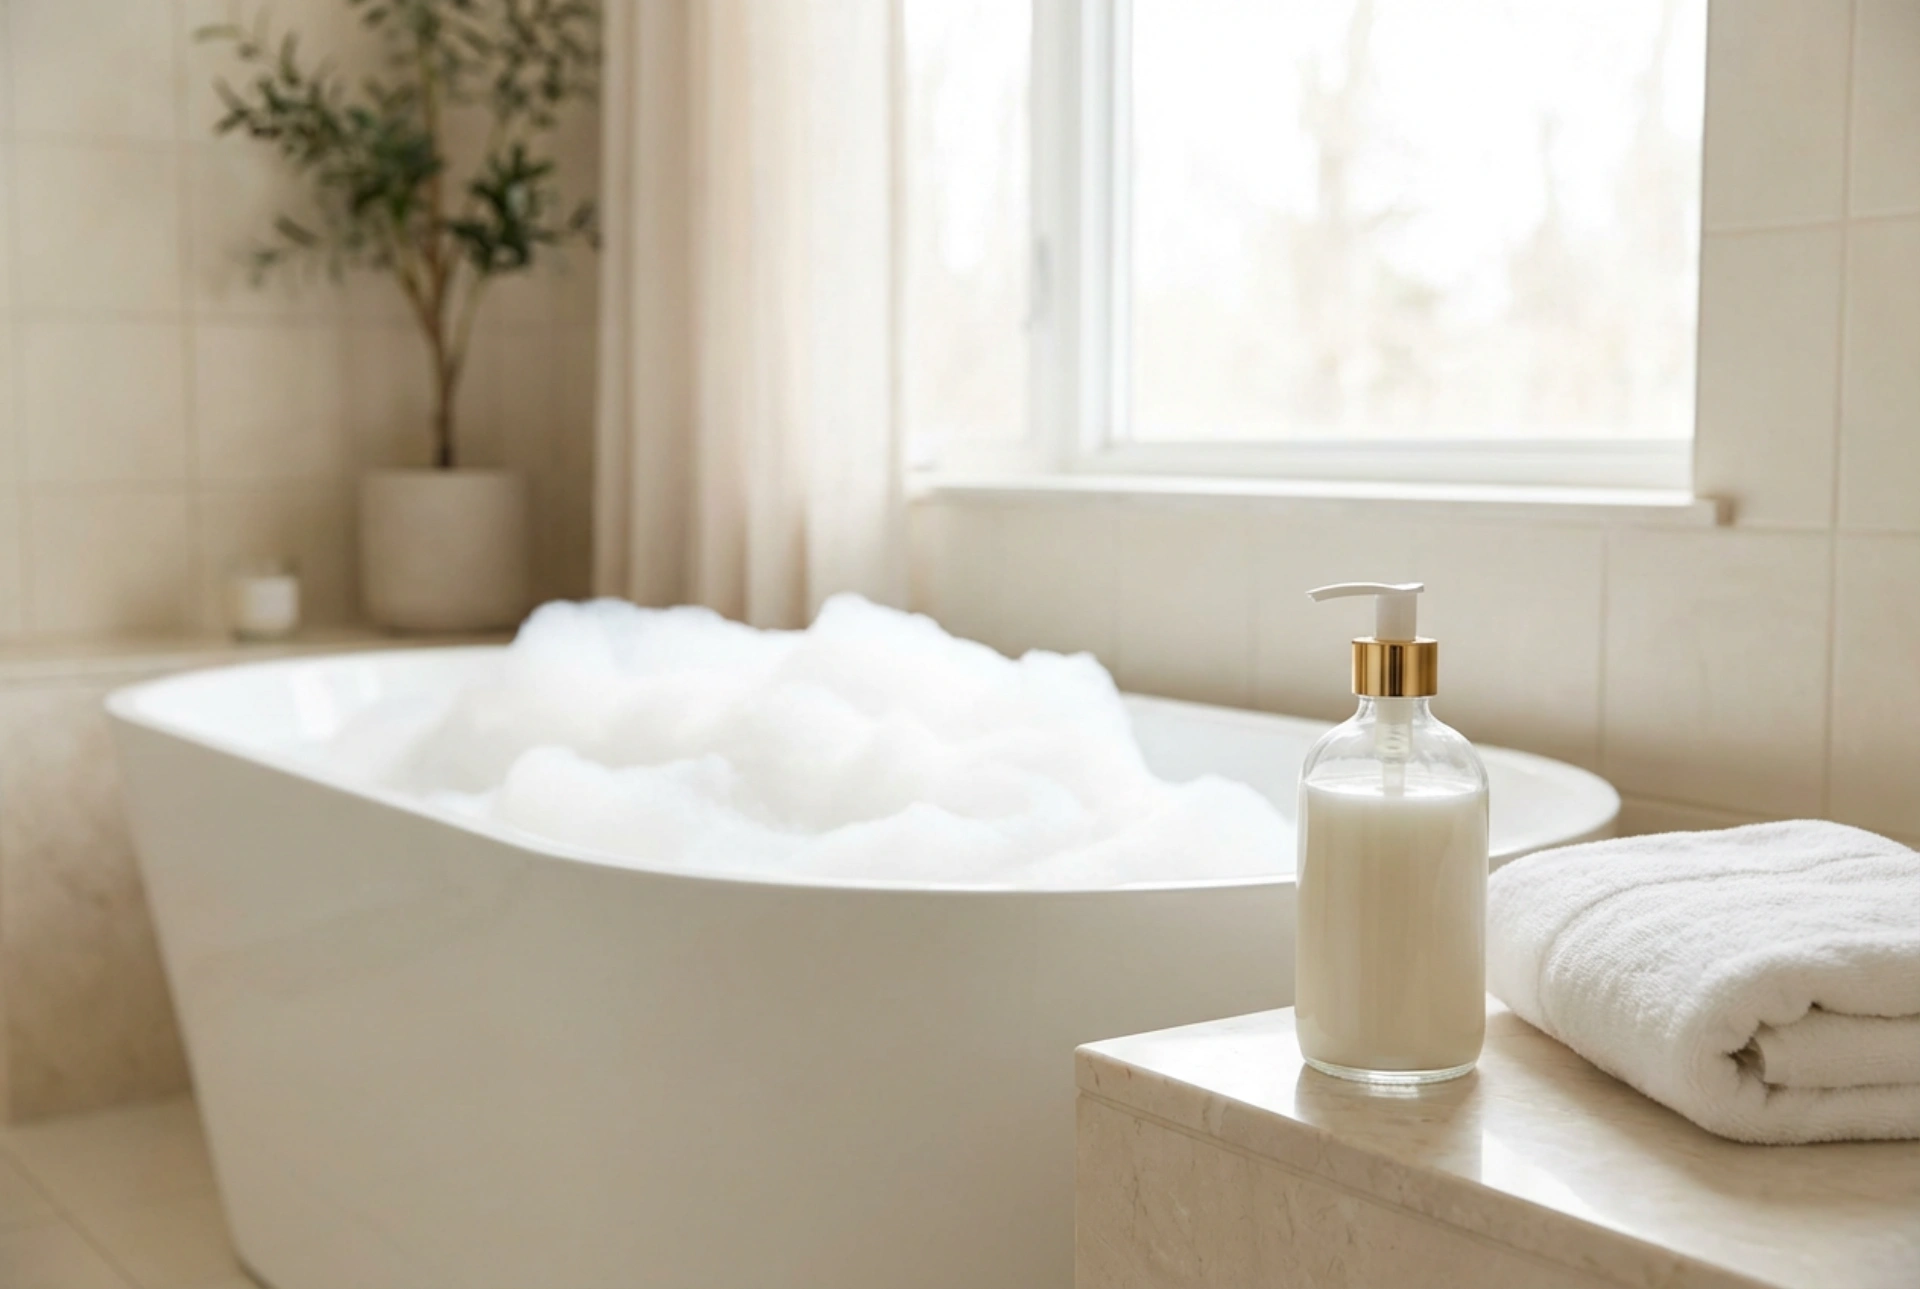
Before you begin, it's crucial to have clean, dry skin. Wash your underarms with a mild, gentle soap and warm water to remove any deodorant, oil, or sweat. These residues can prevent the wax from gripping the hair effectively. After cleansing, pat the area completely dry with a clean towel. Any moisture left on the skin will interfere with the wax's performance.
Exfoliate Gently
A day or two before you plan to wax, gently exfoliate your underarms. This helps to remove dead skin cells that can clog hair follicles, which may lead to ingrown hairs. Use a soft washcloth or a mild body scrub in a circular motion. Avoid harsh exfoliants or exfoliating on the same day as you wax, as this can make the skin too sensitive.
Ensure the Correct Hair Length
For the wax to be effective, your underarm hair needs to be the right length. The ideal length is approximately 6 millimetres, or about the length of a grain of rice. If the hair is too short, the wax won't be able to get a good grip. If it's too long, the process can be more painful and less effective. If necessary, trim the hair carefully with scissors before you start.
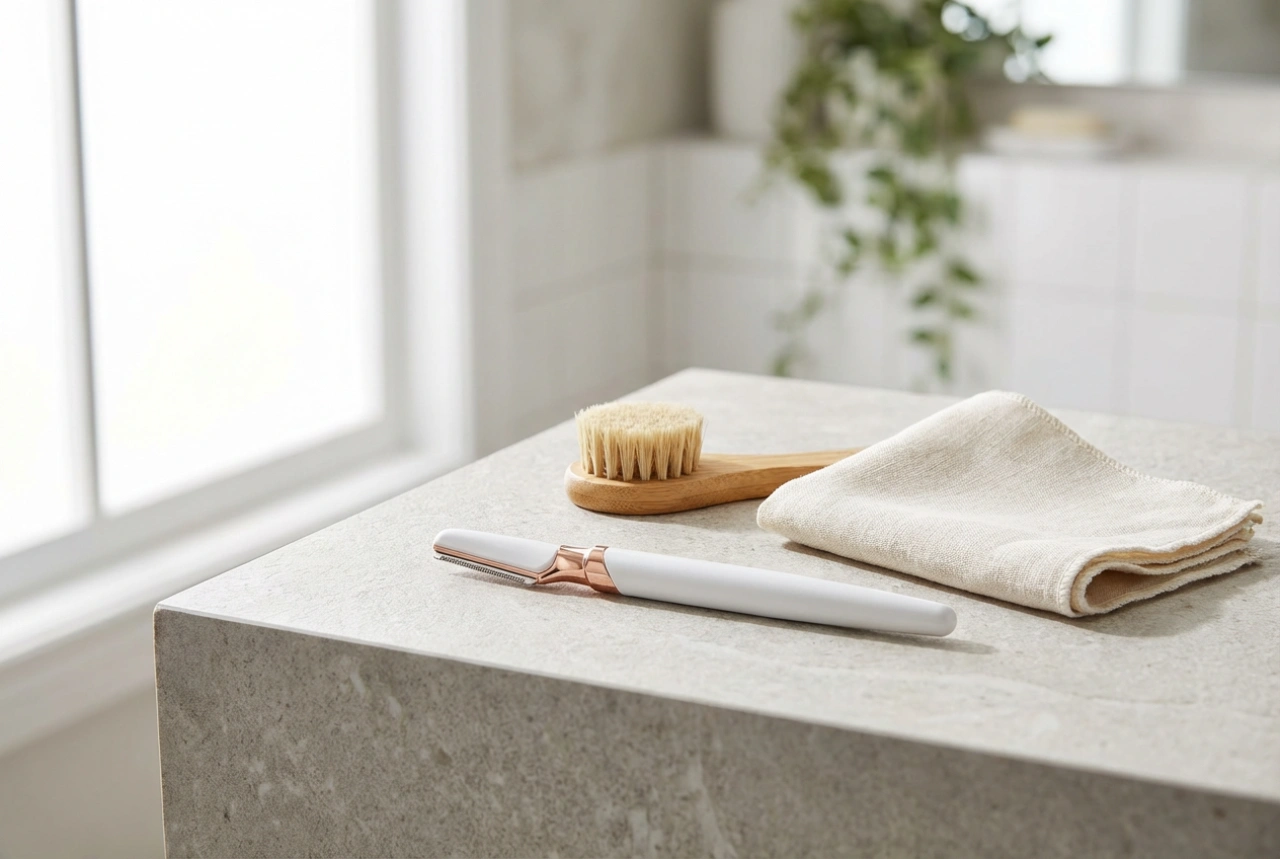
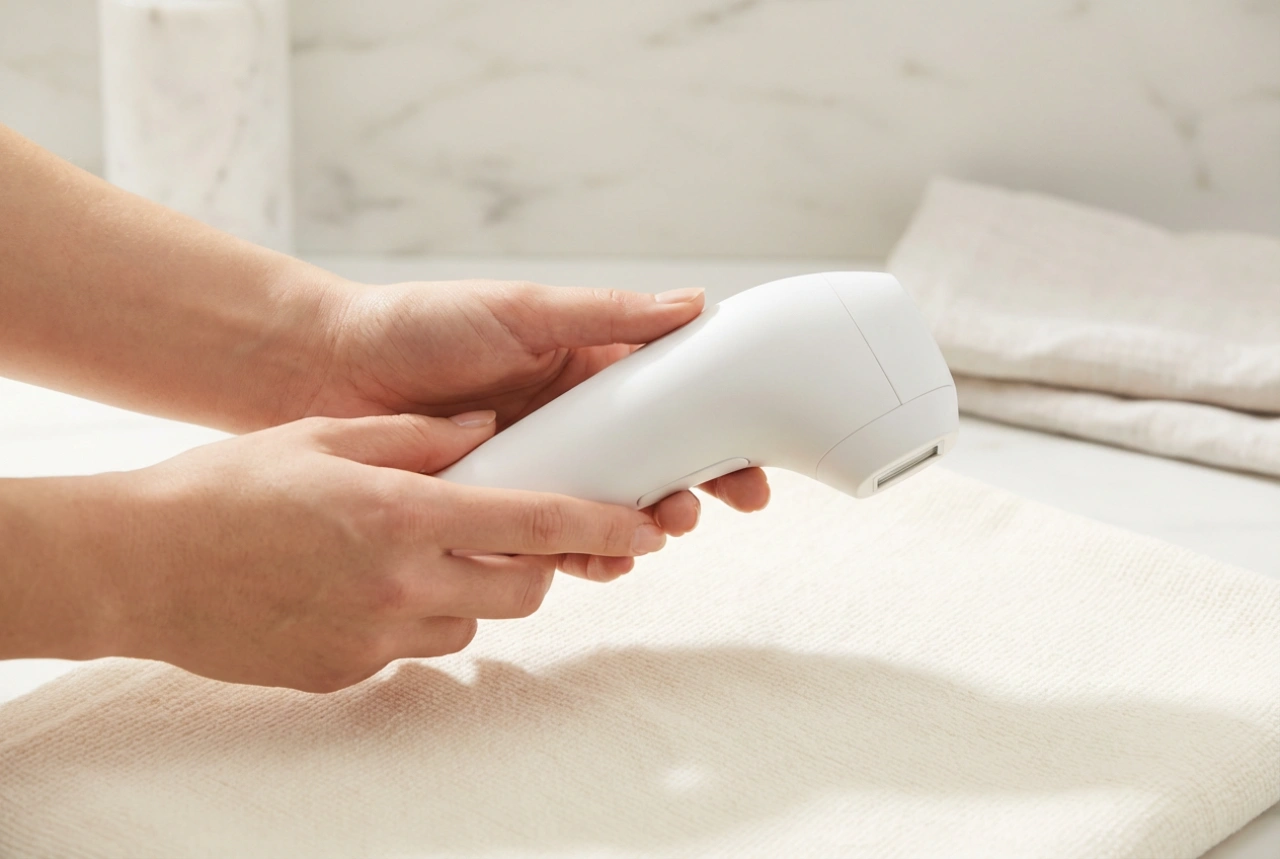
A Guide to the At-Home Waxing Process
Waxing your own underarms can seem daunting, but with the right approach, it can be done safely at home. It's important to work in a well-lit area and have all your supplies ready before you start. Remember that underarm hair often grows in multiple directions, so you may need to work in smaller sections.
- Warm the wax: Whether you're using hard wax or soft wax with strips, always follow the product's heating instructions precisely. Test the temperature on a small patch of skin on your inner wrist to ensure it is comfortably warm, not hot, to avoid burns.
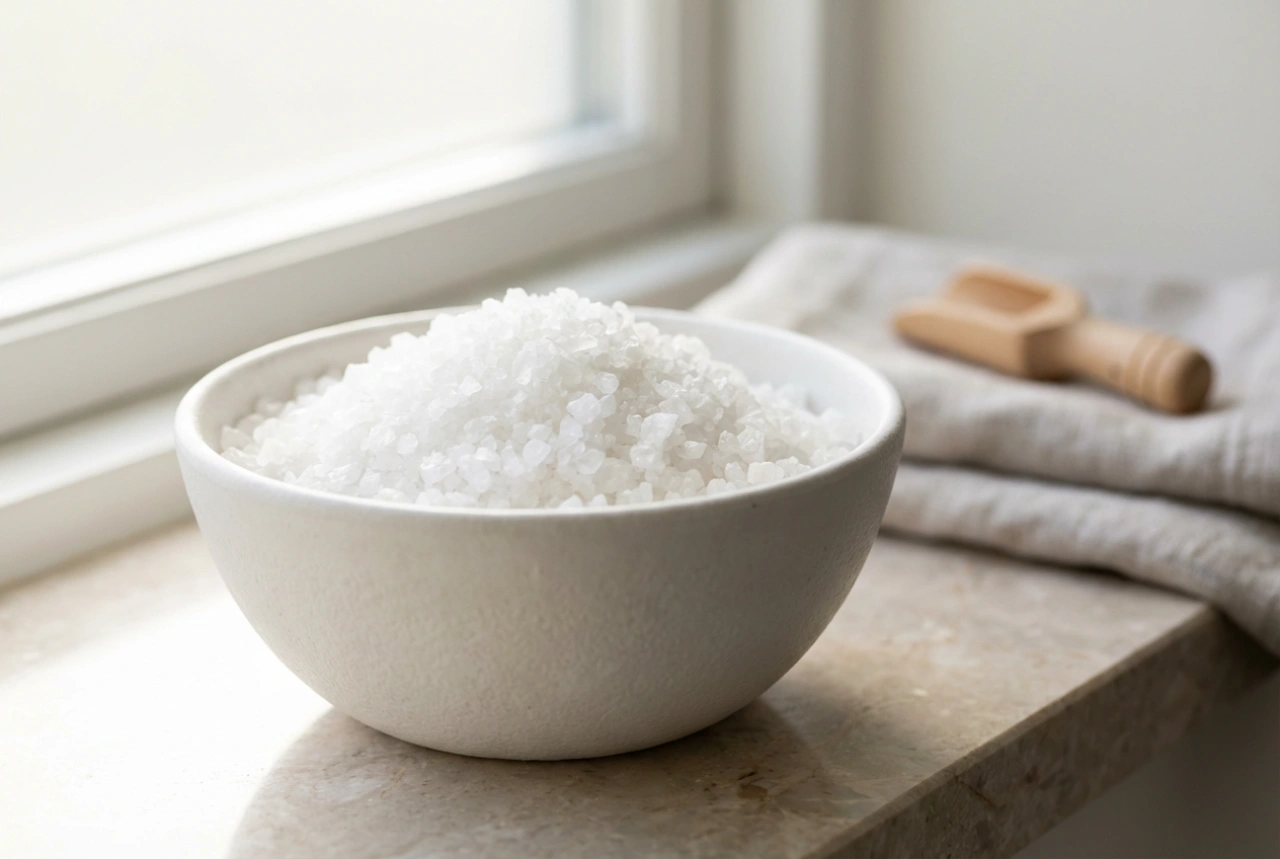
- Apply a pre-wax powder: A light dusting of a talc-free powder can help absorb any excess moisture and oil, allowing the wax to adhere only to the hair.
- Apply the wax: Using an applicator, apply the wax in the direction of hair growth. For underarms, this may mean applying it upwards for the top section and downwards for the bottom section. Work in small, manageable patches.
- Position the strip (for soft wax): If you are using soft wax, place a fabric strip over the wax, leaving a small tail at the end to pull. Press and smooth the strip down firmly in the direction of hair growth.
- Remove the wax: Hold the skin taut with one hand. With the other hand, grip the end of the strip or the edge of the hard wax. In one quick, fluid motion, pull it off in the opposite direction of hair growth, keeping the strip parallel and close to the skin. Do not pull upwards, as this can cause bruising.
- Apply pressure: Immediately after removing the wax, place the palm of your hand firmly on the waxed area for a few seconds. This simple technique can help to soothe the immediate stinging sensation.
Essential Post-Waxing Aftercare
What you do after waxing is just as important as the preparation. Proper aftercare helps to calm the skin, prevent bumps and irritation, and maintain smoothness. The skin will be sensitive, so it requires gentle treatment.
Remove Any Wax Residue
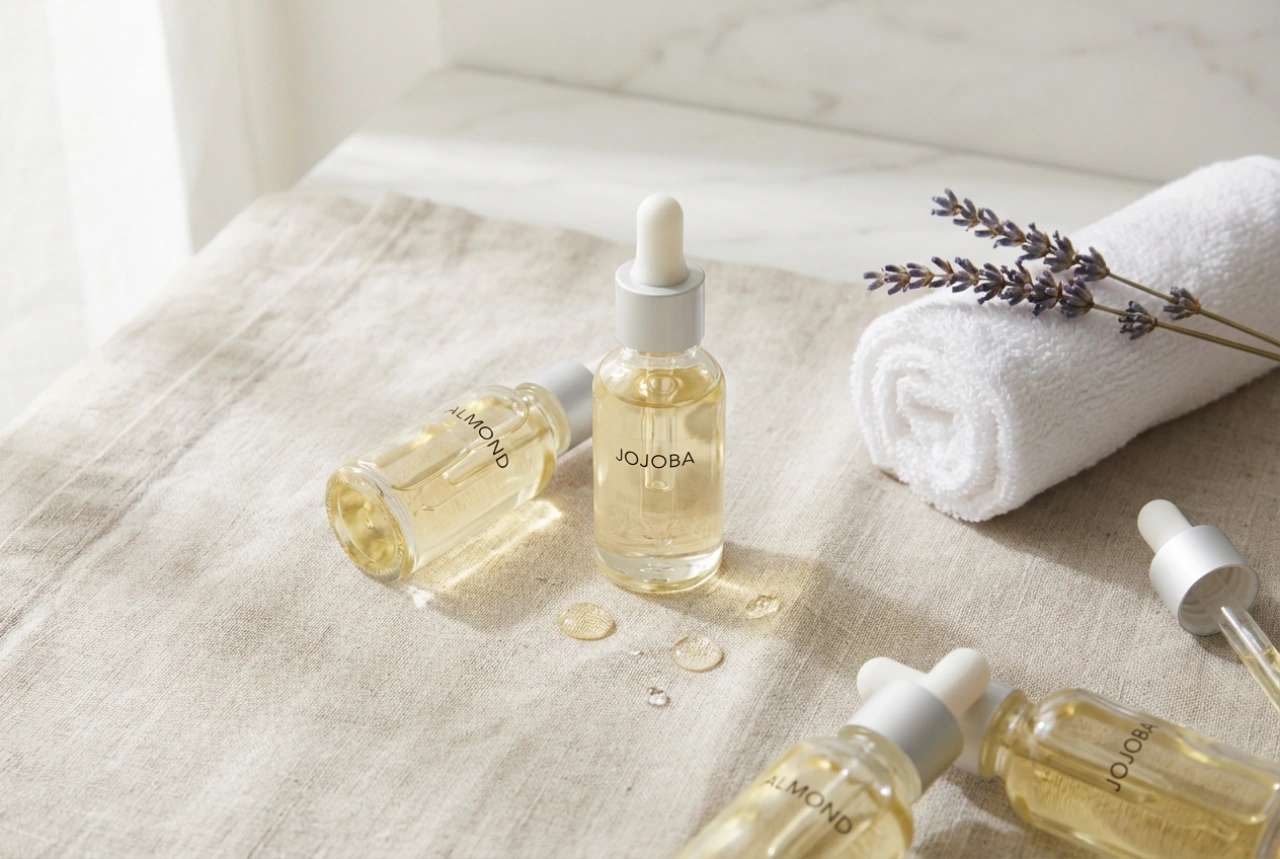
After you've finished waxing, you may have some sticky residue left on your skin. Water won't remove it. Use a post-wax oil or a natural oil, such as coconut or almond oil, on a cotton pad to gently dissolve and wipe away any remaining wax.
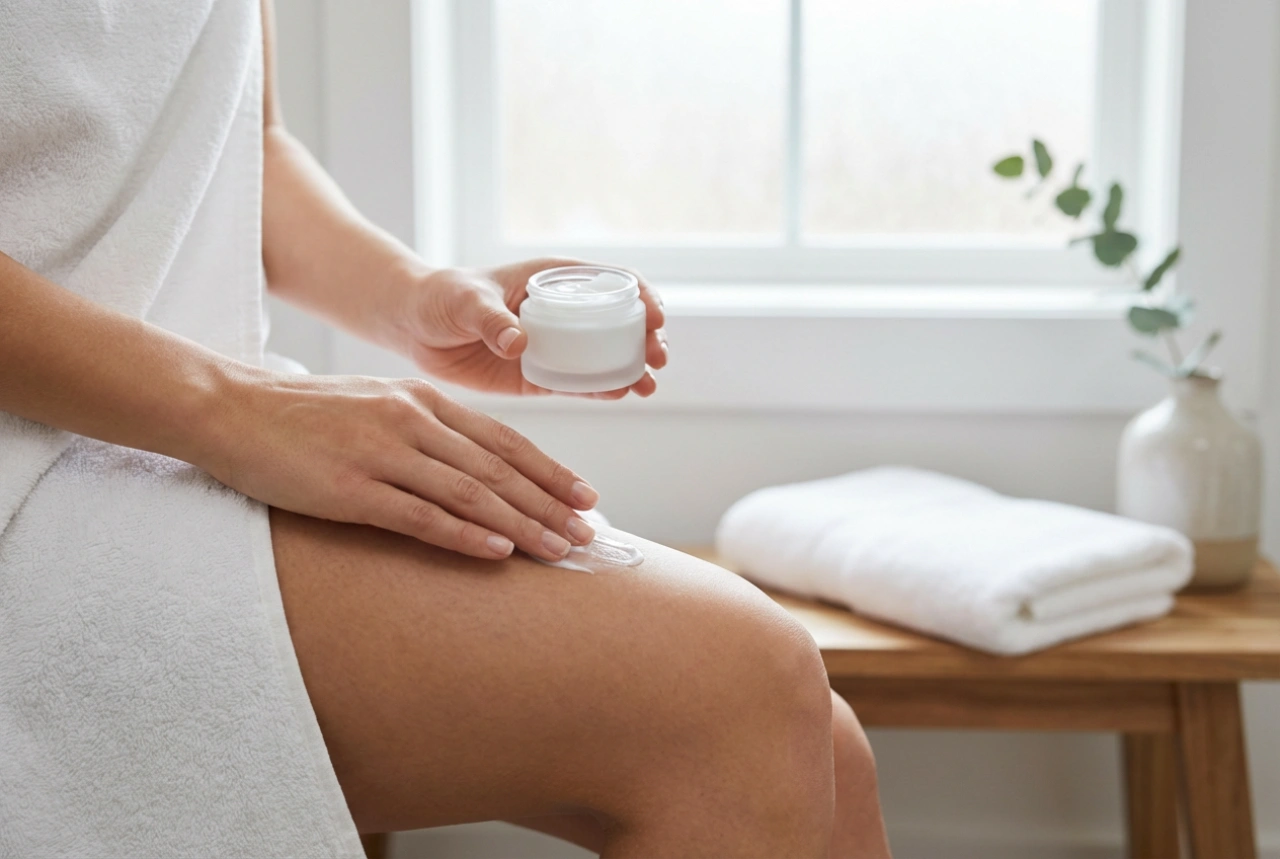
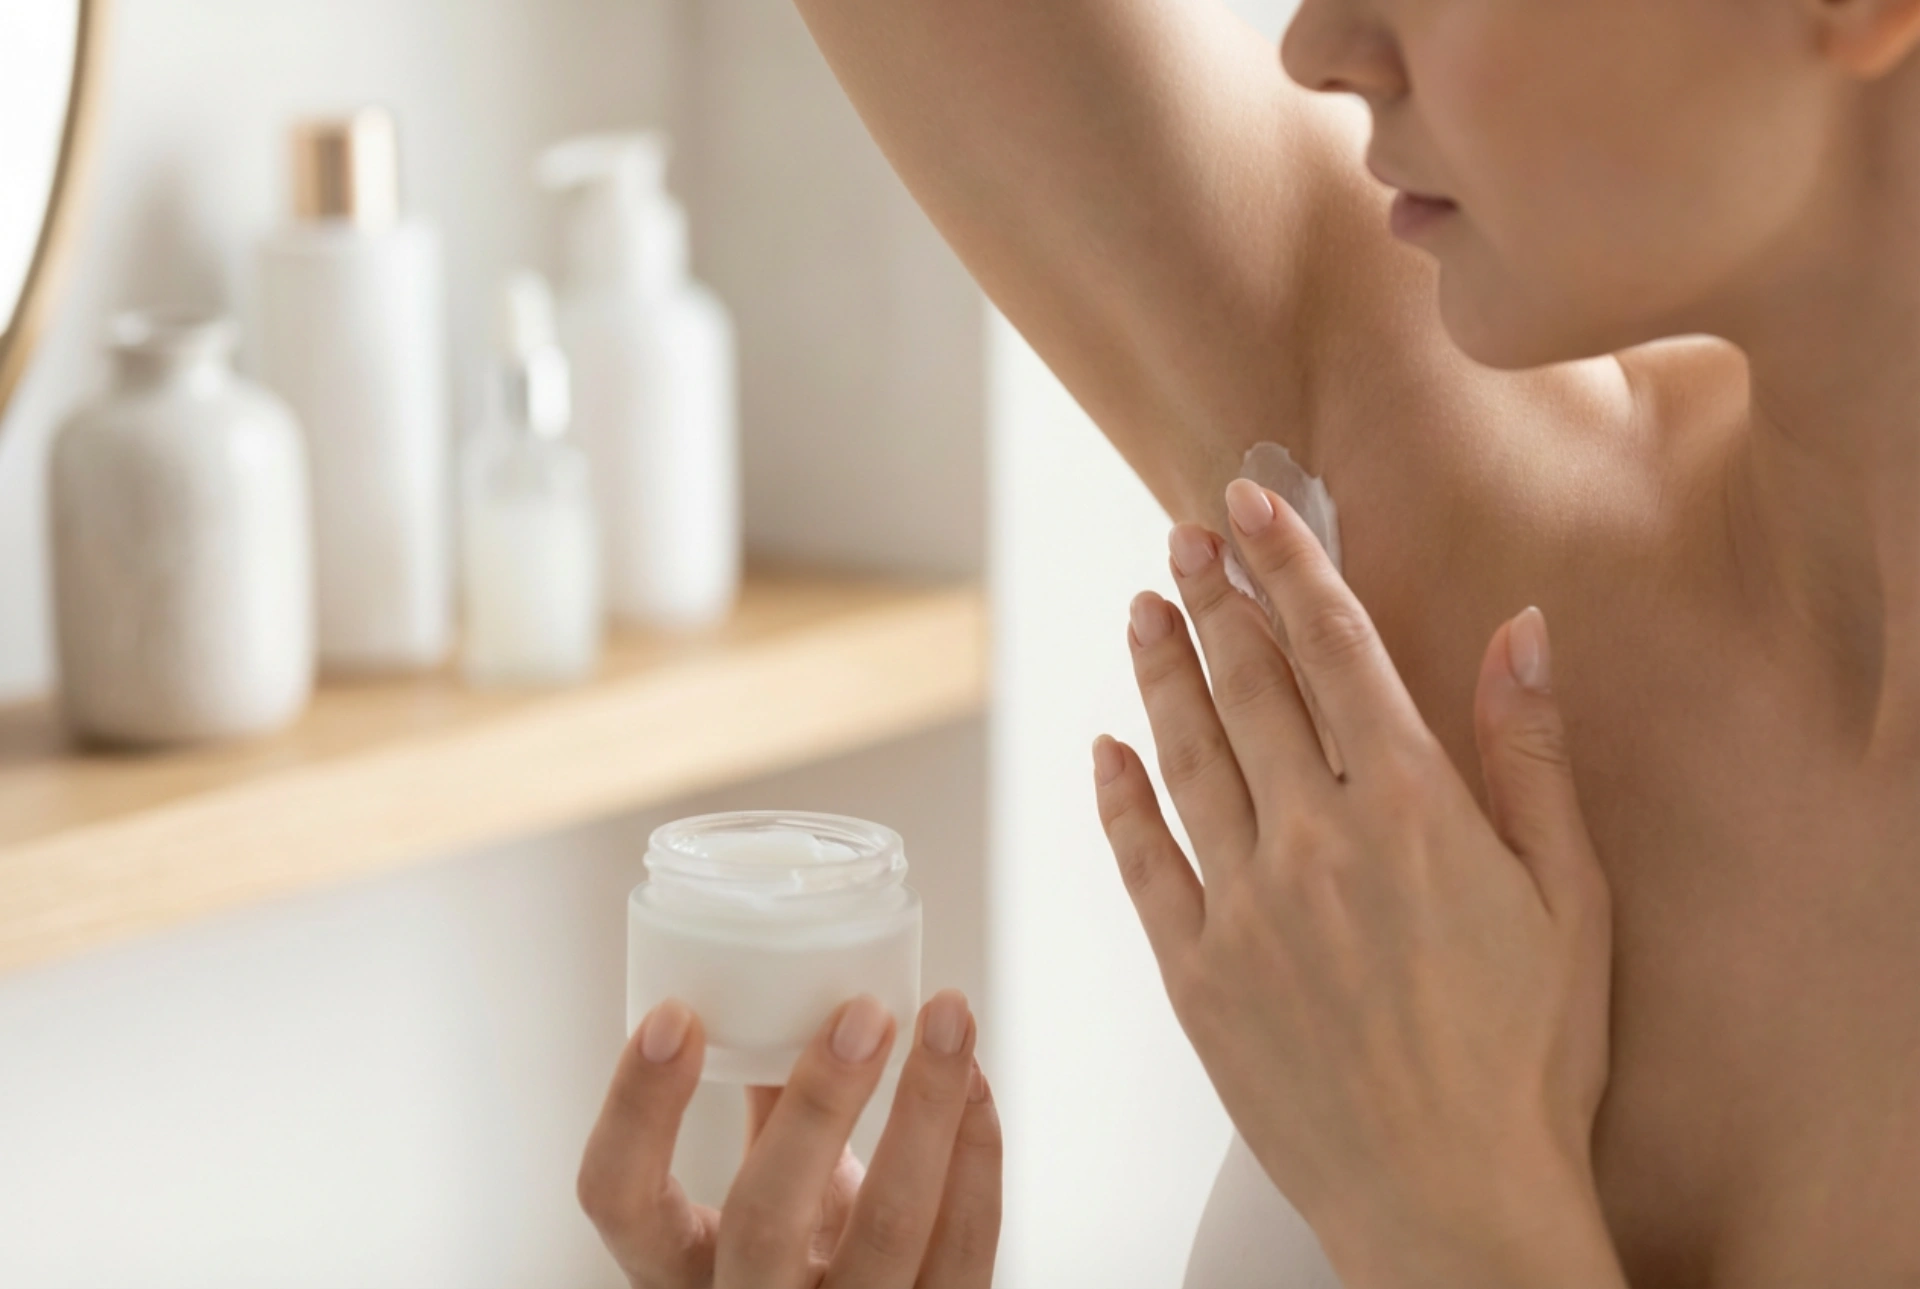
Soothe and Moisturise
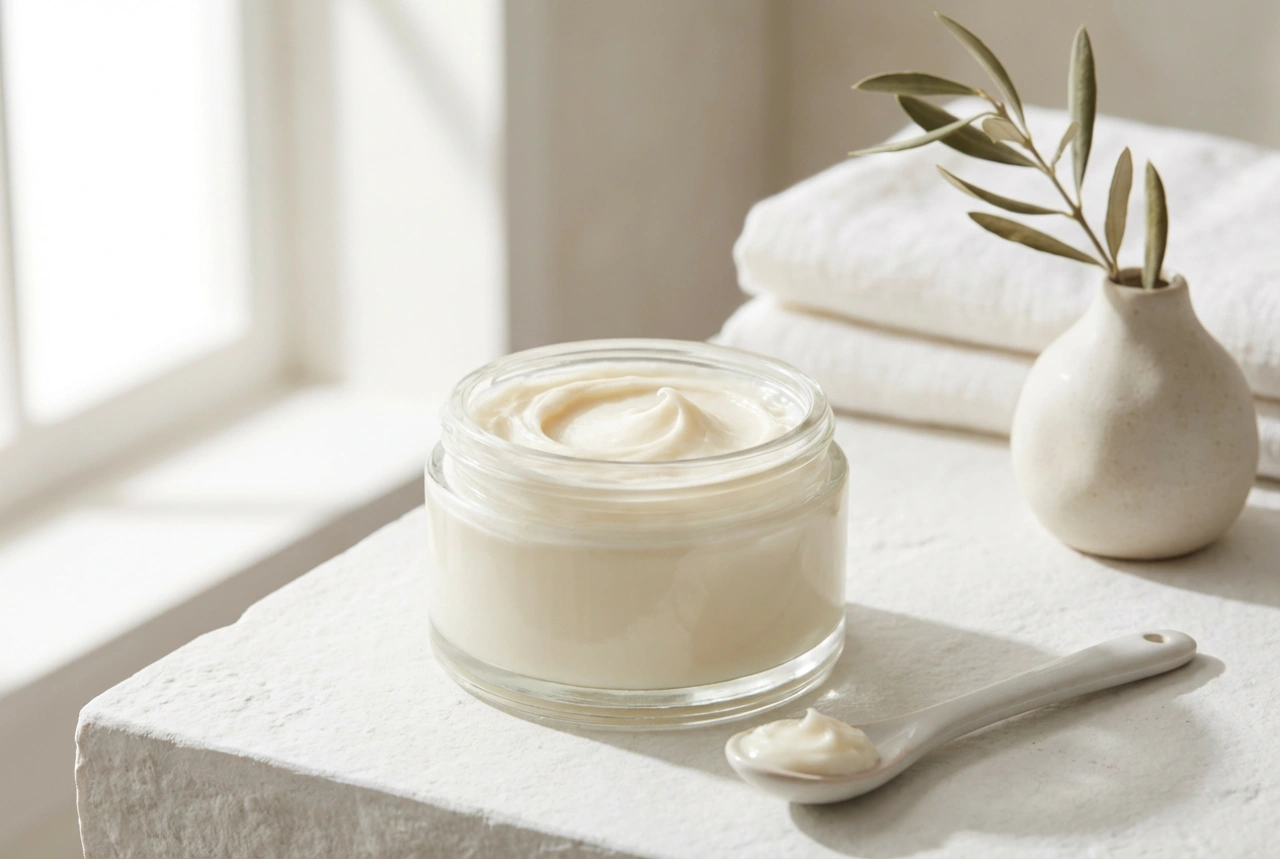
Apply a soothing, alcohol-free lotion or gel to the area. Products containing ingredients like aloe vera or chamomile can help to calm redness and inflammation. Avoid heavy creams or perfumed products immediately after waxing. Continue to moisturise the area daily to keep the skin hydrated and soft.
What to Avoid for 24-48 Hours
To prevent irritation and allow your skin to recover, avoid the following for a day or two after waxing:
- Hot baths, saunas, hot tubs, and steam rooms.
- Applying deodorant or antiperspirant, especially those containing alcohol or fragrance.
- Wearing tight clothing that could rub against the sensitive skin.
- Intense exercise that causes excessive sweating.
- Sun exposure or tanning beds, as the skin will be more susceptible to burning.