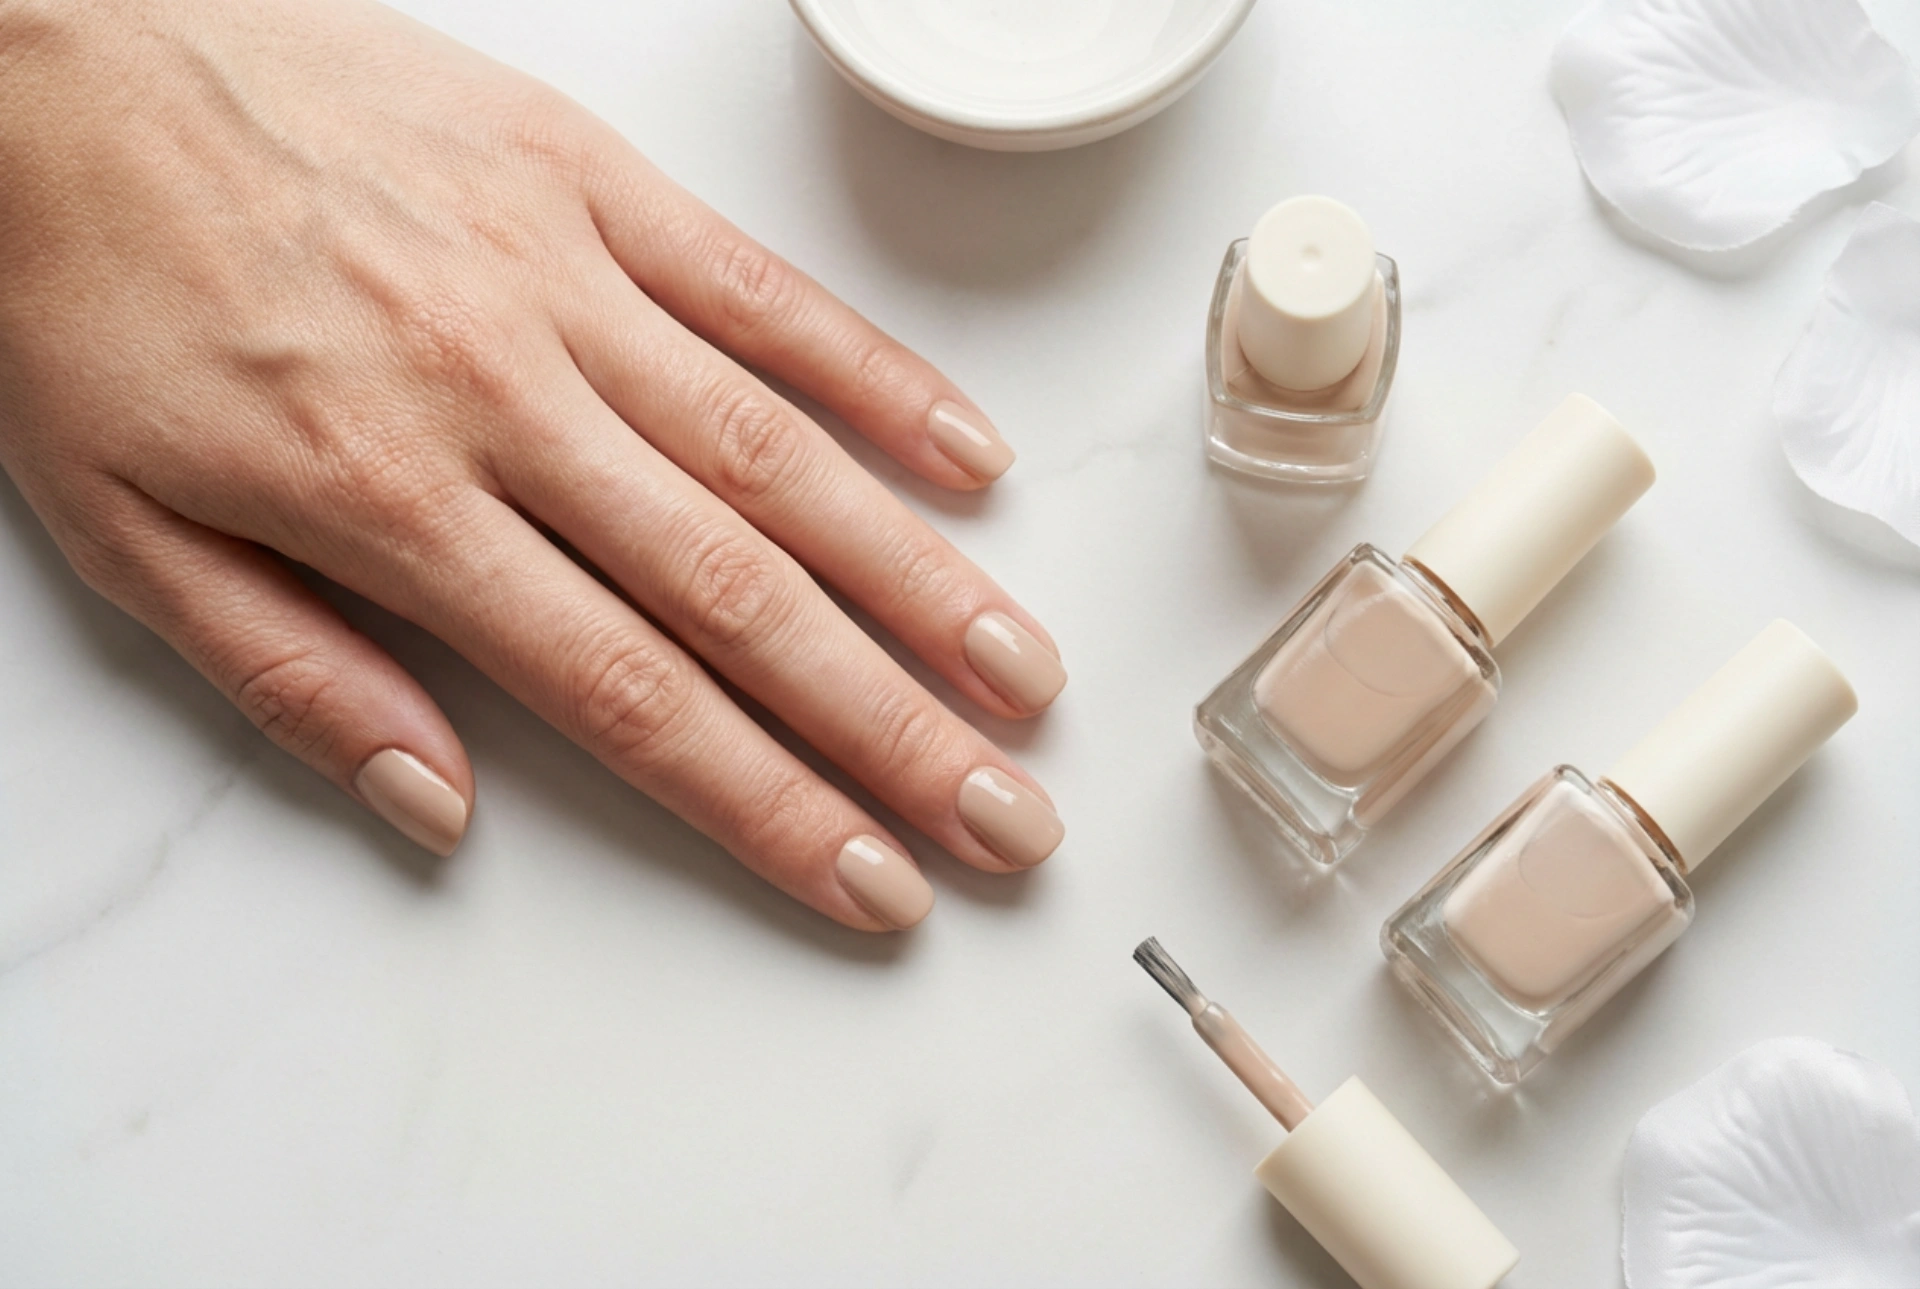


The secret to a beautiful, long-lasting manicure isn't just about the quality of the polish, but crucially, how it's applied. A flawlessly polished hand with a glossy, chip-free finish is an achievable goal for anyone, provided you follow a few key steps. Proper preparation and a methodical application technique are the foundations of a manicure that endures. This guide will take you through the professional methods for applying nail colour to ensure maximum durability and a perfect result every time.
Preparing Your Nails: The Foundation of Durability
Before you even think about opening a bottle of colour, dedicating time to nail preparation is the most critical step for a long-lasting finish. A clean and well-prepared canvas allows the polish to adhere properly, significantly reducing the chances of premature chipping or peeling.
Cleaning and Shaping
Start by removing any old polish completely using a gentle nail polish remover. Afterwards, wash your hands with soap and water to remove any residue. Once your hands are dry, it's time to shape your nails. Use a soft nail file, moving it in one direction from the side of the nail to the centre. Avoid a harsh back-and-forth sawing motion, as this can weaken the nail and cause it to split. Whether you prefer a square, round, or almond shape, consistency across all nails is key for a polished look.
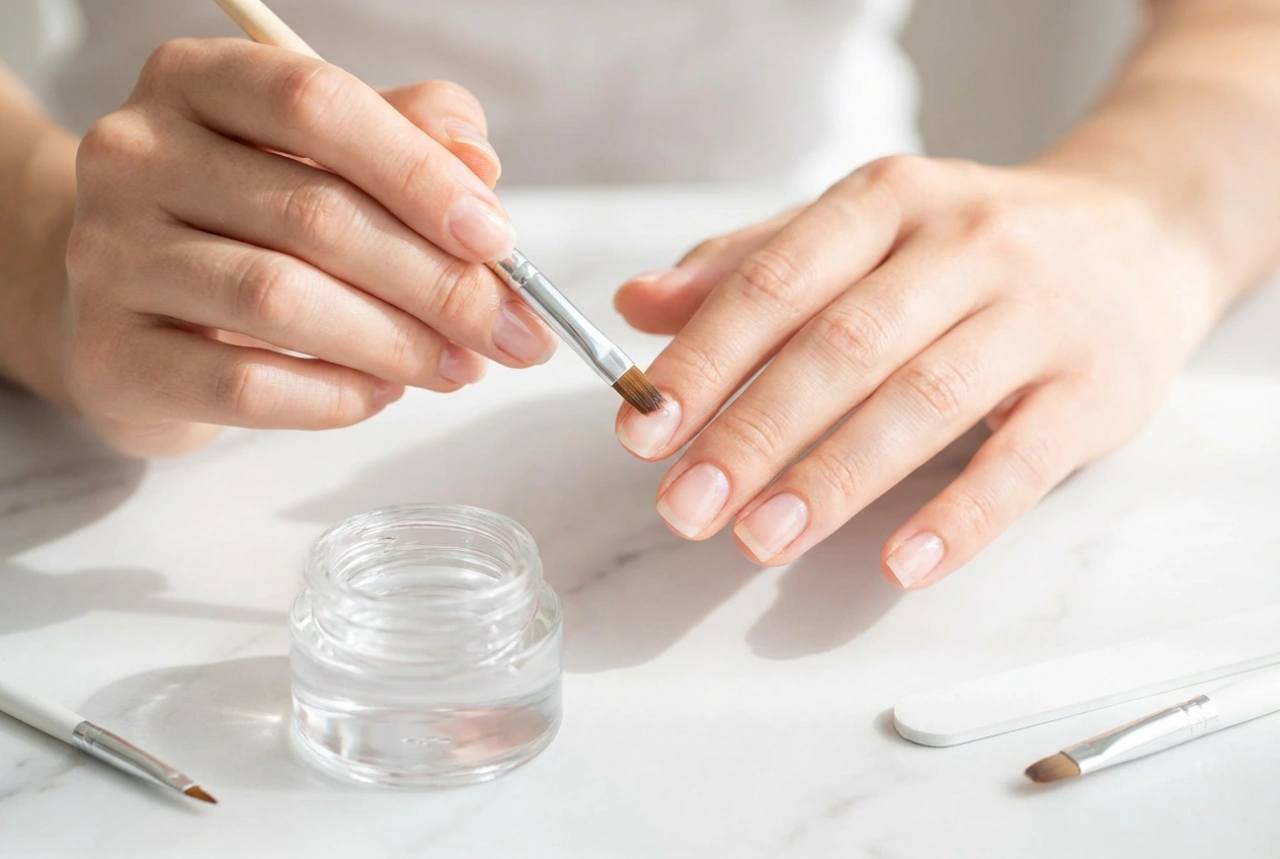
The Importance of Buffing and Dehydrating
Once shaped, gently buff the surface of your nails with a fine-grit buffer. This isn't about thinning the nail, but rather about lightly roughing up the surface to remove its natural shine. This micro-texture gives the base coat something to grip onto, promoting better adhesion. After buffing, wipe each nail with a lint-free pad soaked in rubbing alcohol or a specialised nail dehydrator. This step is vital as it removes any remaining natural oils, dust, or moisture from the nail plate, ensuring the polish can bond directly and securely to the nail.
The Art of Application: A Step-by-Step Guide
With your nails perfectly prepped, you are ready to begin the application process. The key here is patience and precision. Working in thin, even layers is far more effective than applying one thick, gloopy coat.
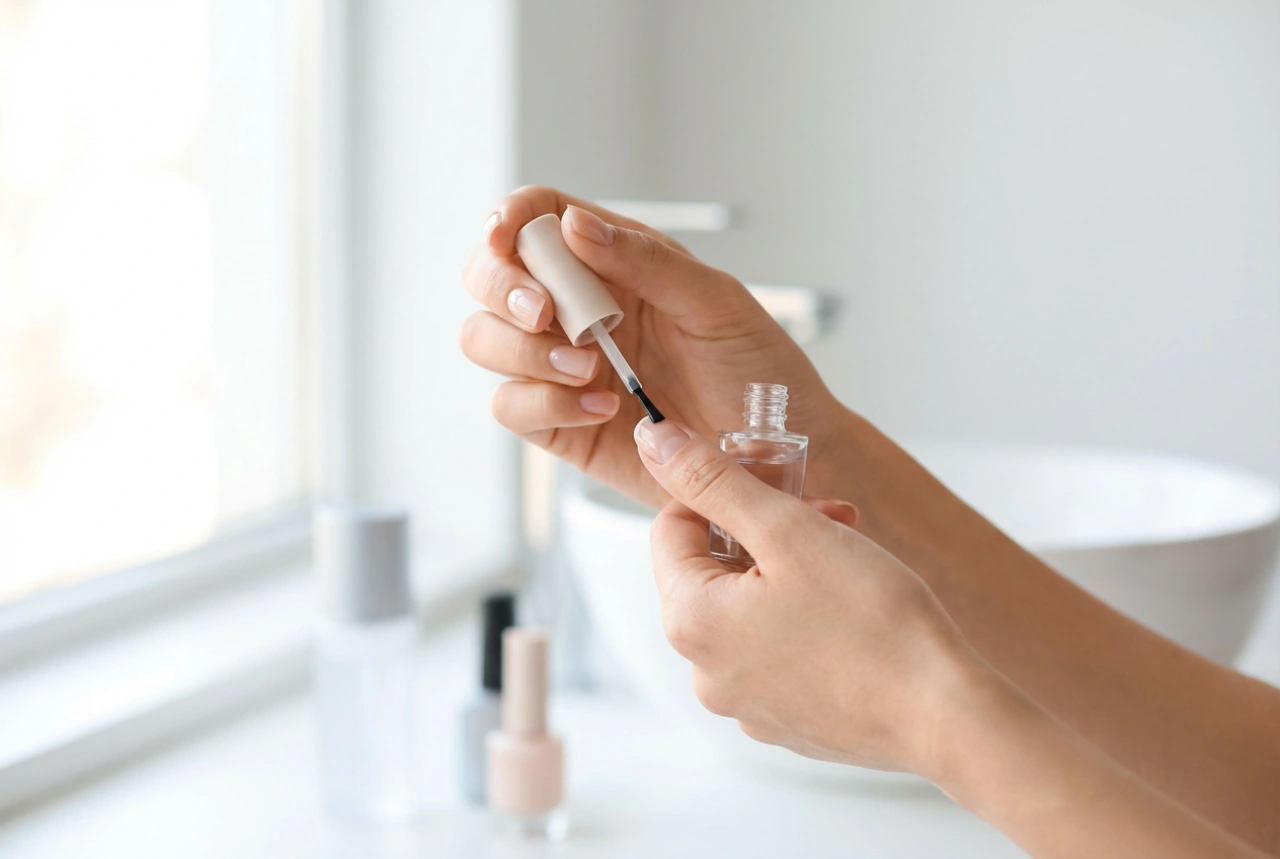
Step 1: The Essential Base Coat
Never skip the base coat. This clear or slightly tinted layer serves multiple purposes. It creates a protective barrier between your natural nail and the pigmented polish, preventing staining, especially with dark or vibrant colours. Most importantly, it acts as a double-sided adhesive, gripping onto the nail below and the colour above, which is fundamental for extending the life of your manicure. Apply one thin layer and let it dry for a minute or two.
Step 2: Applying the Colour Polish
The most effective way to apply colour is the three-stroke method. Start with a small bead of polish on your brush. Place the brush in the centre of your nail, slightly away from the cuticle, and gently push it back towards the cuticle without touching the skin. Then, pull the brush straight down to the tip of the nail. Return to the base and paint a second stroke down one side of the nail, and a third stroke down the other side. This technique ensures full, even coverage without flooding the cuticles. Wait at least two minutes before applying a second thin coat in the same manner. Two thin coats will always be more durable and dry faster than one thick coat.
Step 3: Sealing with a Top Coat
A high-quality top coat is your manicure's armour. It protects the colour from scratches and chips, adds a high-gloss shine, and can help to speed up the drying process. After your second coat of colour has dried for a few minutes, apply a generous layer of top coat. Don't forget to 'cap the free edge' of your nail. This involves running the brush horizontally along the very tip of your nail. This simple action seals the layers of polish and is one of the most effective tricks for preventing tip wear and chipping.
Post-Manicure Care for Extended Wear
Your work isn't finished once the top coat is on. How you treat your nails in the hours and days following your manicure plays a huge role in its longevity.
Allowing Proper Drying Time
While many polishes feel dry to the touch within 15-20 minutes, they are not fully cured. The complete hardening process can take several hours, sometimes up to 24. During this time, be extra gentle with your hands. Avoid tasks that involve high pressure or prolonged water exposure, such as washing dishes or taking a hot bath, as this can cause smudges or bubbles to form underneath the surface.
Daily Maintenance Tips
To keep your manicure looking fresh, apply a nourishing cuticle oil daily. This keeps the skin around your nails hydrated, which in turn helps to maintain the flexibility of the nail and prevent the polish from becoming brittle. When doing household chores, especially those involving water or cleaning chemicals, always wear protective gloves. This is the single best habit you can adopt to protect your polish and extend its wear time significantly.
Common Mistakes to Avoid
Sometimes, what you don't do is as important as what you do. Avoiding these common pitfalls will make a world of difference to your manicure's durability.
- Shaking the polish bottle: This creates air bubbles that can transfer to your nail, causing a bumpy finish and weak spots. Instead, gently roll the bottle between your palms.
- Applying thick coats: Thick layers take a very long time to dry properly and are much more prone to smudging and peeling. Thin coats are always better.
- Skipping the base or top coat: These are not optional steps. They are essential for adhesion, protection, and a long-lasting finish.
- Getting polish on your cuticles: Polish on the skin will lift as your nail grows, taking the polish on the nail with it and causing premature chipping. Clean up any mistakes with a small brush dipped in remover before the polish dries.
- Filing nails after polishing: Any filing or shaping should be done at the very beginning. Filing a polished nail will break the seal created by the top coat, inviting chips.