


Achieving smooth, hair-free skin from the comfort of your own home is an appealing prospect for many. Modern at-home light-based hair removal devices offer a convenient way to manage unwanted hair as part of a personal beauty ritual. However, to achieve the best and safest results, it's crucial to follow a structured approach encompassing proper skin preparation, a well-thought-out session plan, and diligent aftercare. Understanding these steps will help you use your device effectively and maintain healthy, calm skin throughout the process.
Preparing Your Skin for Treatment
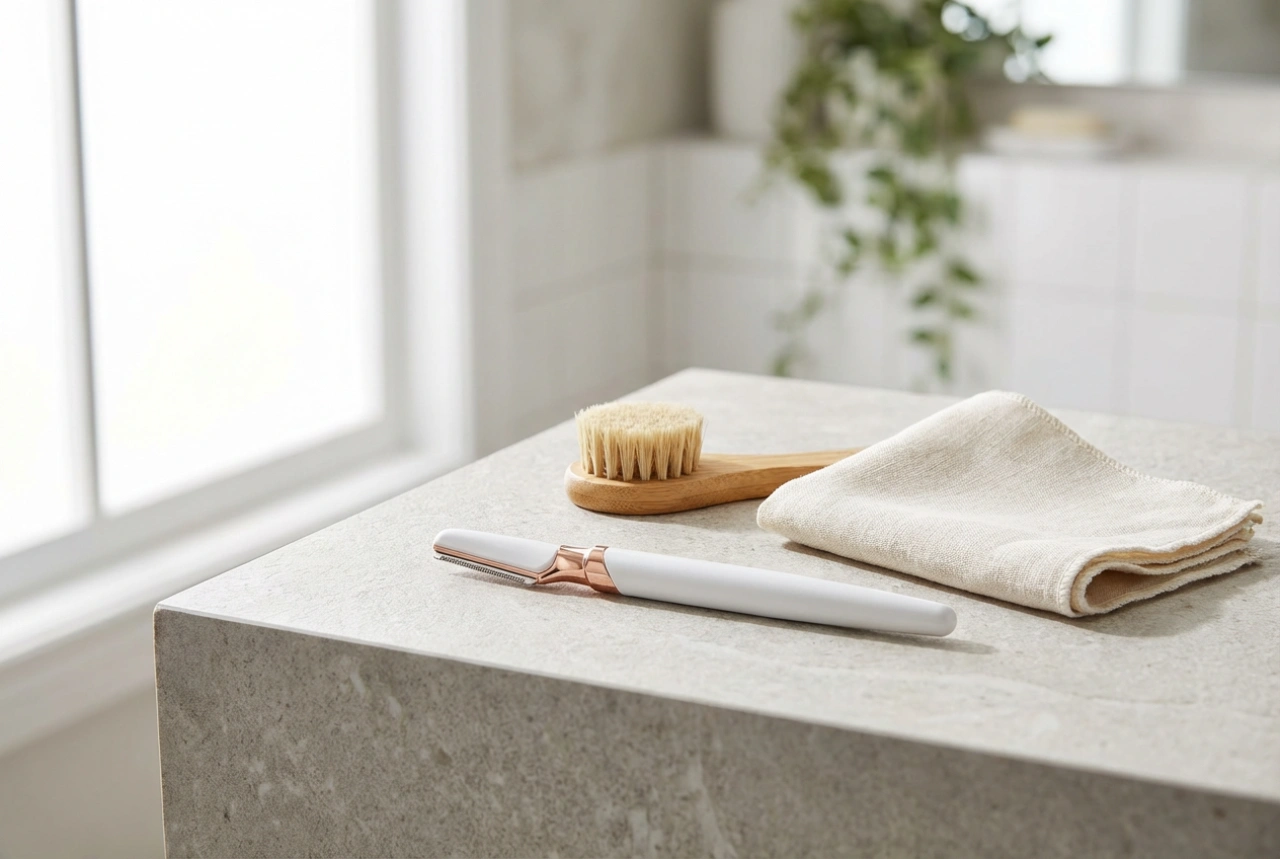
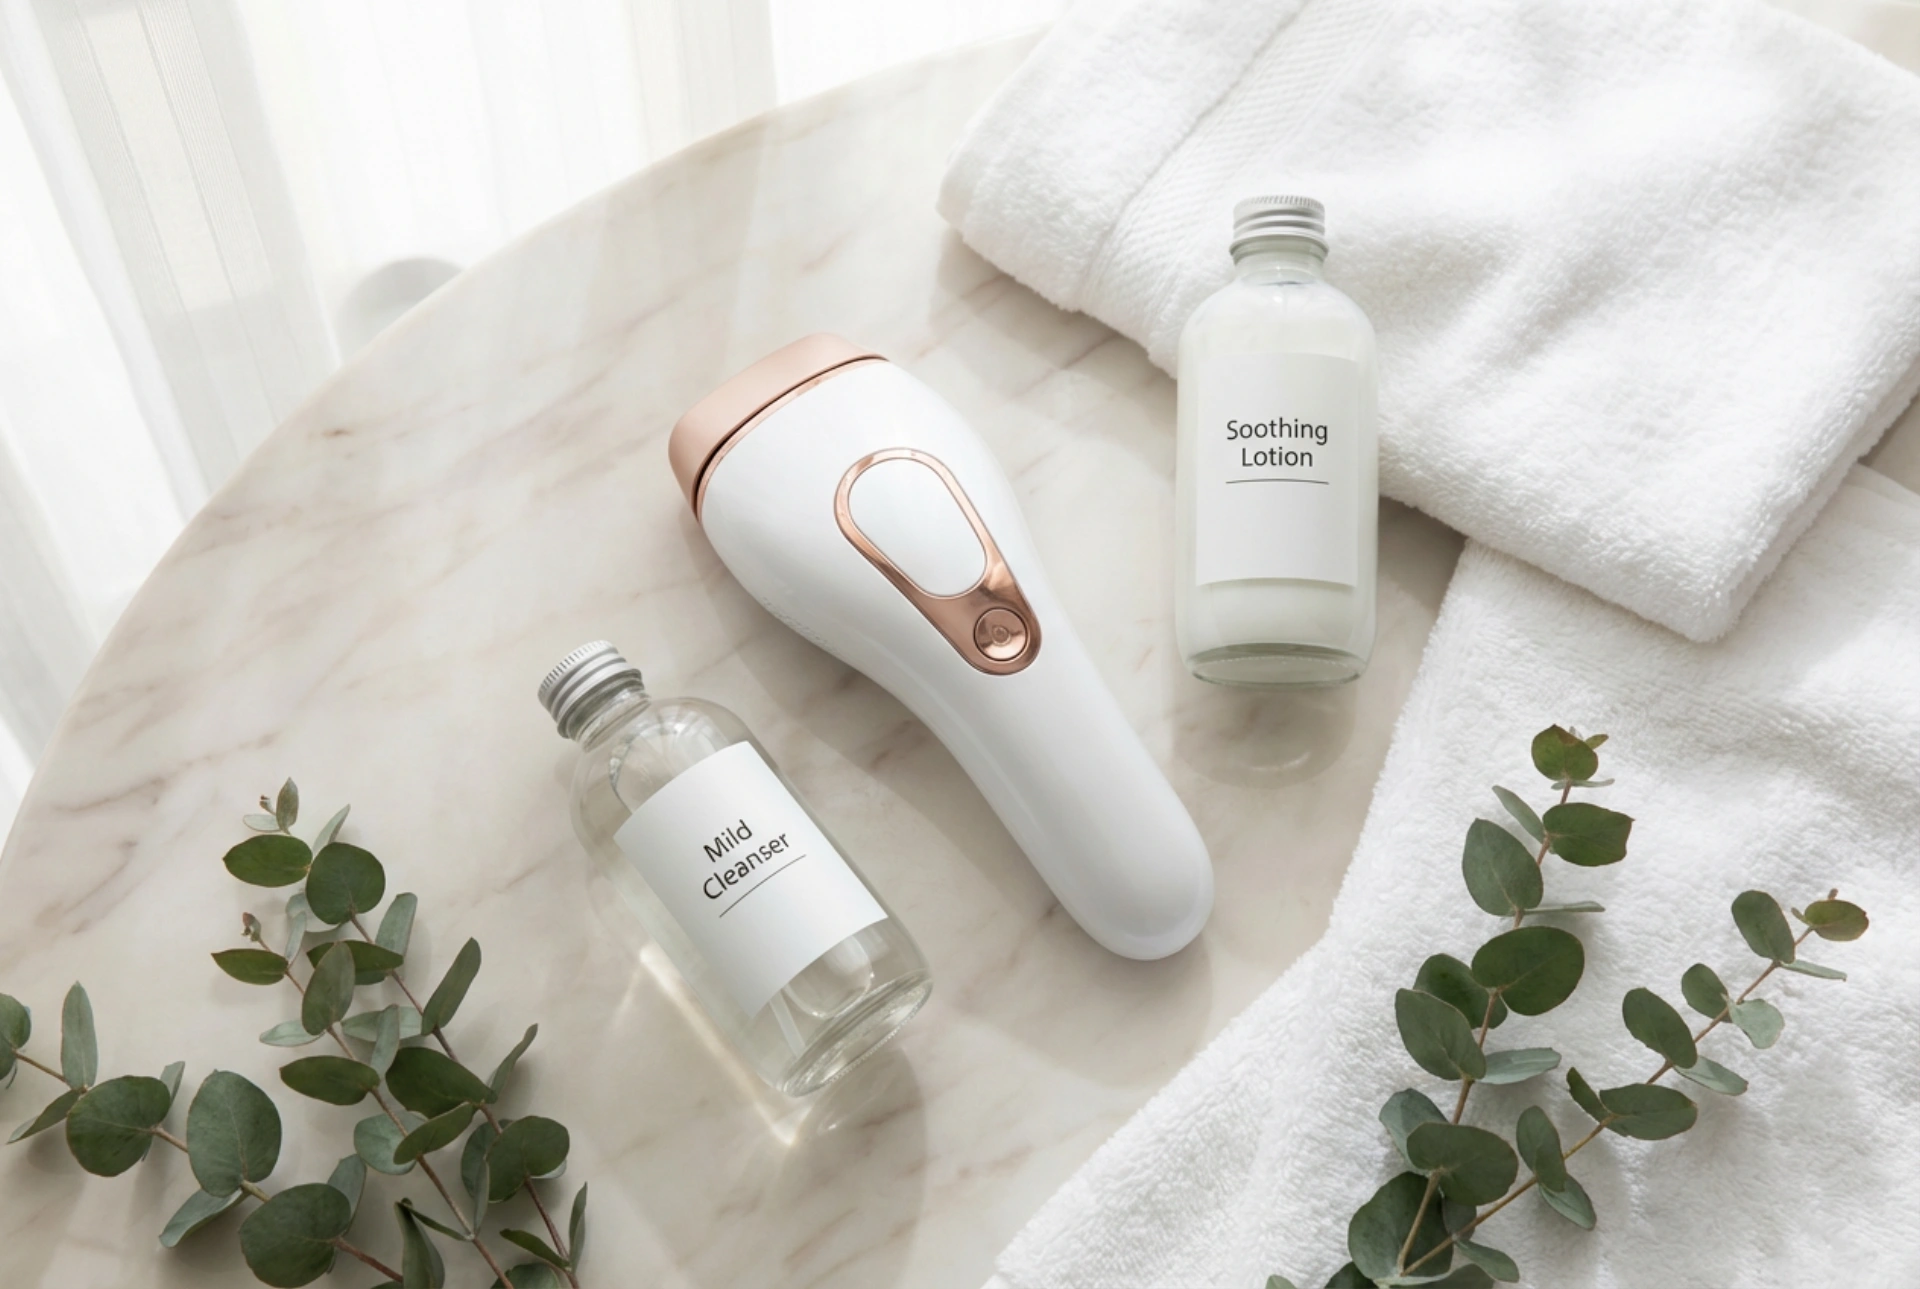
Proper preparation is the foundation of a successful at-home hair removal session. The light energy needs a clear path to the hair follicle, so starting with a clean and correctly prepared surface is essential.
Key Preparation Steps:
- Shave the Area: The area you plan to treat should be freshly shaved, ideally on the same day or the day before. Shaving removes the hair above the skin's surface, allowing the light energy to travel directly to the follicle beneath. Avoid waxing, plucking, or epilating, as these methods remove the entire hair, leaving nothing for the light to target.
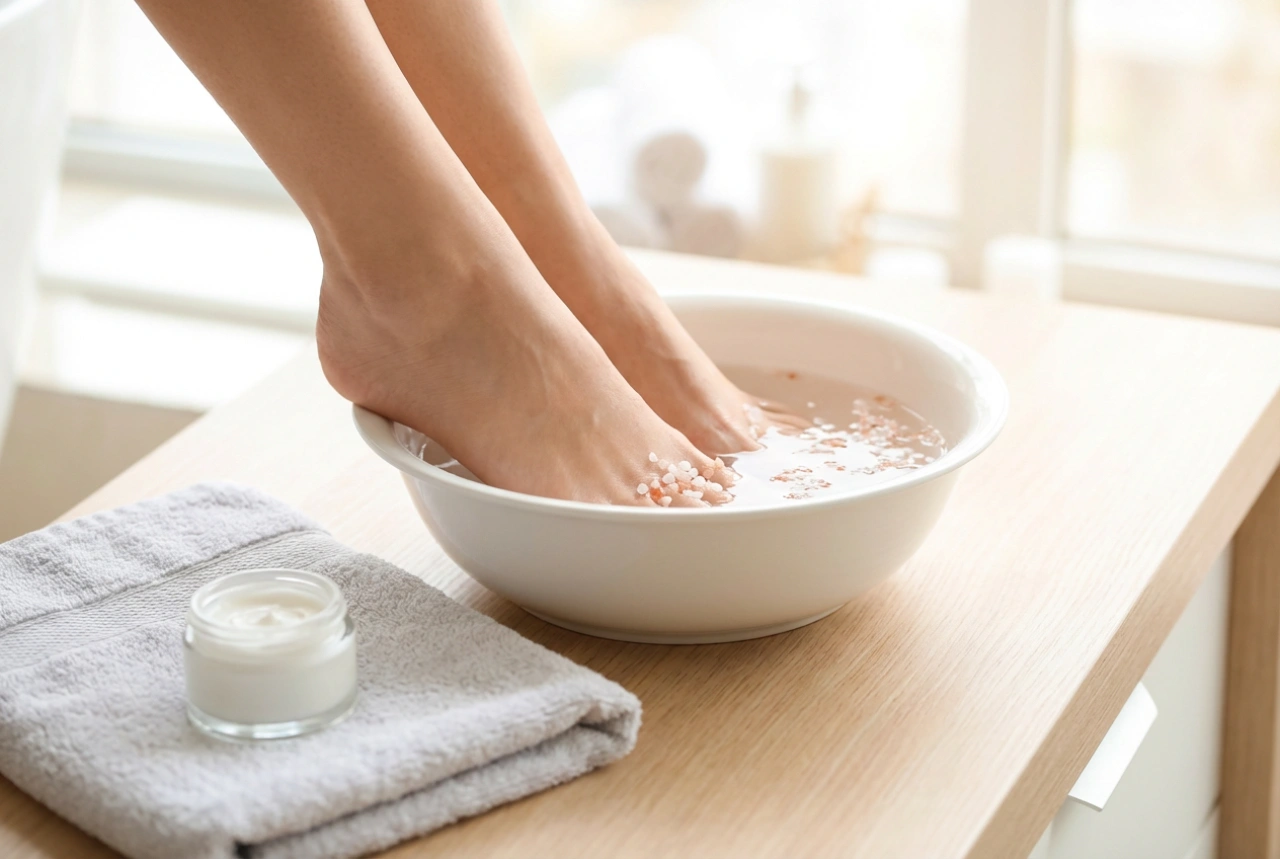
- Cleanse and Dry: Wash the skin with a gentle, fragrance-free cleanser to remove any lotions, deodorants, or oils. Pat the area completely dry. The skin must be free of any residue that could block the light or cause an adverse reaction.
- Avoid Sun Exposure: Tanned skin, whether from the sun, tanning beds, or self-tanners, contains more melanin, which can absorb the light energy and lead to skin irritation. Avoid direct sun exposure on the treatment area for at least two weeks before your session.
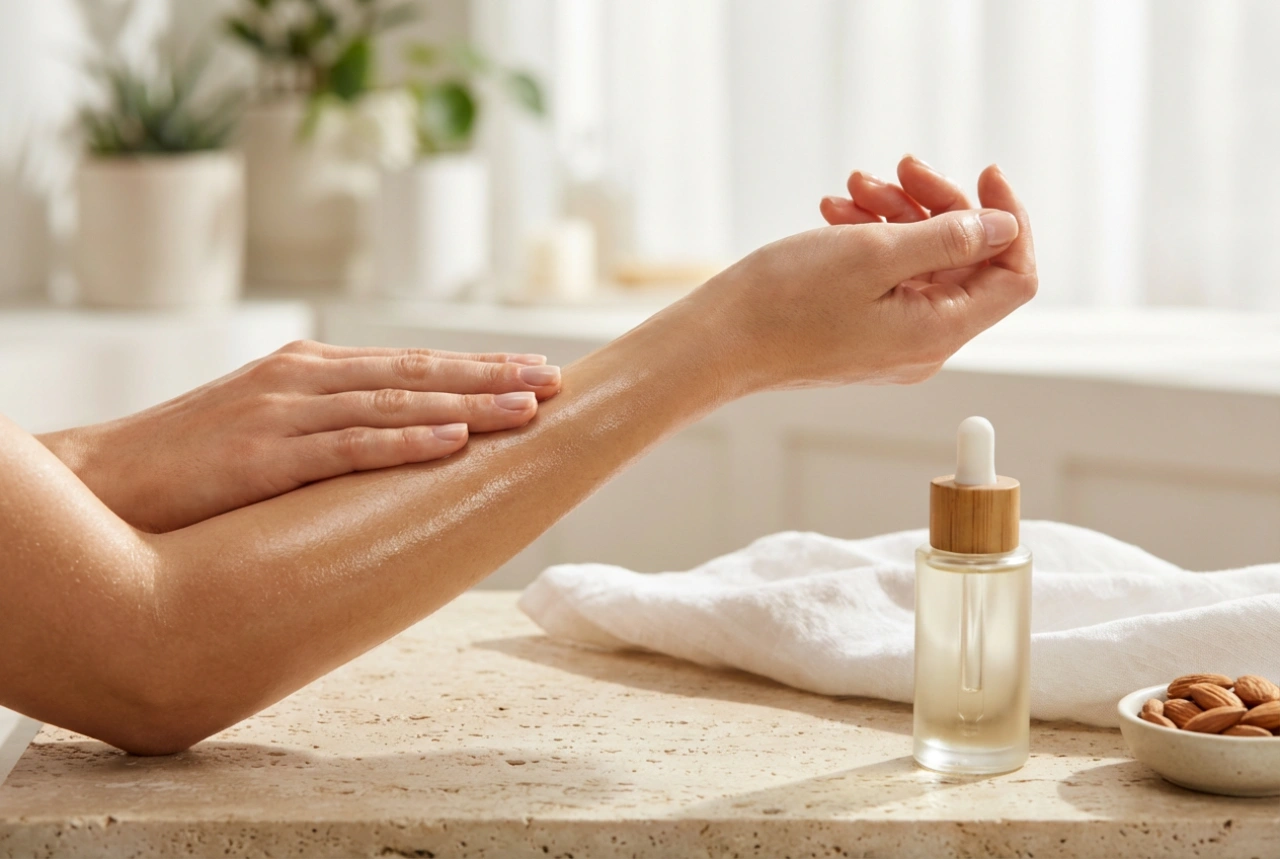
- Check Your Skincare: A few days before your session, pause the use of any potent active ingredients on the area, such as retinoids or exfoliating acids (AHA/BHA). These can make your skin more sensitive.
- Perform a Patch Test: Before your first full session, or when treating a new area, always perform a patch test. Treat a small, inconspicuous patch of skin and wait 24-48 hours to ensure your skin does not have an adverse reaction. This also helps you determine the most comfortable energy level.
Creating Your Treatment Schedule
Consistency is key to achieving a significant reduction in hair growth. Light-based hair removal is most effective on hairs in their active growth phase (anagen). Since not all hairs are in this phase at the same time, multiple sessions are required to treat them all as they cycle through.
Planning Your Sessions:
- Initial Phase: Most at-home device protocols recommend an initial treatment phase with sessions spaced about two weeks apart. This schedule, followed for the first 4-6 treatments, helps ensure you target as many hairs as possible during their growth phase.
- Maintenance Phase: After the initial phase, you will likely notice a significant reduction in hair. At this point, you can switch to a maintenance schedule, with sessions every 4-8 weeks, or as needed, to address any new growth and maintain smoothness.
- Track Your Progress: Keep a simple calendar or use an app to track your sessions. This helps you stay consistent and remember which areas you have treated. Patience is important; results build gradually over several months.
The Hair Removal Process: A Step-by-Step Guide
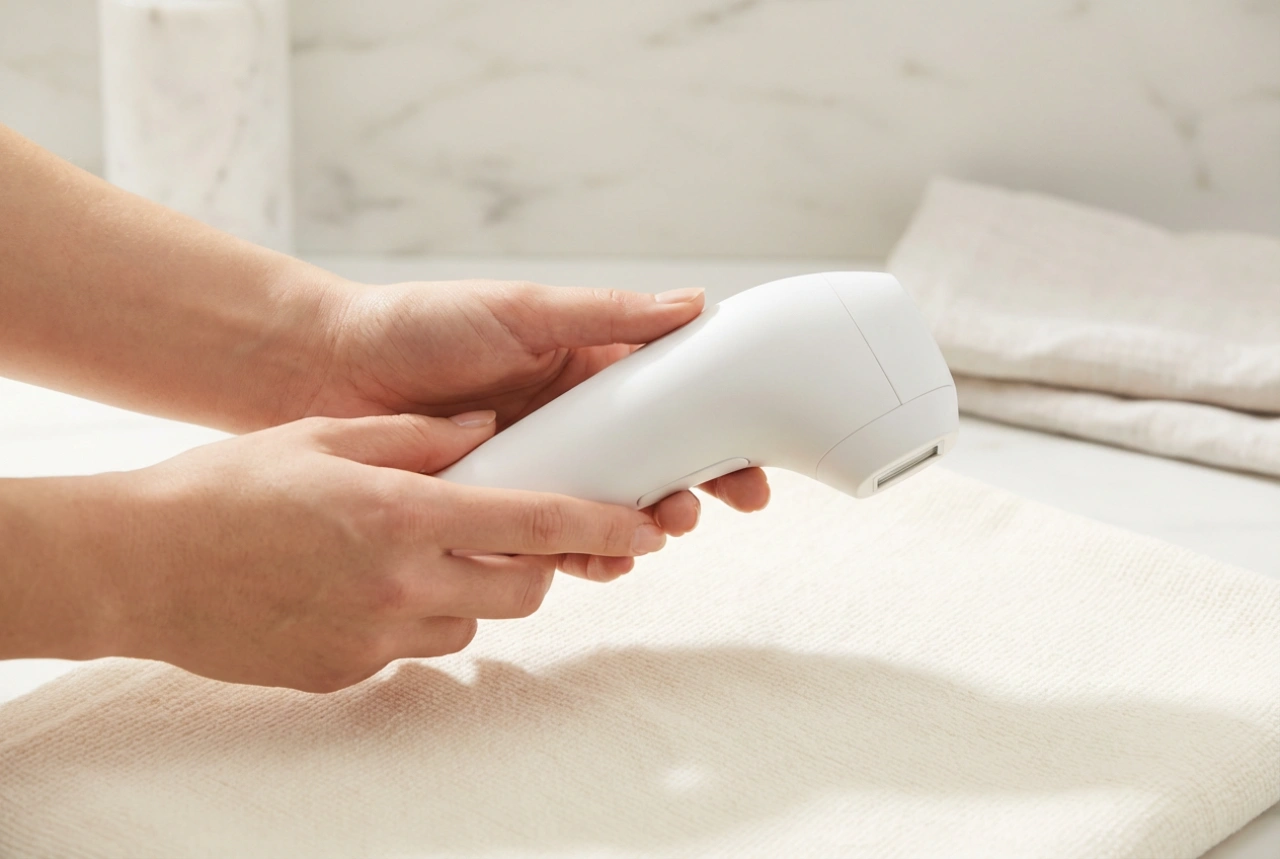
Once your skin is prepped and you have your schedule, using the device is straightforward. Always refer to the manufacturer's instructions for your specific device.
During the Session:
- Select the Intensity: Start with the lowest energy setting and gradually increase it to the highest level that feels comfortable for you. Your device may have a skin tone sensor that recommends a setting. The sensation is often described as a warm snap against the skin.
- Work Methodically: Place the device window flat against your skin, ensuring full contact. Press the flash button and then lift and reposition the device on the adjacent spot. Work in a grid-like pattern to avoid missing spots or overtreating the same area.
- Wear Protective Eyewear: If your device comes with protective eyewear, be sure to wear it. The flashes of light are bright, and protecting your eyes is paramount.
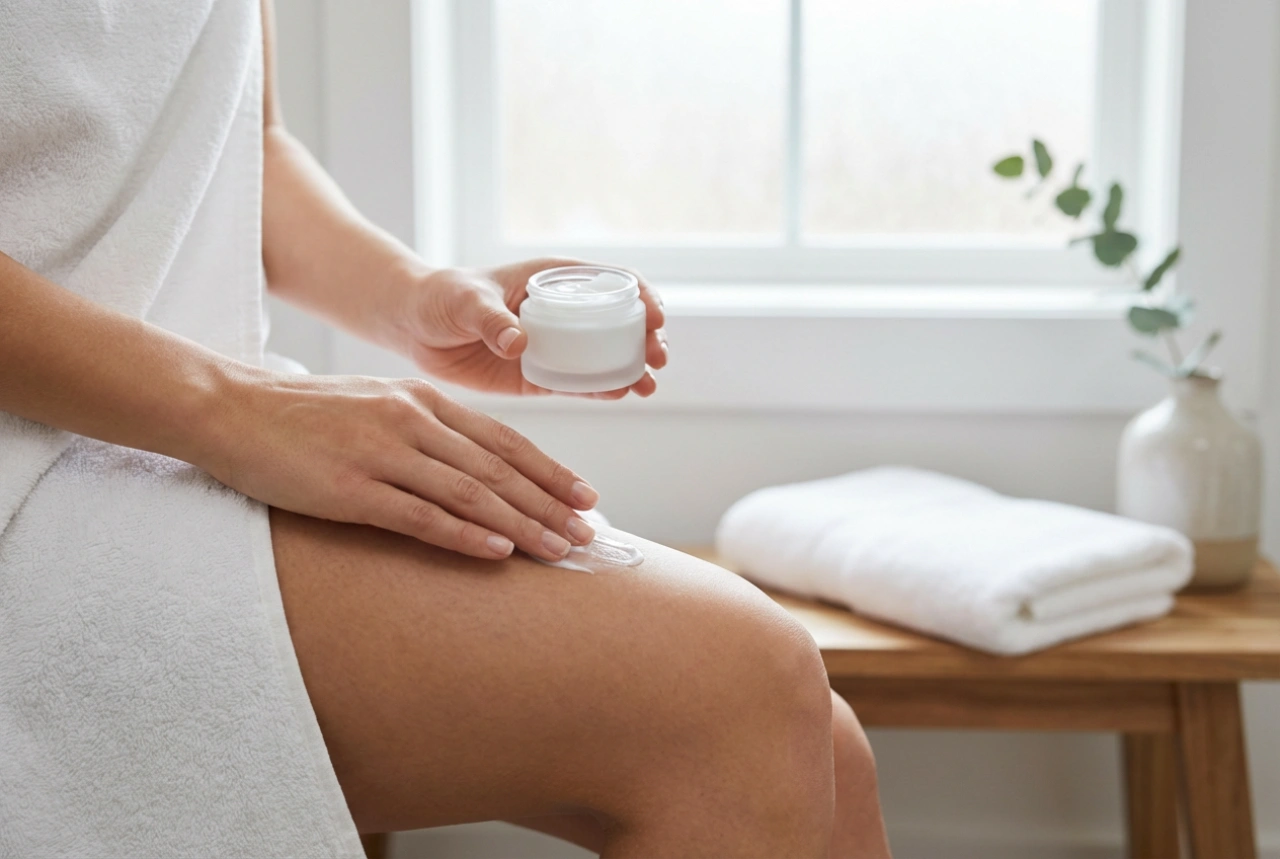
Post-Treatment Skincare and Aftercare
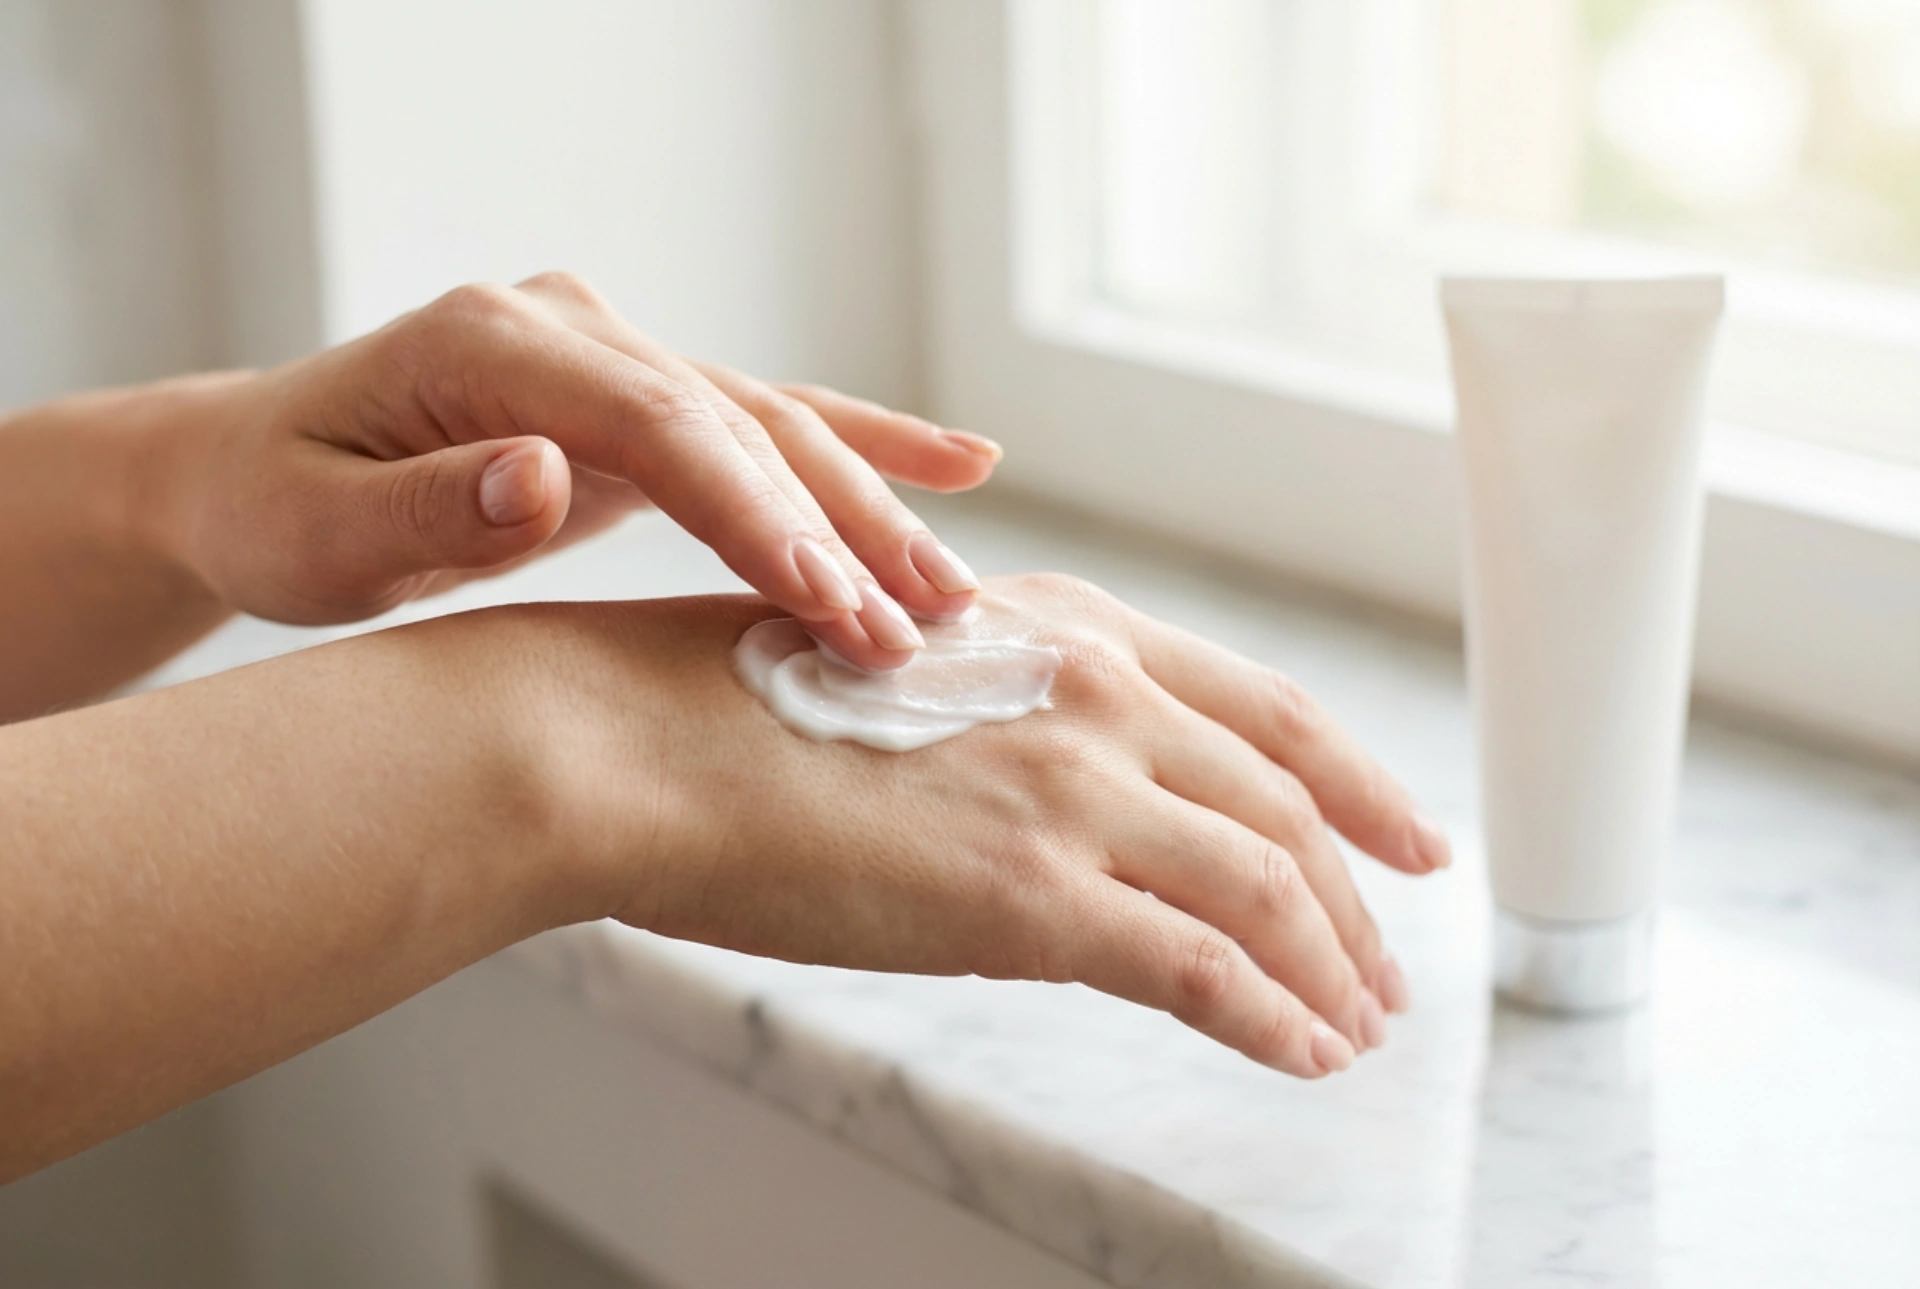
What you do after the session is just as important as what you do before. Proper aftercare helps to soothe the skin, prevent irritation, and protect it as it recovers.
Essential Aftercare Tips:
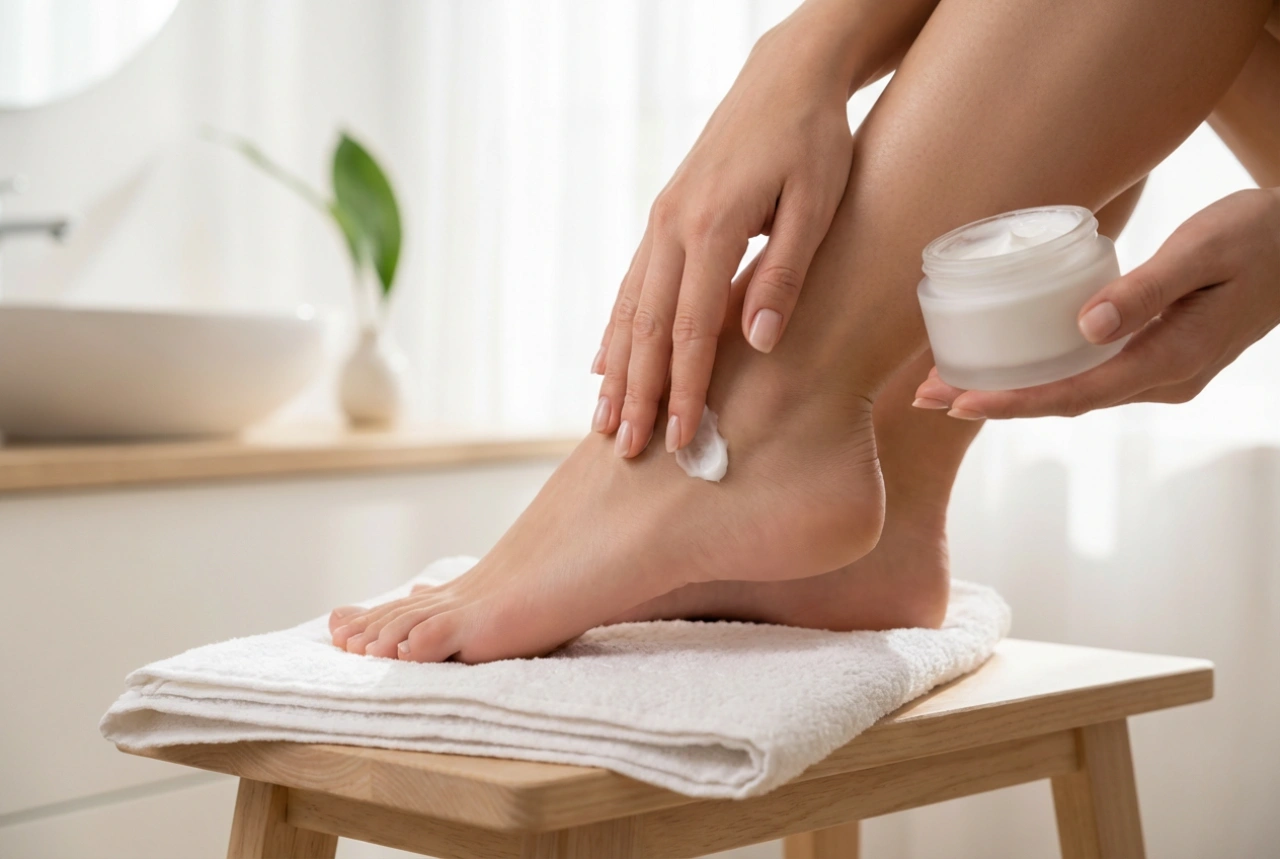
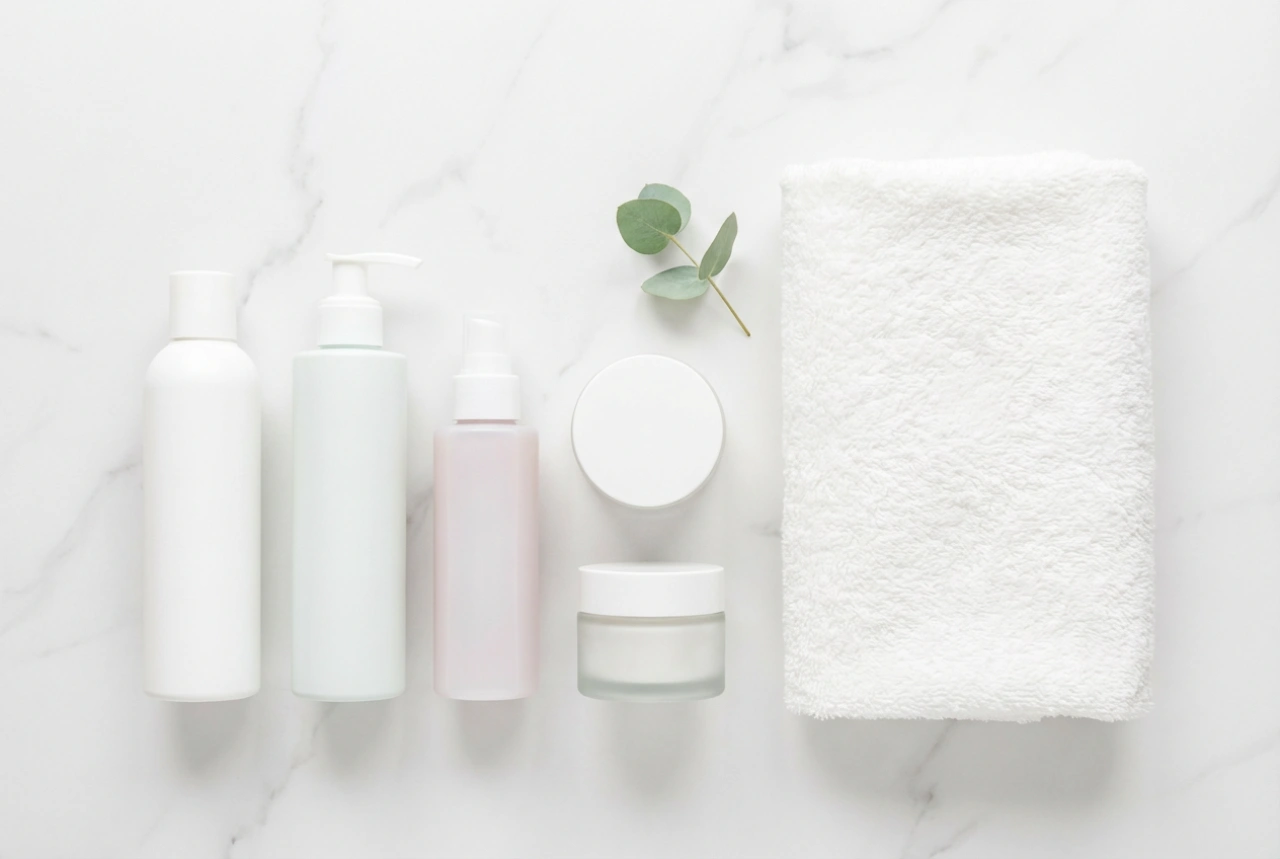
- Soothe and Moisturise: Immediately after treatment, you can apply a soothing, alcohol-free lotion. Look for ingredients like aloe vera or other calming agents. Keep the skin hydrated in the days following the session with a gentle, fragrance-free moisturiser.
- Protect from the Sun: Your skin will be more sensitive to UV light after treatment. Apply a broad-spectrum sunscreen with a high SPF to any treated areas that will be exposed to the sun. This should be a non-negotiable step for at least two weeks post-treatment.
- Avoid Heat and Irritants: For the first 24-48 hours, avoid hot baths, saunas, steam rooms, and strenuous exercise that causes excessive sweating. Also, avoid wearing tight clothing over the treated area to prevent friction and irritation. Do not use any harsh scrubs or chemical exfoliants for a few days.