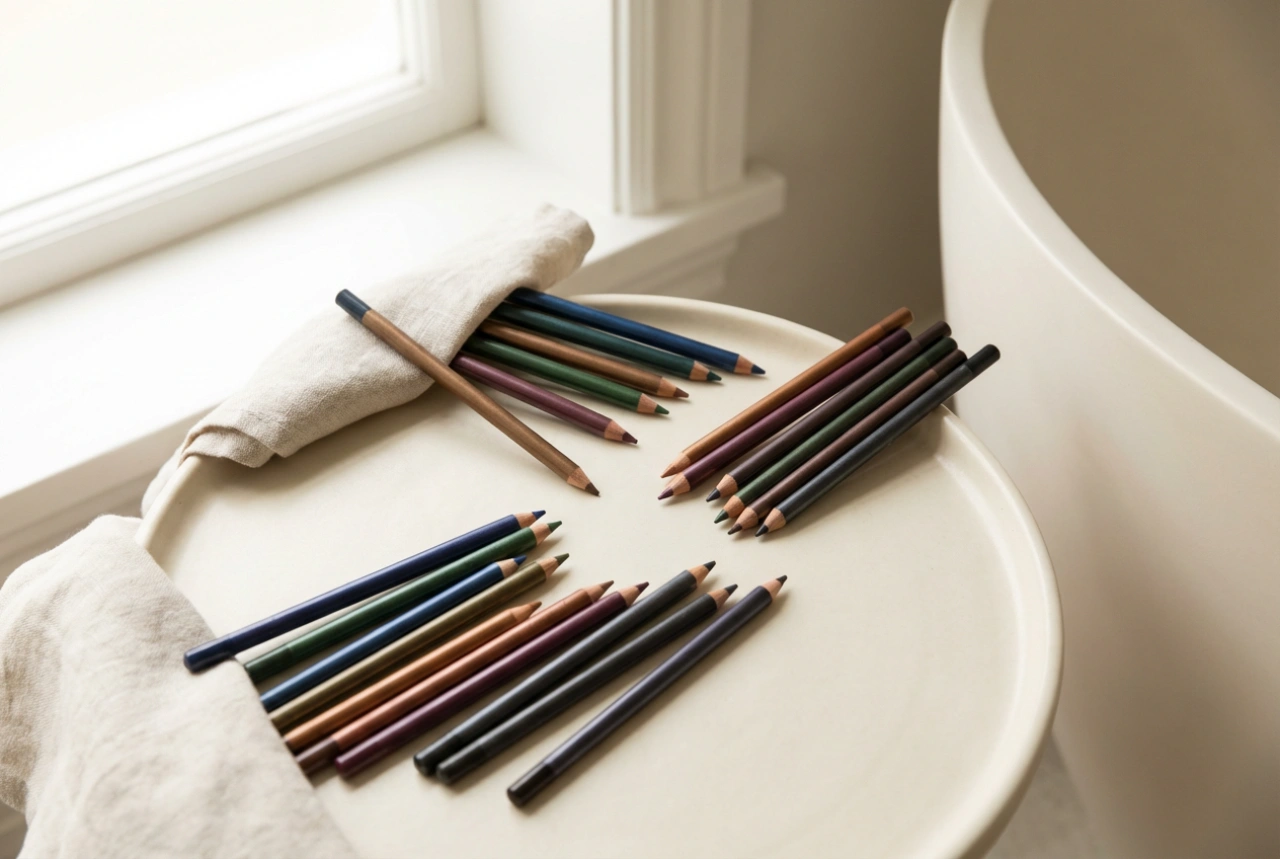


Achieving beautifully lifted, curled lashes can instantly open up the eyes and lend a polished finish to any look. While some are blessed with a natural curl, for many, it requires the right tools and techniques. Fortunately, mastering the art of the lash lift at home is entirely possible with a good curling mascara and a methodical approach. This guide will walk you through the process, from preparation to final touches, ensuring your lashes defy gravity and look their absolute best all day long.
Preparing Your Lashes for the Perfect Curl
The foundation of a lasting curl begins before you even open your mascara tube. Starting with clean, dry lashes is non-negotiable, as any residual oil or old makeup can weigh them down and prevent the mascara from adhering properly. For those with straight or downward-pointing lashes, an eyelash curler is an indispensable tool. To use it effectively, position the curler as close to your lash line as possible without pinching the skin. Gently squeeze and hold for five to ten seconds. For an even more pronounced and lasting curl, you can 'walk' the curler up your lashes, creating a soft C-shape rather than a sharp L-bend by making two or three additional, lighter presses as you move towards the tips.
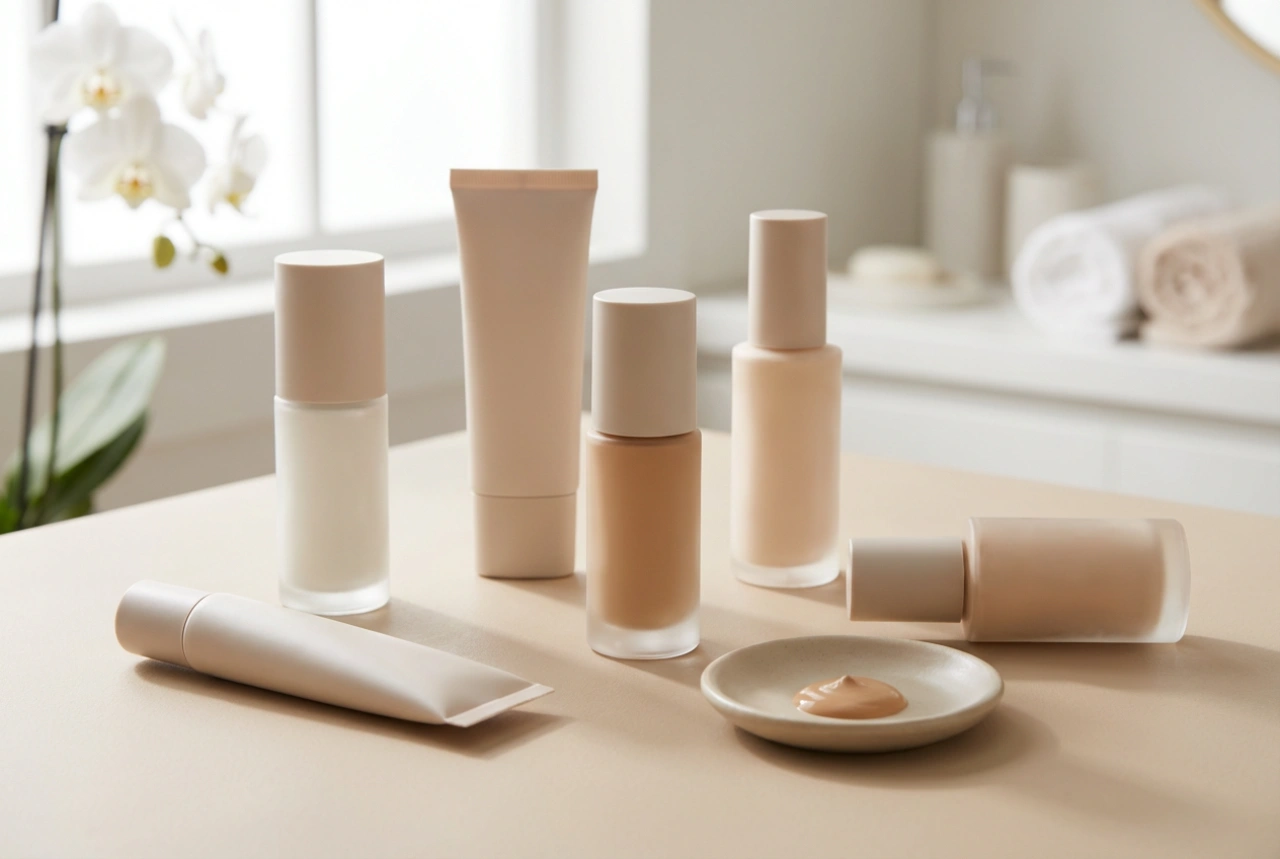
Choosing the Right Curling Mascara
Not all mascaras are created equal when it comes to curling power. The formula and the wand shape play pivotal roles in achieving that desired lift.
Formula Characteristics
Look for mascaras with lightweight, film-forming polymers in their formulas. These ingredients help to set the curl in place without adding excess weight that could cause the lashes to droop. Some formulas also contain fibres that add length and volume while remaining light enough to maintain the lift. A waterproof or water-resistant formula can also be beneficial, as it's less susceptible to humidity and tends to hold a curl more rigidly than washable versions.
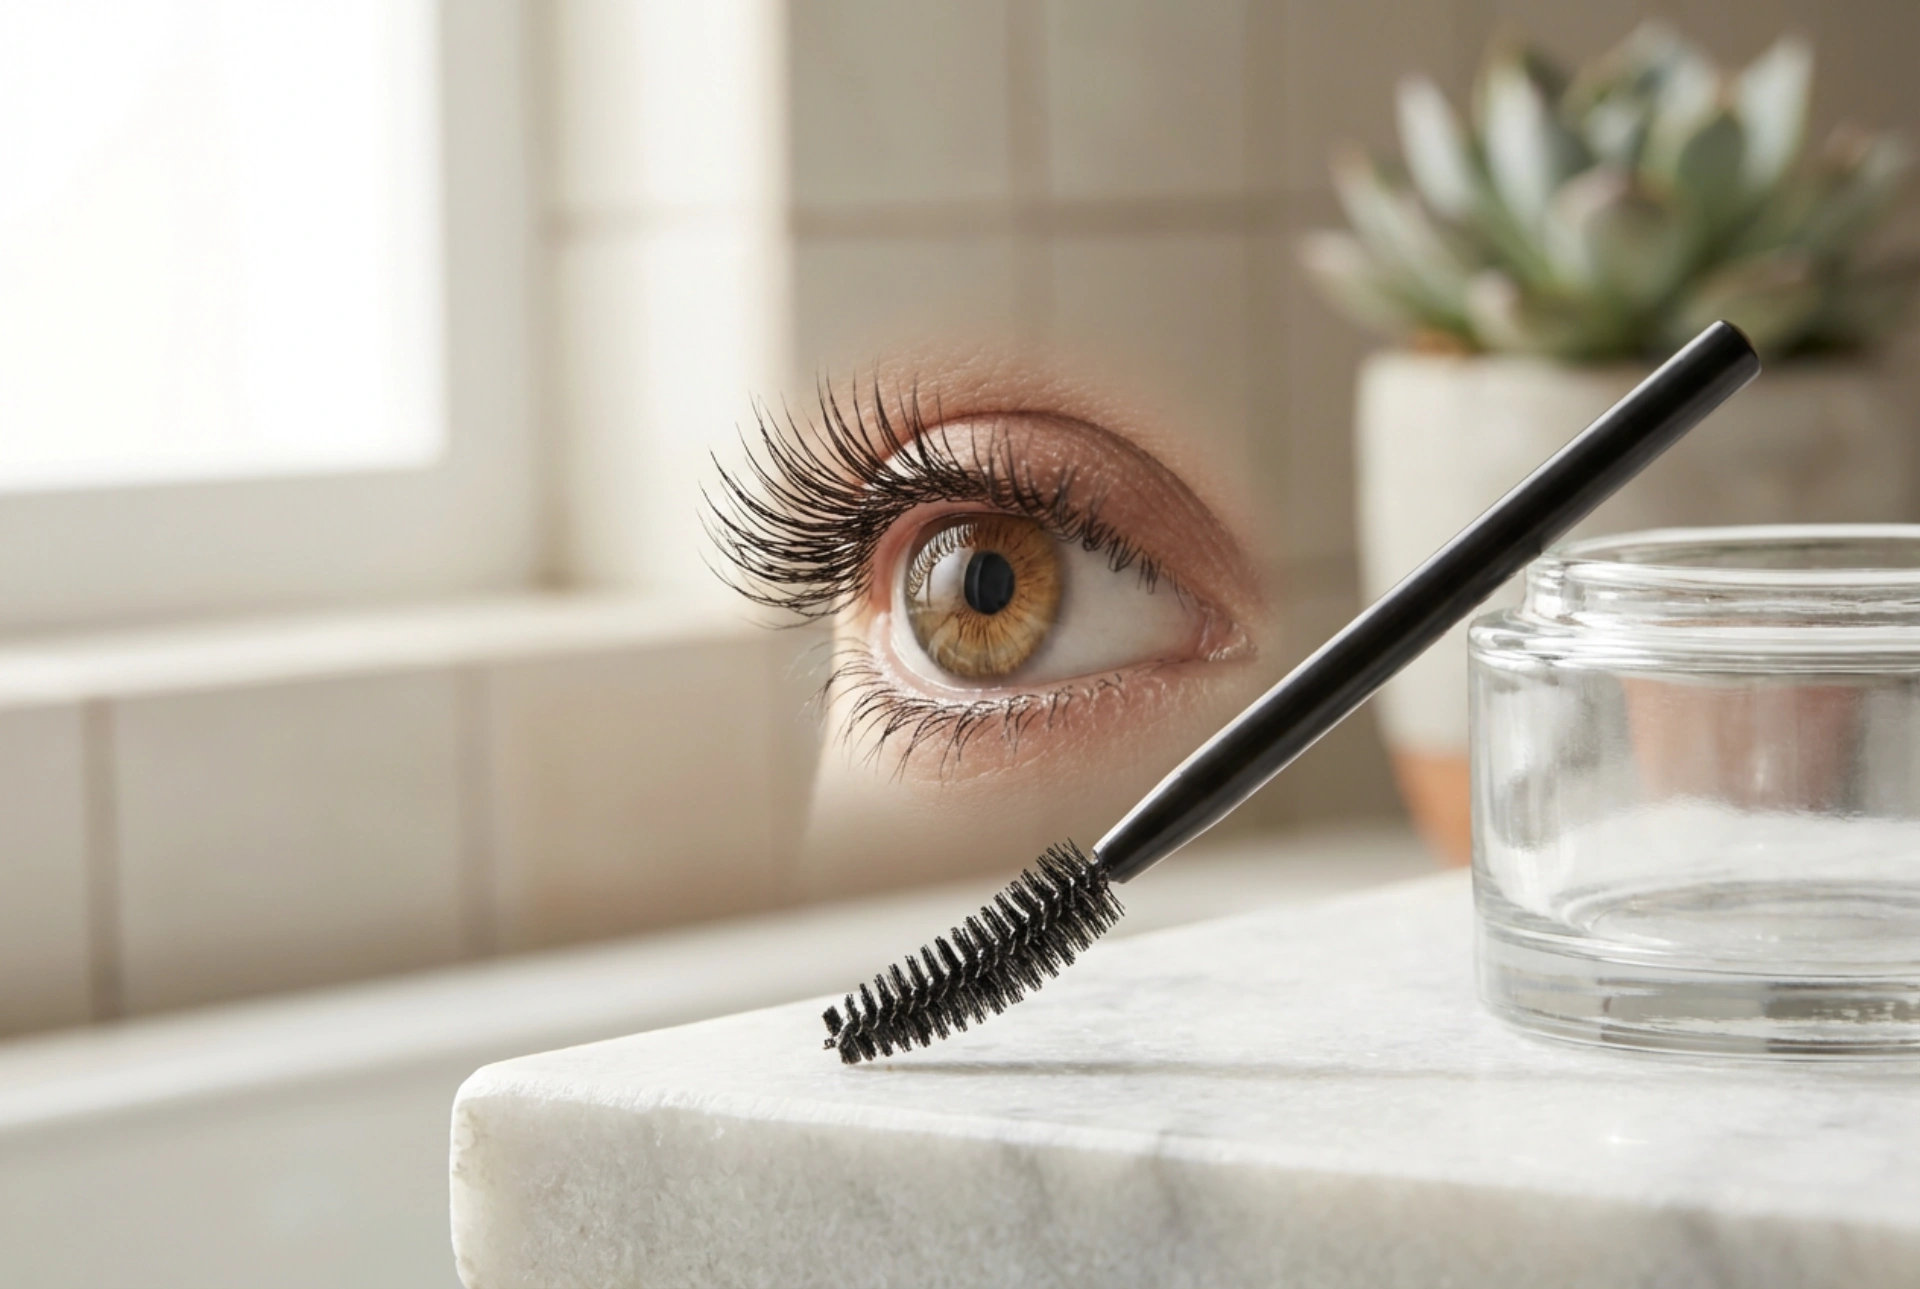
The Importance of the Wand
The applicator wand is just as crucial as the formula itself. Curling mascaras often feature a curved wand designed to mimic the natural shape of the eye. This ergonomic design helps to lift the lashes from the root as you apply the product. The bristles, whether they are traditional fibre or moulded plastic, are typically arranged to comb through and separate each lash, ensuring an even coat and preventing clumps that can ruin the lifted effect.
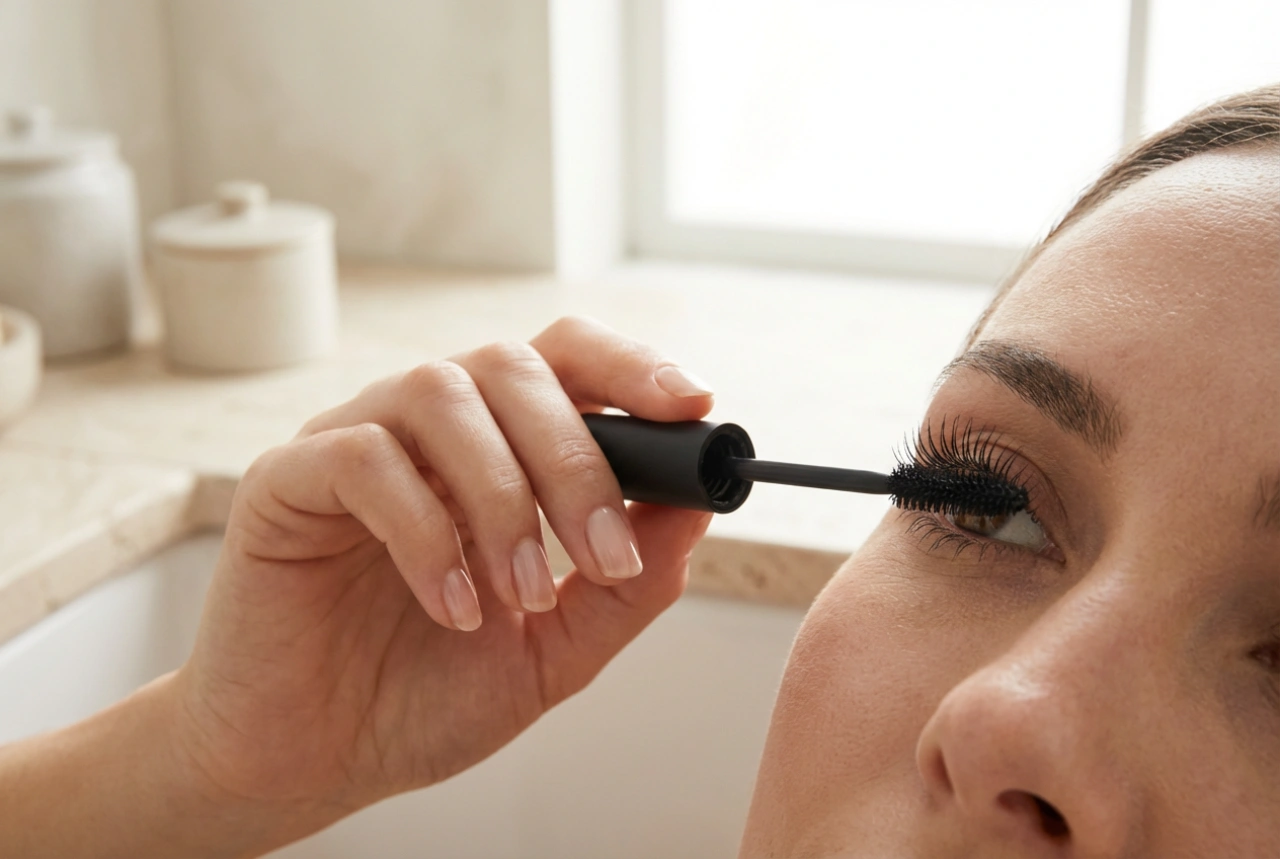
The Step-by-Step Application Technique
With your lashes prepped and the right mascara in hand, it's time for the application. A precise technique is key to maximising the curl and lift.
Step 1: Wiggle at the Base
Start by placing the wand at the very base of your upper lashes. Gently wiggle it back and forth. This technique deposits the most product at the roots, which builds a strong, dark foundation and creates the illusion of a fuller lash line. This base acts as an anchor, providing the necessary support for the lift you're about to create.
Step 2: Comb Up and Through
From the root, slowly pull the wand upwards through the length of your lashes to the tips. As you move the wand, you can slightly rotate your wrist, following the curve of the wand to encourage the lashes to bend upwards. This smooth, deliberate motion helps to distribute the product evenly and shape the curl. Avoid zig-zagging too much through the mid-lengths and ends, as this can create a messy look; a straight, upward sweep is best.
Step 3: Define the Corners
To create a fanned-out, wide-eyed effect, pay special attention to the inner and outer corners. Use the tip of the mascara wand to carefully coat the tiny lashes in the inner corner. For the outer corner, angle the wand and sweep the lashes outwards and upwards. Applying a second, light coat to the outer lashes can further enhance this elongated, winged shape.
Tips for a Long-Lasting, Clump-Free Curl
To ensure your hard work pays off, a few finishing touches can make all the difference. If you decide to apply a second coat for extra volume or intensity, do so while the first coat is still slightly tacky, not completely dry. This helps the layers meld together seamlessly. If you notice any clumps forming, use a clean, dry spoolie brush to gently comb through your lashes and separate them. Finally, try to avoid applying too much product to the very tips of your lashes, as the extra weight can pull them down. The focus should always be on building volume and lift from the root.