

Treating yourself to a pedicure is a wonderful way to relax and care for your feet, but you don't need to leave the house to enjoy a spa-quality experience. Creating a tranquil, restorative foot care ritual at home is simple and deeply rewarding. With just a few basic tools and a little time set aside, you can transform tired, neglected feet into soft, smooth, and beautiful ones. This guide will walk you through every step of a luxurious home spa pedicure, from the initial soothing soak to the final nourishing touch.
Preparation: Creating Your Home Spa Oasis
The first step to a successful home pedicure is setting the stage. A calm environment enhances the relaxing benefits of the treatment. Before you begin, take a few moments to prepare your space and gather all the necessary items. This ensures an uninterrupted and seamless experience.
Gather Your Essentials
Having everything within arm's reach is key. You will need:
- A basin or tub large enough for both feet
- Warm water
- A fluffy towel
- Nail clippers and a nail file or emery board
- A nail buffer
- A cuticle pusher or orangewood stick
- A foot scrub
- A pumice stone or foot file
- A nourishing foot mask
- A rich foot cream or moisturiser
- Optional: Bath salts, essential oils, or flower petals for the soak
Set a Relaxing Mood
Transform your space into a personal sanctuary. Dim the lights, light a scented candle, or use an essential oil diffuser with calming scents like lavender or chamomile. Put on some soft, instrumental music or a podcast. Ensure you have a comfortable place to sit and that you won't be disturbed for the next hour. This is your time for self-care.
Step 1: The Soothing Foot Soak
The pedicure begins with a warm, aromatic foot soak. This step is not just about cleansing; it's crucial for softening the skin, nails, and cuticles, making them much easier to work with. The warmth also helps to relieve tension and soothe tired muscles.
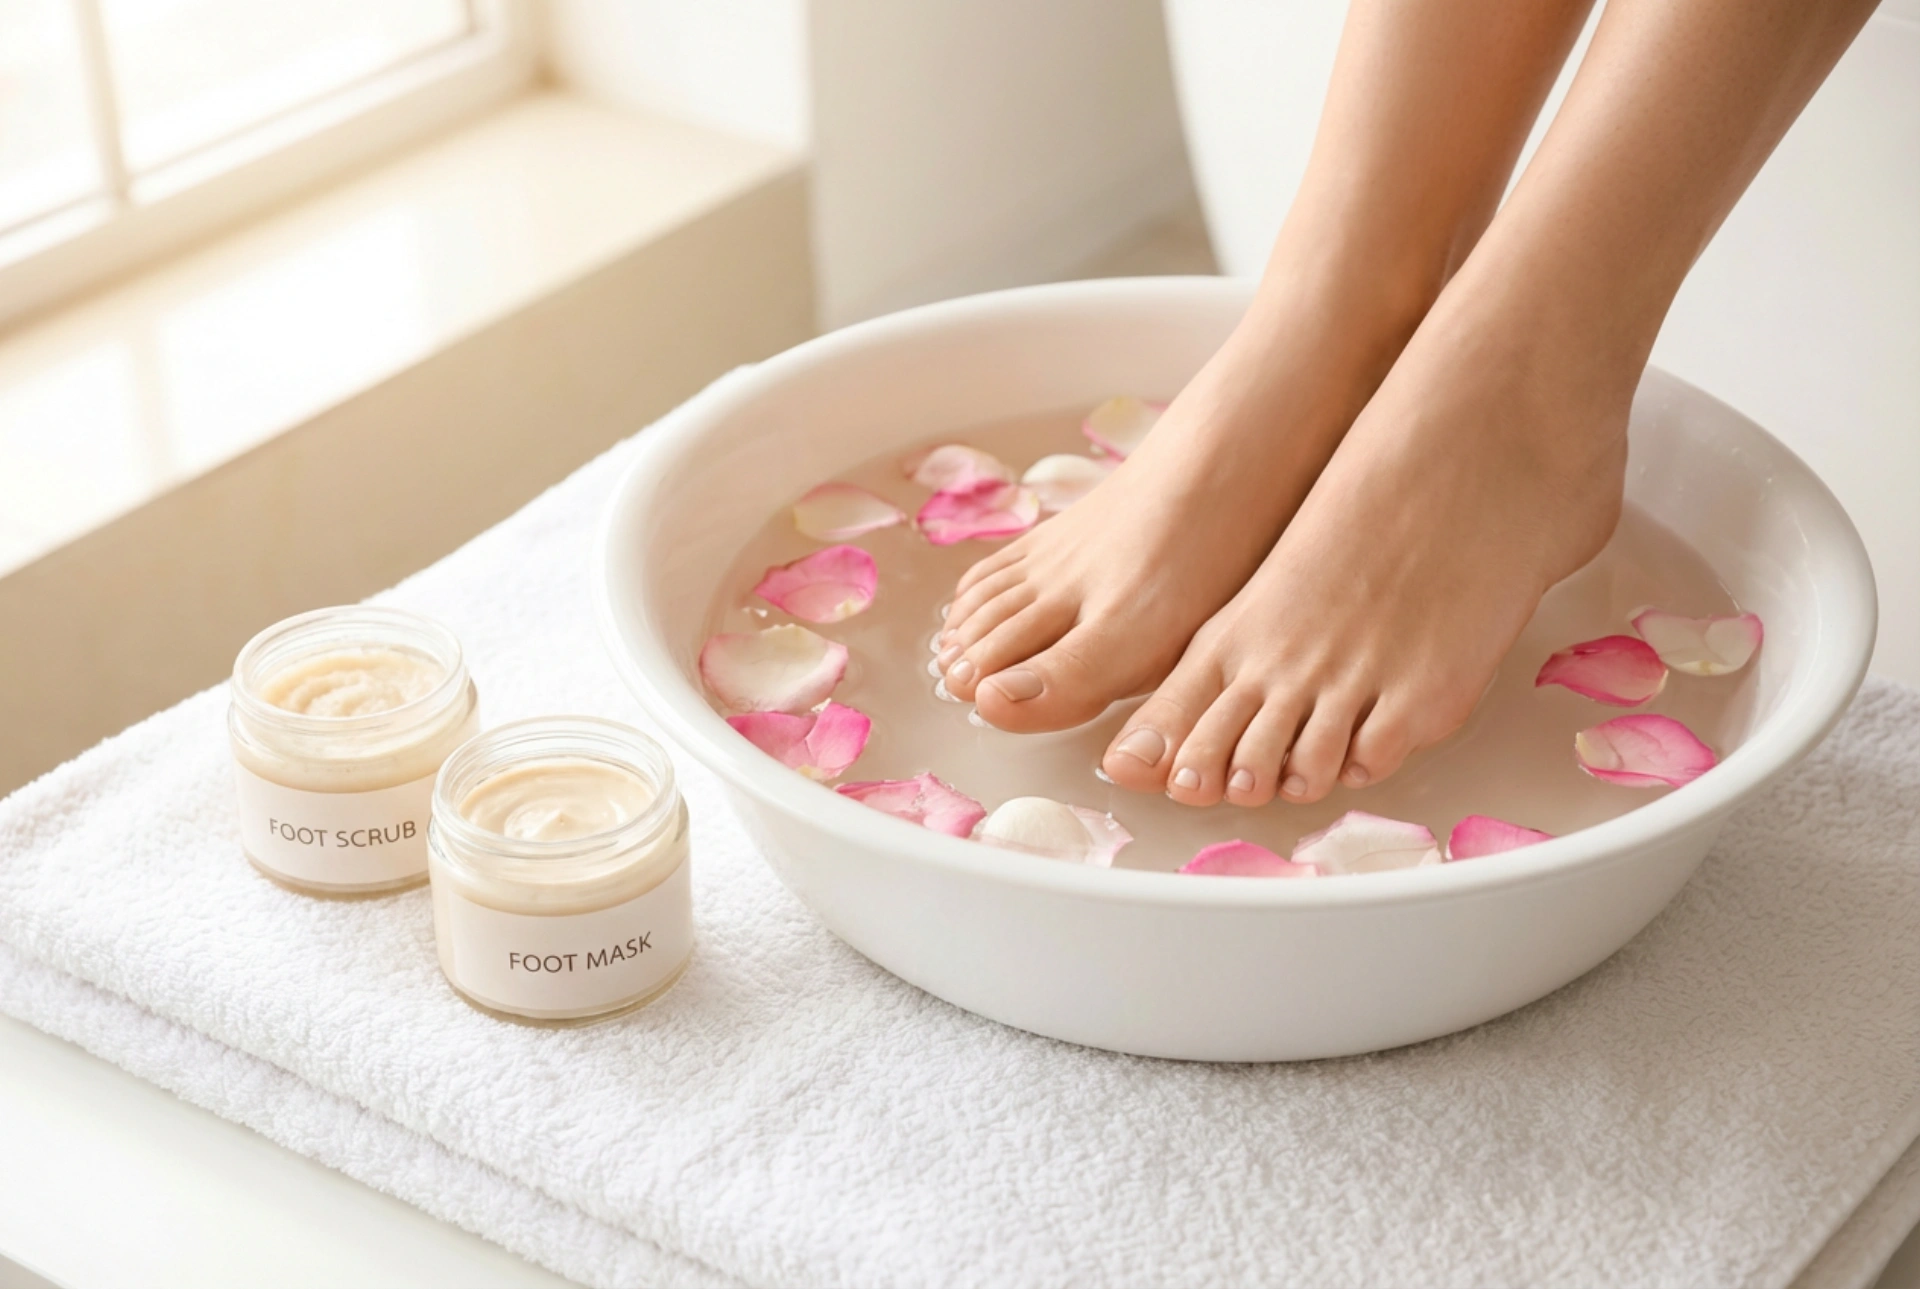
Fill your basin with warm water—not too hot—and add your chosen enhancements. A handful of Epsom salts can help to reduce swelling, while a few drops of peppermint essential oil can feel refreshing and invigorating. For a truly luxurious touch, scatter some flower petals on the water's surface. Submerge your feet and allow them to soak for 10-15 minutes. Lean back, close your eyes, and enjoy this moment of peace.
Step 2: Exfoliation for Ultimate Smoothness
After soaking, your skin will be soft and ready for exfoliation. This step is vital for removing the build-up of dead skin cells that can cause roughness, especially on the heels and balls of the feet. Regular exfoliation reveals the softer, smoother skin underneath and helps moisturisers penetrate more effectively.
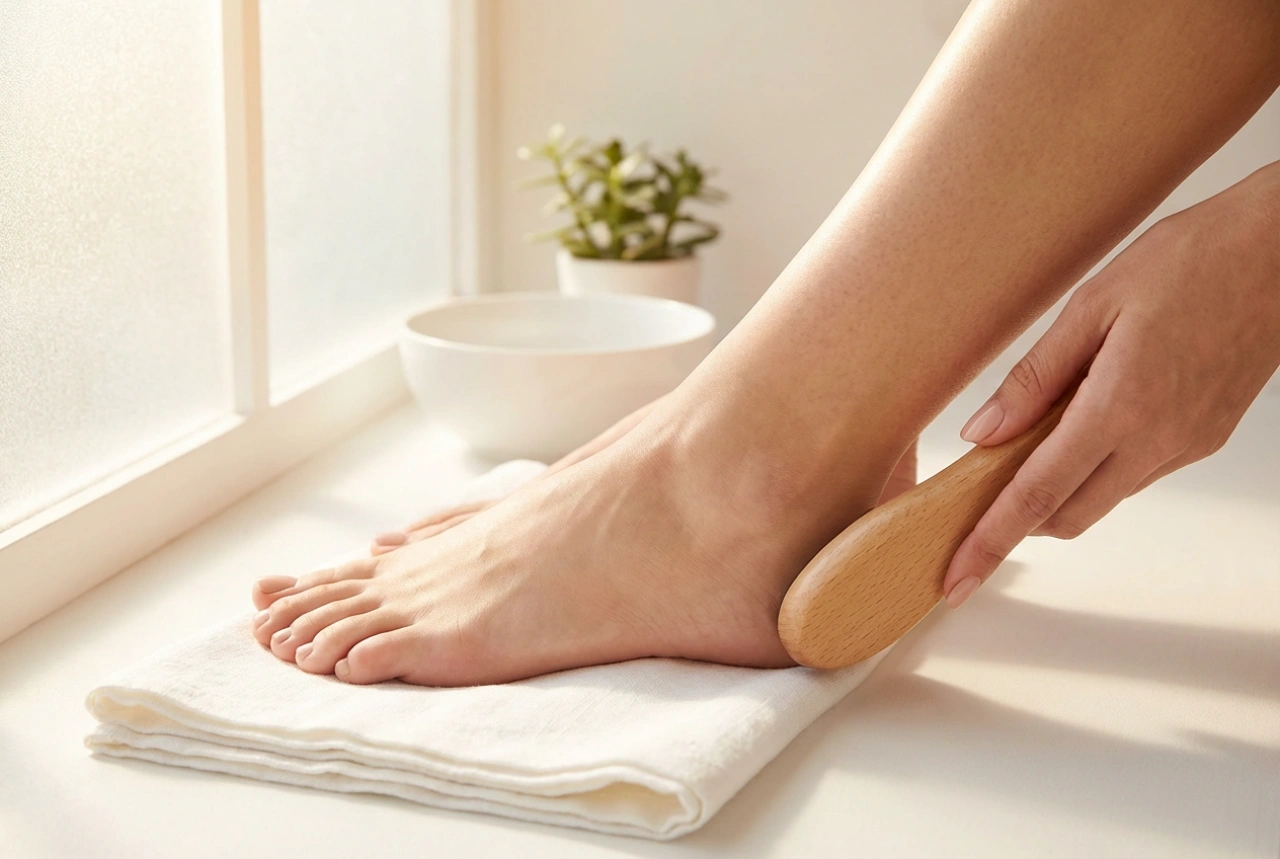
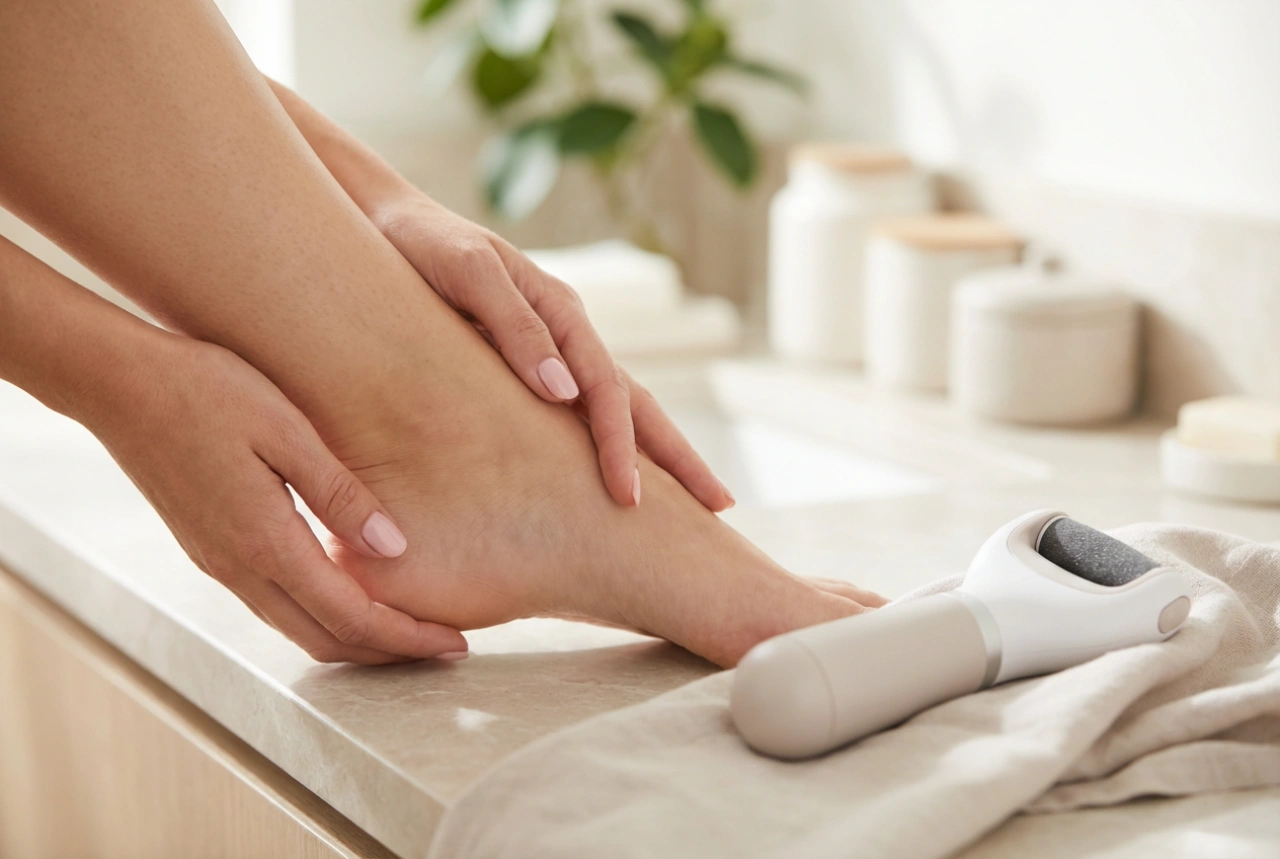
Take one foot out of the water and pat it gently with a towel, leaving it slightly damp. Apply a generous amount of foot scrub and massage it into the skin using firm, circular motions. Concentrate on the heels, soles, and any other calloused areas. For particularly tough or thick skin, use a pumice stone or a foot file, but always be gentle to avoid irritation. Work in one direction and apply steady, even pressure. Once you're finished, rinse your foot thoroughly and repeat the process on the other foot. When both are done, pat them completely dry.
Step 3: Meticulous Nail and Cuticle Care
With your skin now smooth, it's time to focus on the nails and cuticles. Proper care here not only looks neat but also promotes healthy nail growth.
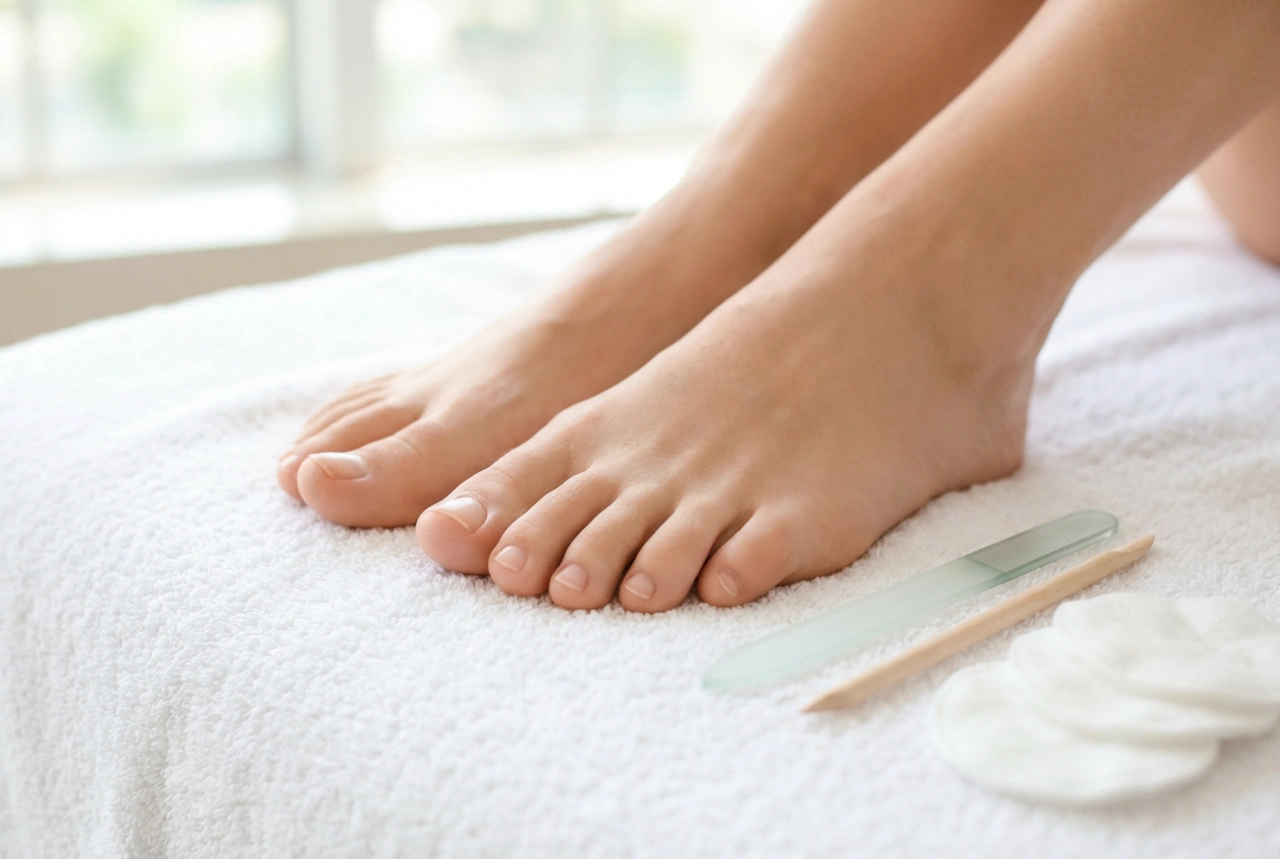
First, address the cuticles. It is very important not to cut them, as they act as a barrier against impurities. Instead, apply a cuticle softener if you have one, or simply use the residual moisture from the soak. Take your cuticle pusher or orangewood stick and gently push the softened cuticles back from the nail plate. Next, trim your toenails. To help prevent ingrown nails, always cut them straight across, avoiding rounding the corners too much. Use a nail file to gently smooth any sharp edges. Finally, if you wish, you can use a multi-sided buffer to lightly buff the surface of your nails for a natural, healthy shine.
Step 4: The Nourishing Mask and Final Hydration
The final stage of your spa pedicure is all about deep nourishment. A foot mask works like a facial for your feet, delivering a concentrated dose of hydrating and conditioning ingredients to the skin.
Apply a thick, even layer of your chosen foot mask all over your feet, paying extra attention to the heels and soles. To maximise the mask's effects, you can wrap each foot in cling film or a warm towel. This helps to lock in heat and allows the product to absorb more deeply. Prop your feet up and relax for 10-20 minutes, or as directed by the product's instructions. After the time is up, rinse the mask off with warm water and pat your feet completely dry. The grand finale is a generous application of a rich foot cream. Take a few minutes to massage it in thoroughly, which not only hydrates the skin but also stimulates circulation and provides one last moment of blissful relaxation. Your feet will now feel incredibly soft, refreshed, and beautifully cared for.