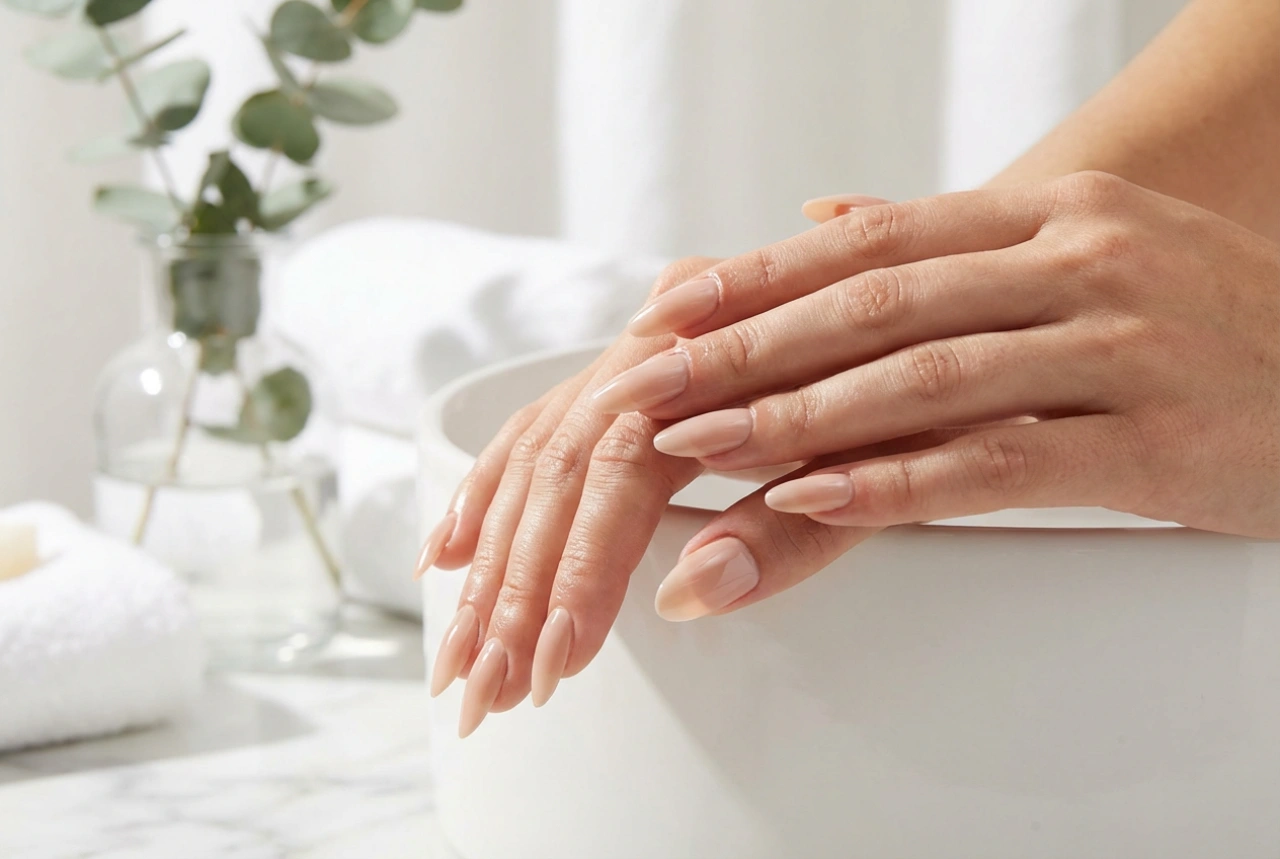


Achieving a beautiful, long-lasting manicure at home that rivals the look of a salon treatment is a goal for many beauty enthusiasts. The desire for a glossy, chip-resistant finish that endures through a busy week has led to the rise of innovative nail products. Among these are lamp-free hybrid polishes, which offer the appearance and durability of a gel manicure without the need for a special UV or LED lamp. This convenient solution allows you to create a flawless, durable nail look with ease, using just a few specific products and the power of natural light.
What Are Lamp-Free Hybrid Nail Polishes?
Often referred to as gel-effect or long-wear polishes, lamp-free hybrids are a new generation of nail varnish designed to mimic the properties of traditional gel polishes. They typically consist of a two-part system: a specialised colour polish and a dedicated top coat. Unlike traditional gels that require curing under a UV or LED light to harden, this system utilises photoinitiators in the top coat that react with natural ambient light. This reaction creates a strong, durable film over the nail, resulting in a manicure that is significantly more resilient and long-lasting than one created with standard nail varnish. The main advantages are the ease of application, which is identical to using regular polish, and a simple removal process that doesn't require soaking or scraping.
Preparing Your Nails for a Flawless Application
The key to a long-lasting manicure, regardless of the product used, is meticulous preparation. Taking the time to properly prepare your nail plate ensures better adhesion of the polish and a smoother, more professional-looking finish. Follow these steps before you begin:
- Clean and Shape: Start by washing your hands and nails thoroughly. Remove any old polish completely. Use a nail file to gently shape your nails to your desired length and form, always filing in one direction to prevent splitting.
- Cuticle Care: Gently push back your cuticles using a wooden or rubber-tipped cuticle pusher. Avoid cutting them, as they serve as a protective barrier against external factors.
- Buff the Surface: Lightly buff the surface of each nail with a fine-grit buffer block. This step removes natural oils and creates a slightly textured surface, which helps the polish adhere better.
- Degrease the Nail Plate: The final and most crucial preparation step is to degrease the nails. Wipe each nail with a lint-free pad soaked in a nail cleaner or isopropyl alcohol. This removes any remaining dust and oils, creating the perfect canvas for your manicure.
A Step-by-Step Guide to Applying Lamp-Free Hybrid Polish
Applying a lamp-free hybrid system is straightforward and similar to a traditional manicure, but following the steps correctly is essential for achieving that signature durability and shine.
Step 1: Apply the Colour Coat
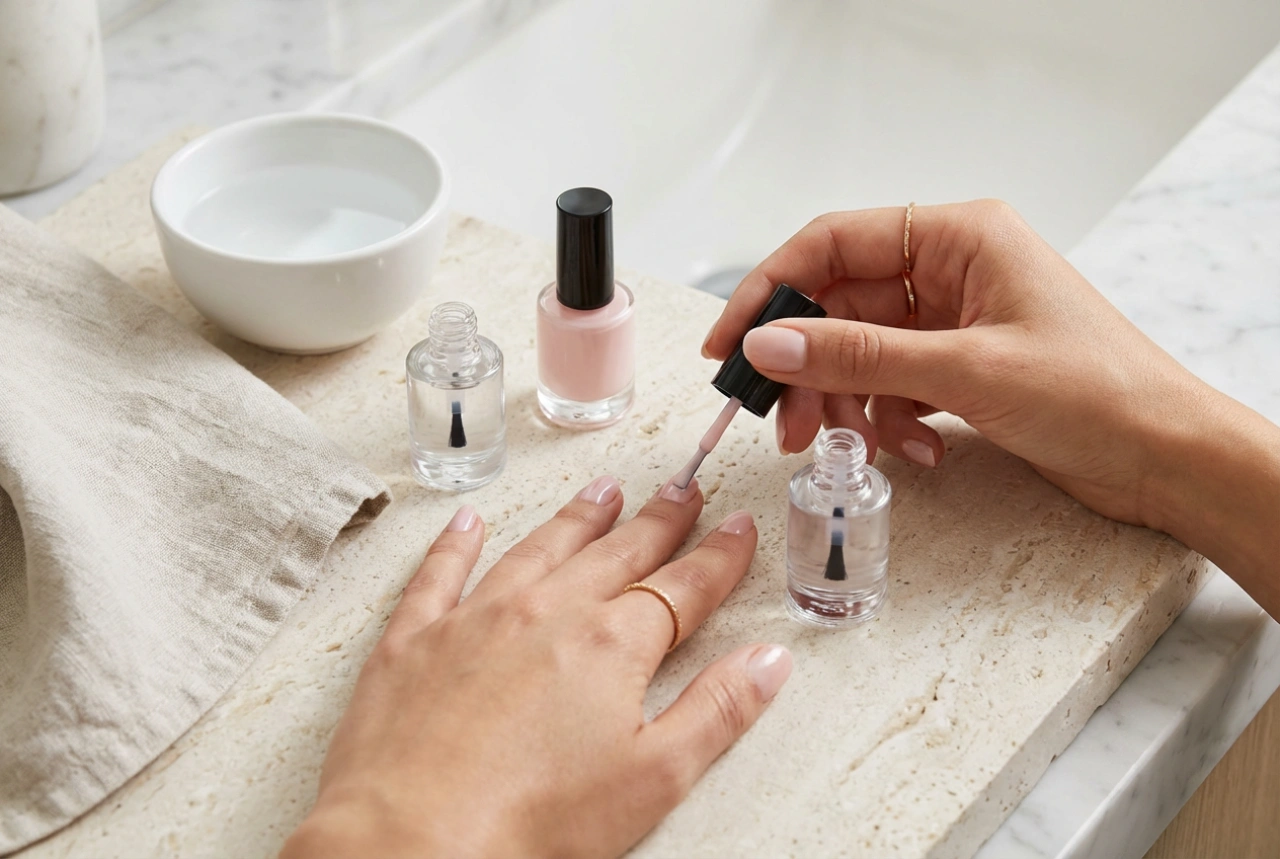
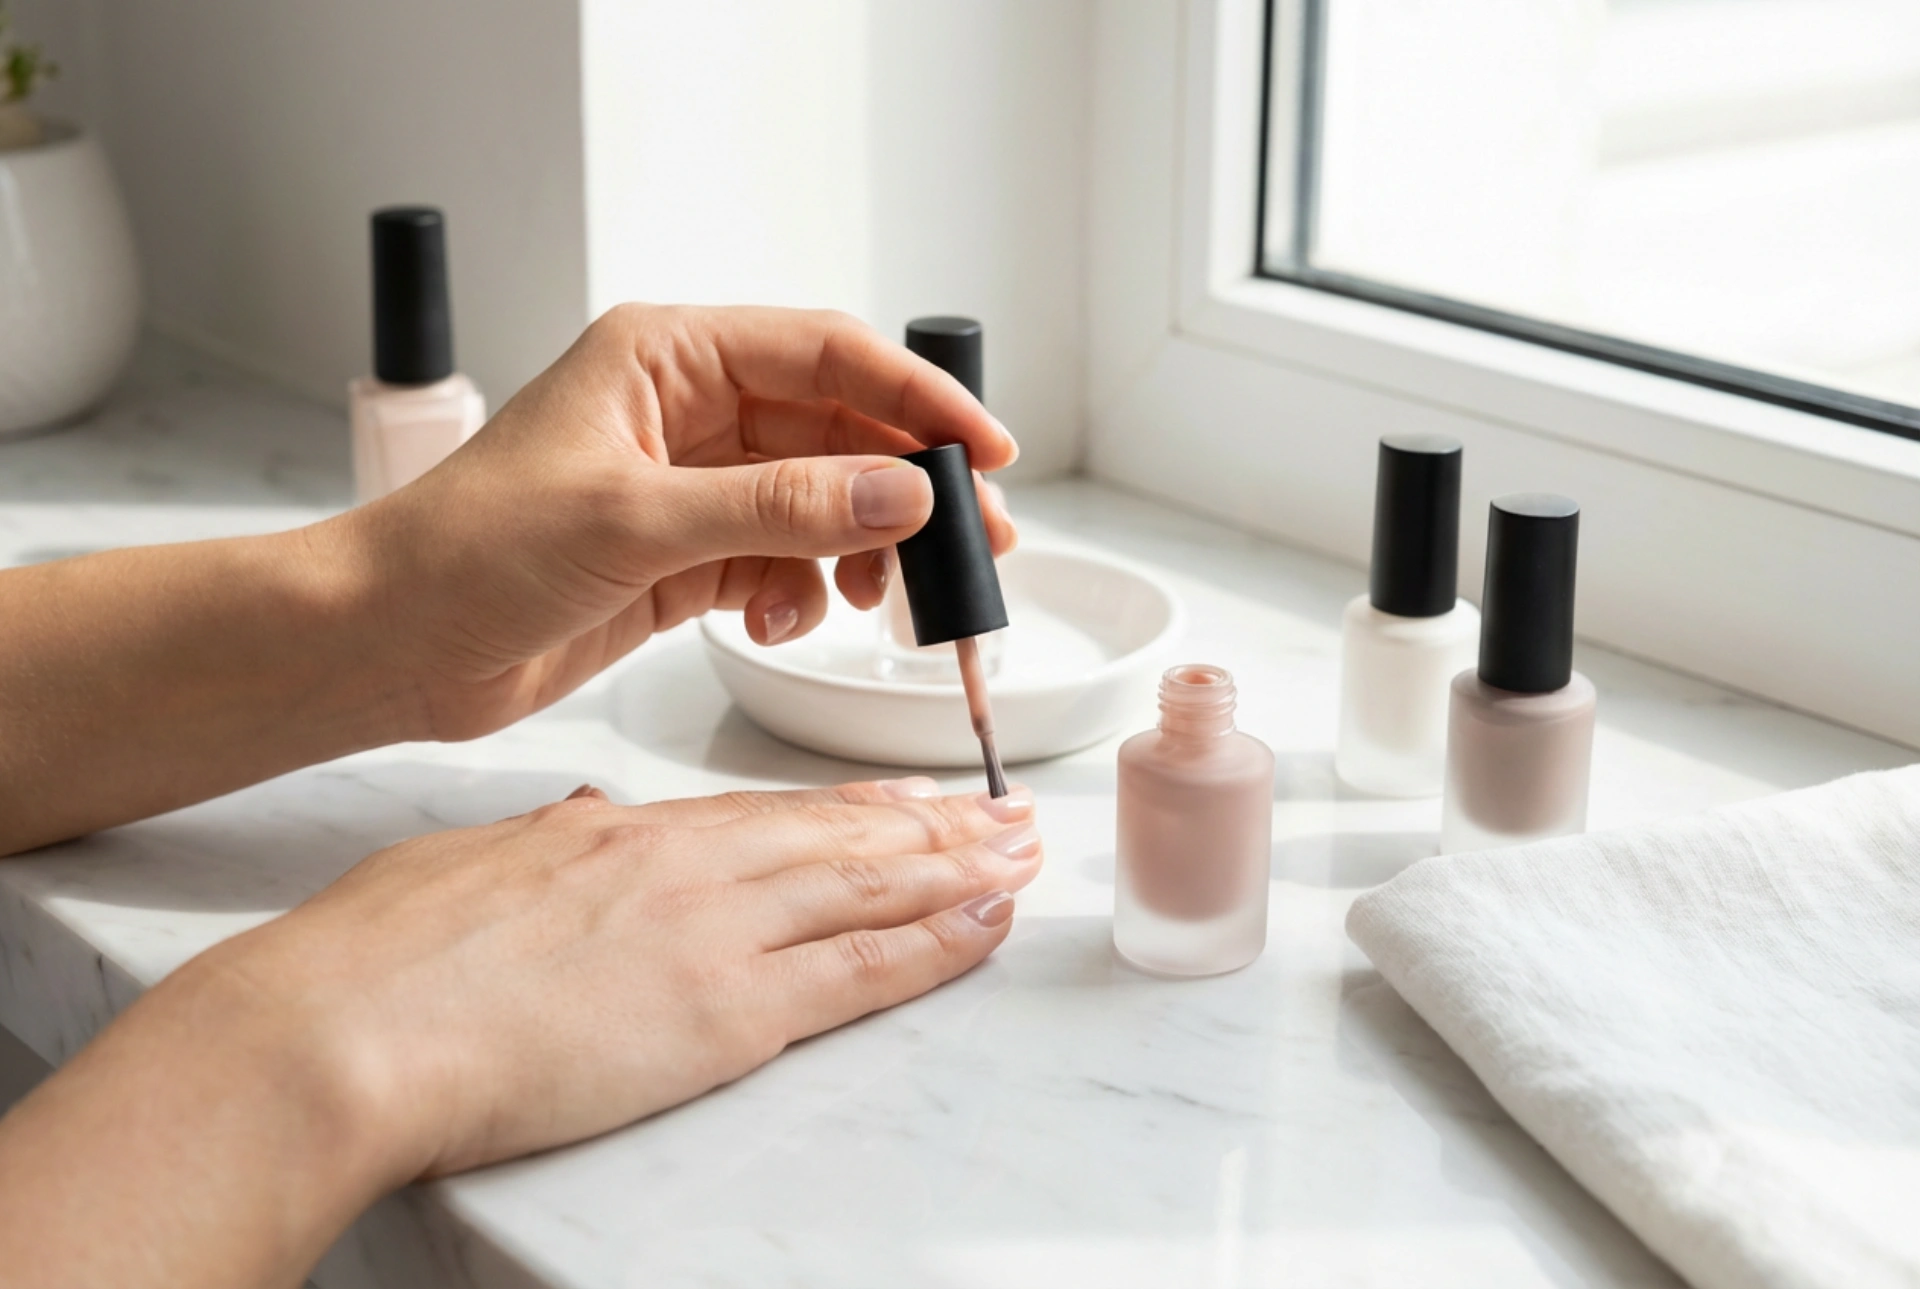
Begin by applying a thin, even layer of the special colour polish. Wiping excess polish from the brush on the neck of the bottle helps control the amount you apply. Thin coats dry faster and are less prone to smudging. Allow this first layer to air-dry completely; this usually takes about two to five minutes depending on the formula and room conditions.
Step 2: Apply the Second Colour Coat
Once the first layer is dry to the touch, apply a second thin coat of the colour polish. This will deepen the colour and ensure full, opaque coverage. Again, patience is key. Wait for this second layer to dry thoroughly before moving on to the next step.
Step 3: Seal with the Top Coat
This is the most important step in the process. Apply a generous layer of the dedicated lamp-free hybrid top coat, making sure to cover the entire nail surface and 'cap' the free edge by swiping the brush along the tip of the nail. This top coat is what reacts with natural light to create the durable, gel-like shield and high-gloss finish. It cures the colour layers underneath and provides protection against chipping.
Step 4: Allow to Fully Dry
Let your manicure dry completely in natural light. While it may feel dry to the touch within a few minutes, the curing process continues over time. To ensure the best results, avoid contact with water and intensive hand activities for at least an hour after application.
Tips for Maximum Durability
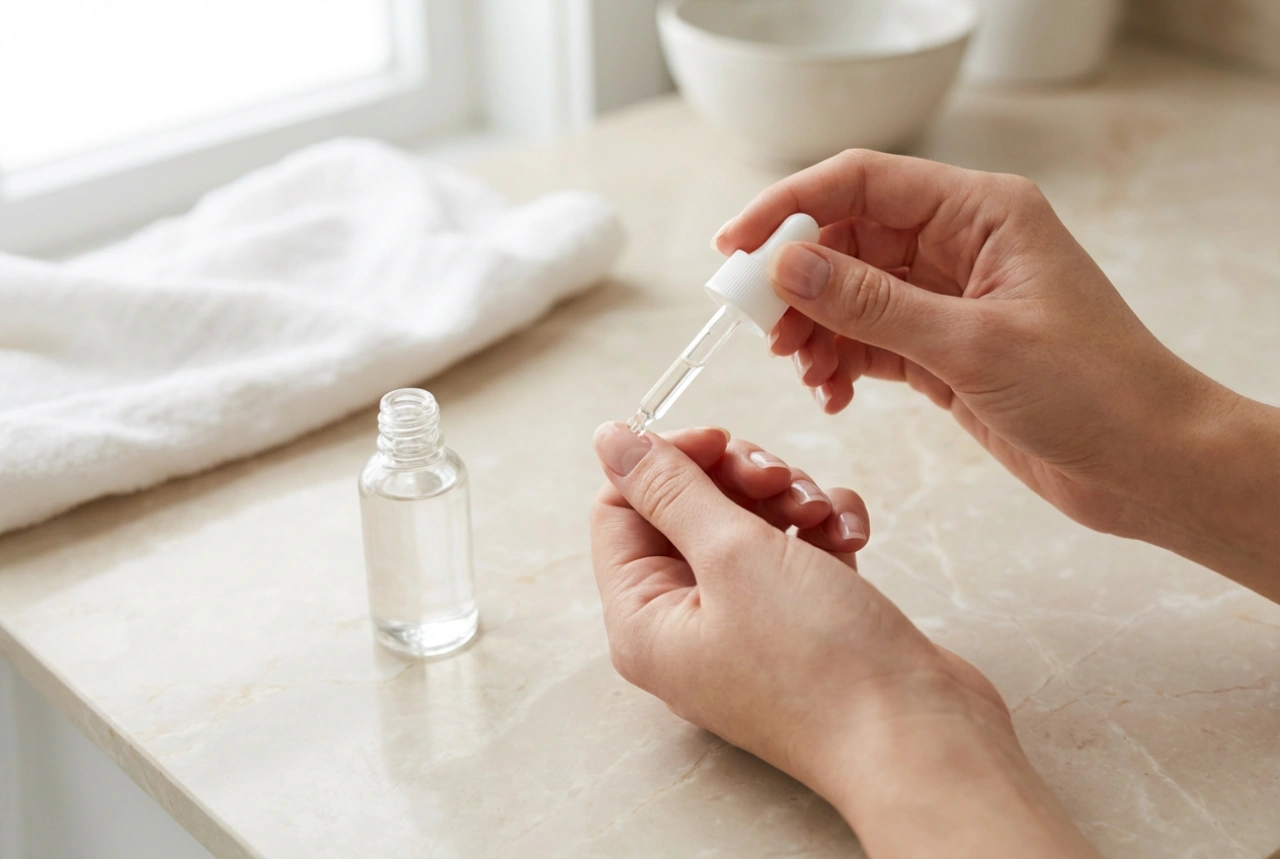
To extend the life of your lamp-free hybrid manicure and keep it looking pristine, incorporate a few simple habits into your routine. Always wear protective gloves when doing household chores or washing dishes to shield your nails from water and harsh chemicals. Apply a nourishing cuticle oil daily to keep the skin around your nails hydrated and healthy, which can also help prevent the polish from lifting at the edges. To refresh the shine and add an extra layer of protection, you can even reapply the special top coat every three to four days.
How to Remove Lamp-Free Hybrid Polish
One of the greatest benefits of this type of manicure is the simple removal process. There is no need for prolonged soaking in acetone or harsh filing. You can remove lamp-free hybrid polish just like you would any traditional nail varnish. Simply saturate a cotton pad with a standard acetone or acetone-free nail polish remover, press it onto the nail for about 10-15 seconds to dissolve the layers, and then wipe it away. After removing all the polish, wash your hands and apply a moisturising hand cream and cuticle oil to rehydrate your nails and skin.