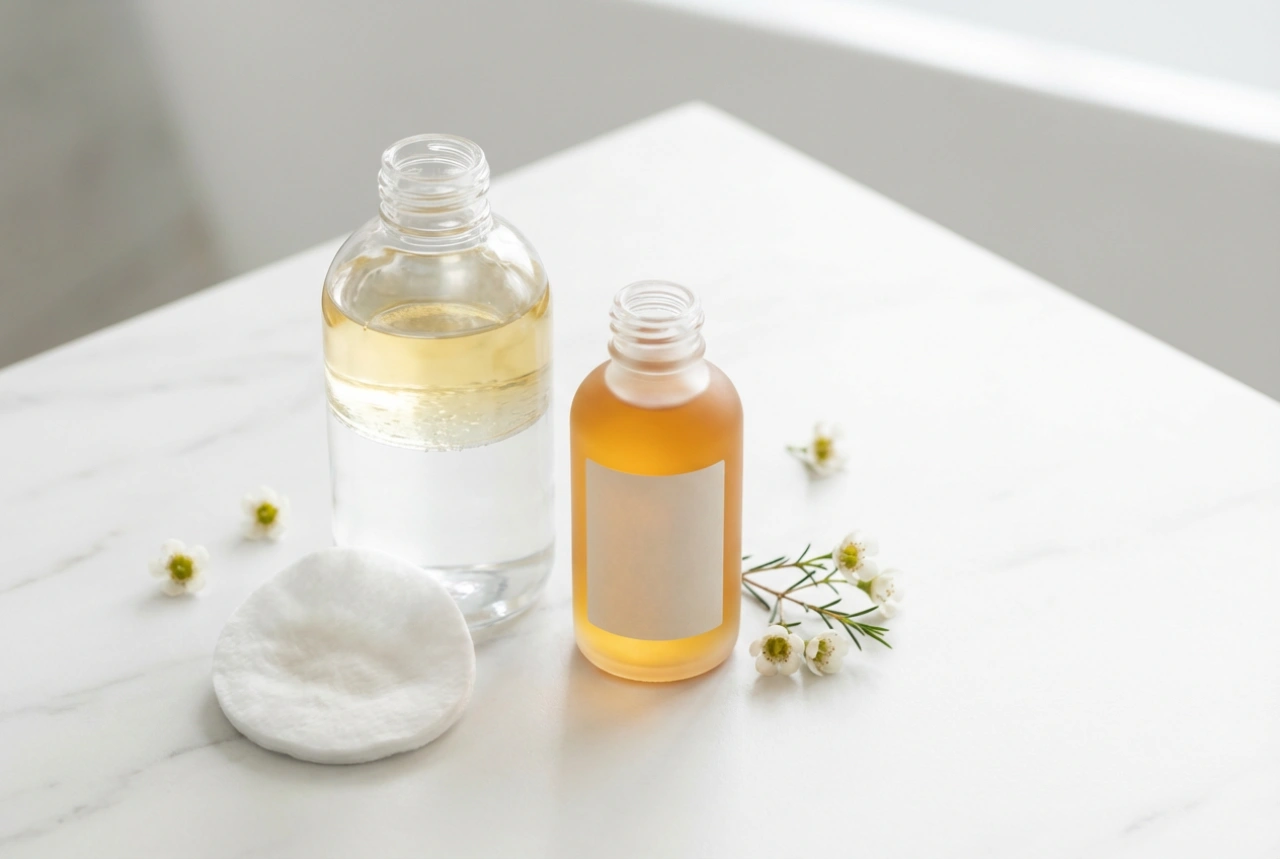


Transforming your daily makeup removal from a chore into a serene ritual begins with choosing the right products. Cleansing oils, with their luxurious texture and gentle efficacy, offer an elegant solution to melt away the day's impurities, makeup, and sunscreen. This method respects the skin's natural barrier, leaving it feeling clean, soft, and comfortable, rather than tight and stripped. Understanding how to use them correctly is key to unlocking their full potential for a radiant complexion.
What Are Cleansing Oils and How Do They Work?
A cleansing oil is a type of facial cleanser that uses an oil-based formula to dissolve and lift substances from the skin's surface. The core principle behind its effectiveness is 'like dissolves like'. The oils in the cleanser bind to the oils present in your makeup, sebum (the natural oil your skin produces), and sunscreen particles. When you massage the oil onto your skin, it effectively breaks down these substances, making them easy to rinse away without harsh scrubbing. Unlike some traditional foaming cleansers that can strip the skin of its natural moisture, oil cleansers work in harmony with your skin's lipid barrier, making them an excellent choice for all skin types, including dry, sensitive, and even oily complexions.
The Benefits for Every Skin Type
Many people with oily skin are hesitant to use an oil-based product, fearing it will make their skin even greasier. However, the opposite is often true. Using a cleansing oil can help balance sebum production, as it effectively cleanses pores without triggering the skin to overcompensate by producing more oil. For dry and sensitive skin, the nourishing properties of oil cleansers provide a gentle cleanse that soothes and hydrates.
A Guide to Different Types of Cleansing Oils
Not all cleansing oils are created equal. They generally fall into two main categories, and choosing the right one depends on your personal preference and skin needs.
1. Pure Natural Oils
This category includes single-ingredient oils such as jojoba, sweet almond, grapeseed, or even coconut oil. These are often favoured by those who prefer a minimalist or DIY approach to skincare. They can be very effective at breaking down makeup. However, a significant drawback is that they do not contain emulsifiers. This means they won't mix with water to create a milky lotion and can be difficult to rinse off completely. To use them effectively, you typically need to wipe the oil off with a warm, damp cloth, which adds an extra step and can sometimes cause irritation if done too roughly. It's also important to choose a non-comedogenic oil suitable for your skin to avoid clogged pores.
2. Formulated Cleansing Oils
These are the most common type of oil cleansers available. They are expertly blended formulas that contain a base of one or more oils plus a crucial ingredient: a gentle surfactant or emulsifier. This addition allows the oil to interact with water. When you add water to a formulated cleansing oil on your face, it transforms into a light, milky emulsion that rinses away cleanly, taking all the dissolved makeup and impurities with it. This leaves no greasy residue behind, making it a convenient and highly effective option for a first cleanse.
The Oil Cleansing Method (OCM): A Step-by-Step Guide
To get the most out of your cleansing oil, follow these simple steps for a perfect cleanse every time. This process is often the first step in a 'double cleansing' routine.
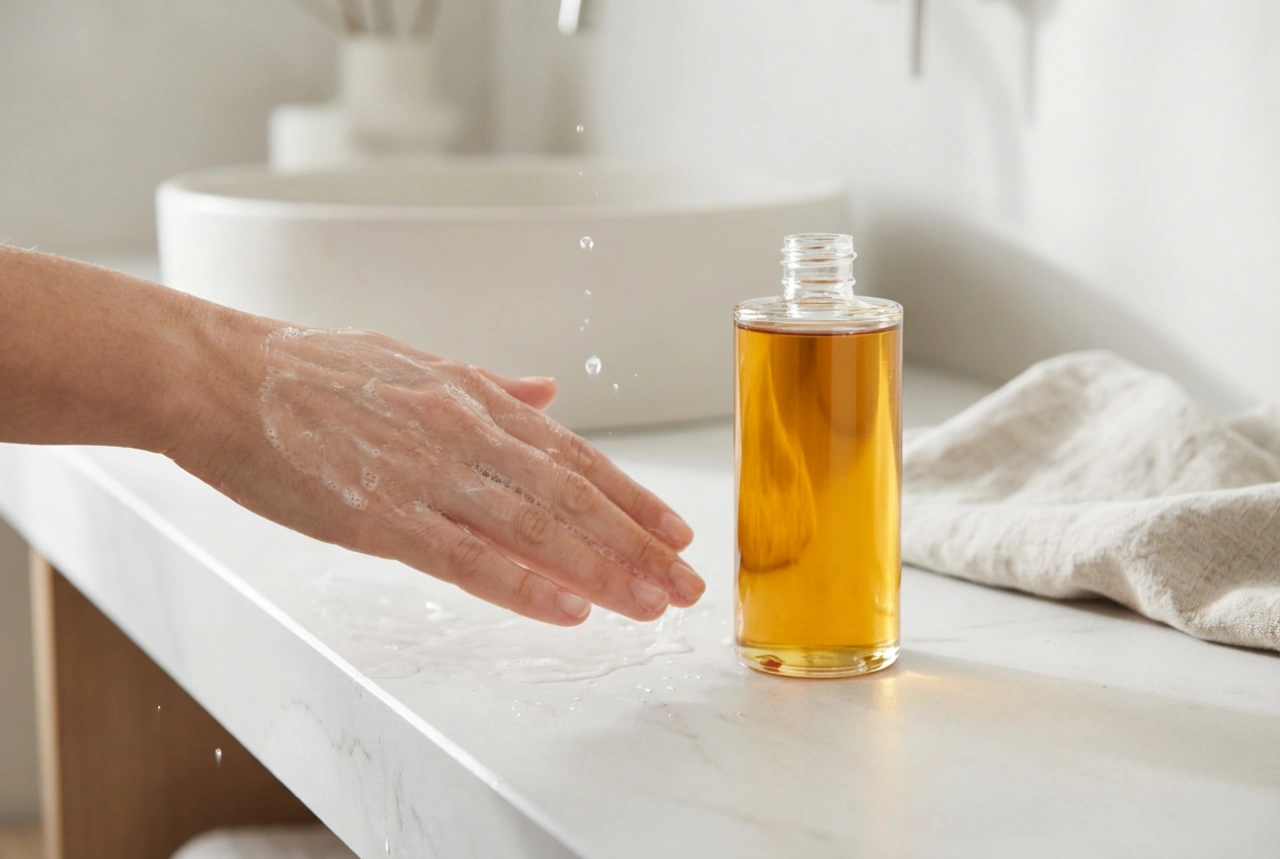
- Step 1: Start with a Dry Face and Hands. Dispense one or two pumps of the cleansing oil into your dry palms. It is crucial that your skin is dry, as water will activate the emulsifiers prematurely and reduce the oil's effectiveness.
- Step 2: Gently Massage. Rub your palms together to warm the oil slightly and apply it evenly over your dry face. Use your fingertips to gently massage the oil into your skin in circular motions for about 30 to 60 seconds. Pay extra attention to areas with heavy makeup, like the eyes and lips.
- Step 3: Emulsify with Water. Wet your hands with a small amount of lukewarm water and continue to massage your face. You will see the oil transform into a milky, thin lotion. This is the emulsification process, where the oil binds with water to lift everything from your skin.
- Step 4: Rinse Thoroughly. Rinse your face completely with lukewarm water until all the milky residue is gone. Your skin should feel clean and soft, not oily.
- Step 5: Follow with a Second Cleanse (Optional). For a complete double cleanse, follow up with a water-based gel or foam cleanser to wash away any remaining traces of oil and impurities. This step ensures your skin is perfectly prepped for serums and moisturisers.
Common Mistakes to Avoid
If your experience with oil cleansing hasn't been positive, you might be making one of these common mistakes:
- Applying to Wet Skin: This is the most frequent error. Applying oil to a damp face prevents it from properly binding to and dissolving the oils in your makeup.
- Not Massaging Long Enough: Rushing the process won't give the oil enough time to break down stubborn makeup, especially waterproof formulas.
- Using Too Much Force: The skin on your face, particularly around the eyes, is delicate. Gentle massage is all that's needed; there's no need for aggressive rubbing.
- Not Rinsing Properly: Failing to emulsify the oil with water or not rinsing thoroughly can leave a residue that may clog pores or feel heavy on the skin.
- Choosing the Wrong Oil: If you're using a pure oil, a comedogenic choice like unrefined coconut oil could lead to breakouts for some skin types.
By integrating a cleansing oil into your evening routine and using the correct technique, you can effectively remove all traces of the day while supporting a healthy, balanced, and hydrated skin barrier. It's a simple switch that can make a profound difference in the health and appearance of your skin.