

Achieving beautifully smooth skin from the comfort of your own home is an appealing goal for many. Modern technology has made this more accessible than ever, with at-home light-based hair removal devices becoming a popular choice. These elegant tools, often paired with a diligent skincare routine, promise a reduction in unwanted hair over time. However, to achieve the best and safest results, it is crucial to understand how to prepare your skin, use the device correctly, and provide the right aftercare. This guide will walk you through the entire process, ensuring your journey to smoother skin is both effective and gentle.
Preparing Your Skin for a Session
Proper preparation is the foundation of a successful and comfortable treatment. Before you even turn the device on, there are a few essential steps to take to get your skin ready. Skipping this stage can reduce the effectiveness of the treatment and increase the risk of skin irritation.
Key Preparation Steps
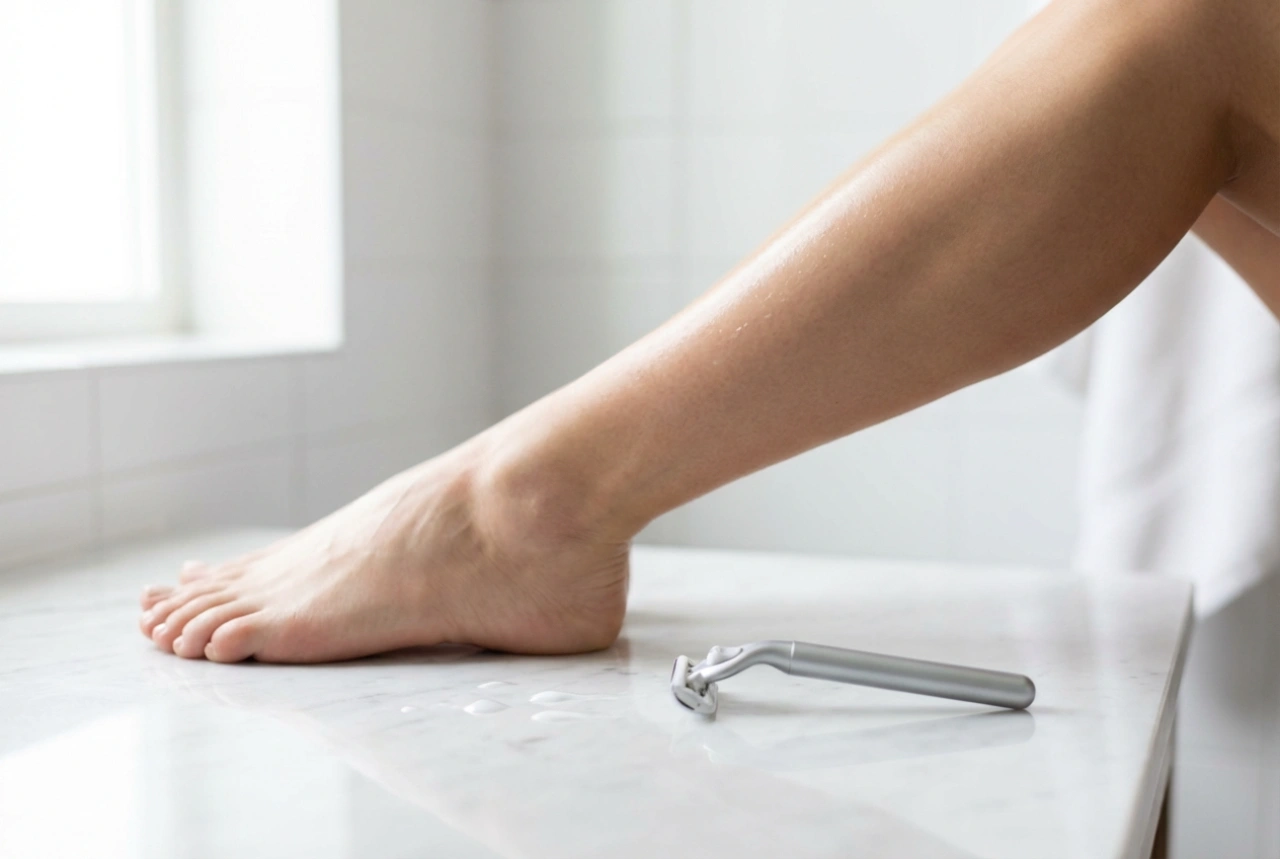
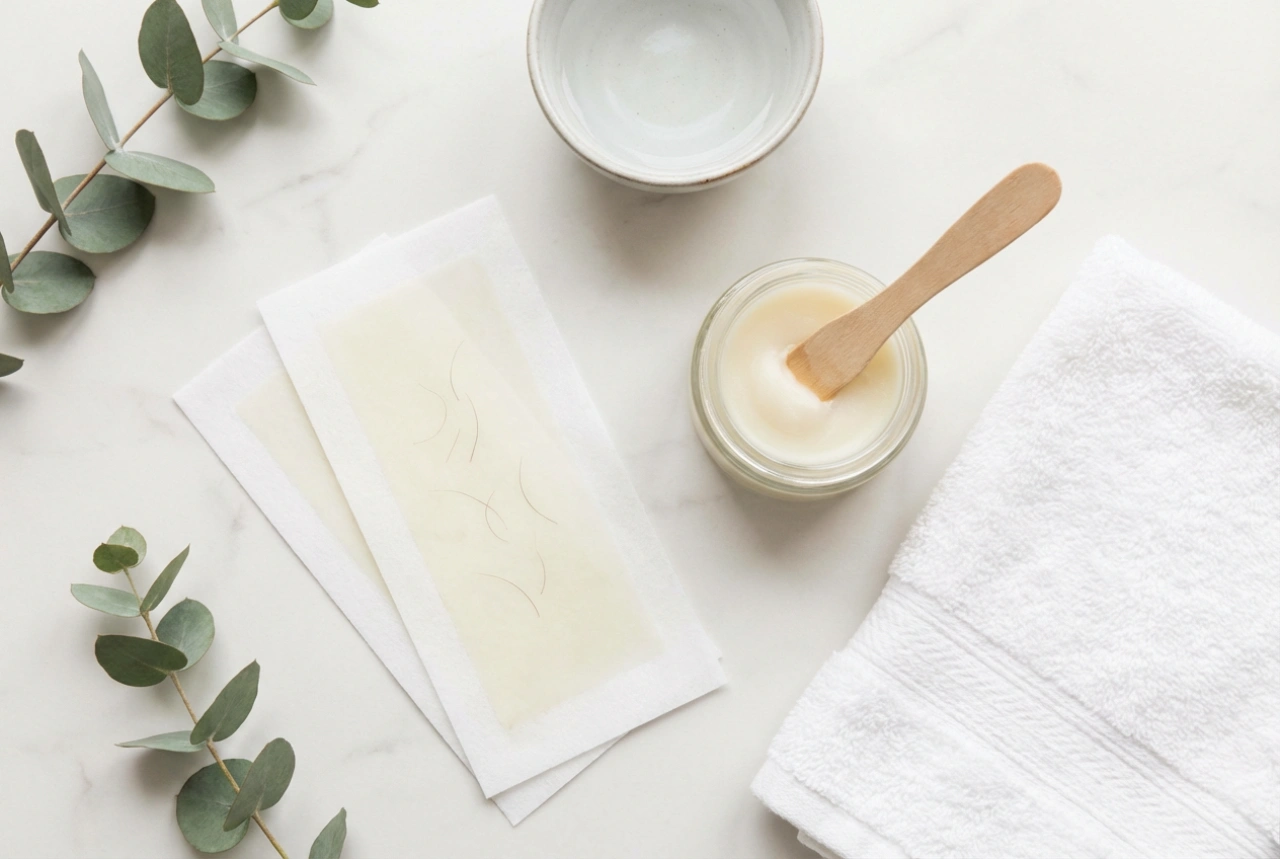
- Shave the Area: The day of or the day before your treatment, you must shave the area you plan to treat. Light-based technology works by targeting the pigment in the hair follicle beneath the skin's surface. Shaving removes the hair above the skin, allowing the light energy to travel directly to the root without being wasted on the surface hair. It is important not to wax, pluck, or epilate, as these methods remove the entire hair follicle, leaving nothing for the light to target.
- Cleanse and Dry Thoroughly: The skin in the treatment area must be completely clean, dry, and free of any products. This includes moisturisers, oils, deodorants, or any residual creams. Products on the skin can block the light or cause adverse reactions when interacting with the energy pulse. Use a gentle cleanser, rinse well, and pat the skin completely dry with a clean towel.
- Avoid Sun Exposure: For at least two weeks before your session, avoid direct sun exposure and tanning beds on the areas you intend to treat. Tanned skin contains more melanin, which can attract the light energy, potentially leading to discomfort or skin discolouration. It is safest to perform treatments on your natural, untanned skin tone.
Using Your Device Safely and Effectively
Once your skin is prepared, you can proceed with the treatment. Each device operates slightly differently, so always read the manufacturer's manual first. However, some universal principles apply to ensure safety and maximise effectiveness.
A Step-by-Step Approach
- Perform a Patch Test: Before your first full session, and if you haven't used the device for a while, always perform a patch test. Choose a small, inconspicuous area and test the different intensity levels to find the highest one that feels comfortable for your skin. This helps you determine the optimal setting for your skin tone and hair colour without causing irritation.
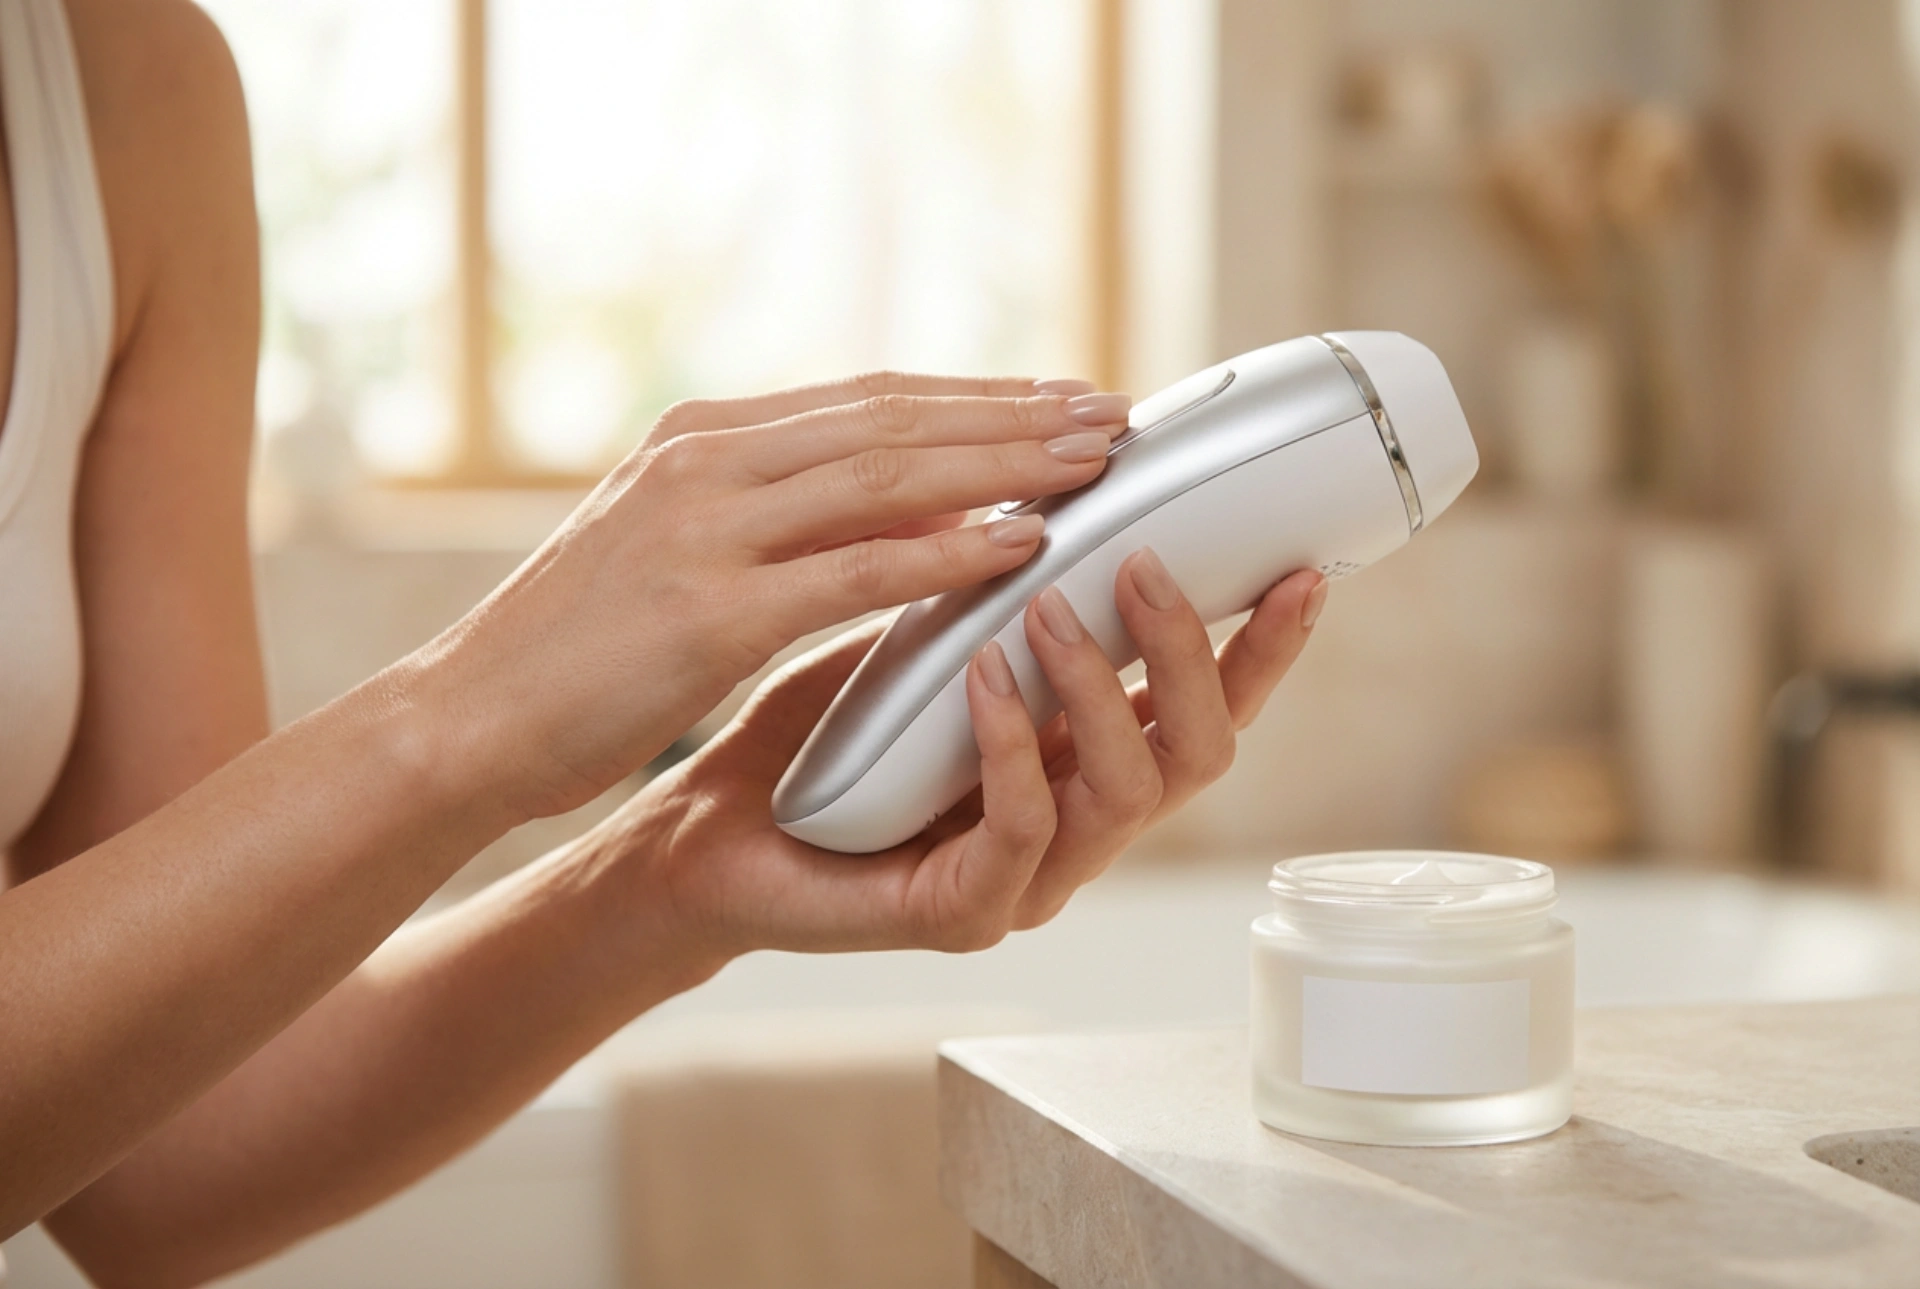
- The Treatment Process: Place the device's treatment window firmly against your skin, ensuring full contact. The device will then emit a pulse of light. After the flash, lift the device and reposition it on the adjacent spot, slightly overlapping to ensure you don't miss any areas. Think of it as a 'stamp and flash' motion. Avoid treating the same spot more than once in a single session.
- Be Methodical and Consistent: To ensure even coverage, it can be helpful to work in a grid-like pattern. More importantly, consistency is key to seeing results. Hair grows in cycles, and light-based treatments are only effective on hairs in their active growth phase. Following the recommended treatment schedule (e.g., once every one or two weeks for the initial phase) is essential for targeting all hairs over time.
Essential Post-Treatment Skincare
What you do after the treatment is just as important as what you do before. Proper aftercare will help soothe the skin, prevent irritation, and protect it while it's in a slightly more sensitive state.
Soothing and Protecting Your Skin
- Moisturise and Cool: Immediately after a session, your skin may feel warm and appear slightly red, which is normal. Apply a gentle, calming moisturiser that is free from fragrances and alcohol. Look for formulas with soothing ingredients. You can also cool the area with a cool, damp cloth if needed.
- Avoid Heat and Irritants: For at least 24 to 48 hours post-treatment, avoid hot showers, baths, saunas, and steam rooms. Also, steer clear of chlorinated water in swimming pools. Wear loose-fitting, soft clothing over the treated areas to prevent friction and irritation.
- Sun Protection is Non-Negotiable: Treated skin is more susceptible to sun damage. It is absolutely vital to apply a broad-spectrum sunscreen with an SPF of 30 or higher to any treated areas that will be exposed to the sun. This should be a daily habit, not just on sunny days, throughout your entire treatment course and for several weeks after.
Understanding the Journey and Maintaining Results
Patience is a virtue when it comes to at-home light-based hair removal. Results are not instantaneous but gradual and cumulative. After the first few treatments, you may start to notice that hair growth is slower and the hairs that do grow back are finer and sparser. The hair will typically shed naturally in the one to two weeks following a session. After completing the initial treatment cycle (usually lasting a few months), you will likely move into a maintenance phase, performing touch-up sessions every month or two as needed to keep the skin smooth. By combining consistent treatments with diligent skincare, you can successfully manage unwanted hair and maintain healthy, radiant skin at home.