

On your wedding day, every detail contributes to a feeling of complete elegance and confidence. While much attention is given to hair, makeup, and the dress, the beauty of perfectly cared-for feet is a refined touch that completes the bridal look. Especially with open-toed shoes, a beautiful pedicure is essential. Achieving flawless, wedding-ready feet is a process that begins well before the big day, focusing on gentle care, the right colour choice, and techniques for a long-lasting finish.
Preparing Your Feet for the Big Day
For feet that look and feel soft and smooth, a consistent care routine in the weeks leading up to your wedding is crucial. A last-minute pedicure can only do so much, so starting early will yield the best results.
Consistent Moisturization
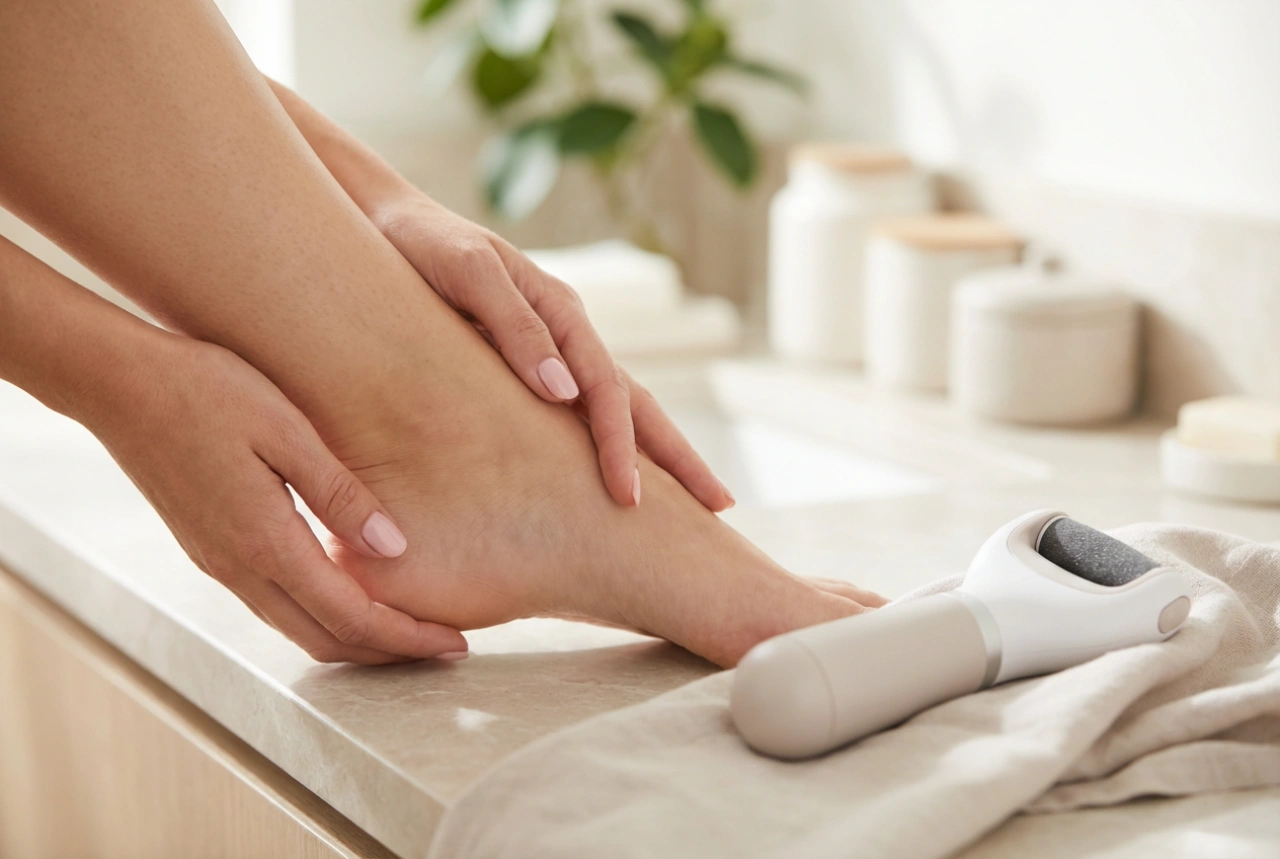
The key to soft, supple skin is daily hydration. Get into the habit of applying a rich foot cream every night before bed. Massage it into your heels, soles, and around the toenails. For an intensive treatment, you can wear cotton socks overnight after applying the cream to lock in moisture and deeply nourish the skin. This simple step prevents dryness and cracking, ensuring your feet are picture-perfect.
Gentle Exfoliation
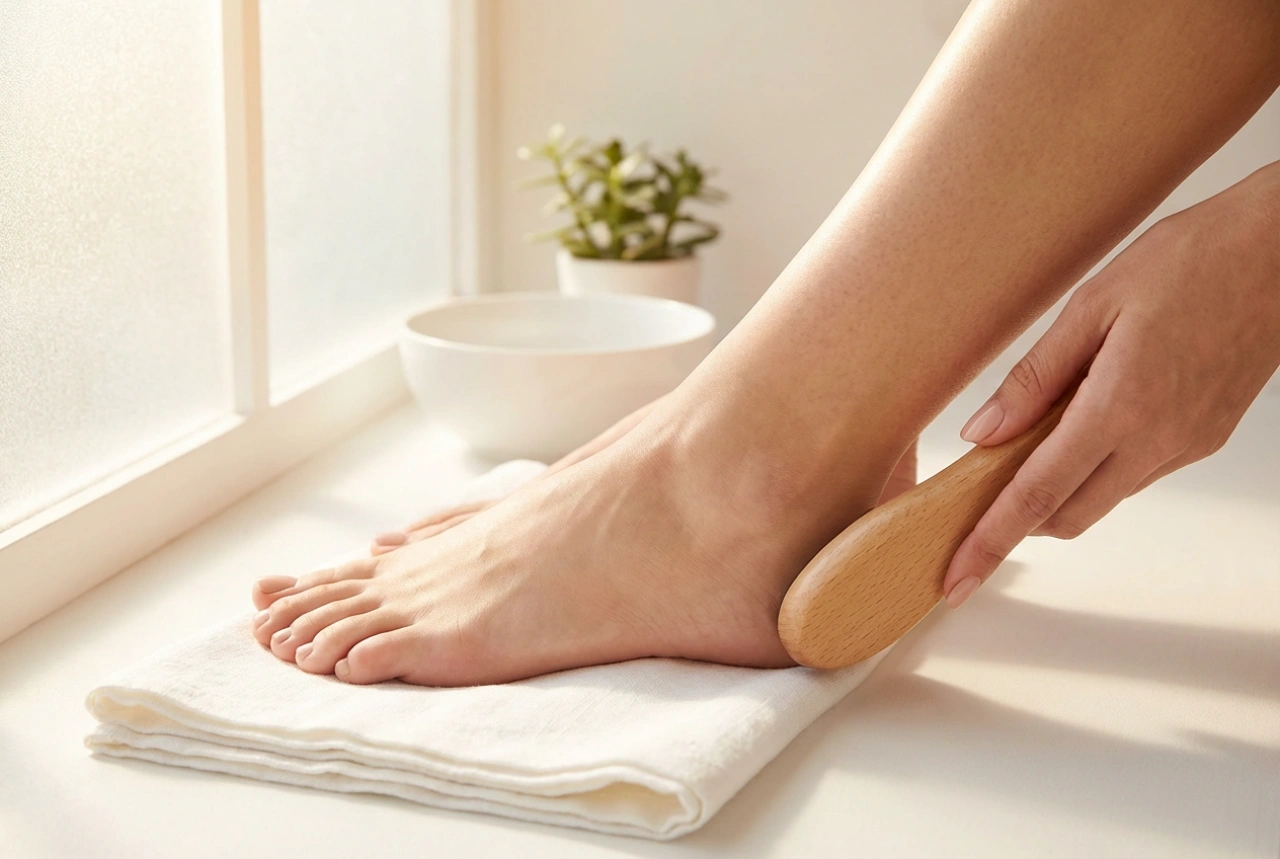
Regularly sloughing away dry, rough skin will reveal the smoother layers underneath. Use a gentle foot scrub or a pumice stone in the shower two to three times a week. Focus on areas prone to hardness, like the heels and the balls of your feet. It's important to be gentle; over-exfoliating can cause irritation. The goal is progressive improvement, not aggressive removal.
Nail and Cuticle Care
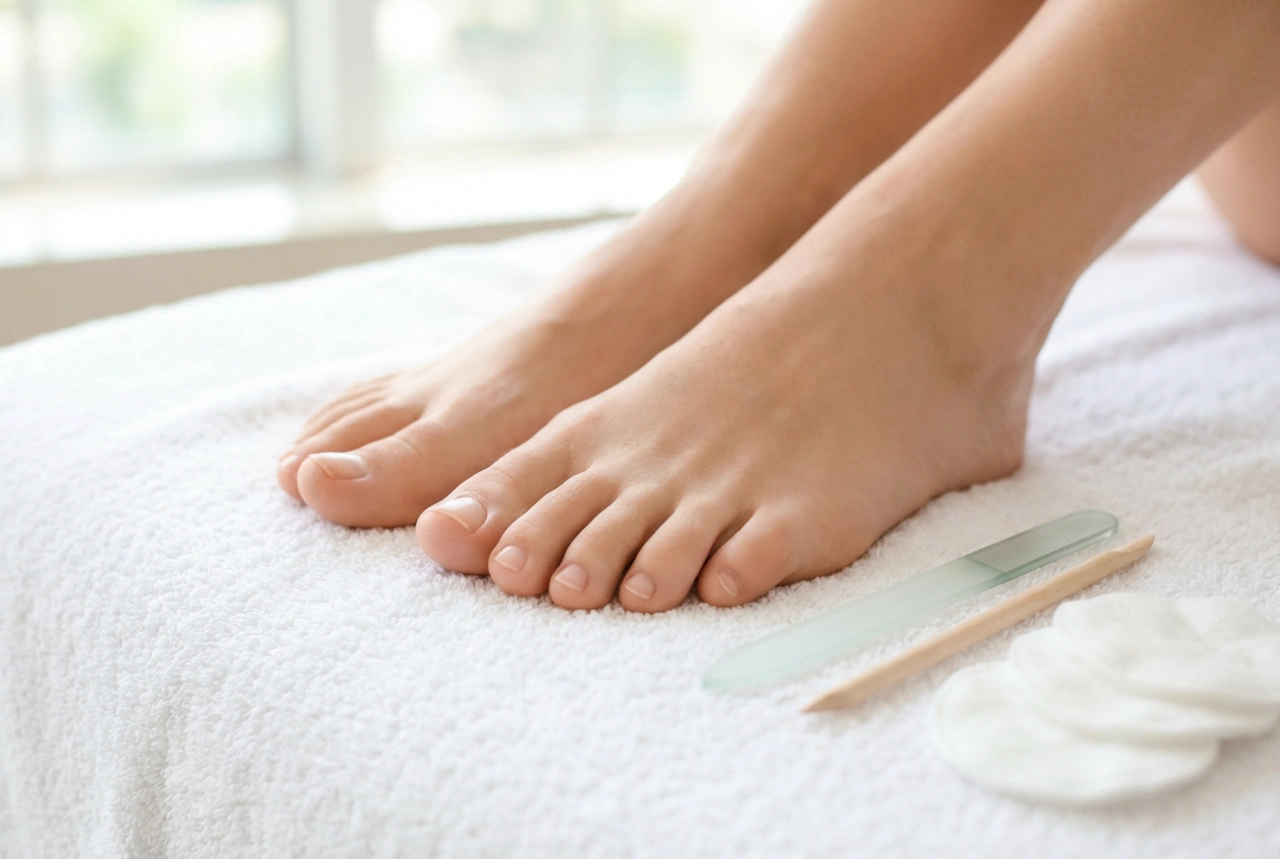
Healthy nails are the foundation of a beautiful pedicure. Keep your toenails trimmed straight across to prevent ingrowing, and gently file the edges to a neat shape. Instead of cutting your cuticles, which can lead to damage, push them back gently after a shower or foot soak using a soft tool. Applying a nourishing cuticle oil daily will keep them soft and healthy.
Choosing the Perfect Bridal Pedicure Colour
The colour of your pedicure polish should harmonise with your overall bridal style, from your dress and accessories to the wedding's theme. While personal preference is paramount, some shades are timeless choices for brides.
- Classic Nudes and Pinks: You can never go wrong with a classic. Shades of blush, beige, soft pink, and creamy off-whites are sophisticated and versatile. They create a clean, polished look that doesn't compete with your shoes or dress, instead offering a subtle elegance.
- Elegant Whites: A crisp, opaque white or a softer milky white pedicure can look incredibly chic and modern. It provides a clean canvas that complements traditional white or ivory gowns beautifully.
- A Touch of Shimmer: For a hint of glamour, consider a polish with a subtle pearlescent or fine shimmer finish. A champagne, rose gold, or pearly nude shade can catch the light beautifully without being overpowering.
- The "Something Blue" Detail: A lovely way to incorporate tradition is with a pale blue pedicure. A delicate sky blue or a dusty pastel shade can be a sweet, personal touch, visible only when you choose.
Achieving a Long-Lasting and Flawless Finish
To ensure your pedicure looks pristine from the ceremony to the last dance, timing and technique are everything. The goal is a chip-free, high-shine finish that lasts throughout the celebrations.
Perfect Timing
Schedule your pedicure for one or two days before your wedding. This is the sweet spot: the polish will be perfectly set and at its freshest, while giving any minor smudges time to be fixed. Getting it done any earlier risks chips, while a same-day pedicure might not have enough time to fully harden.
The Importance of Base and Top Coats
Never skip the base and top coats. A quality base coat protects your nails from staining, helps the colour adhere better, and creates a smooth surface. A high-shine, durable top coat is your best defence against chips and scuffs. It seals in the colour and provides a glossy, professional-looking finish.
Post-Pedicure Care
After your appointment, be mindful of your feet. Wear open-toed shoes for several hours to allow the polish to cure completely. In the day or two leading up to the wedding, avoid closed-toe shoes that might press on the nails. You can even apply an extra thin layer of top coat the day after your pedicure to reinforce its strength and boost shine.
Tips for an At-Home Bridal Pedicure
If you prefer the comfort of your own home, you can achieve a salon-worthy bridal pedicure with a bit of care and patience. Create a relaxing atmosphere and set aside enough time to not feel rushed.
- Soak and Soften: Begin by soaking your feet for 10-15 minutes in warm water. Add Epsom salts or a few drops of a calming essential oil like lavender for a spa-like experience.
- Exfoliate and Moisturise: After soaking, pat your feet dry and use a foot scrub or pumice stone to exfoliate. Follow up with a generous application of foot cream.
- Prep Your Nails: Gently push back your cuticles, then trim and file your nails to your desired shape. Wipe each nail with a nail polish remover to ensure the surface is clean and free of oils.
- Apply with Precision: Use toe separators for a clean application. Apply a thin base coat, followed by two thin coats of your chosen colour, allowing each layer to dry for a few minutes in between. Finish with a protective top coat, making sure to swipe it across the free edge of the nail to seal it.