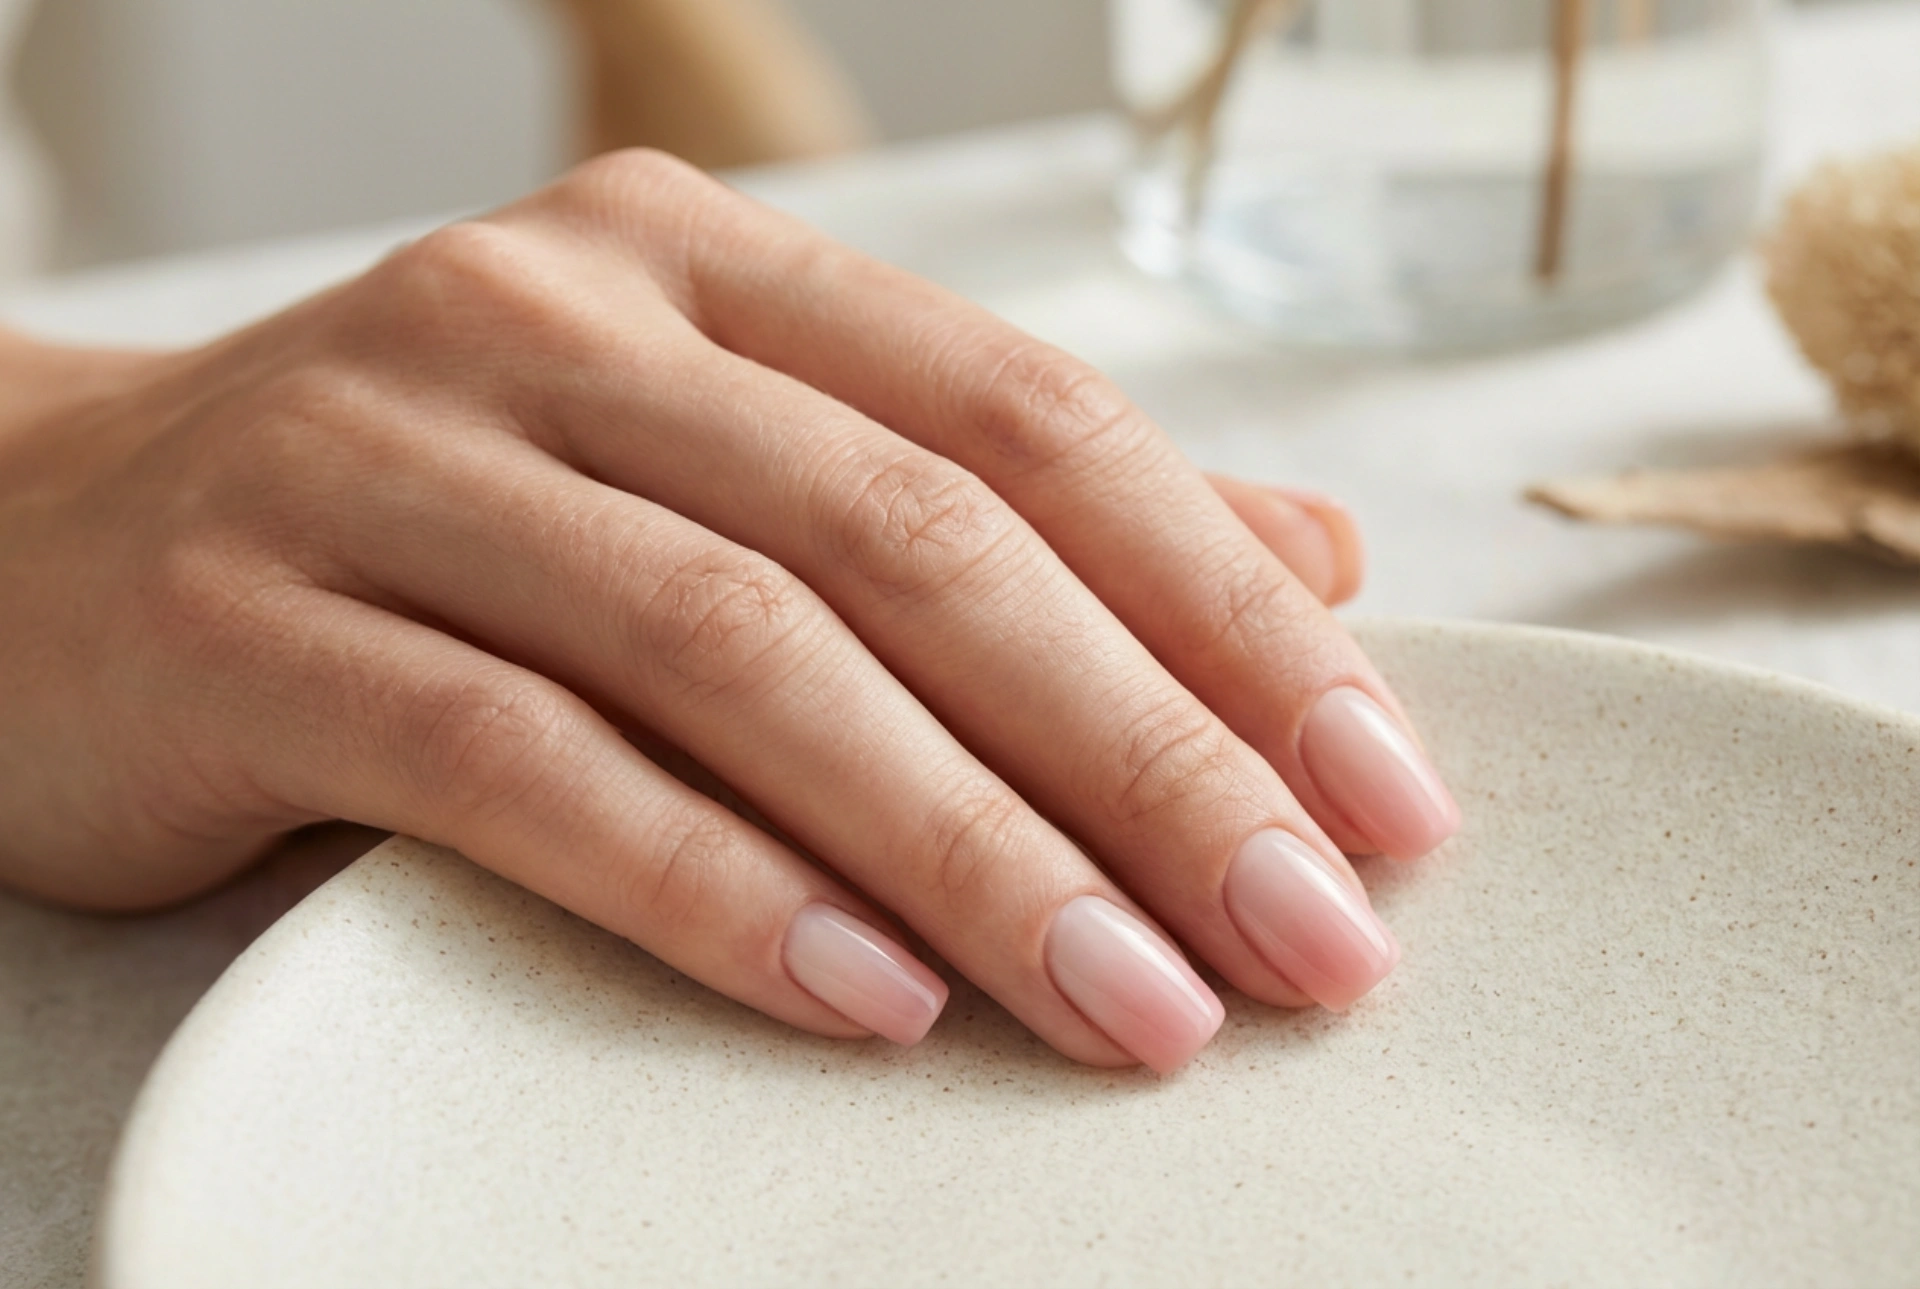


The ombre effect on nails remains a timeless choice for those who appreciate subtle elegance and modern design. When applied to a square nail shape, the gradient takes on a particularly striking quality, emphasising clean lines and a polished finish. The sharp angles of the square shape provide a perfect canvas for the soft transition of colours. Achieving this sophisticated look at home is entirely possible with the right techniques and a little patience. This guide will walk you through the process of creating a flawless ombre manicure on square nails, from preparation to the final glossy top coat.
Preparing Your Square Nails for the Ombre Effect
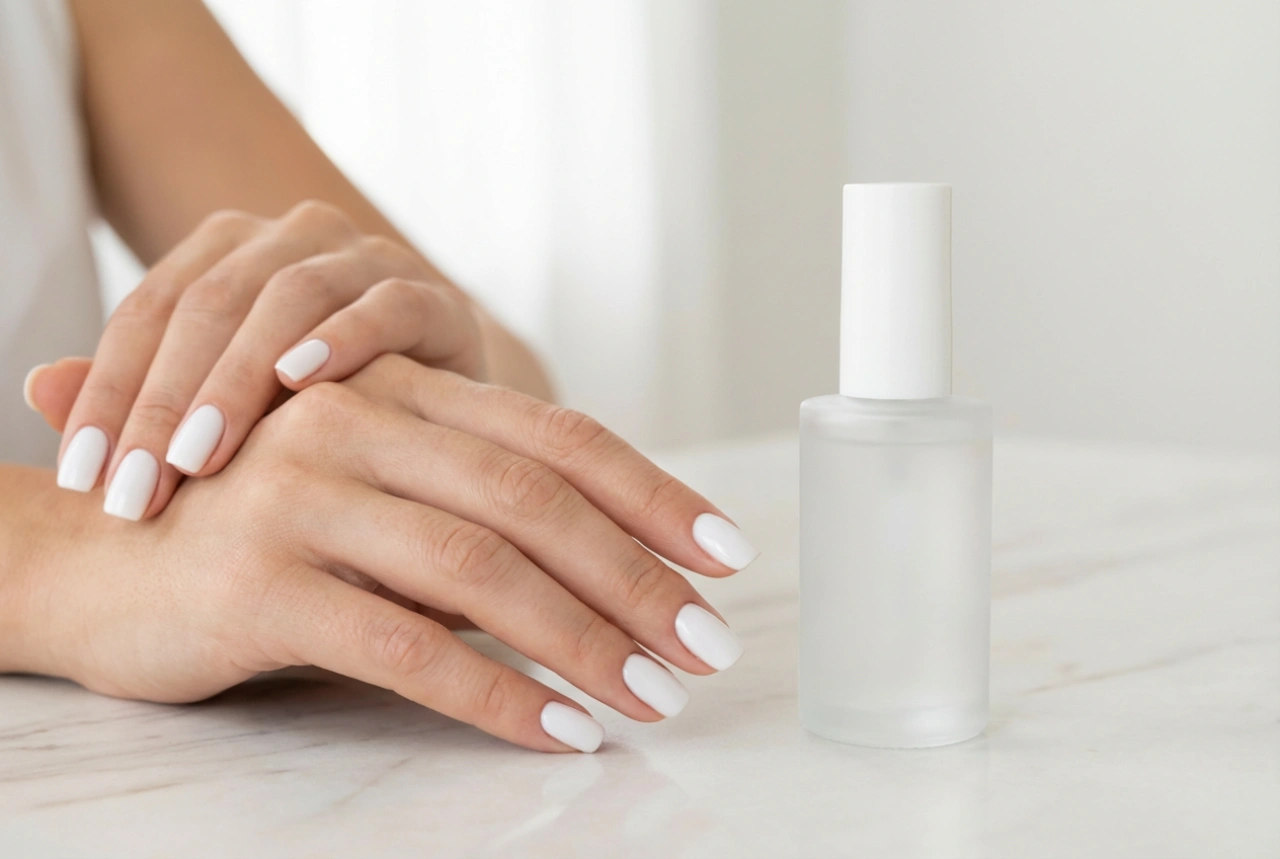
A beautiful manicure starts with a well-prepared base. For ombre on square nails, the precision of the shape is paramount. A clean canvas not only looks more professional but also helps the colours blend more seamlessly.
Achieving the Perfect Square Shape
To get a sharp, even square shape, it is essential to file correctly. Start with clean, dry nails. Use a good quality nail file, preferably a glass or crystal file, as these are gentler on the nails and create a smoother edge. File the tip of the nail in one direction until you have a straight, flat edge. Then, file the sides of the nail straight up, ensuring they are perfectly parallel to each other and perpendicular to the tip. Gently soften the sharp corners very slightly to prevent snagging, but be careful not to round them off, which would alter the square shape.
Base Coat and Cuticle Care
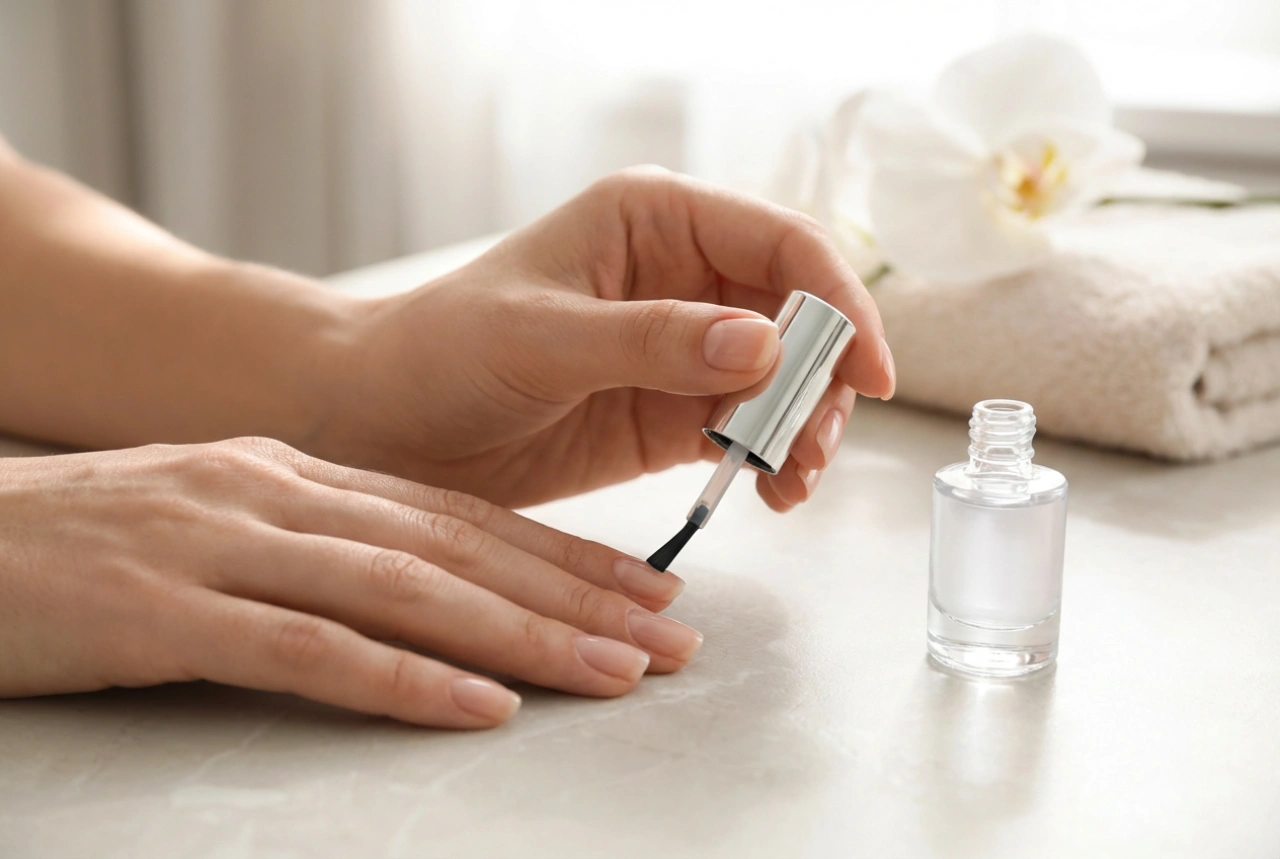
Once you are happy with the shape, focus on the nail surface. Gently push back your cuticles using an orange stick or a cuticle pusher. Never cut them, as this can lead to irritation. Lightly buff the surface of your nails to remove any natural oils or ridges, which can interfere with polish adhesion. Wipe the nail clean with a nail polish remover to ensure it is completely free of dust and oil. Finally, apply a thin layer of a quality base coat. This step is crucial; it protects your natural nails from staining, helps your manicure last longer, and provides a smooth surface for the colour application.
Choosing Your Colours and Tools
The beauty of ombre lies in the colour combination. You can opt for a classic, subtle transition, such as a soft nude to a crisp white, or a delicate pale pink to a deeper rose. Alternatively, you can experiment with more vibrant or contrasting colours for a bolder statement. For a successful application, you will need a few simple tools:
- At least two nail polish colours that you want to blend.
- A disposable make-up sponge. A dense sponge with small pores works best as it absorbs less polish and creates a finer blend.
- A protective barrier for the skin around your nails, such as liquid latex or standard sticky tape.
- A small, flat brush and some nail polish remover for clean-up.
- A high-shine top coat to seal and blend the design.
Step-by-Step Guide to Creating the Ombre Gradient
With your nails prepped and tools ready, it is time to create the gradient. This technique requires moving relatively quickly, so it is a good idea to have everything laid out in front of you.
- Apply one or two coats of the lightest colour you have chosen as a base. This will make the gradient appear more vibrant and even. Let it dry completely.
- Apply your liquid latex or tape to the skin around your nail. This will make the clean-up process much easier.
- Take your sponge and paint stripes of your chosen colours directly onto it. The colours should be side-by-side, slightly overlapping where you want them to blend. Be generous with the polish.
- Gently dab the sponge onto your nail. Use a light, bouncing motion rather than a swiping one. Reposition the sponge slightly with each dab to help blend the colours. The first layer will look sheer and speckled; this is normal.
- Reapply polish to the sponge and repeat the dabbing process. Two to three layers are usually enough to achieve an opaque and well-blended gradient.
- Once you are satisfied with the opacity, carefully remove the liquid latex or tape while the polish is still slightly wet.
Finishing Touches for a Professional Look
The final steps are what elevate your home manicure to a professional standard. Dip your small, flat brush into nail polish remover and carefully clean up any polish that got onto your skin or around the cuticles. Be precise to maintain the crisp lines of your square nails. Once the design is completely dry, apply a generous layer of a good quality, quick-drying top coat. This is the magic step that seamlessly melts the colours together, smoothing out the texture from the sponge and giving your nails a glossy, unified finish. A good top coat also protects the design from chipping, extending the life of your beautiful ombre manicure.