


Removing makeup at the end of the day is more than just a chore; it is a vital ritual for maintaining the health and clarity of your skin. A proper cleansing routine ensures that pores remain unclogged and prepares your skin to fully absorb the benefits of nighttime treatments. Using the right technique, from the initial wipe with a cotton pad to the final splash of toner, can make all the difference. This guide will walk you through each step to ensure your skin is left impeccably clean and refreshed.
Choosing the Right Makeup Remover
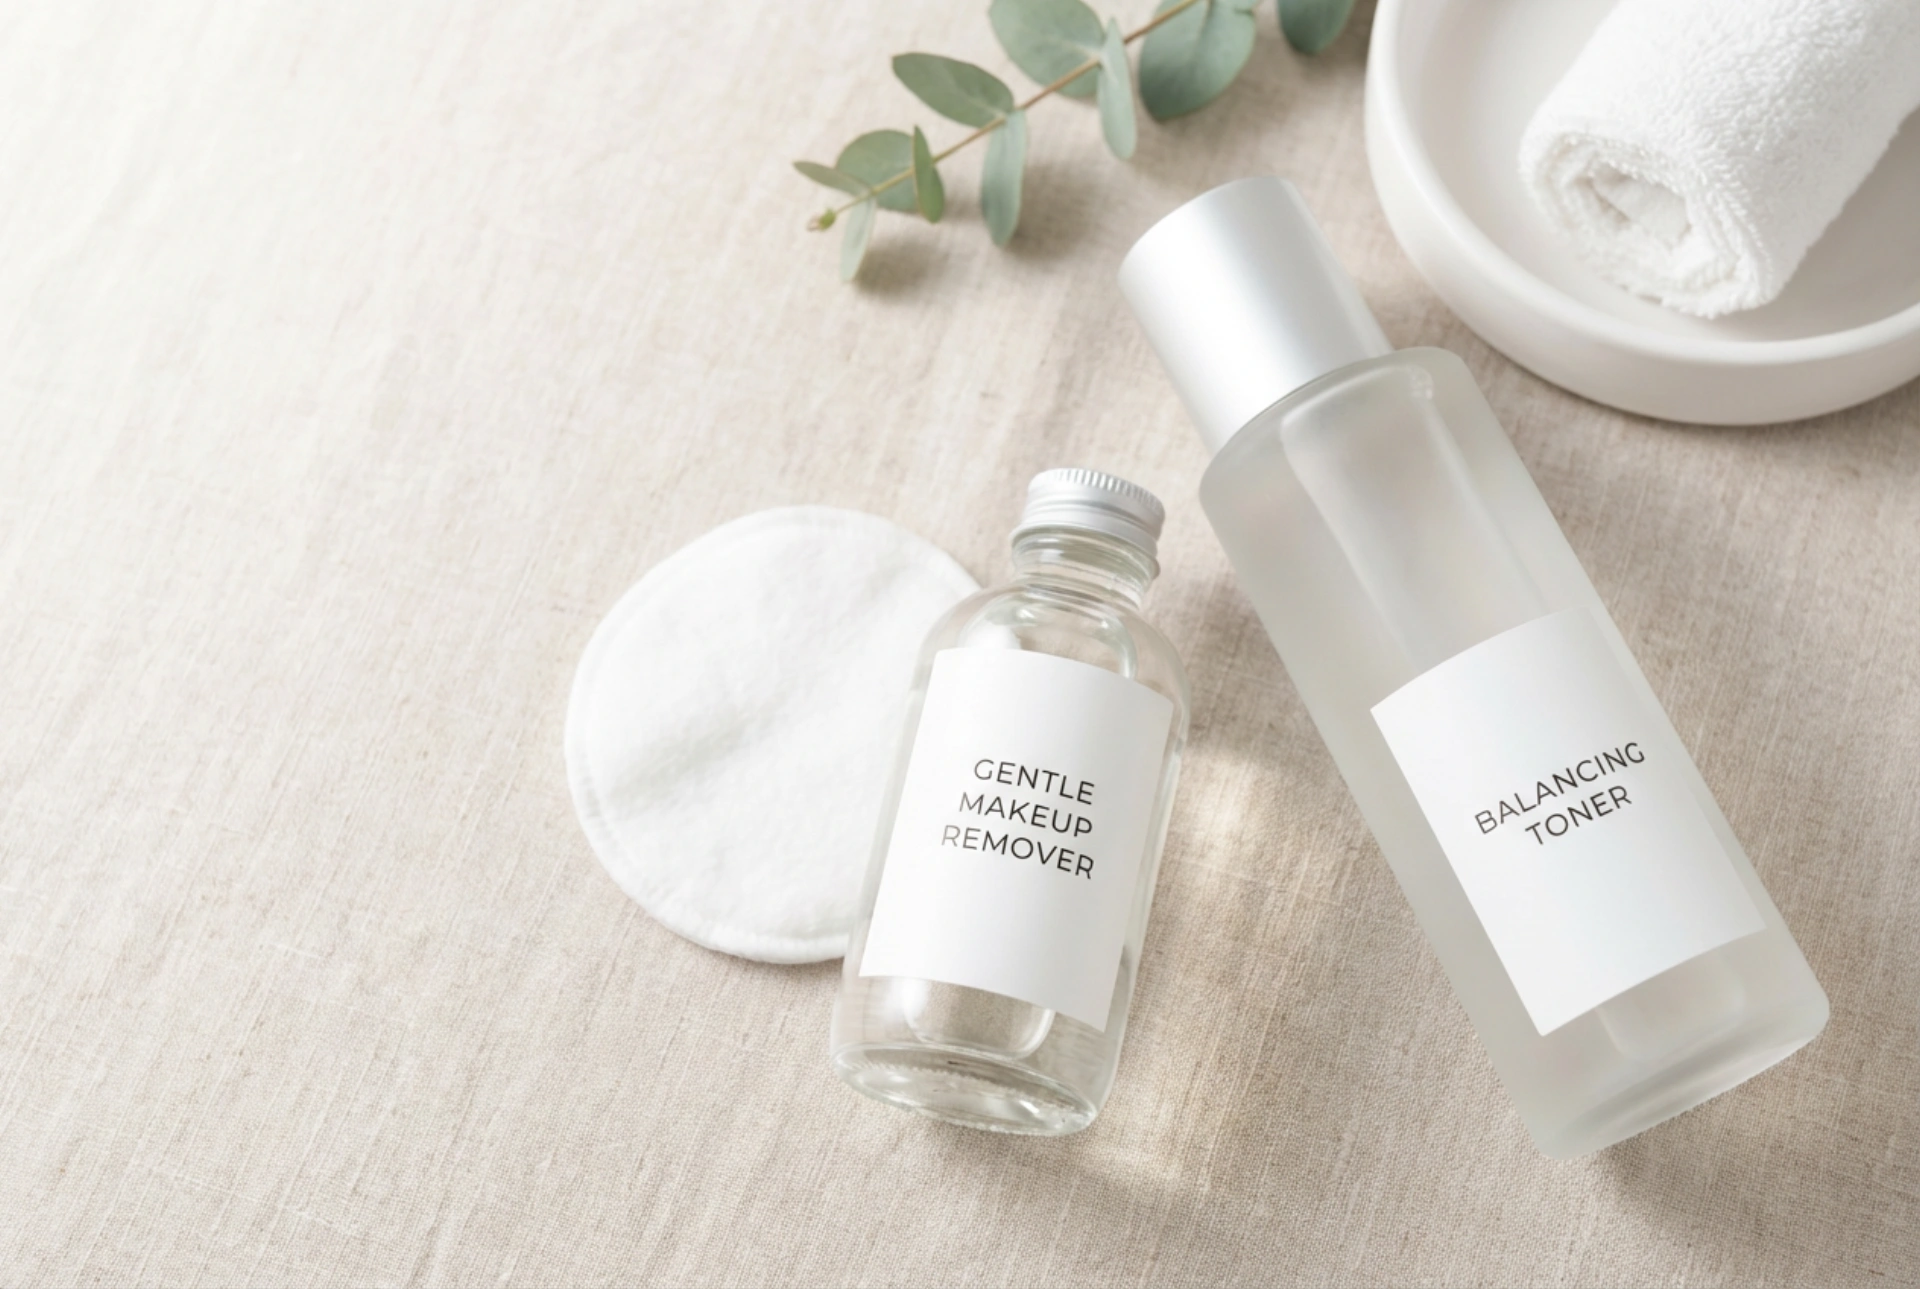
The first step is selecting a product suited to your skin type and the kind of makeup you wear. The market offers a variety of formulations, each with its unique properties. Understanding the differences will help you make the best choice for a gentle yet effective cleanse.
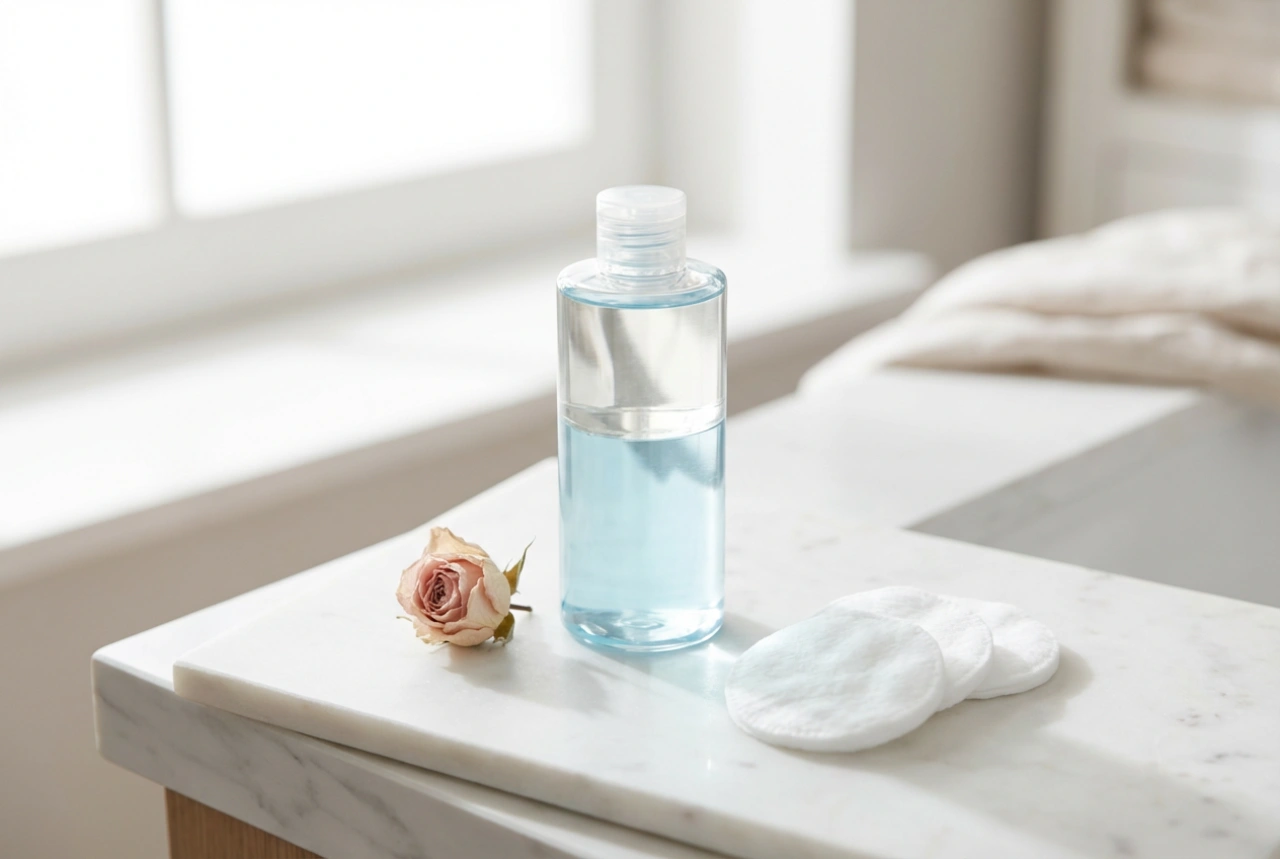
Micellar Water
Ideal for light makeup and sensitive skin, micellar water is a gentle cleanser containing micelles—tiny oil molecules suspended in soft water. These micelles attract dirt, oil, and makeup, drawing impurities away from the skin without harsh rubbing. It feels as light as water and typically does not require rinsing, making it a convenient option.
Bi-Phase Removers
For stubborn, waterproof, or long-wearing makeup, a bi-phase remover is an excellent choice. These products consist of two layers: an oil-based part to dissolve resilient makeup and a water-based part to cleanse and refresh the skin. You must shake the bottle before use to mix the two phases. They are particularly effective for eye and lip makeup.
Cleansing Oils and Balms
Cleansing oils and balms are masters at melting away all types of makeup, from heavy foundation to waterproof mascara. They work on the principle that oil dissolves oil. Applied to dry skin, they break down makeup and impurities. When you add water, they emulsify into a milky consistency that rinses away clean, leaving the skin soft and nourished, not greasy. They are especially beneficial for those with dry or mature skin.
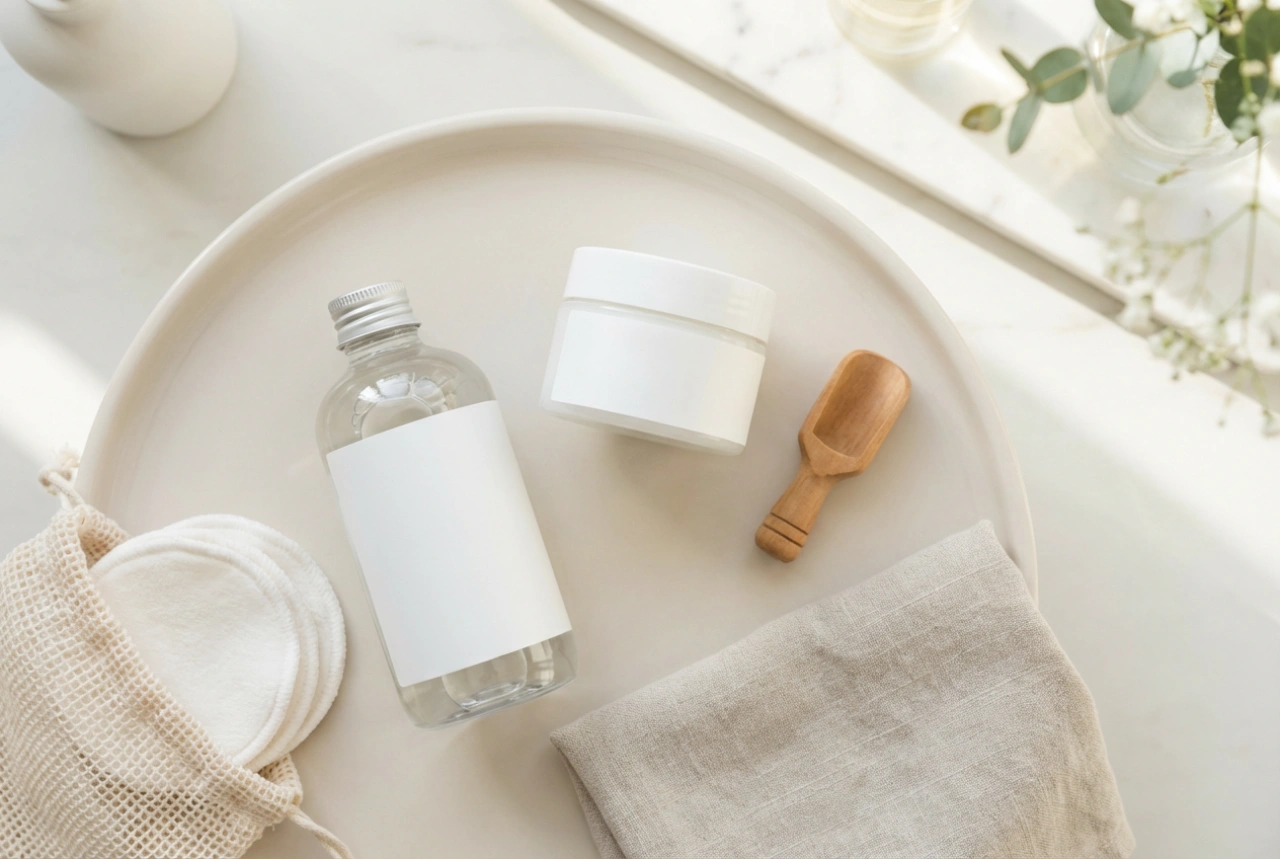
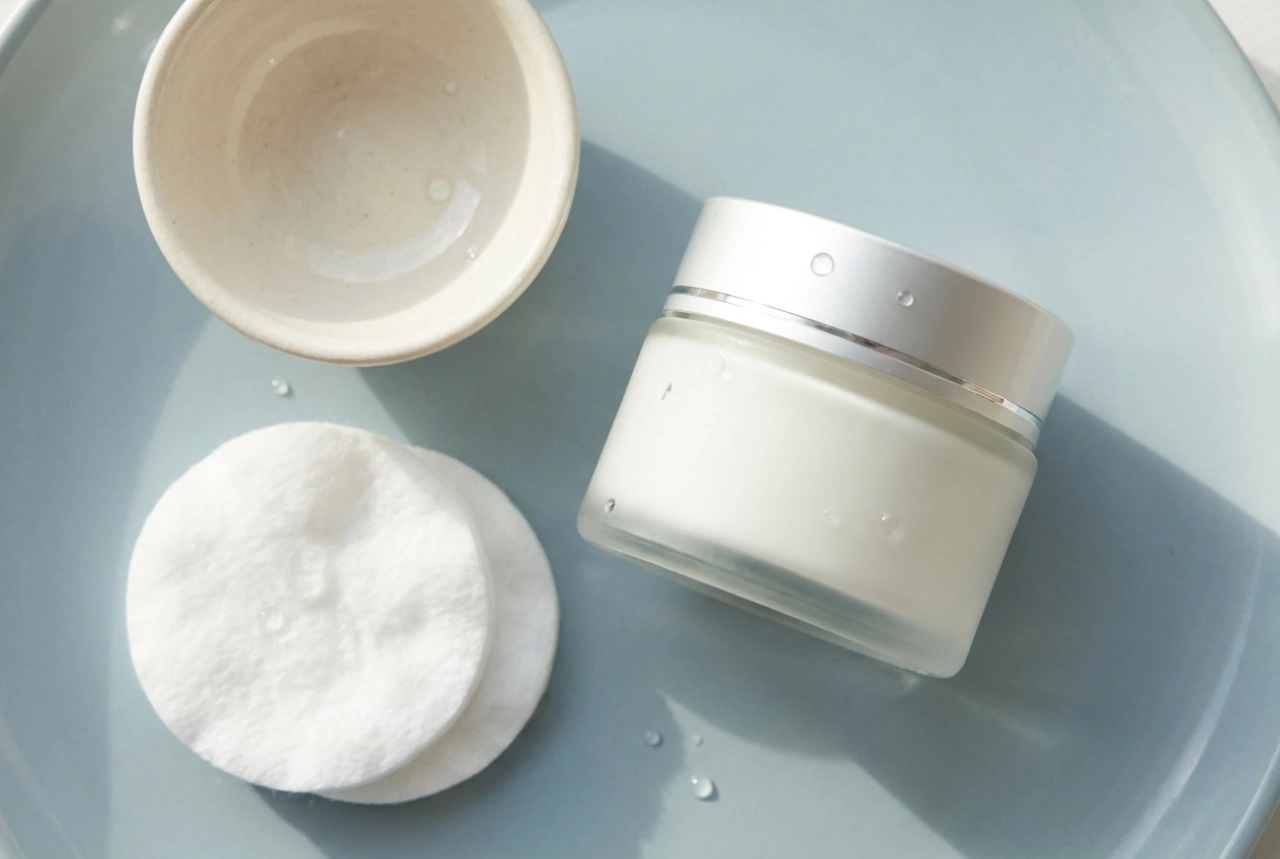
The Step-by-Step Removal Process
Once you have your chosen remover, the technique you use is paramount. Always be gentle with your skin, as aggressive rubbing can cause irritation and contribute to premature signs of ageing.
Eyes and Lips First
The skin around your eyes is the most delicate on your face, and lip products can be stubborn. Address these areas first. Saturate a cotton pad with your remover. For your eyes, press the pad gently over your closed eyelid and lashes for 15-20 seconds. This allows the product time to dissolve mascara and eyeshadow. Then, gently wipe downwards in the direction of lash growth. For your lips, wipe from the outer corners towards the centre.
Cleansing the Face
Using a fresh cotton pad or your hands (if using an oil or balm), apply the remover to the rest of your face. Work in gentle, outward sweeping motions. Start from the centre of your face and move outwards to your hairline. Do not forget to cleanse along your jawline, under your chin, and on your neck to remove all traces of foundation and environmental pollutants.
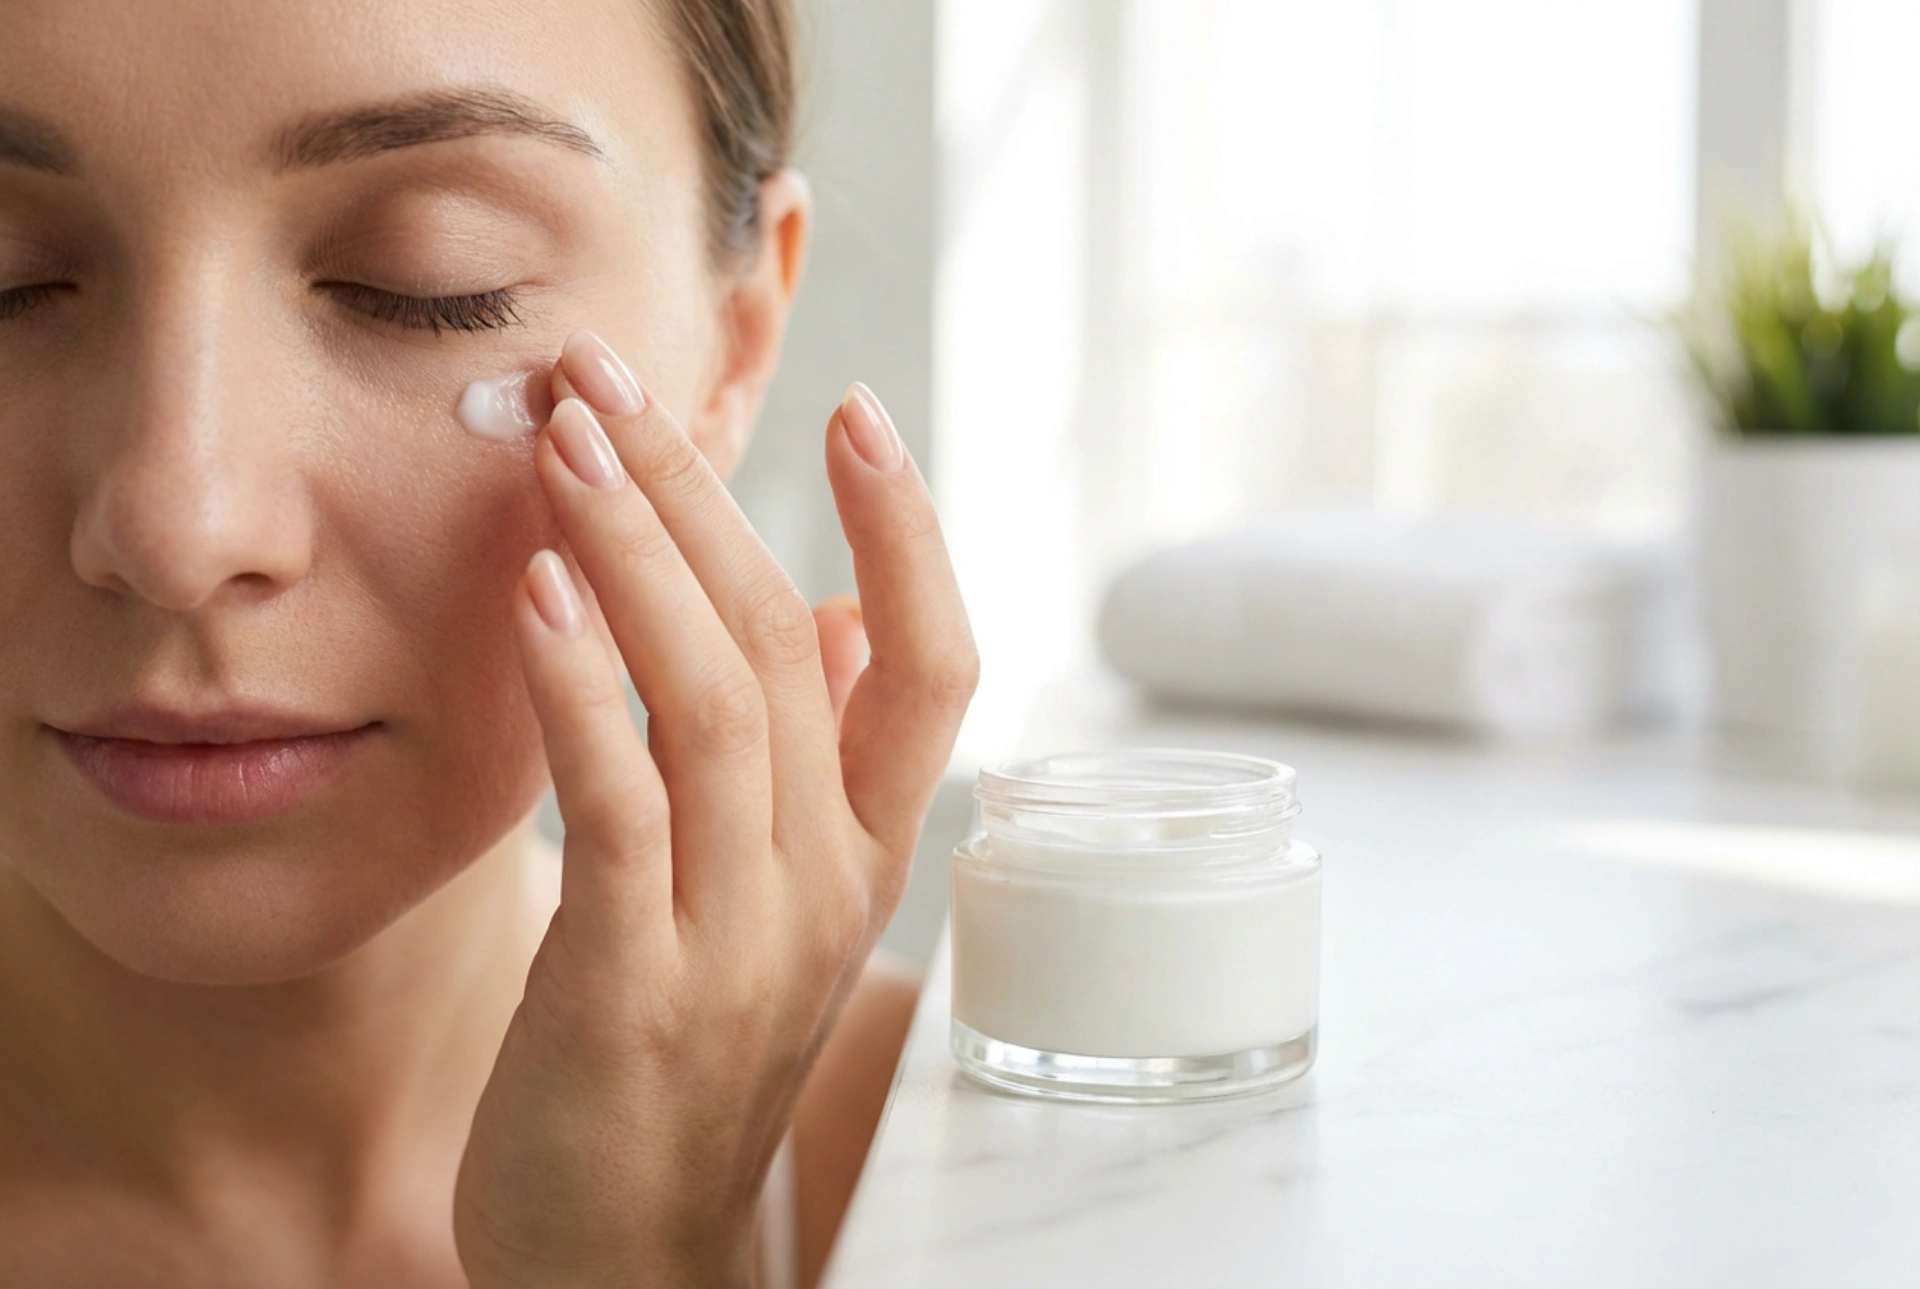
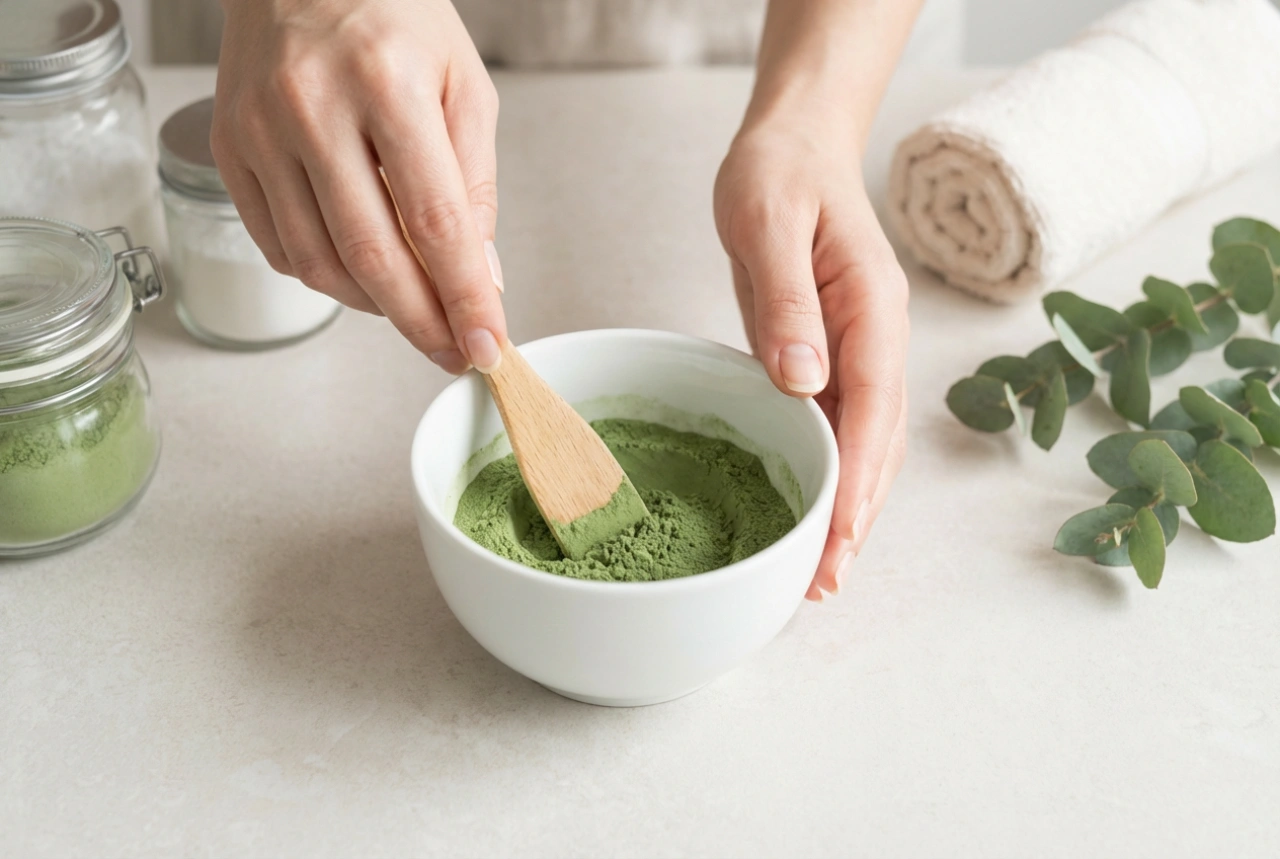
Beyond the Remover: The Next Steps
Simply removing your makeup is not the end of the cleansing process. To achieve truly clean skin, a couple of extra steps are essential. This is where the concept of 'double cleansing' comes into play, ensuring a thorough clean that prepares your skin for what comes next.
The Second Cleanse
After using a makeup remover to break down cosmetics, follow up with a traditional water-based facial wash. This second step cleanses the skin itself, removing any leftover residue from your makeup remover, as well as sweat, bacteria, and dead skin cells. Choose a gentle formula—like a foam, gel, or cream wash—that suits your skin type. This ensures your pores are completely clear and your skin is ready for subsequent products.
Toning to Finish
The final step in your cleansing routine is using a toner. A good toner helps to remove any last traces of cleanser, rebalances your skin’s natural pH level, and provides initial hydration. It acts as a primer for your skincare, helping your serums and moisturisers to penetrate more effectively. Simply apply a small amount to a cotton pad and gently sweep it across your face and neck.
Common Mistakes to Avoid
To get the most out of your routine, be mindful of these common pitfalls:
- Rubbing your skin too harshly, especially around the delicate eye area.
- Using the same dirty cotton pad for your entire face, which can spread bacteria and makeup residue.
- Forgetting to cleanse along your hairline and jawline, leading to clogged pores.
- Skipping the second cleanse, which can leave behind an oily film or impurities.
- Thinking that face wipes are a sufficient long-term solution for daily cleansing.
By incorporating these steps and tips into your evening ritual, you establish a solid foundation for healthy, radiant skin. A thorough and gentle makeup removal process is not just about cleaning your face; it's a moment of care that pays dividends for your skin's future.