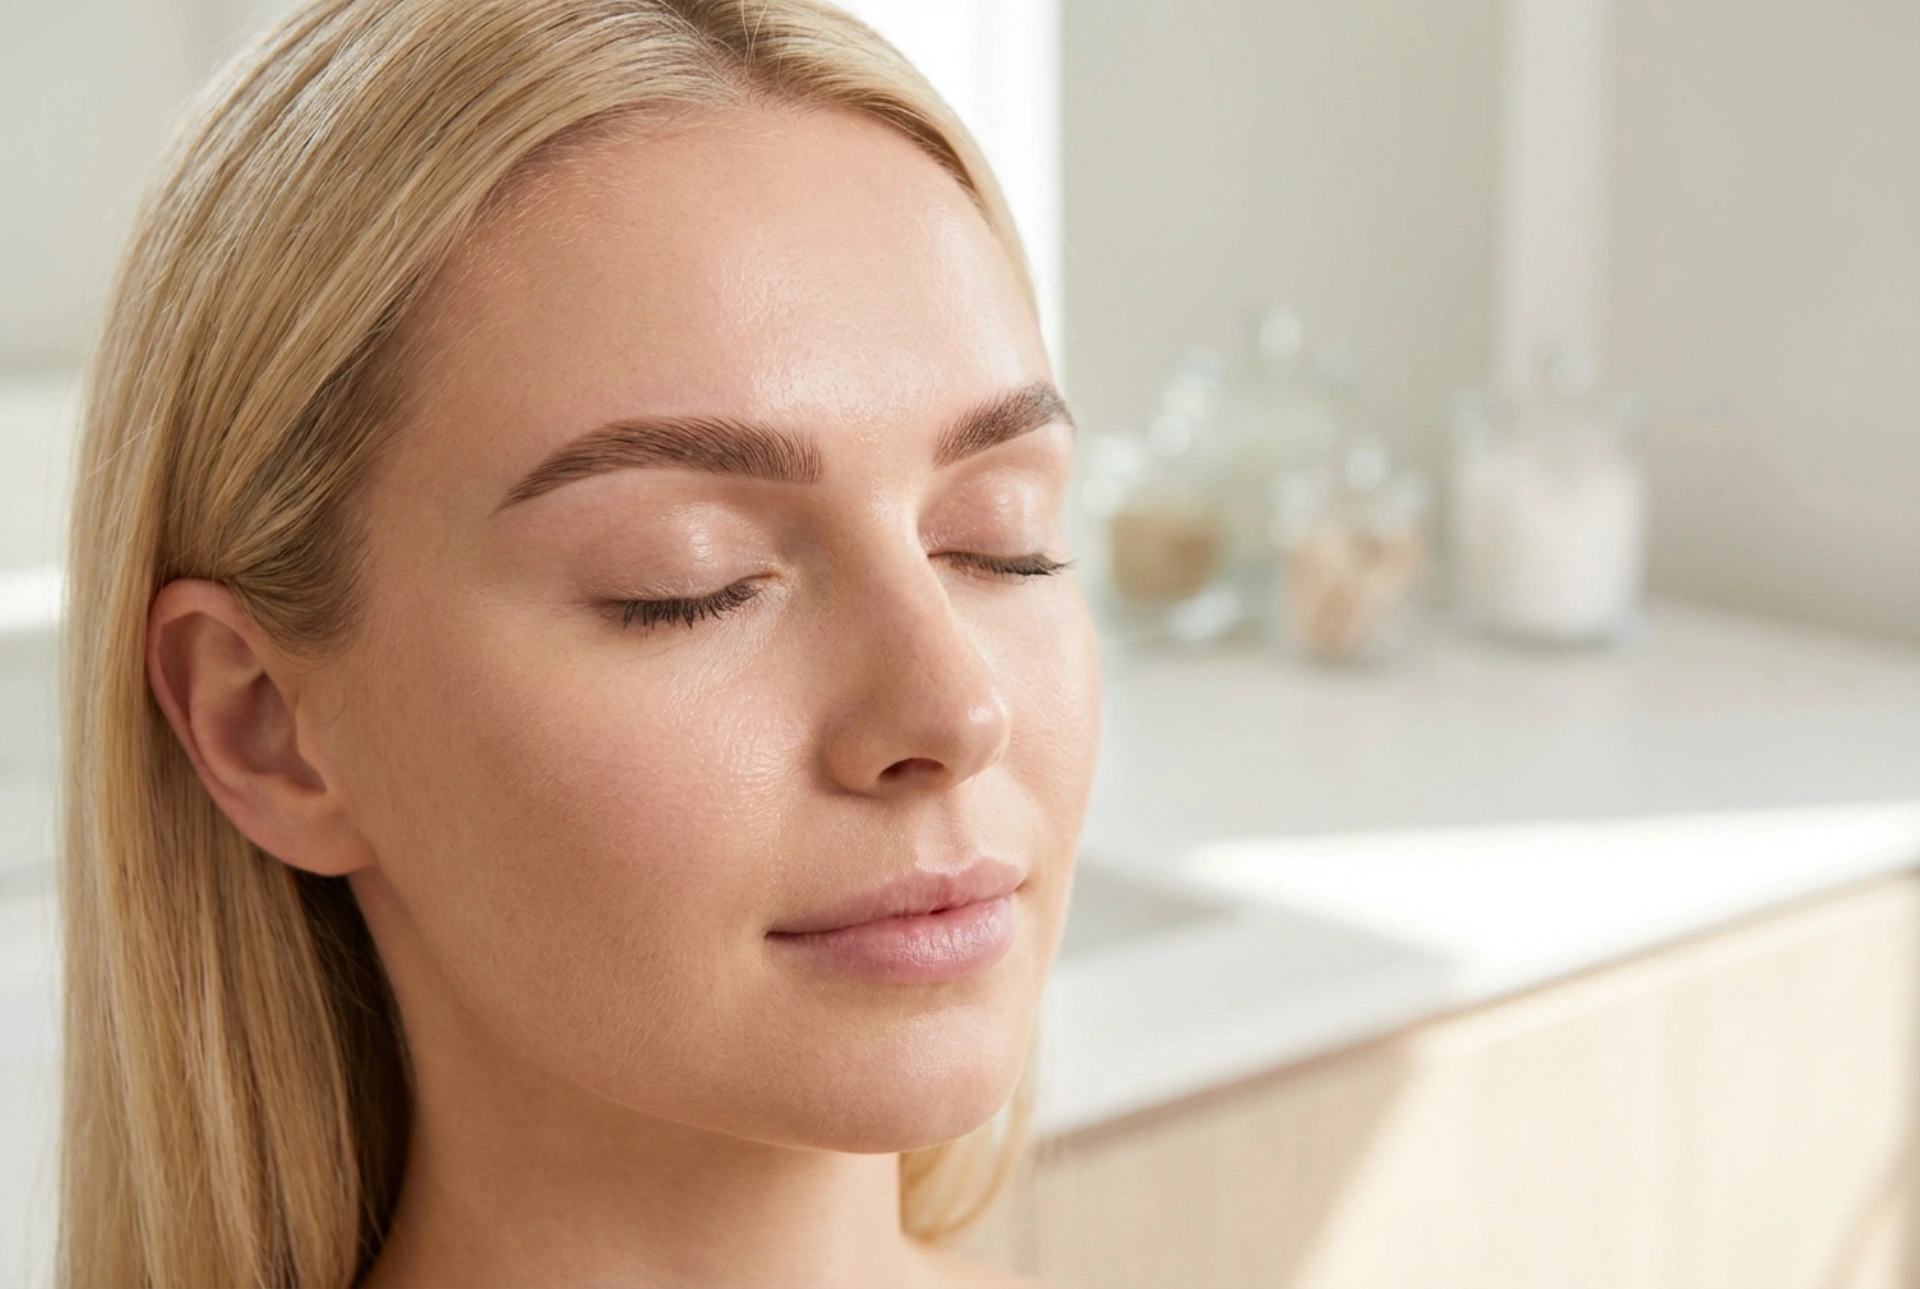


Well-defined eyebrows frame the face and complete any beauty look. Achieving a shape that is both natural and long-lasting can be simple with the right tools and techniques. A waterproof eyebrow pencil offers the precision needed for shaping and the durability to withstand a full day's wear. This guide will walk you through the process of using a waterproof pencil to create beautifully shaped and filled brows that stay put from morning to night.
Choosing the Right Shade and Preparing Your Brows
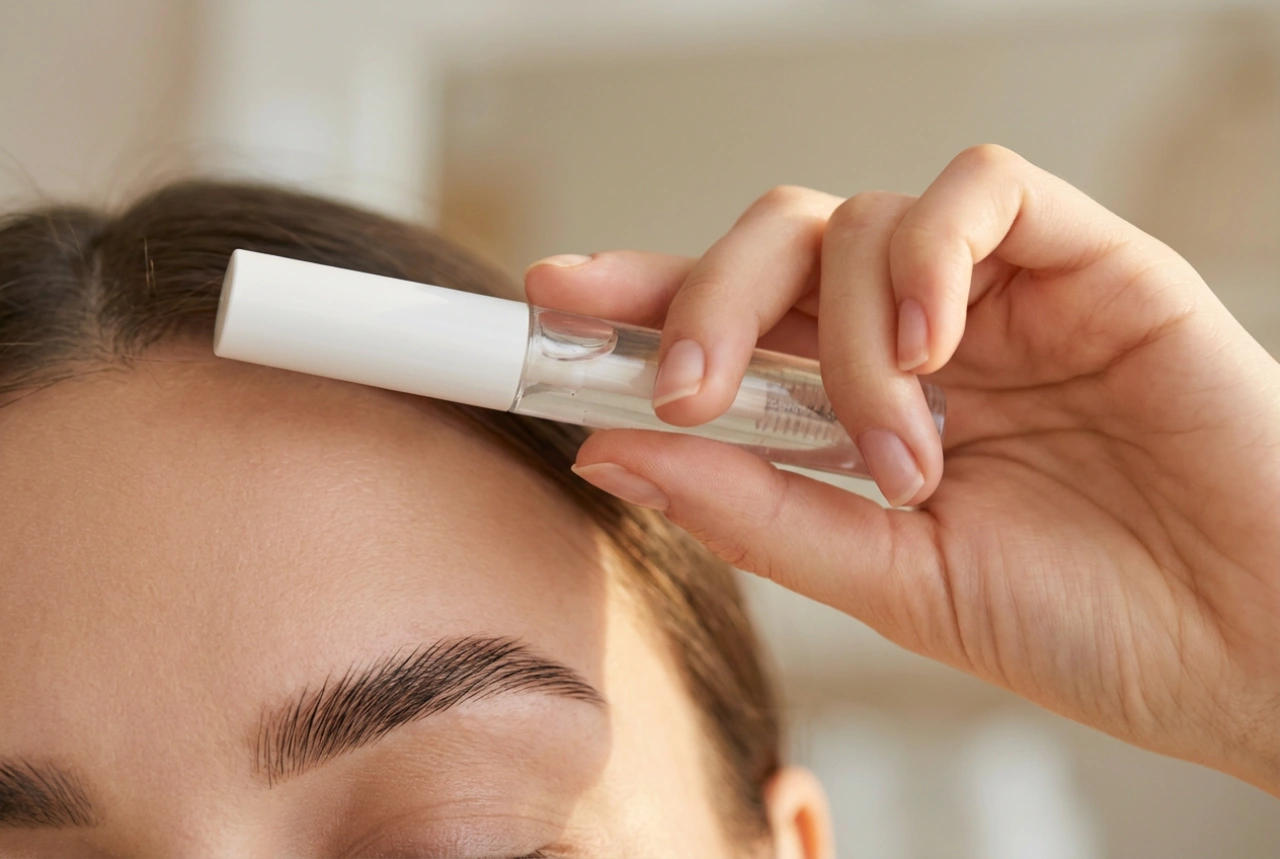
Before you begin, selecting the correct pencil shade is crucial. For the most natural appearance, choose a colour that is one to two shades lighter than your natural hair colour. If you have very fair hair, you might opt for a shade slightly darker to add definition. Once you have your pencil, proper preparation is key. Start with a clean, dry brow area. Use a spoolie brush to comb your brow hairs upwards and outwards to see their natural shape and identify any sparse areas. This simple step helps create a perfect canvas for application.
Mapping Your Ideal Brow Shape
To create a flattering shape that complements your facial features, use the 'brow mapping' technique. This helps you find the three key points of your brow: the start, the arch, and the end. By establishing these markers, you create a customised guide for a balanced and symmetrical appearance.
Finding the Key Points
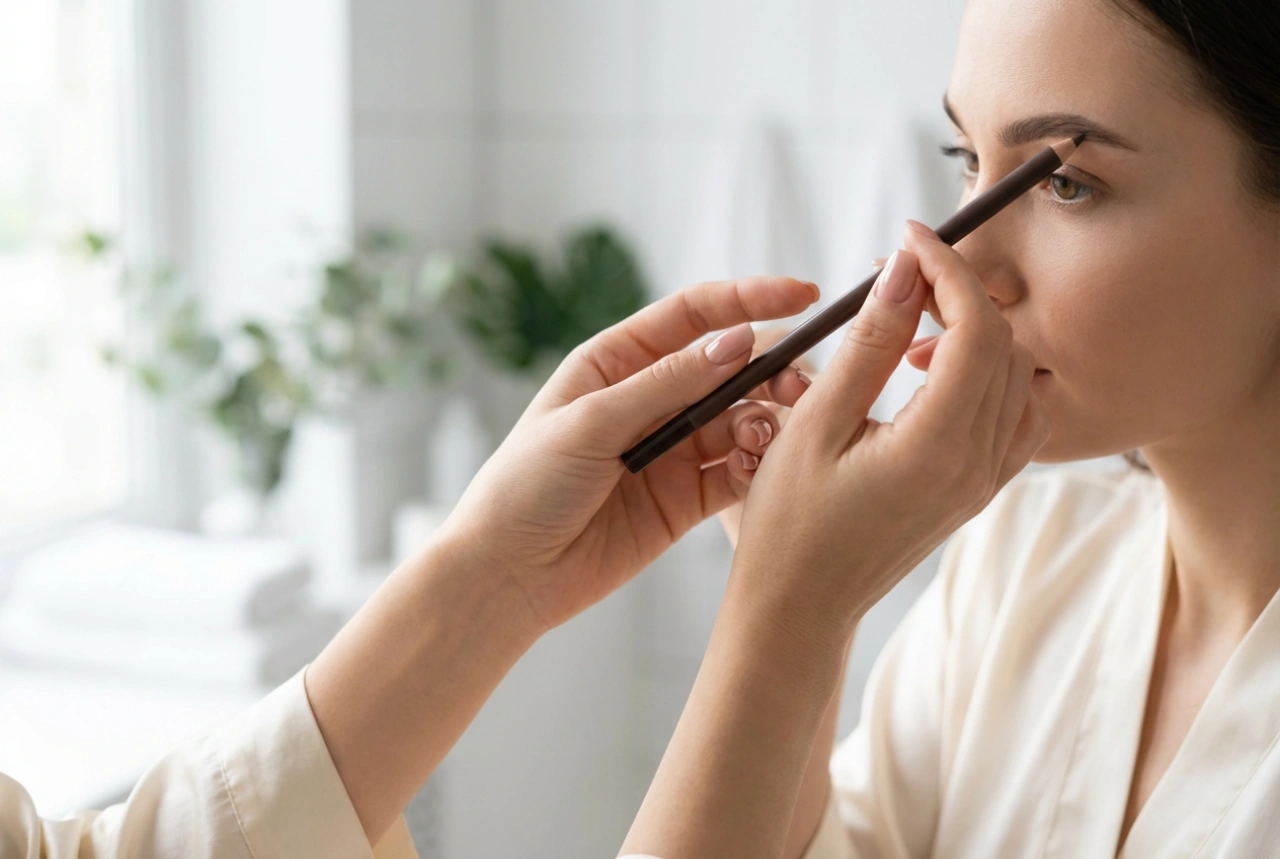
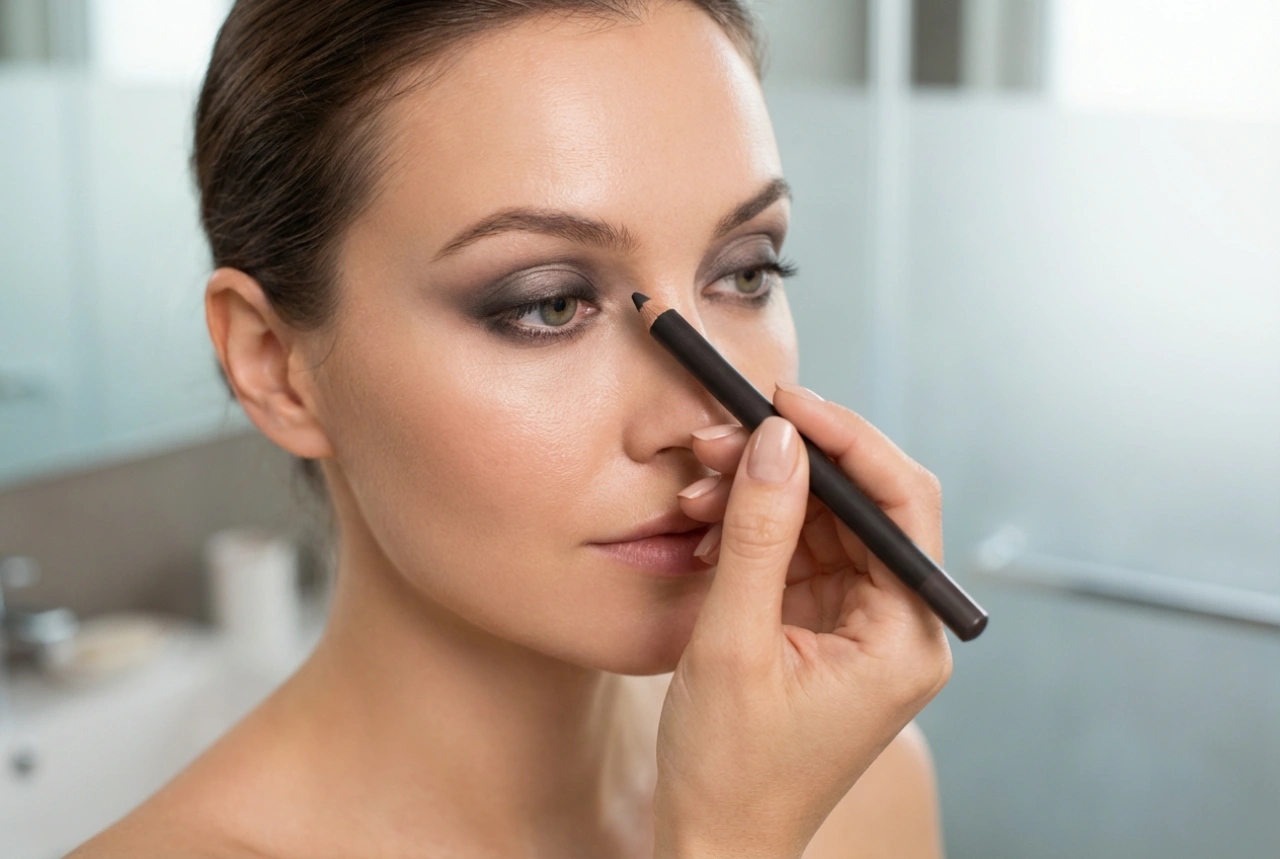
- Start: Hold the pencil vertically from the dimple of your nose straight up to your brow. This is where your brow should begin. Mark this point lightly.
- Arch: Look straight ahead into a mirror. Angle the pencil from the side of your nose through the centre of your iris. Where the pencil meets your brow bone is the ideal location for the highest point of your arch.
- End: Angle the pencil from the side of your nose to the outer corner of your eye. This marks where your brow should gracefully taper off.
Once you've identified these points, use the waterproof pencil to make very light dots as guides. Then, gently connect these dots with soft, feathery strokes to create a subtle outline for the bottom and top edges of your brow, following its natural curve.
Filling and Defining with Precision
With your outline in place, it's time to fill in the brows. The goal is to mimic the appearance of natural hairs, not to create a solid block of colour. Using the fine tip of your pencil, apply light, short, upward strokes in the direction of your hair growth. Focus on filling in any gaps or sparser sections within your outline. For a natural gradient effect, apply less pressure at the start of the brow (the inner corner) and gradually increase the intensity as you move towards the tail. This technique ensures the front of your brows looks soft and diffused, while the tail is crisp and well-defined.
Blending and Finishing for a Flawless Look
Blending is a non-negotiable step for achieving a polished, natural-looking finish. Take your clean spoolie brush and gently comb through your brows once more, using upward and outward motions. This will soften any harsh lines, distribute the colour evenly, and merge the pencil strokes with your natural hairs for a seamless effect. If you've made any mistakes or want an exceptionally sharp definition, you can clean up the edges. Use a small, flat brush with a tiny amount of concealer to trace just below and above the brow line. The waterproof formula of your pencil ensures that once set, your brows will resist smudging, sweat, and humidity, keeping them perfectly in place all day long.