


Eyeshadow has the remarkable ability to transform a look, adding depth, dimension, and expression to the eyes. While a professional makeup artist's touch seems magical, achieving a similarly polished finish at home is entirely within reach. The secret lies not just in a steady hand, but in understanding the products and tools at your disposal. With the right knowledge of formulas, colour selection, and application techniques, anyone can elevate their home beauty routine and create stunning eye makeup looks that appear effortlessly sophisticated.
Understanding Eyeshadow Formulas
The first step to mastering eye makeup is knowing the different types of eyeshadow available. Each formula has unique properties, offering different finishes and requiring slightly different application methods. Choosing the right one depends on the look you want to achieve and your comfort level.
Pressed Powder Eyeshadows
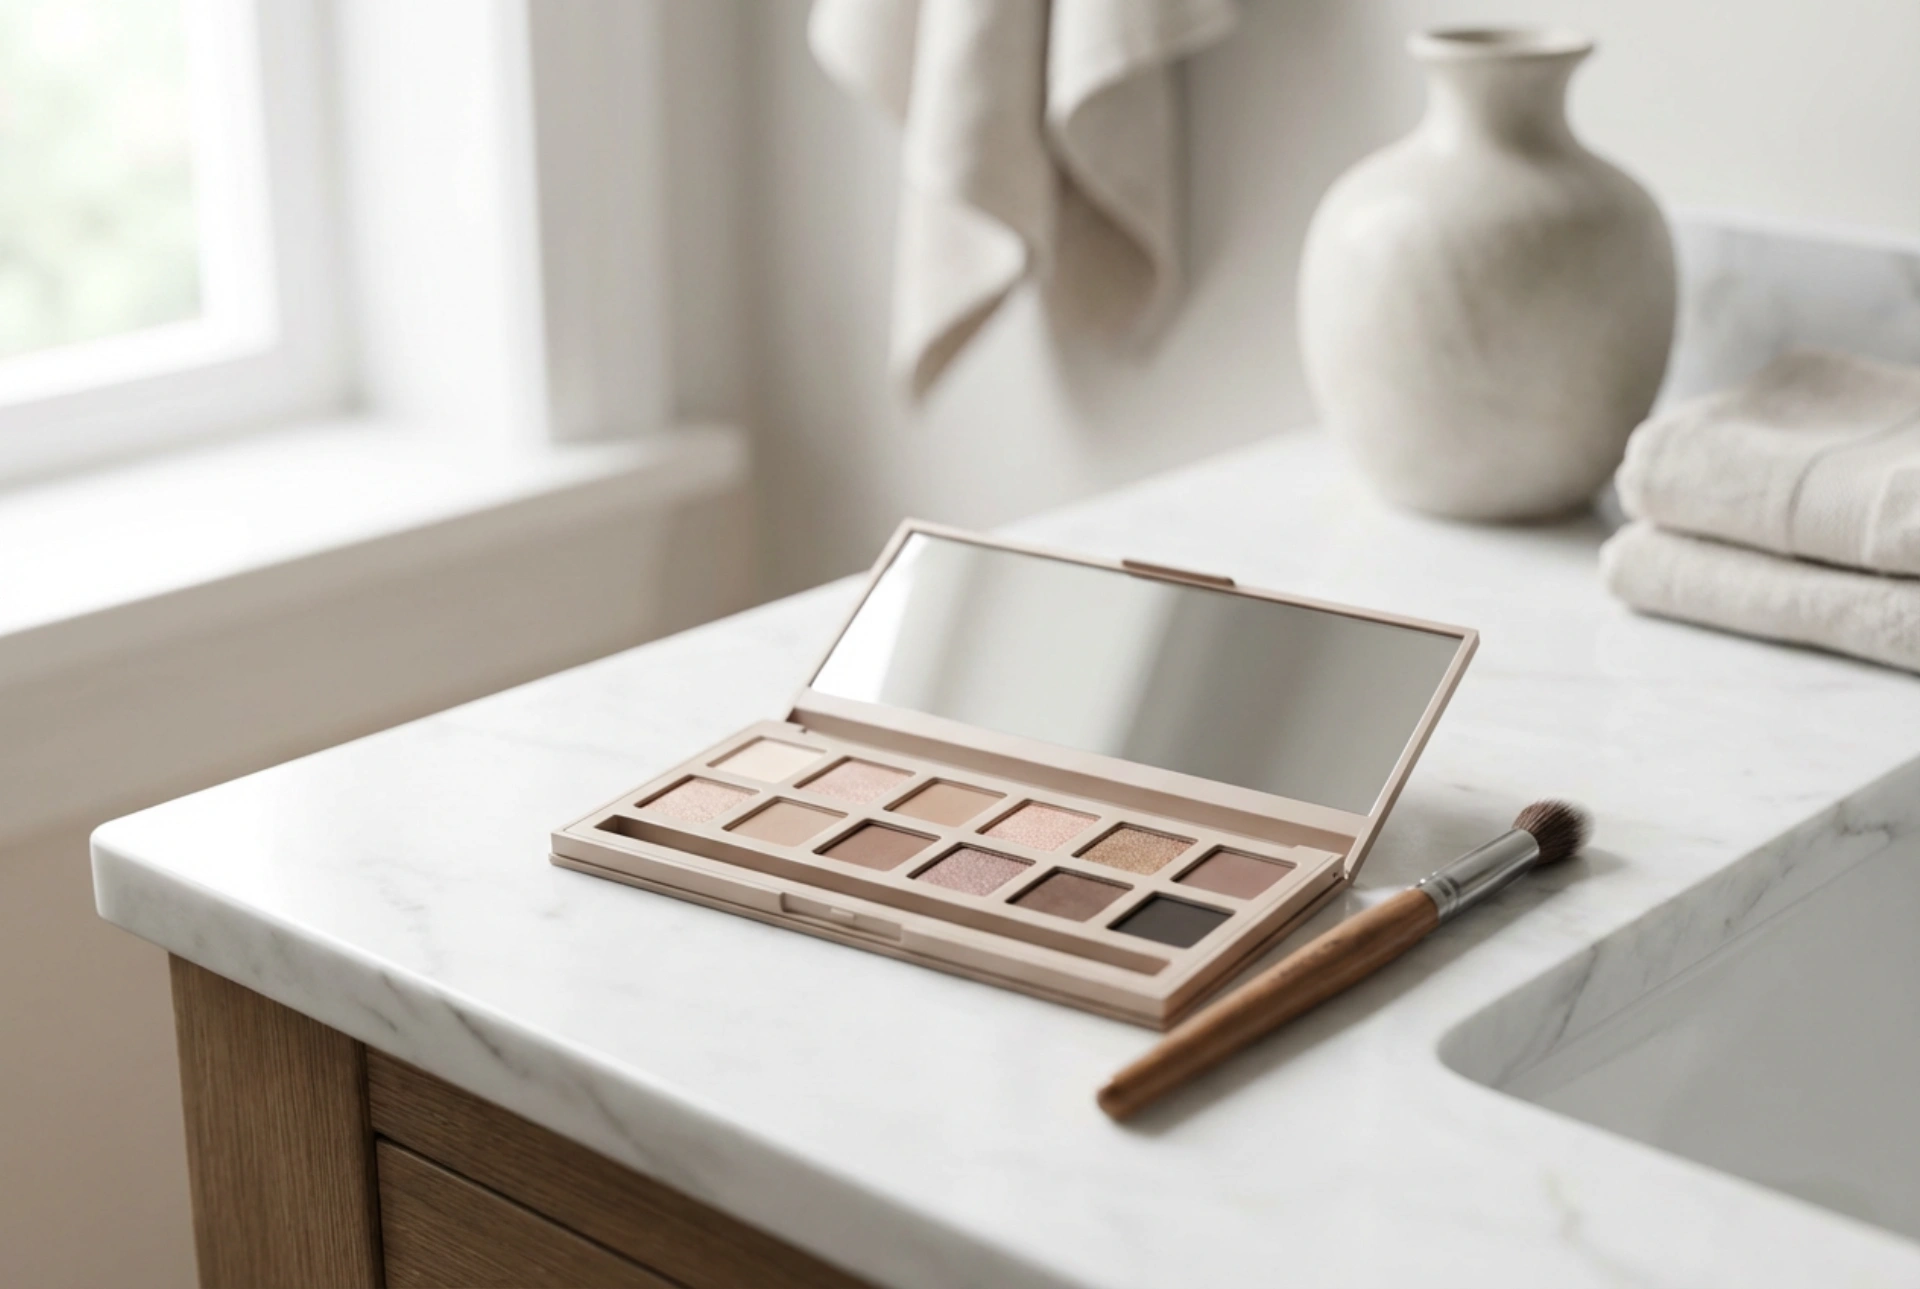
This is the most common and versatile form of eyeshadow, found in single compacts and multi-shade palettes. They are created by pressing pigments and binders together into a solid pan. They are generally easy to work with, making them ideal for both beginners and experts. Pressed powders come in various finishes:
- Matte: These shadows have no shimmer or sparkle. They are perfect for creating structure, defining the crease, and serving as a base or transition shade. Their flat finish absorbs light, creating the illusion of depth.
- Shimmer/Satin: These contain fine light-reflecting particles that provide a soft sheen or a more intense sparkle. They are excellent for highlighting the eyelid, inner corner of the eye, or brow bone to attract light and make the eyes pop.
- Metallic/Foil: These offer a high-shine, molten metal effect. They provide the most intense reflection and are perfect for dramatic, glamorous looks. They can be applied dry for a strong effect or wet for an even more impactful, liquid-metal appearance.
Loose Pigments
Loose pigments are pure, finely milled colour powders without the binders found in pressed shadows. This results in incredibly vibrant and intense colour payoff. However, they can be messy to work with and may cause 'fallout' (where pigment falls onto the cheeks during application). To use them effectively, it's best to apply them over a sticky eyeshadow primer or a mixing medium. Patting the pigment onto the lid with a flat, dense brush, rather than sweeping it, helps to minimise fallout and maximise intensity.
Cream and Liquid Eyeshadows
Cream and liquid formulas offer excellent longevity and are often waterproof, making them a fantastic base for powder eyeshadows or a great option for a quick, one-and-done look. They glide on smoothly and can be blended with fingers or a synthetic brush. Once they set, they typically do not budge, which helps prevent creasing throughout the day. Cream shadows come in pots or sticks, while liquid shadows are usually packaged with a doe-foot applicator, similar to a lip gloss.
Choosing Shades to Complement Your Eye Colour
While there are no strict rules in makeup, using basic colour theory can help you select shades that will make your natural eye colour stand out. The principle is simple: colours opposite each other on the colour wheel create the most striking contrast and enhance one another.
- For Blue Eyes: Warm, earthy tones create a beautiful contrast. Think of shades like bronze, copper, terracotta, and peach. These warm hues will make the blue in your eyes appear even more vibrant.
- For Green Eyes: Shades with red undertones are fantastic for making green eyes pop. This includes purples, mauves, plums, and reddish-browns like burgundy and rust.
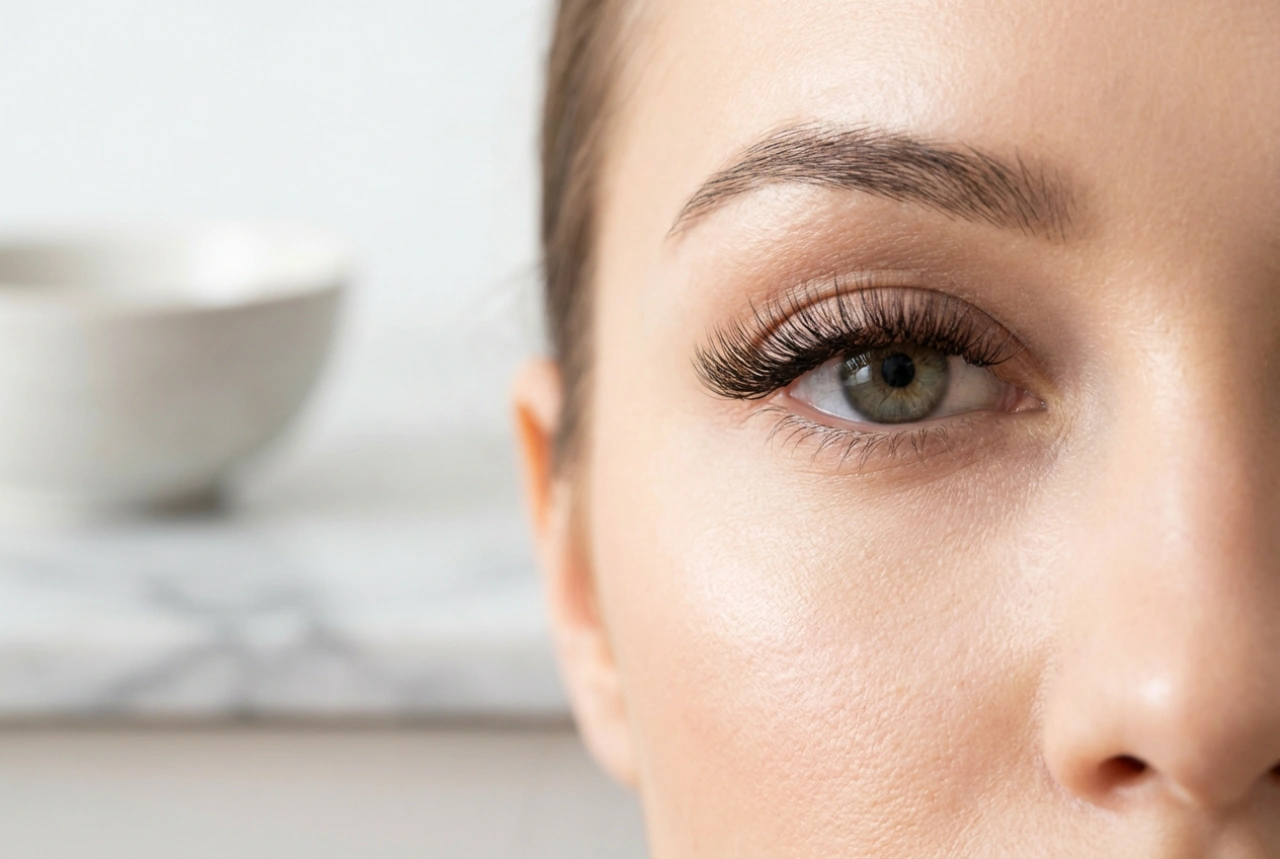
- For Brown Eyes: Brown eyes are incredibly versatile and can pull off almost any colour. To create contrast, try blues, greens, and purples. To enhance the warmth in brown eyes, rich golds, bronzes, and deep browns work beautifully.
- For Hazel Eyes: Hazel eyes often have flecks of green and gold, so you can choose shades to bring out either tone. Earthy greens, golds, and rich browns will accentuate their natural colouring.
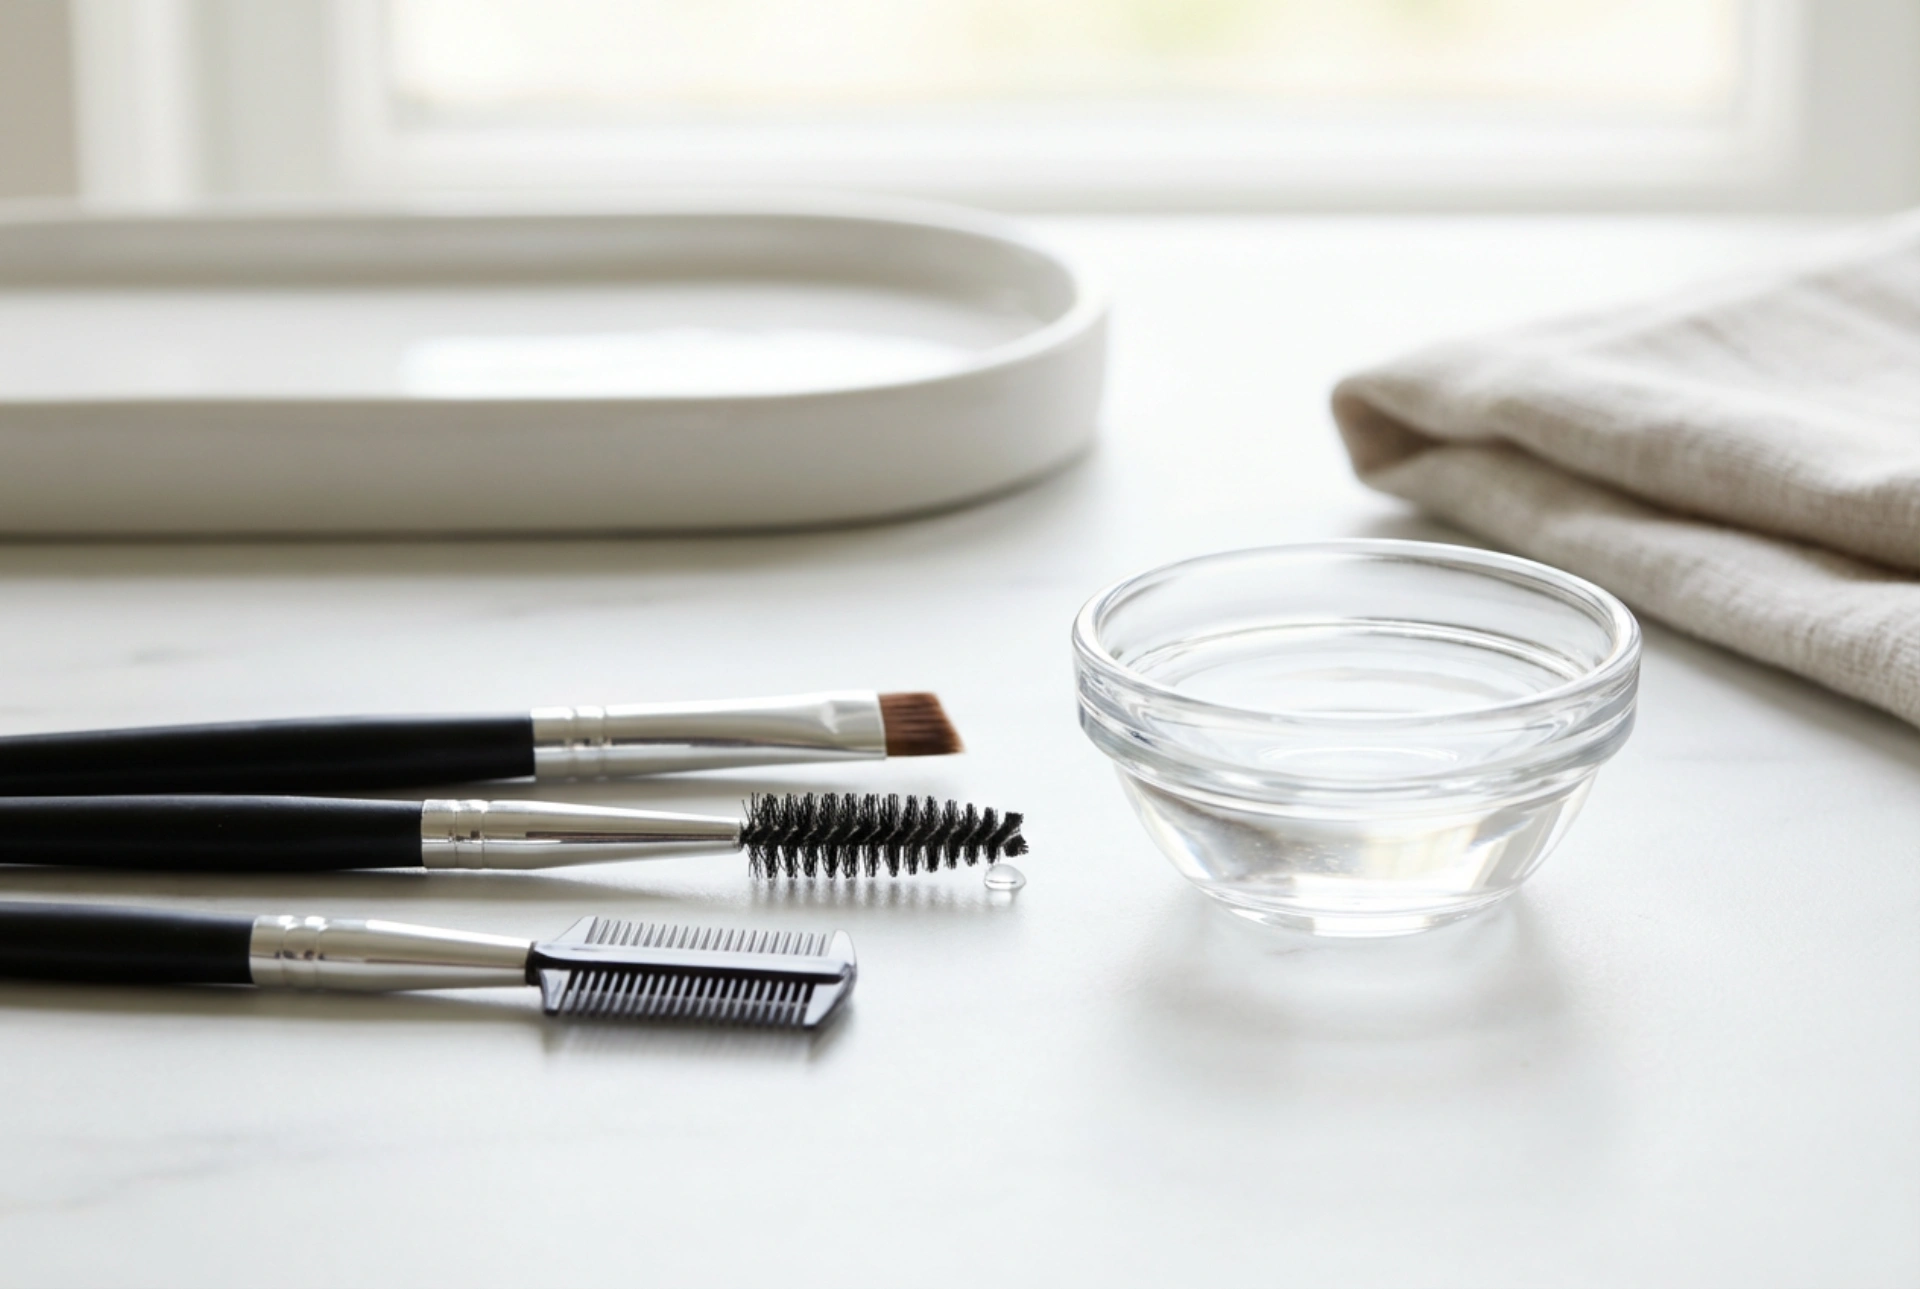
Essential Tools for a Flawless Application
Using the right brushes is just as important as the eyeshadow itself. You don't need a huge collection, but a few key brushes will dramatically improve your application.
- Eyeshadow Primer: While not a tool, a primer is a crucial first step. It creates a smooth, even canvas, intensifies colour, and prevents your eyeshadow from creasing or fading.
- Flat Shader Brush: A dense, flat brush is used to pack colour onto the eyelid with high impact. It picks up a good amount of product and deposits it precisely where you want it.
- Fluffy Blending Brush: This is arguably the most important brush. Its soft, fluffy bristles are designed to diffuse and blend colours seamlessly in the crease, eliminating any harsh lines.
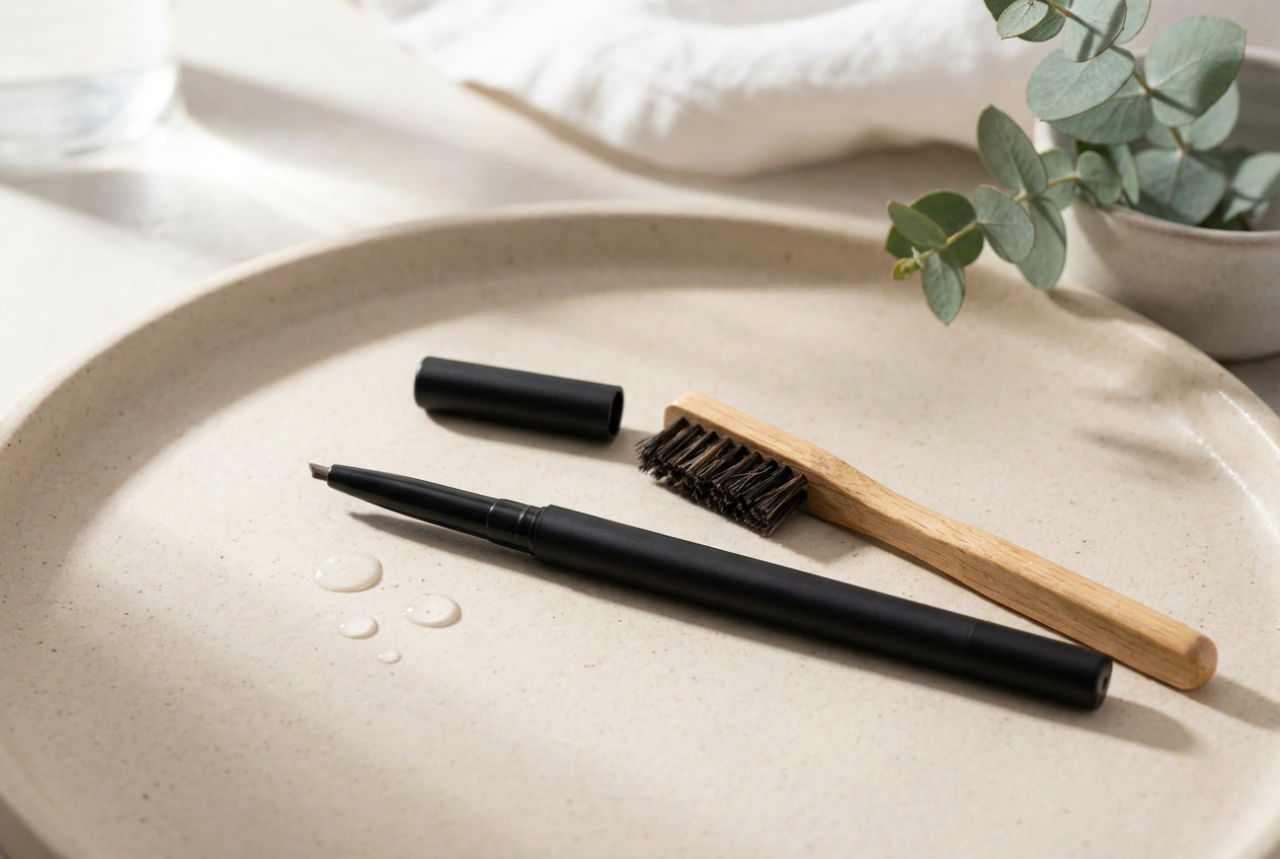
- Pencil or Detail Brush: A small, pointed brush is perfect for precise work, such as applying shadow along the lower lash line, adding a highlight to the inner corner, or smoking out eyeliner.
A Step-by-Step Guide to a Polished Look
With your formulas and tools ready, you can follow this universal technique for a classic, defined eye.
- Prime the Lids: Apply a thin layer of eyeshadow primer from the lash line up to the brow bone. This creates a base for the shadows to adhere to.
- Apply a Transition Shade: Using a fluffy blending brush, sweep a neutral matte shade (a few shades darker than your skin tone) into the crease of your eyelid using windshield-wiper motions. This adds depth and makes blending other colours easier.
- Pack on the Lid Colour: Using a flat shader brush, pat your chosen lid colour (this can be a shimmer or a matte) onto the mobile part of your eyelid, from the inner corner to the outer edge.
- Add Dimension: Choose a darker matte shade and, with a smaller blending brush or the tip of your fluffy brush, apply it to the outer corner of the eye in a 'V' shape. Blend it gently into the crease colour to create a seamless gradient.
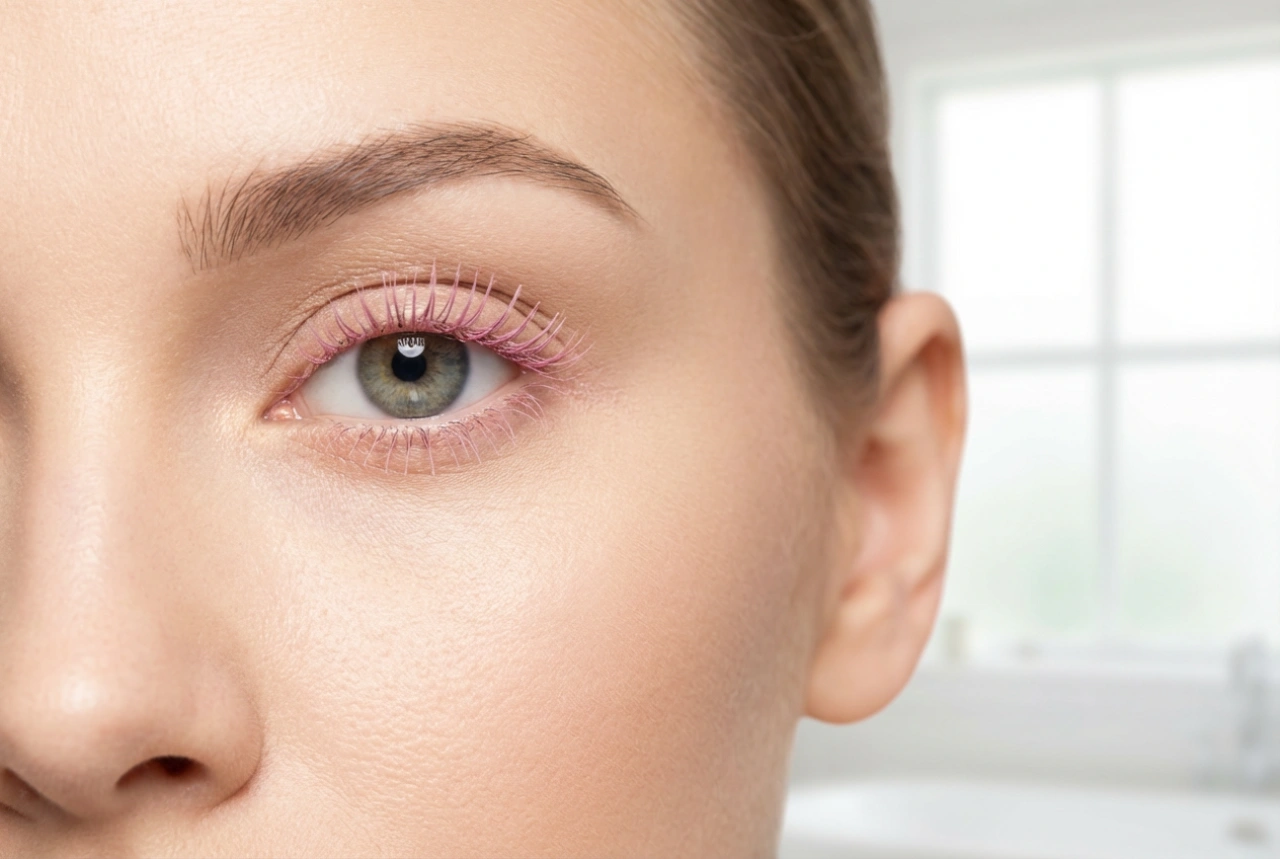
- Highlight: Apply a light, shimmery shade to the inner corner of your eye and just below the arch of your eyebrow. This brightens the eyes and gives a lifted appearance.
- Define the Lash Line: Use a pencil brush or an angled brush with a dark eyeshadow (like dark brown or black) to gently press the colour along your upper lash line. This gives the illusion of thicker lashes without the harshness of a liquid liner.
- Blend Everything: Take a clean blending brush and gently go over the edges of all the colours to ensure there are no harsh lines. The key to a professional look is seamless blending.