


Applying a hydrating face mask is more than just a step in a skincare routine; it's a calming ritual that provides a concentrated boost of moisture, leaving the skin looking plump and radiant. To get the most out of this self-care moment, it's essential to follow the correct steps before, during, and after application. Proper technique ensures that the beneficial ingredients are fully absorbed, delivering visible results and enhancing the overall health and appearance of your complexion.
Why Is Skin Hydration Important?
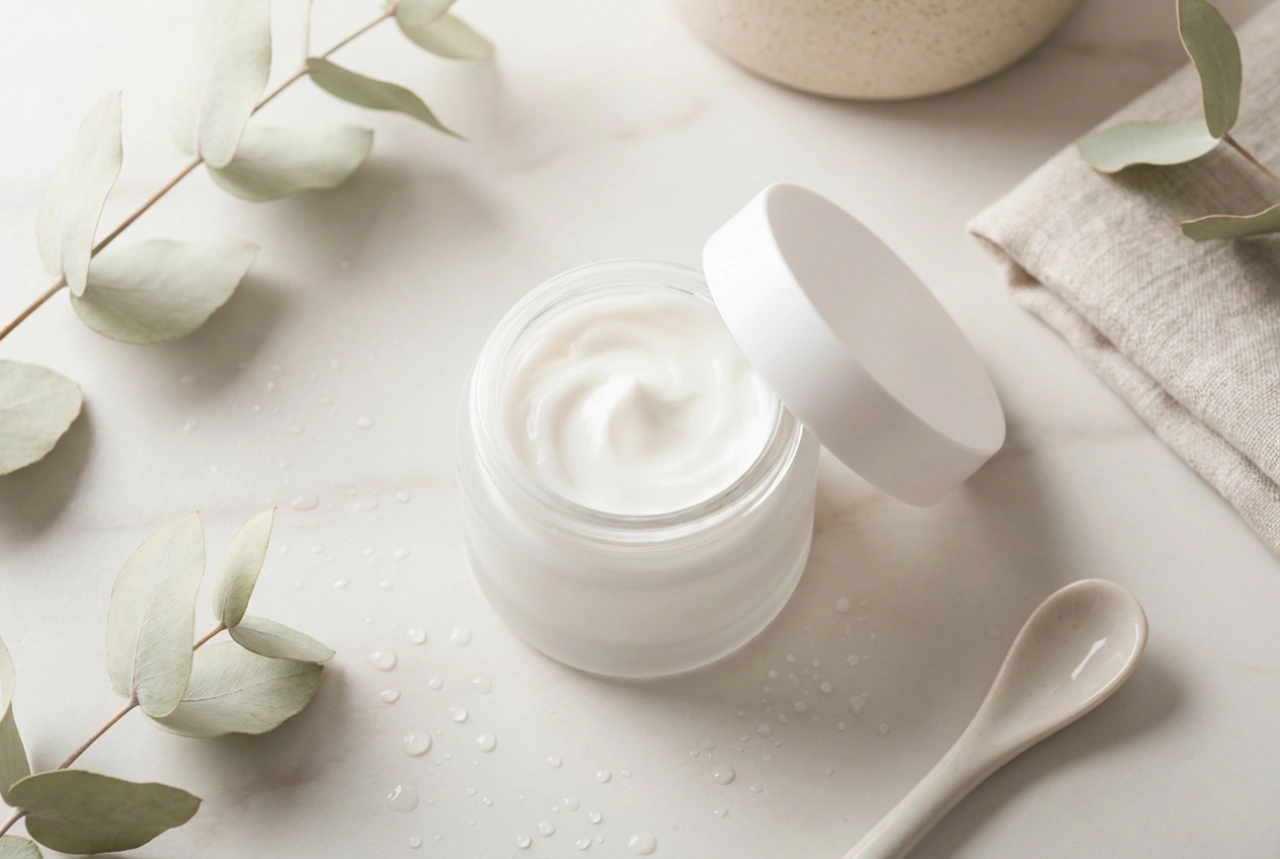
Hydrated skin is happy skin. When your skin has an adequate moisture level, it appears smoother, more supple, and has a natural glow. Proper hydration helps to maintain the skin's protective barrier, which defends against environmental stressors. A lack of hydration can lead to a dull, tight-feeling complexion and can make fine lines appear more prominent. A hydrating mask acts as a supercharger, delivering a potent dose of moisture in a short amount of time, making it an excellent addition to any skincare regimen, especially when your skin feels particularly dry or lacklustre.
Preparing Your Skin for a Mask
To ensure your mask works effectively, you must prepare your skin properly. Applying a mask to an unprepared face can hinder absorption and limit its benefits. Think of it as creating a clean canvas for a work of art.
Step 1: Thorough Cleansing
Always start with a clean face. Use a gentle cleanser to remove all traces of makeup, dirt, and excess oil. This step is non-negotiable, as it ensures there is no barrier between the mask and your skin. Use lukewarm water to wash your face, as hot water can strip the skin of its natural oils, leading to dryness and potential irritation.
Step 2: Gentle Exfoliation
While not required every time you use a mask, gentle exfoliation 1-2 times a week can significantly enhance its effects. Exfoliating sloughs away dead skin cells from the surface, which can otherwise block the hydrating ingredients from penetrating the skin. Choose a mild exfoliant, whether physical (like a soft scrub) or chemical (with gentle acids), and use light pressure to avoid causing irritation. This step reveals a fresh layer of skin ready to soak up all the goodness from your mask.
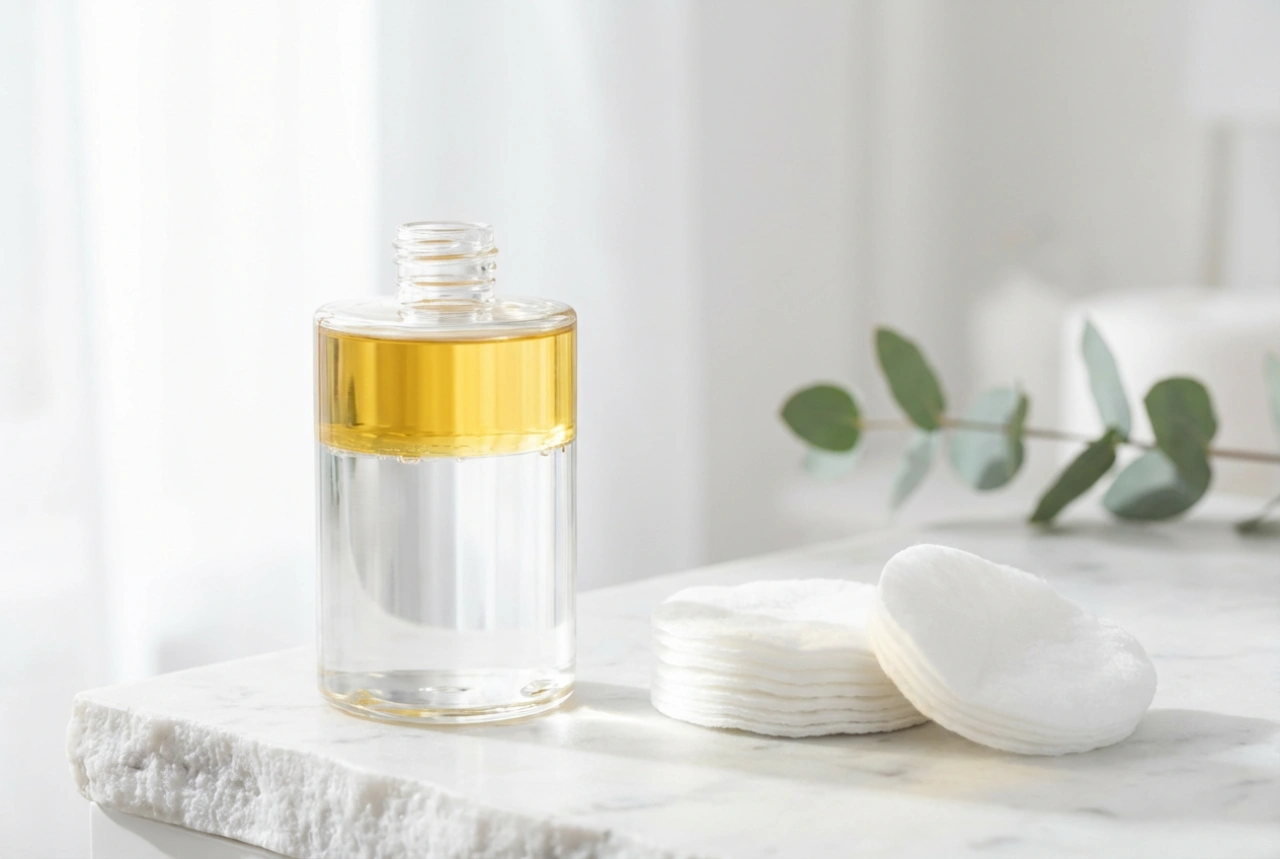
Step 3: Toning
After cleansing and exfoliating, applying a toner helps to rebalance your skin's pH and adds a preliminary layer of hydration. It prepares the skin to receive the subsequent products more effectively. Simply apply the toner to a cotton pad and sweep it across your face, or pat it in gently with your hands.
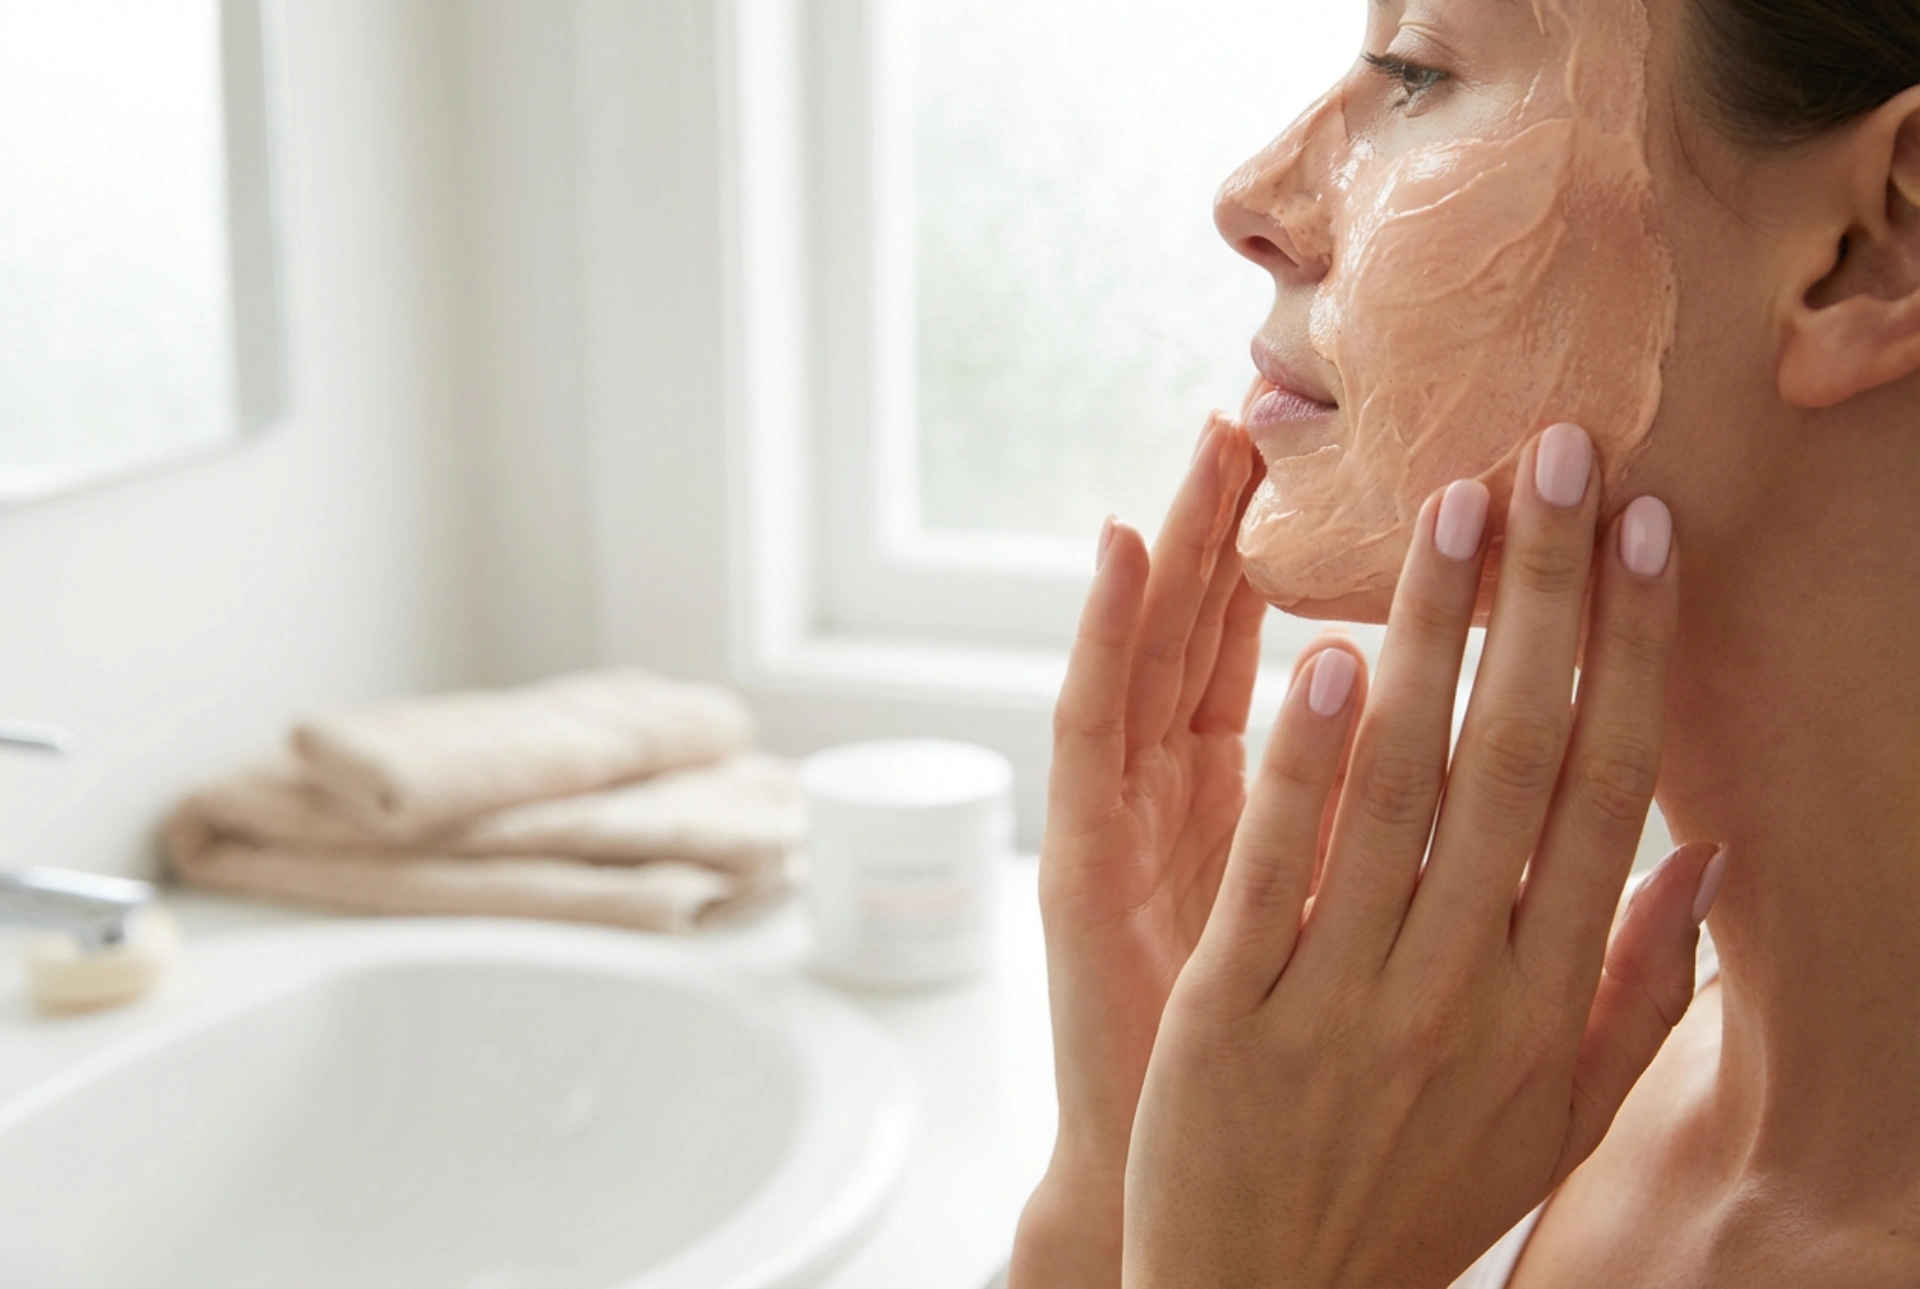
The Correct Application Technique
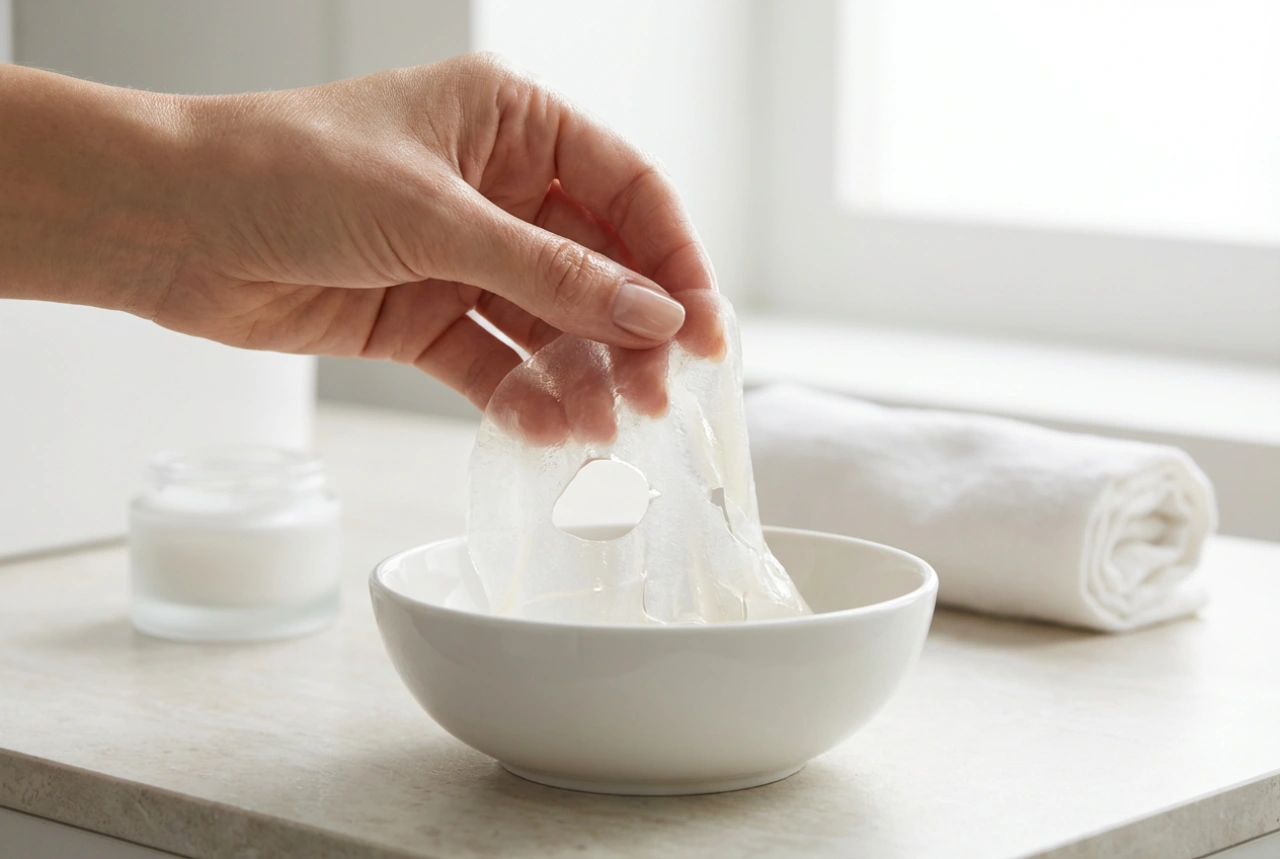
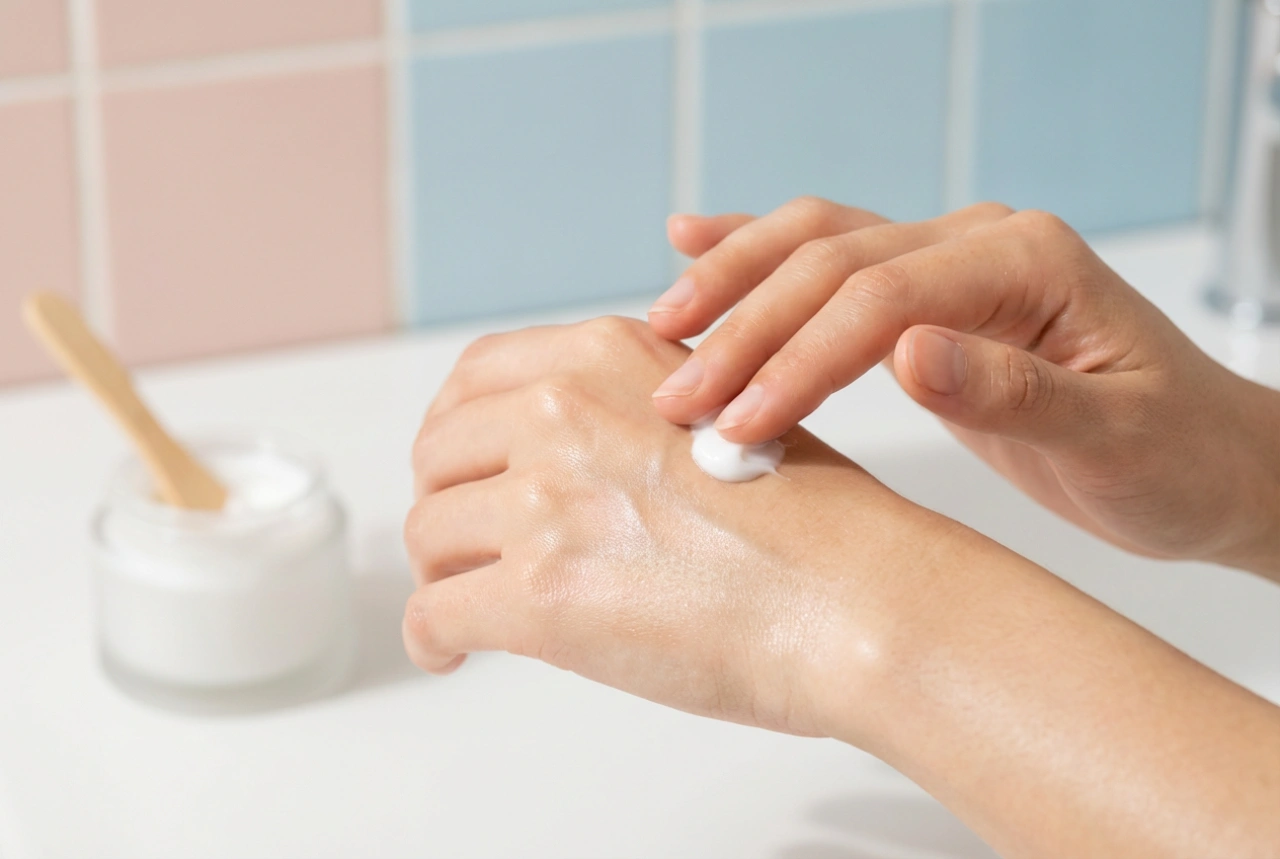
How you apply the mask matters. For creamy or gel-like masks, the goal is to apply a visible, even layer over your entire face. Be sure to avoid the delicate areas around your eyes and mouth. You can use your clean fingertips or a dedicated mask brush for a more precise and hygienic application. Spreading the product evenly ensures that every part of your face receives the same concentration of ingredients. Don't forget to apply it to your neck and décolletage, as these areas also benefit from hydration.
How Long Should You Leave the Mask On?
One of the most common questions is about timing. The optimal duration for a hydrating mask is typically between 10 and 20 minutes. However, the most reliable guide is always the instruction on the product's packaging. It's a misconception that leaving a mask on for longer will yield better results. In fact, if a clay-based or certain cream mask is left on for too long, it can begin to dry out and may start to draw moisture back out of the skin, counteracting its purpose. For sheet masks, leaving them on past the recommended time can also lead to this reverse-osmosis effect. Set a timer to remind you when it's time to remove it.
After the Mask: The Final Steps
Removing the mask and following up with the right products is just as important as the preparation.
Mask Removal
Rinse the mask off with lukewarm water. Use your hands or a soft, damp cloth to gently wipe it away. Avoid vigorous rubbing, which can irritate the skin. Pat your face dry with a clean, soft towel, leaving it slightly damp.
Locking in the Moisture
Immediately after removing the mask, while your skin is still receptive and slightly damp, it's time to complete your routine. Apply your favourite serum and follow up with a moisturiser. This final step is crucial as it seals in the hydration from the mask and provides a protective barrier to keep your skin soft and plump for hours to come.