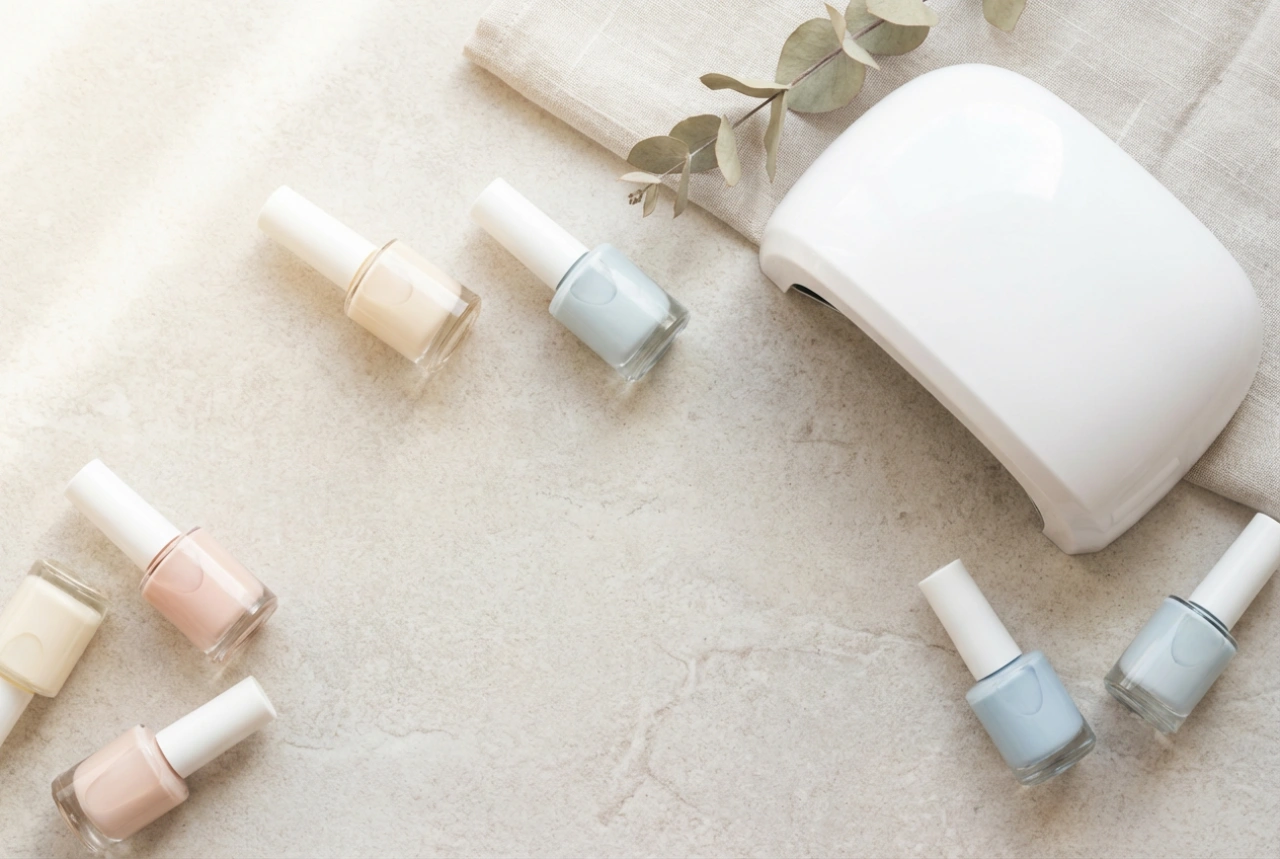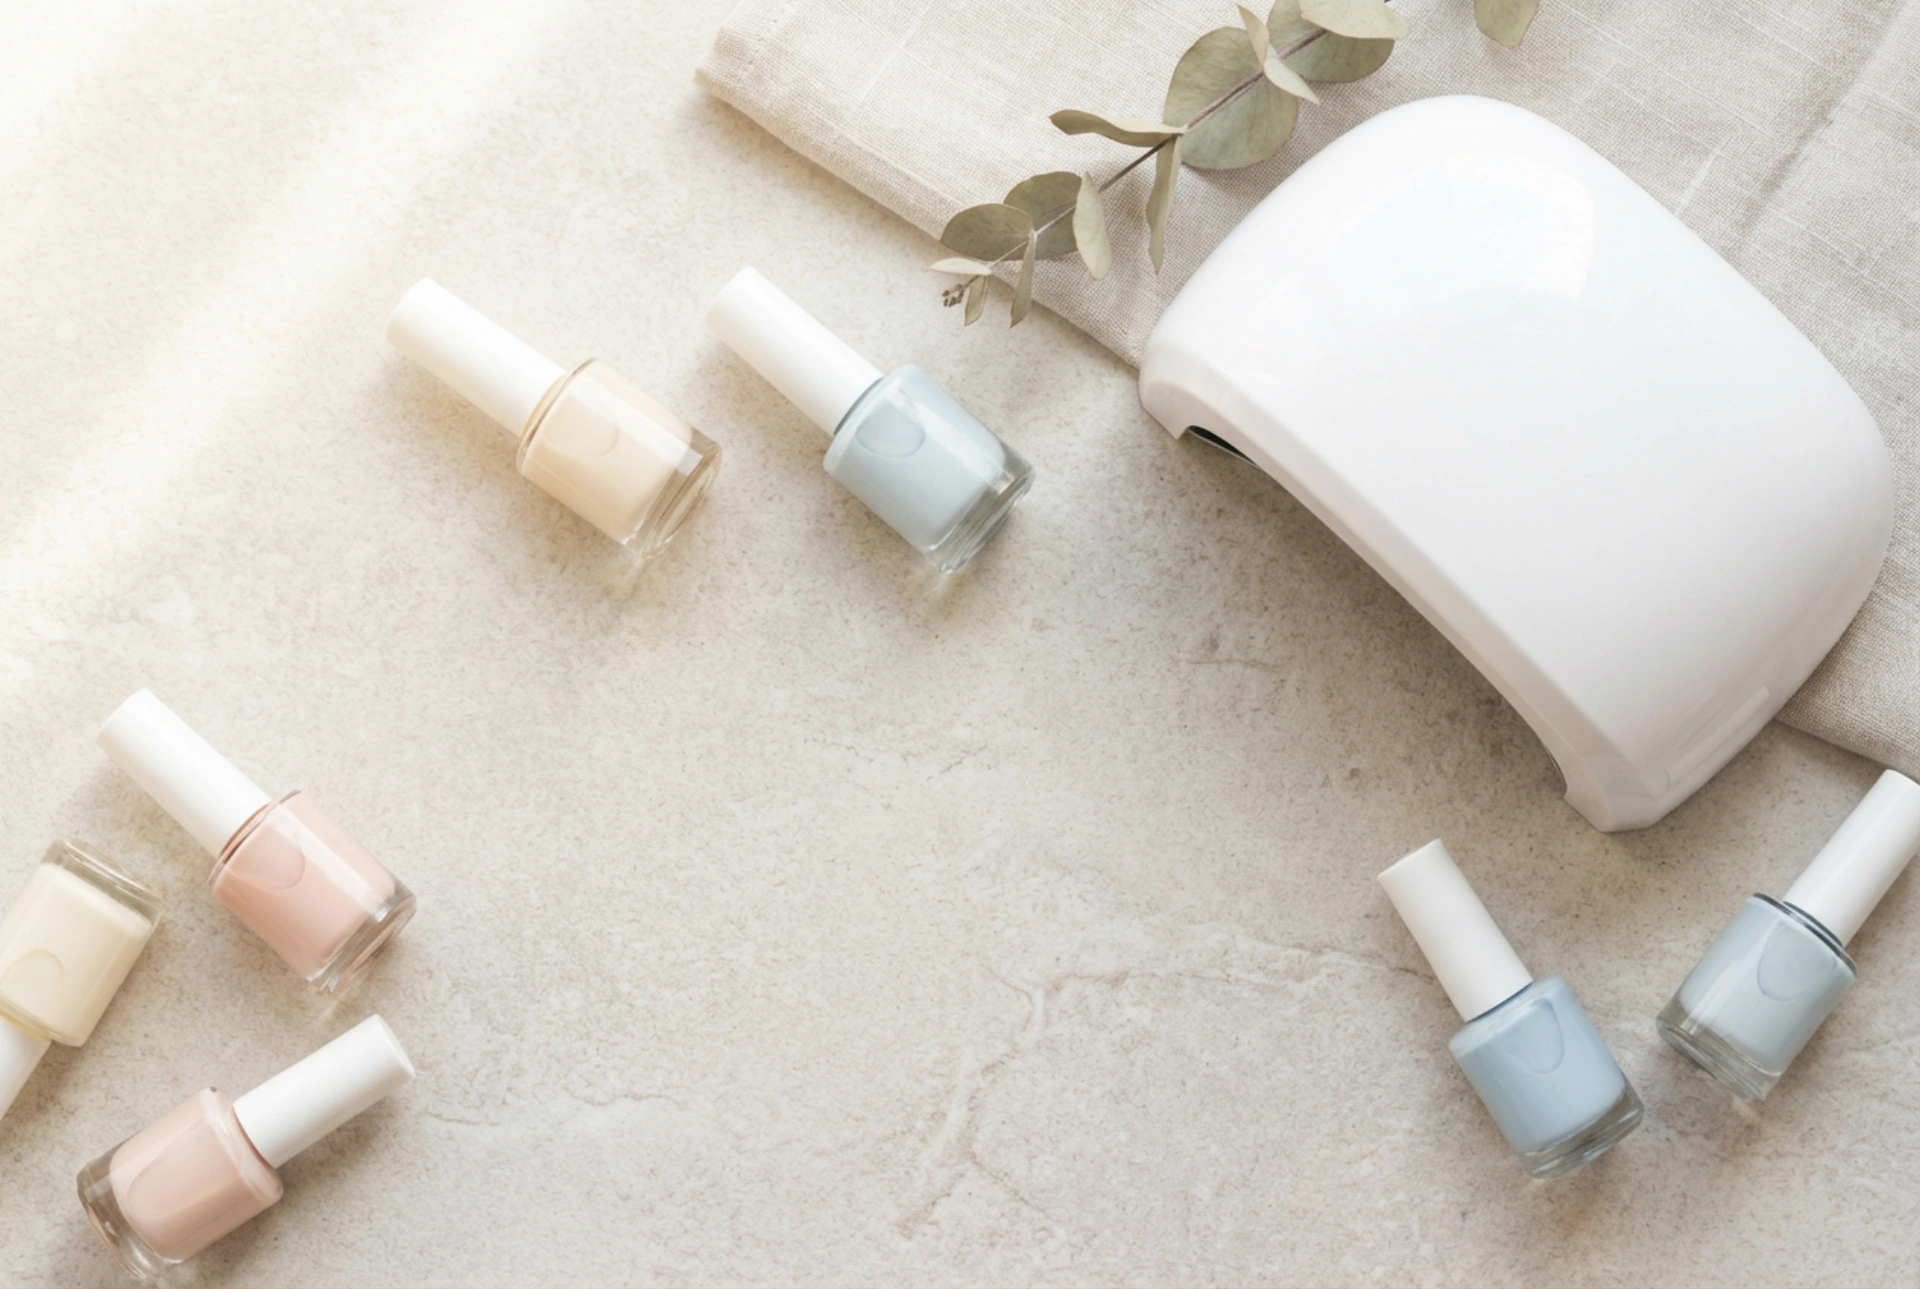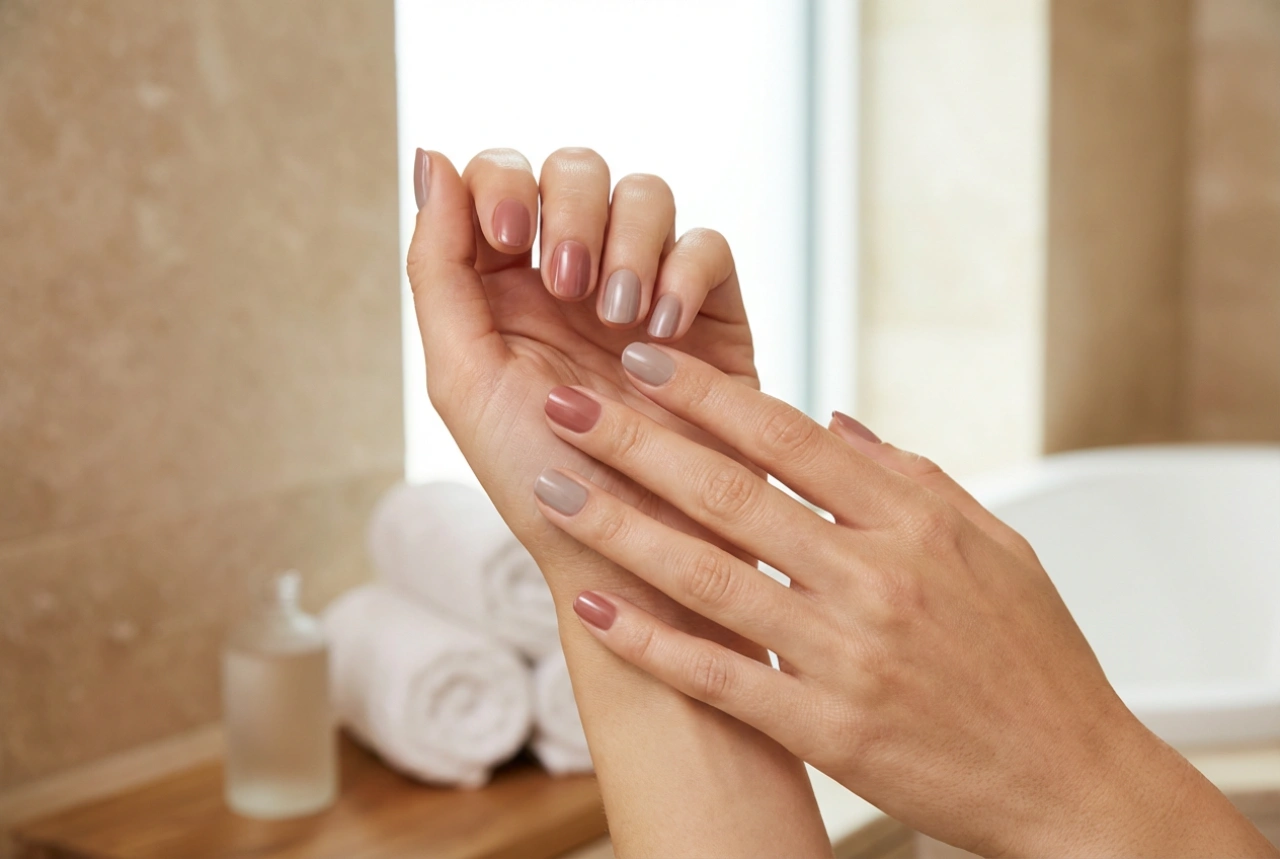


A classic manicure is a hallmark of elegance and personal care. Well-groomed hands with beautifully painted nails can boost confidence and complete any look, just like the timeless appeal of a perfect red polish. While it may seem like a salon-exclusive luxury, achieving a professional-looking finish at home is entirely possible with the right technique and a bit of patience. This guide will walk you through the essential steps, from preparing your nails to applying the final, glossy top coat, ensuring your manicure is both stunning and durable.
Preparing Your Nails for a Flawless Manicure
Proper preparation is the foundation of a manicure that not only looks great but also lasts. Skipping these initial steps can lead to a messy application and chipping polish. Taking the time to prep your nails will make all the difference.
Start with a Clean Slate
Begin by removing any old nail polish. Use a gentle, acetone-free remover if possible, as it is less drying on your nails and cuticles. Afterwards, wash your hands with mild soap and water to remove any oily residue from the remover. Pat your hands and nails completely dry with a clean towel.
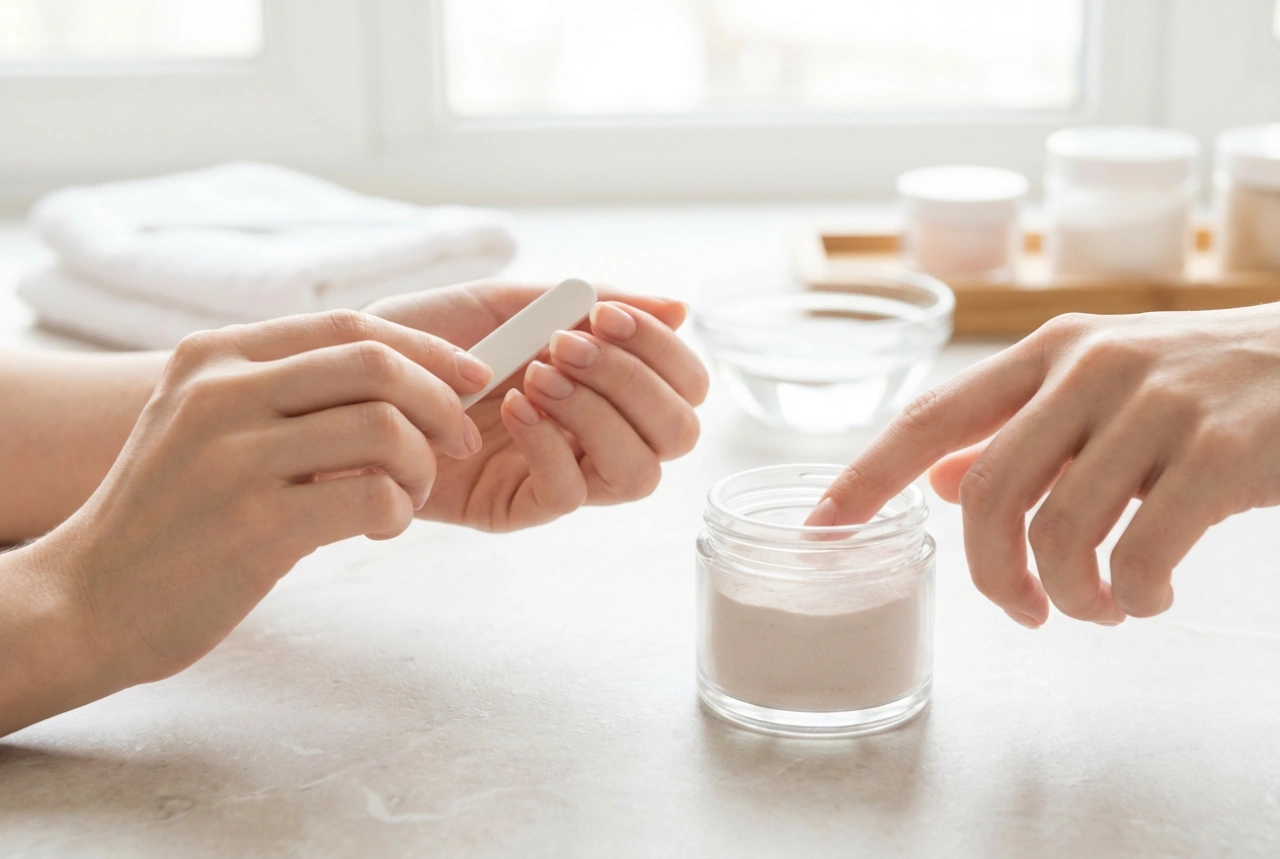
Shape and Smooth
Next, shape your nails using a fine-grit nail file. For the best results and to prevent splitting, always file in one direction, moving from the side of the nail towards the centre. Avoid a harsh back-and-forth sawing motion. You can choose any shape you like, such as classic oval, modern square, or a soft "squoval". Once you are happy with the shape, you can lightly buff the surface of your nails with a buffing block to smooth out any ridges. This creates an ideal canvas for the polish.
Gentle Cuticle Care
Healthy cuticles are essential for healthy nails. To care for them properly at home, follow these steps:
- Apply a cuticle remover solution to the base of each nail and let it sit for the time recommended on the product's instructions.
- Gently push back the softened cuticles using a wooden orange stick or a rubber-tipped cuticle pusher.
- Never cut your cuticles at home. The cuticle is a natural barrier that protects the nail matrix from irritants and external factors. Cutting them can leave your nails vulnerable and lead to issues.
- Wipe away any excess remover and debris. Your nails are now perfectly prepped for polish.
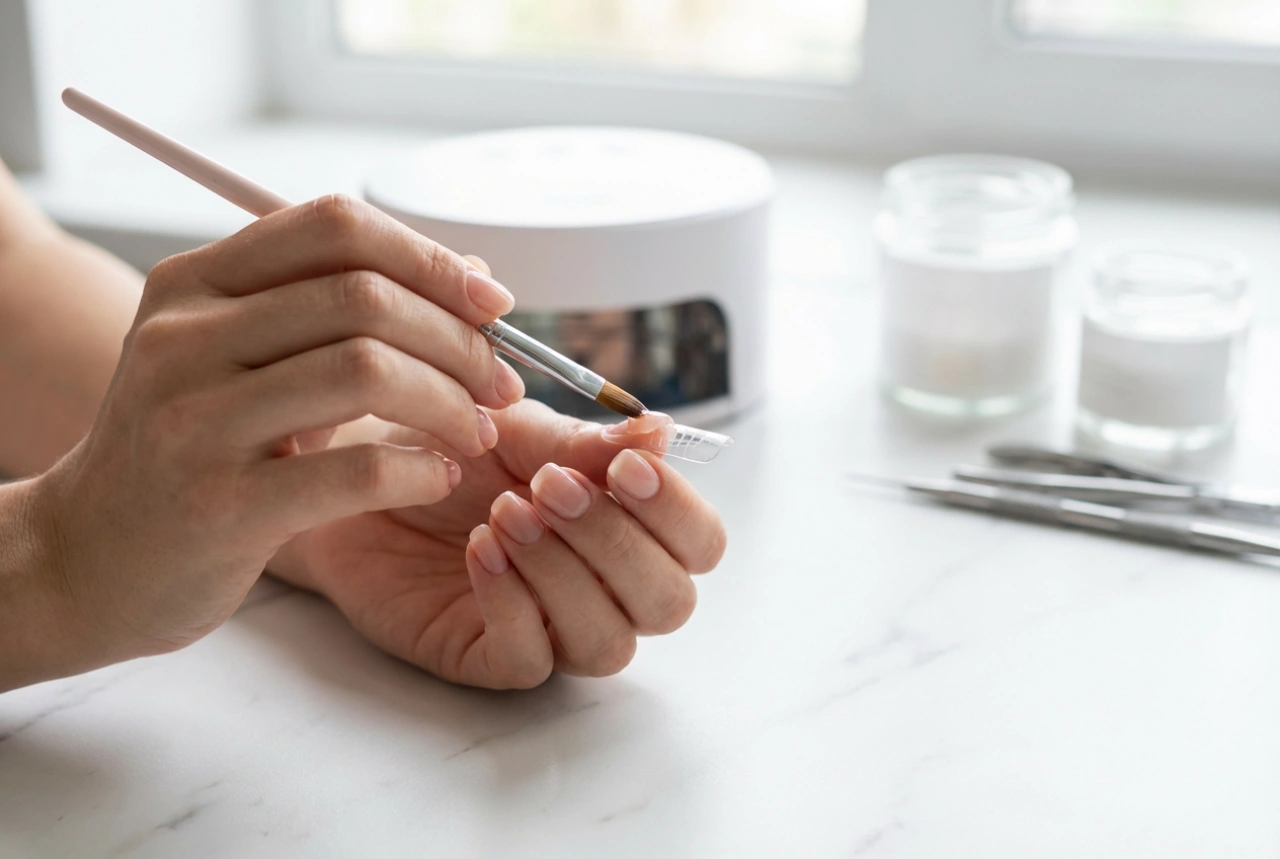
The Art of Applying Nail Polish: A Step-by-Step Guide
With your nails prepped, it's time for the colour application. The key to a neat finish is using thin, even coats and allowing adequate drying time between each layer.
The Essential Base Coat
Never skip the base coat. This clear layer serves multiple purposes: it protects your natural nails from being stained by the coloured polish, helps the polish adhere better, and fills in minor ridges for a smoother application. Apply one thin coat to each nail and let it dry completely, which usually takes about two minutes.
Applying the Colour: The Three-Stroke Method
For a professional-looking application, use the three-stroke method. Load your brush with enough polish for one nail without it dripping. Wipe one side of the brush on the neck of the bottle to remove excess. Place the brush in the centre of the nail, slightly away from the cuticle, and push back gently before swiping forward to the tip. Then, paint one stroke on the left side and another on the right. This technique ensures even coverage without flooding the cuticles. The first coat should be thin and may look streaky; this is normal.
The Second Coat for Depth and Vibrancy
Wait at least two to three minutes for the first coat to dry before applying the second. A second thin coat will provide full, opaque coverage and bring out the true richness of the colour. Use the same three-stroke method for the second application. If you make any mistakes and get polish on your skin, you can easily clean it up later with a small brush or cotton bud dipped in nail polish remover.
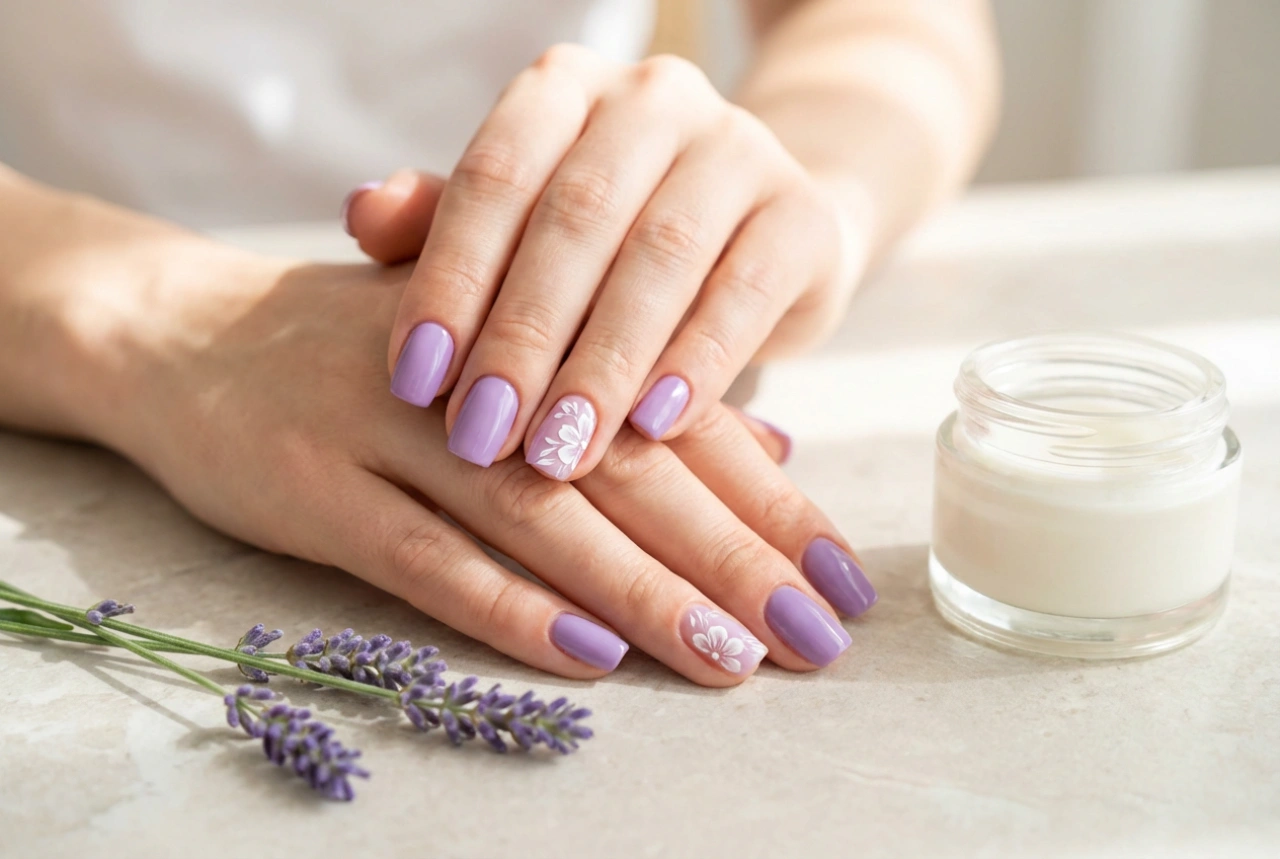
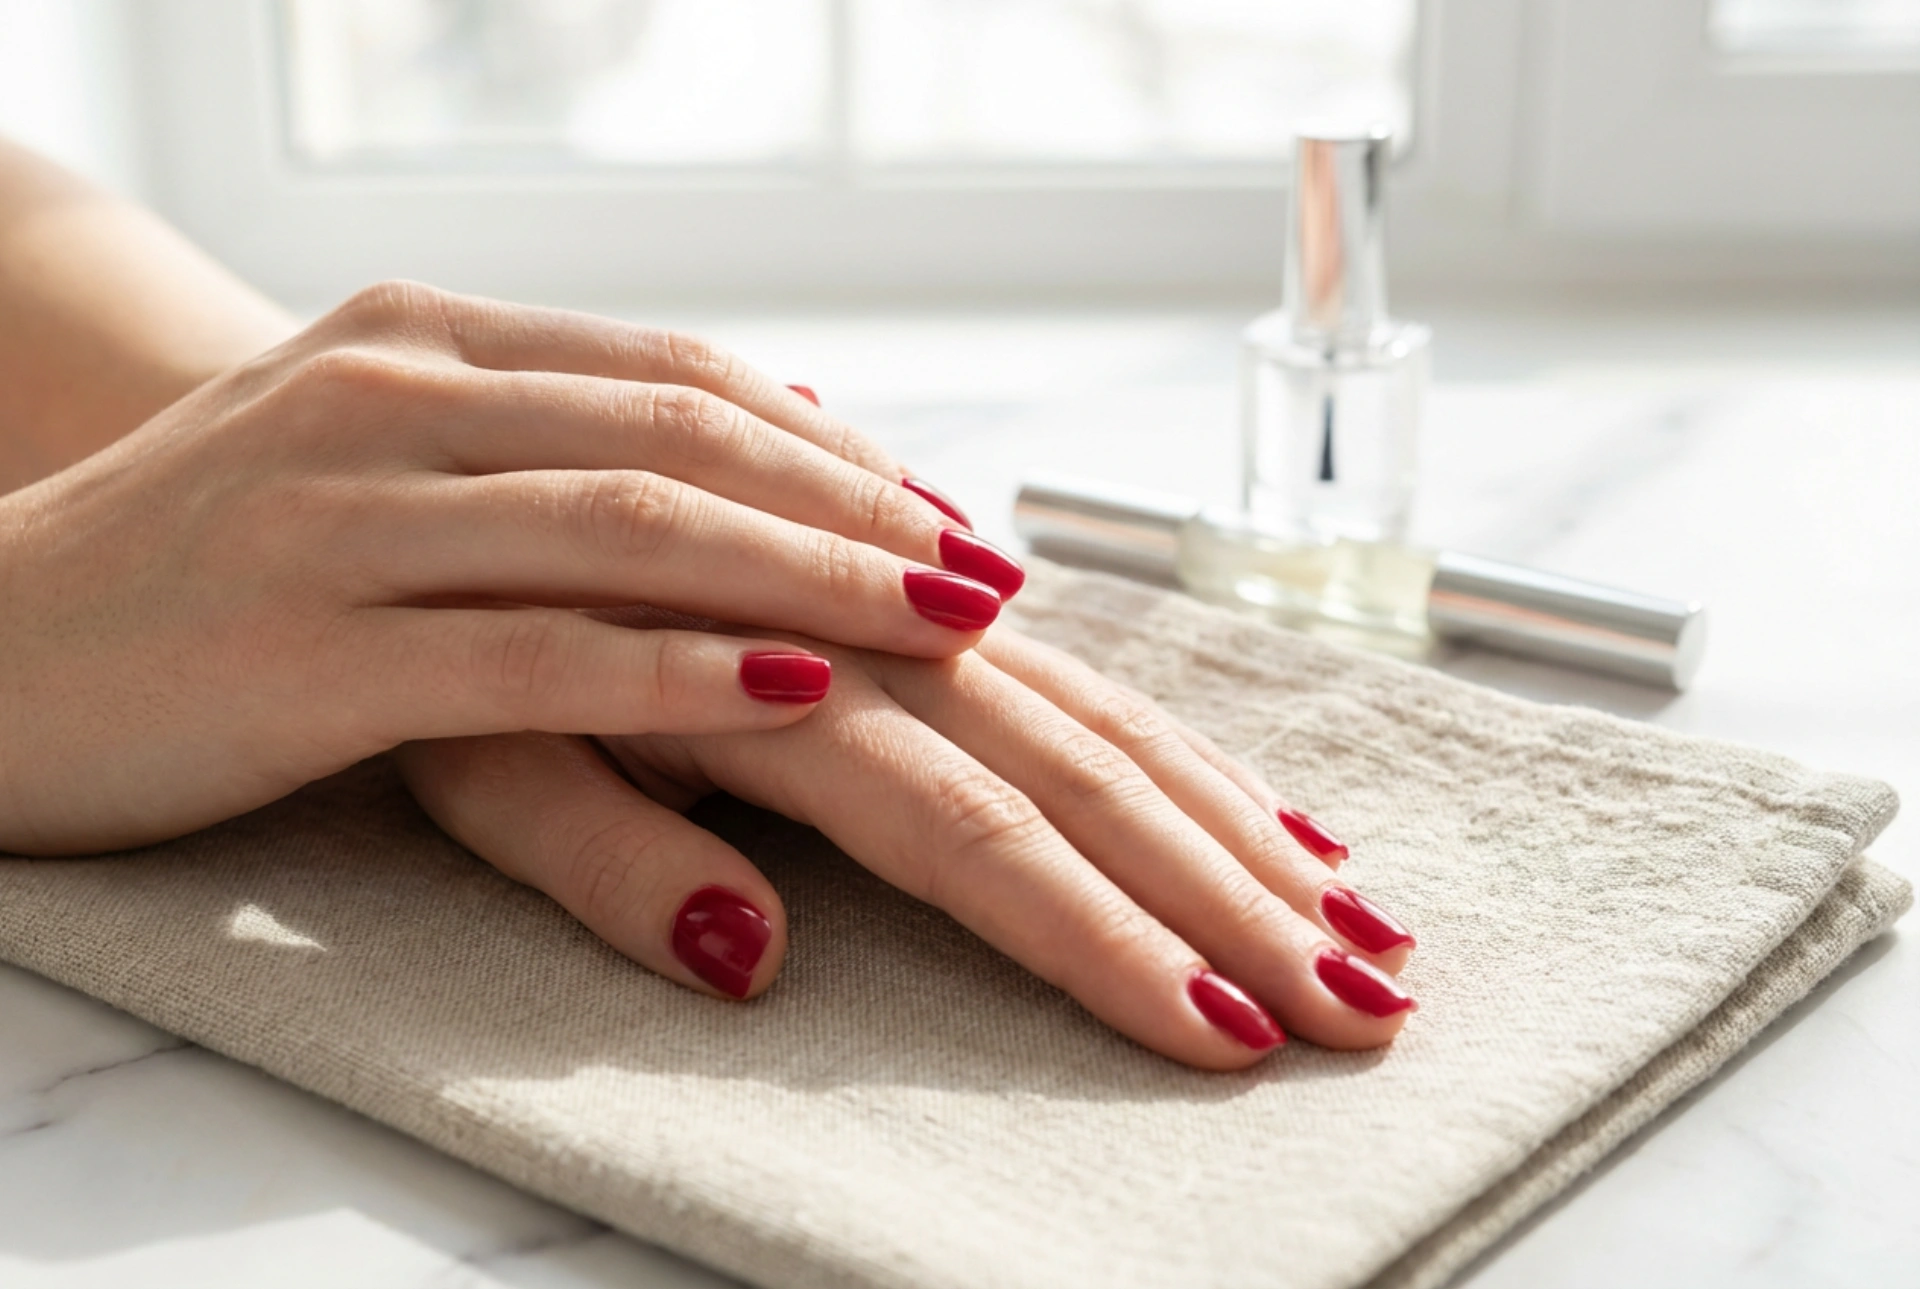
Ensuring Longevity: Sealing and Maintaining Your Manicure
The final steps are all about sealing in your hard work and making your beautiful manicure last as long as possible.
The Protective Top Coat
A top coat is non-negotiable for a long-lasting manicure. It provides a high-gloss finish, protects the colour from chipping and fading, and can help to speed up the overall drying process. Apply one layer of top coat over the entire nail, making sure to "cap" the free edge. To do this, swipe the brush horizontally along the very tip of your nail. This seals the polish and significantly reduces the chance of chipping.
Patience and Proper Drying
Although your nails might feel dry to the touch after a few minutes, nail polish can take several hours to fully harden. Be gentle with your hands during this time. Avoid tasks that could smudge your fresh manicure. While quick-dry drops or sprays can help set the top layer, true curing takes time. Rinsing hands in cold water is a myth and can trap moisture, so it is best to let them air dry naturally.
Aftercare for Lasting Beauty
To keep your manicure looking fresh for days, incorporate a few simple habits into your routine:
- Apply cuticle oil daily to nourish your cuticles and the skin around your nails. Hydrated cuticles look better and promote healthy nail growth.
- Wear protective gloves when doing household chores, especially when washing dishes or using cleaning products.
- Avoid using your nails as tools to open cans or scrape things off surfaces.
By following these steps, you can achieve a flawless, durable, and elegant classic manicure in the comfort of your own home.