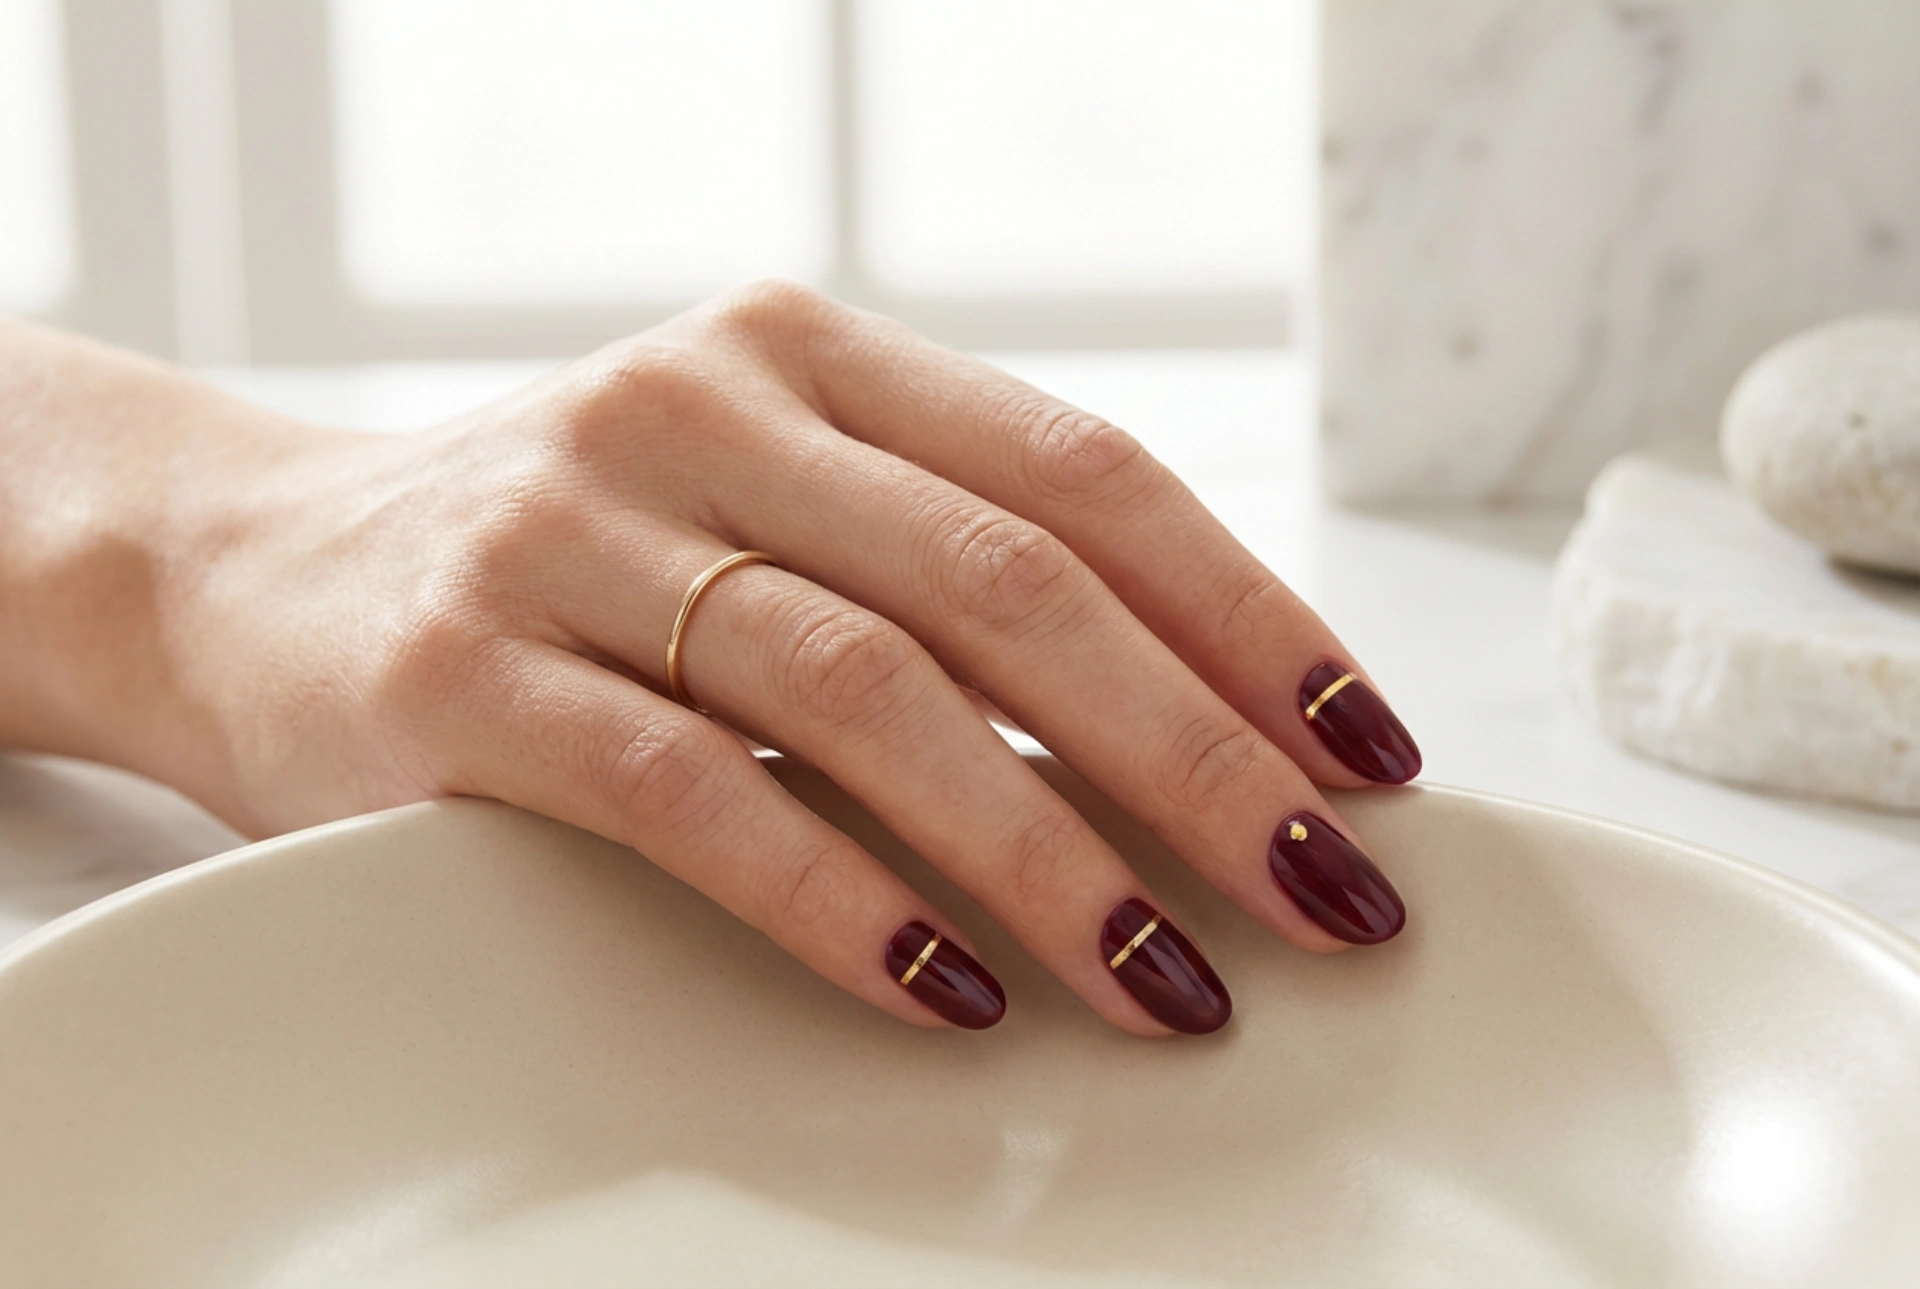


The combination of deep, rich burgundy and the warm lustre of gold creates a look of timeless elegance. A burgundy manicure with a gold accent is a sophisticated choice that transitions seamlessly from day to night, complementing a wide range of styles and occasions. This classic colour pairing exudes confidence and refinement, making it a perfect way to elevate your look. With a few simple tools and techniques, you can achieve this polished and chic design at home.
Essential Preparation for a Perfect Manicure
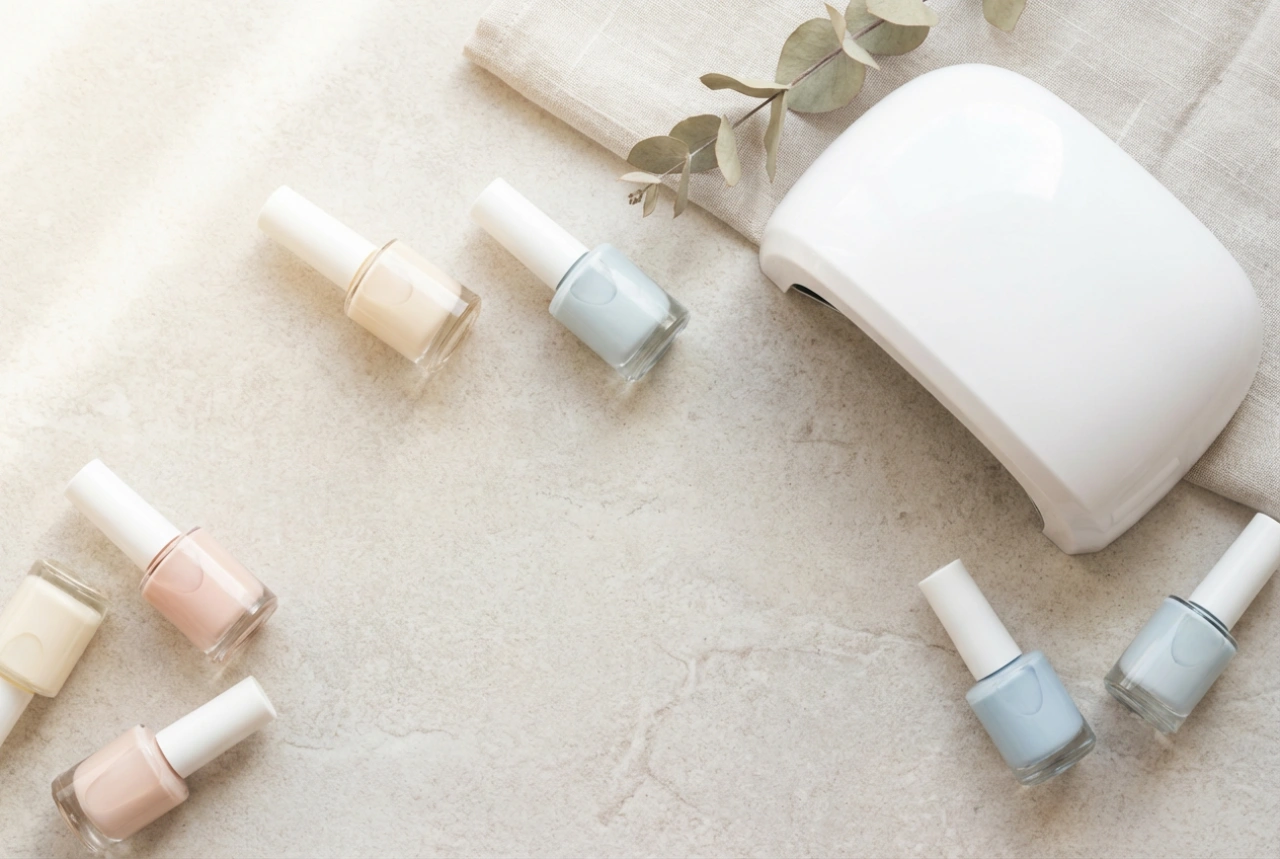
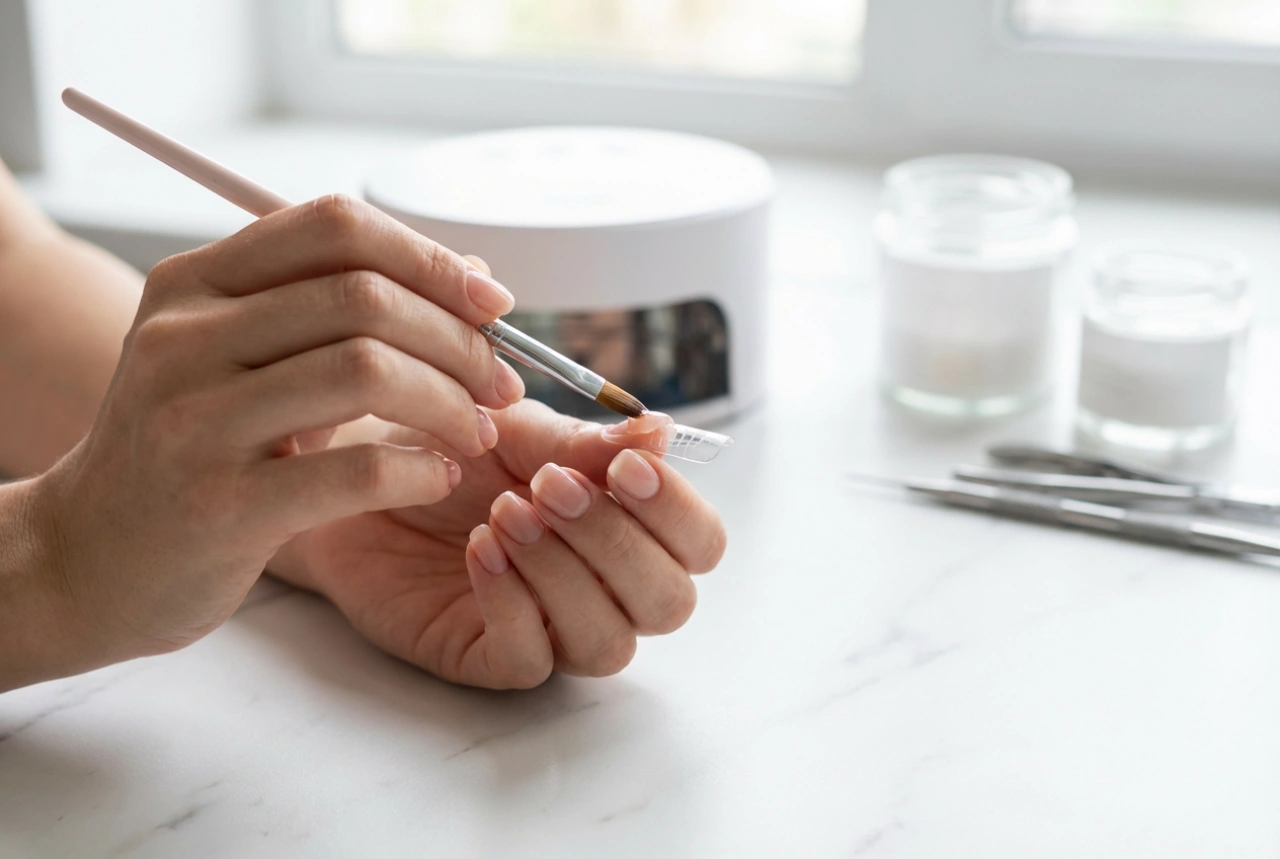
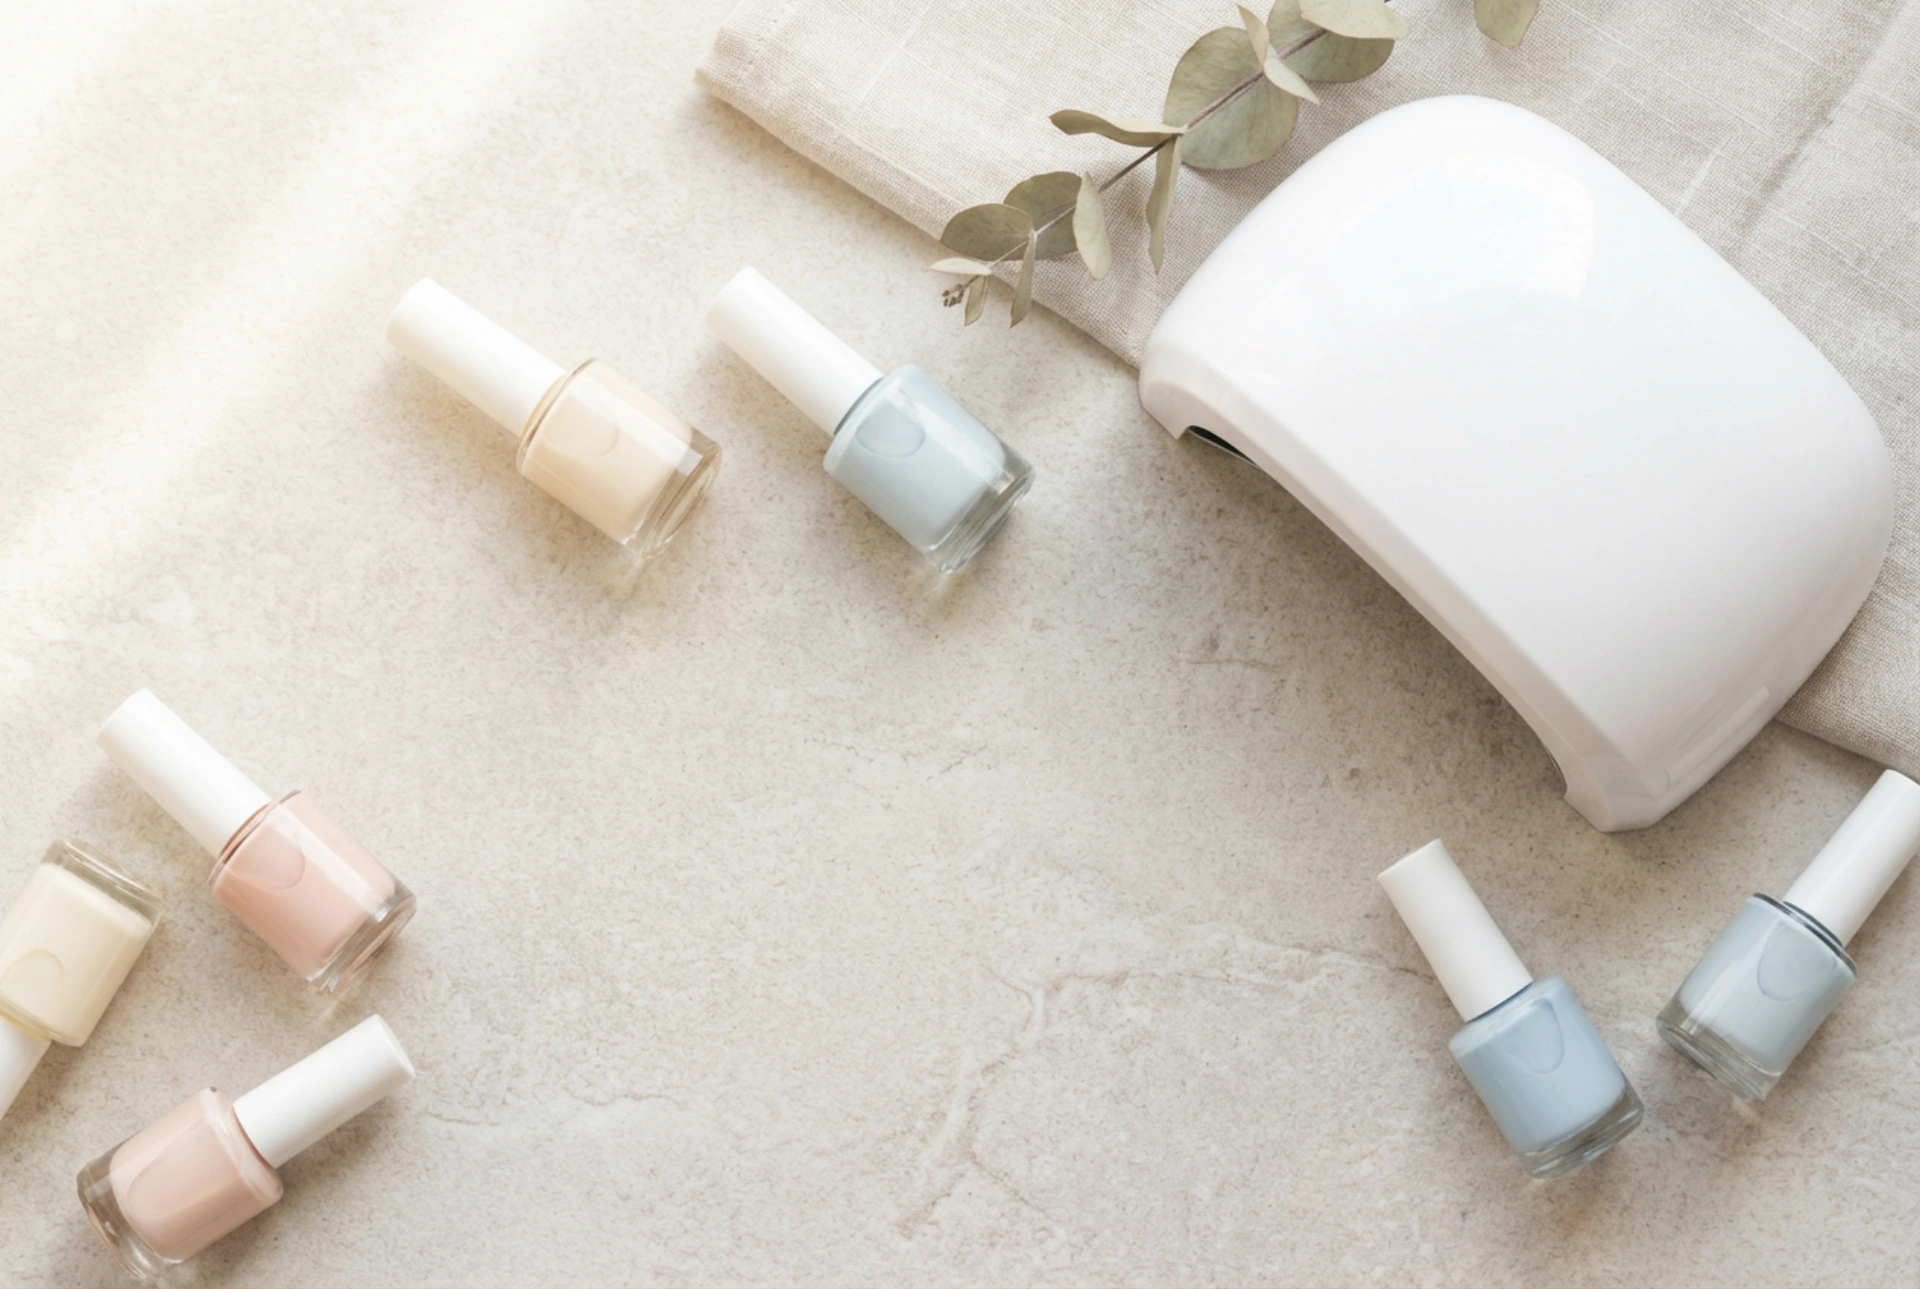
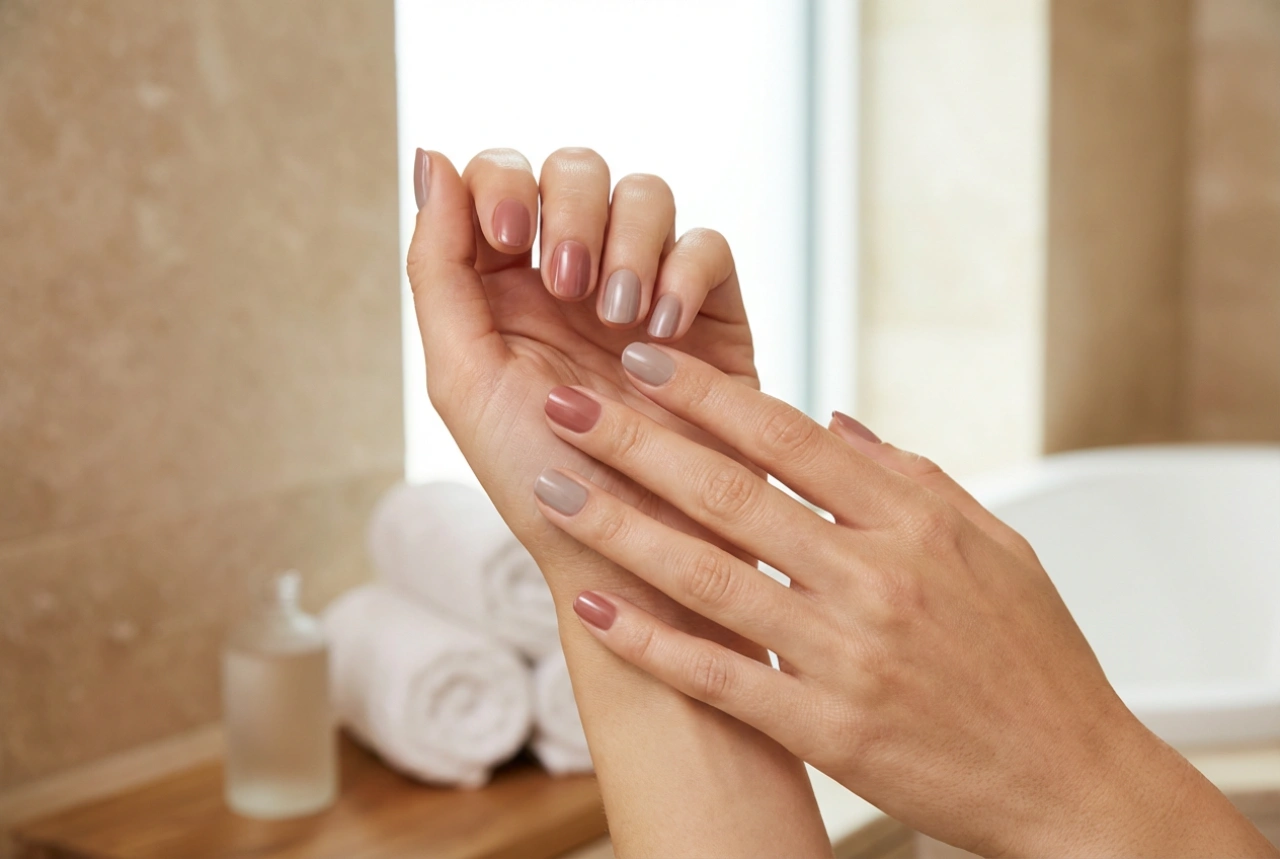
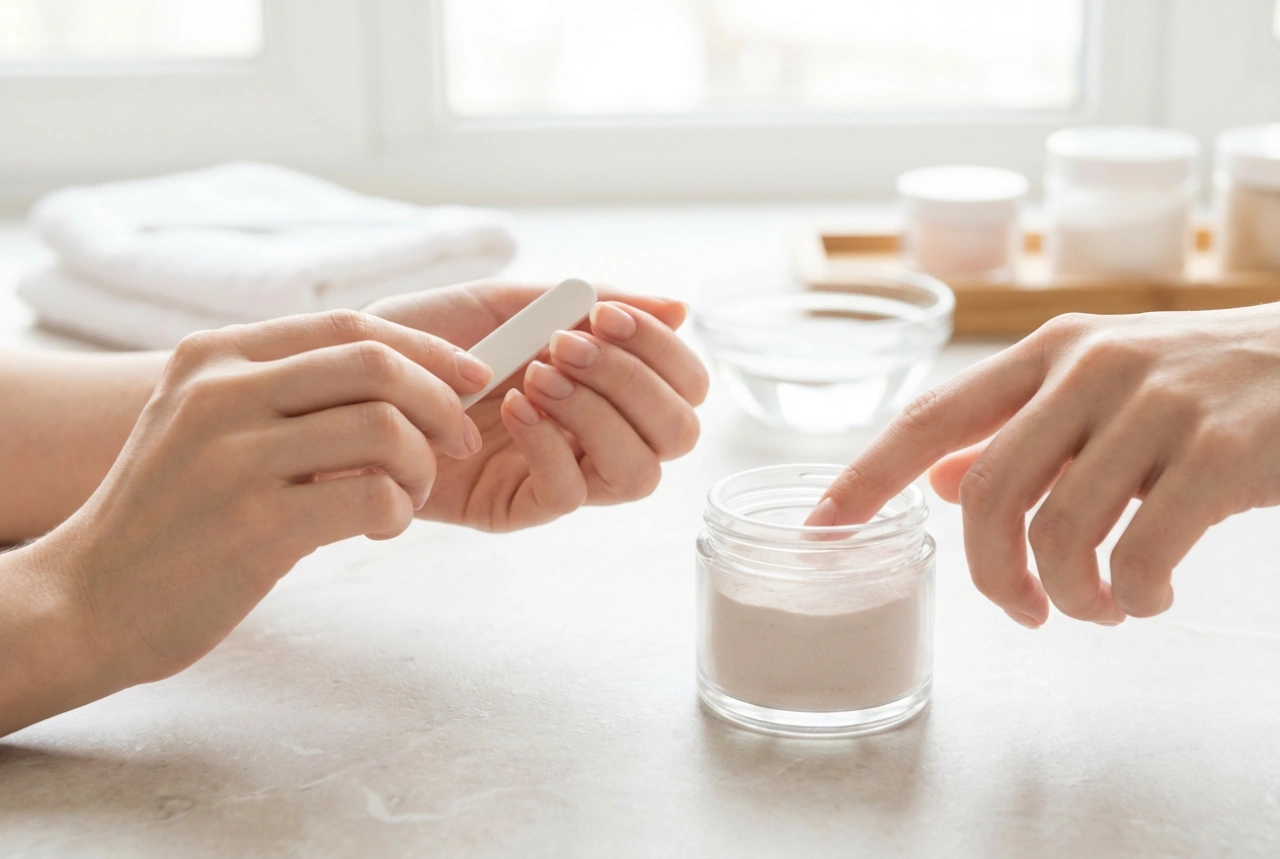
The foundation of any beautiful manicure is well-cared-for nails. Before you apply any colour, take the time to prepare your nails properly. This will not only ensure a smoother application but also help your manicure last longer. Start by removing any old nail varnish with a gentle remover. Next, wash your hands and nails. Shape your nails with a file, moving in one direction to prevent splitting. Gently push back your cuticles using a wooden or rubber-tipped cuticle pusher. Avoid cutting them, as they protect your nail bed. Finally, lightly buff the surface of your nails to create a smooth canvas and apply a quality base coat. A base coat protects your natural nails from staining and provides a tacky surface for the colour to adhere to, increasing the longevity of your manicure.
Mastering the Rich Burgundy Base
Choosing the right shade of burgundy is key to achieving the desired effect. Burgundy can range from deep, wine-like reds to shades with hints of brown or purple. Select a colour that complements your skin tone. To apply the varnish, start with a thin, even coat. Place a drop of varnish in the centre of your nail, slightly away from the cuticle, push it back gently, and then sweep it forward to the tip. Follow with two more strokes to cover the sides of the nail. Allow this first coat to dry completely. Applying a second thin coat will provide full, opaque coverage and intensify the richness of the colour. Patience is crucial here; ensure each layer is dry to the touch before proceeding to avoid smudges and bubbles.
Techniques for Adding a Touch of Gold
Once your burgundy base is perfectly dry, it's time to introduce the gold accent. The beauty of this design lies in its versatility, from bold statements to subtle hints of shimmer. Here are a few techniques to try at home.
Minimalist Lines and Shapes
For a clean, modern look, use a very thin nail art brush or striping tape. You can paint a single, fine vertical or horizontal line on an accent nail, or perhaps create a simple chevron at the tip. To use striping tape, apply it to the dry burgundy nail in your desired pattern, paint over it with gold varnish, and carefully remove the tape while the gold is still wet for a crisp line.
Delicate Gold Leaf or Flakes
Gold leaf or flakes offer a luxurious, textured finish. Apply a thin layer of top coat or nail glue where you want the accent. While it's still tacky, use a pair of tweezers to carefully pick up small pieces of gold leaf and place them onto the nail. Gently pat them down with a fingertip or a soft brush. You can concentrate the flakes near the cuticle for an ombre effect or scatter them randomly for an abstract design.
A Modern Twist on the French Manicure
Reimagine the classic French manicure by replacing the traditional white tip with a fine line of gold. This can be done freehand with a steady hand and a thin brush, or you can use guide strips to ensure a neat, curved line. This style is particularly chic and understated, adding a subtle sparkle to the deep burgundy base.
Subtle Dots and Half-Moons
A dotting tool is perfect for creating precise, minimalist designs. A single gold dot at the base of each nail, just above the cuticle, creates a simple yet elegant look. Alternatively, you can create a half-moon manicure (also known as a reverse French) by painting a small gold arc at the base of the nail against the burgundy background. It’s a stylish nod to vintage glamour.
Sealing Your Artwork for Longevity
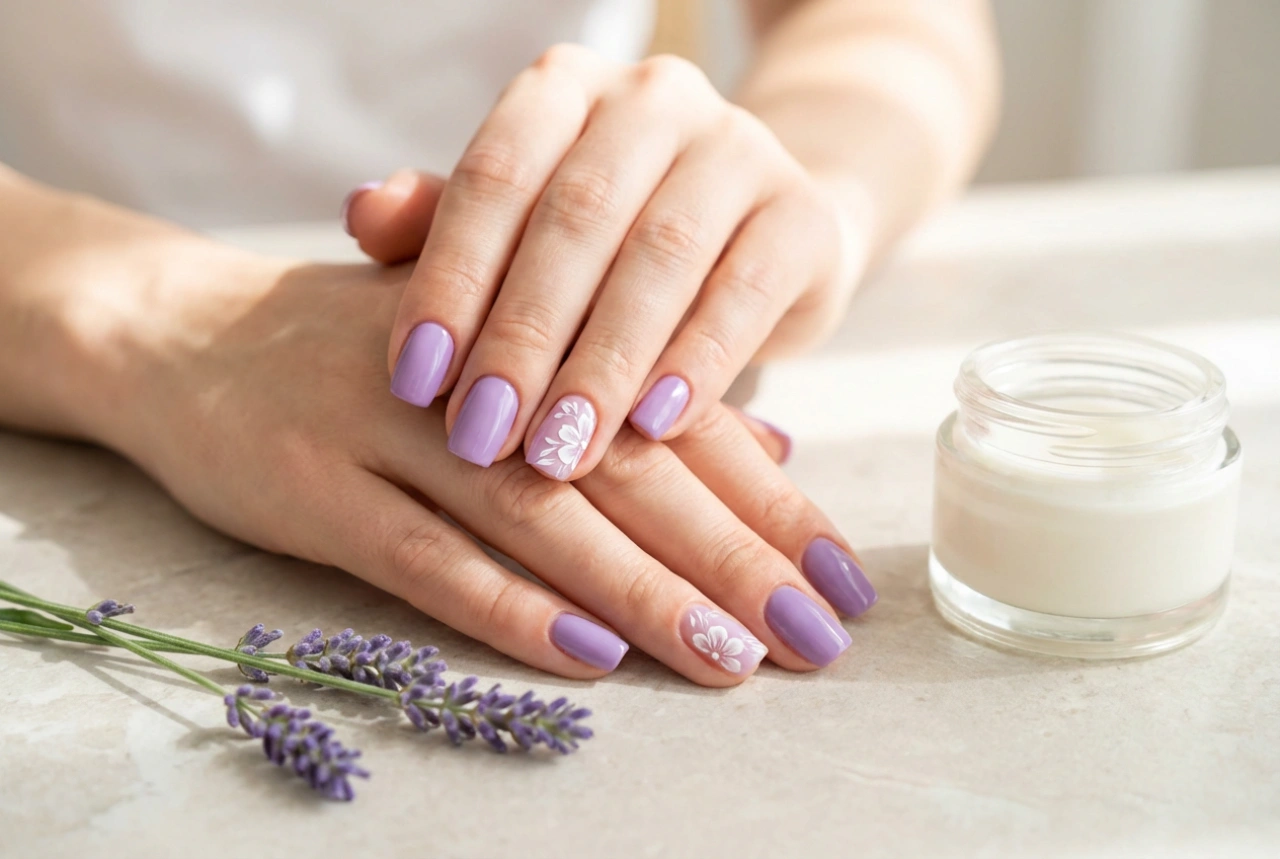
The final and most important step is to seal your design with a high-quality top coat. This will protect your nail art from chipping and fading, add a beautiful high-gloss shine, and smooth out any texture from flakes or multiple layers of varnish. Wait until your gold accents are completely dry before applying the top coat to prevent smudging. Float the brush over the nail, applying a generous layer without letting the bristles drag across the design. For extra protection, you can reapply the top coat every two to three days to keep your manicure looking fresh and pristine.