


The allure of long, voluminous eyelashes is undeniable, framing the eyes and adding a touch of glamour to any look. For years, achieving this effect meant contending with messy, often irritating lash glue. Fortunately, beauty innovation has provided a modern solution: magnetic eyelashes. These offer a convenient, reusable, and glue-free way to enhance your natural lashes. Whether you're a complete beginner or looking to perfect your technique, this guide will walk you through the process, helping you achieve a flawless application every time.
Understanding the Types of Magnetic Lashes
Before you begin, it's helpful to know that 'magnetic lashes' typically come in two main designs, both of which bypass traditional adhesive. Understanding the difference will help you choose the right method for your desired look and skill level.
- Sandwich-Style Lashes: This system uses two lash strips per eye. One strip rests on top of your natural lashes, and the other is placed underneath. Tiny magnets on both strips lock together, sandwiching your natural lashes in between. This method requires no liner or liquid of any kind.
- Lashes with Magnetic Eyeliner: This popular alternative involves applying a special eyeliner that is formulated with iron oxides. The lash strip has small magnets along its band that adhere directly to the dried eyeliner. It combines the familiar process of applying eyeliner with the ease of magnetic technology.
A Step-by-Step Guide to Applying Sandwich-Style Lashes
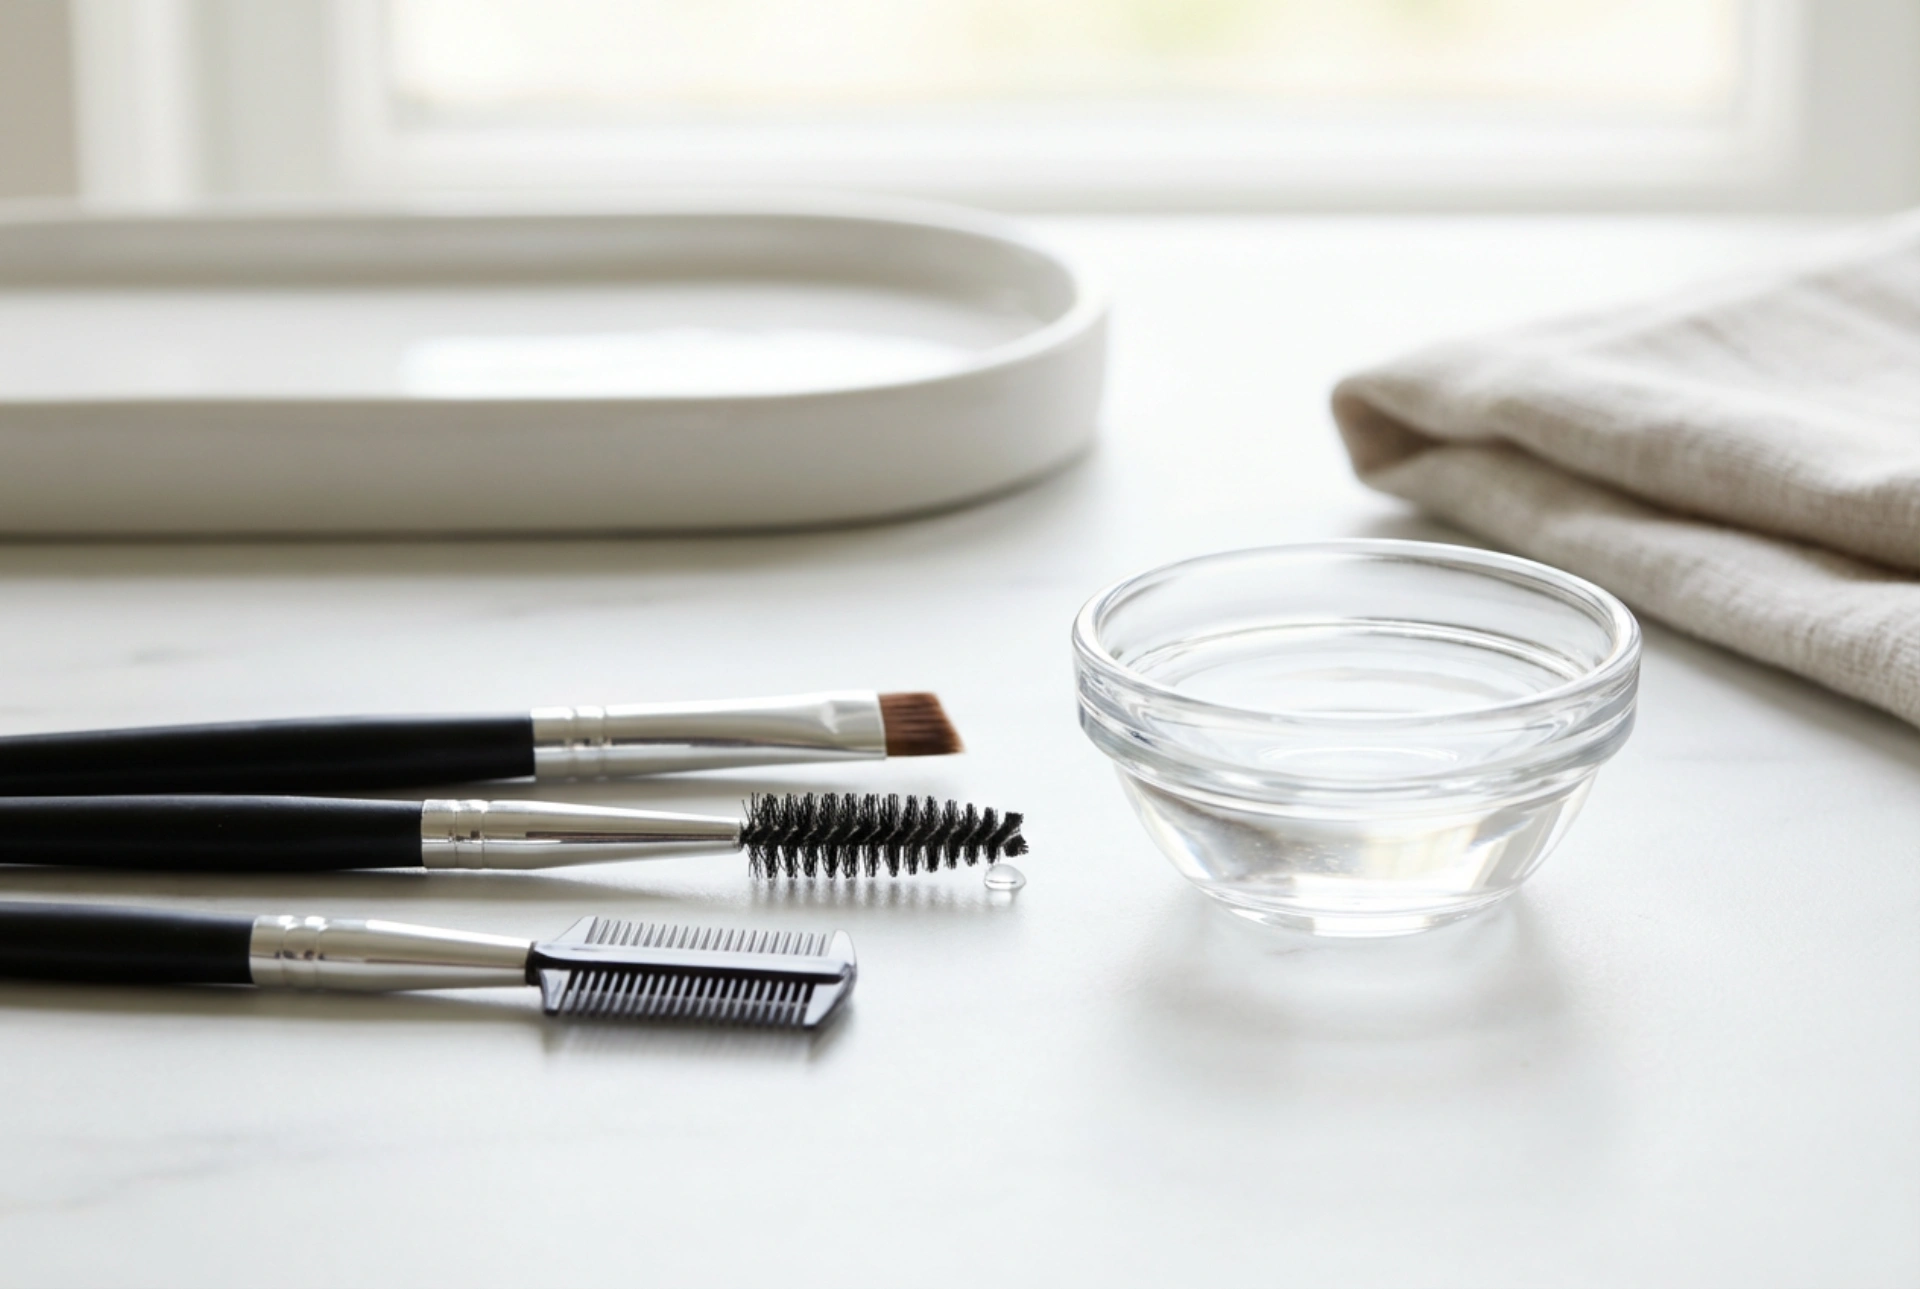
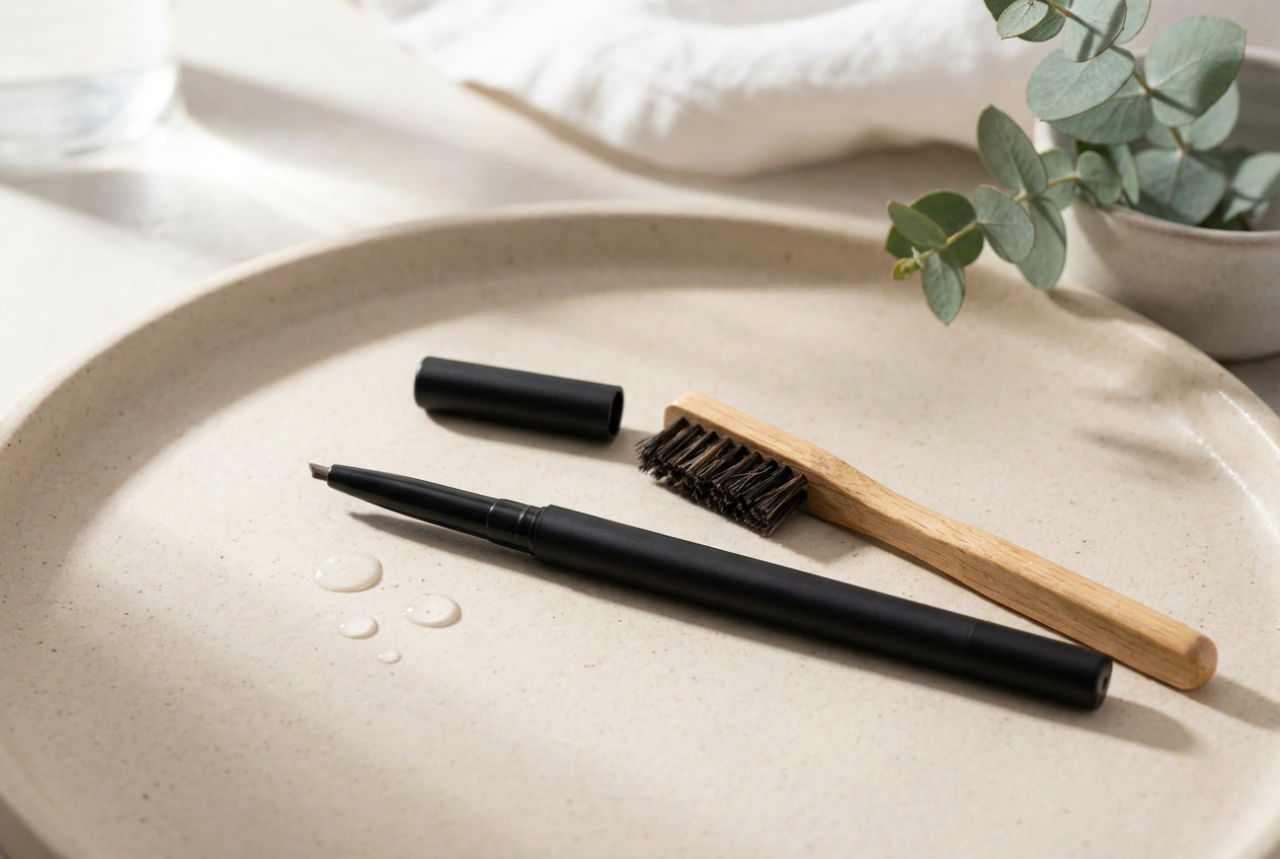
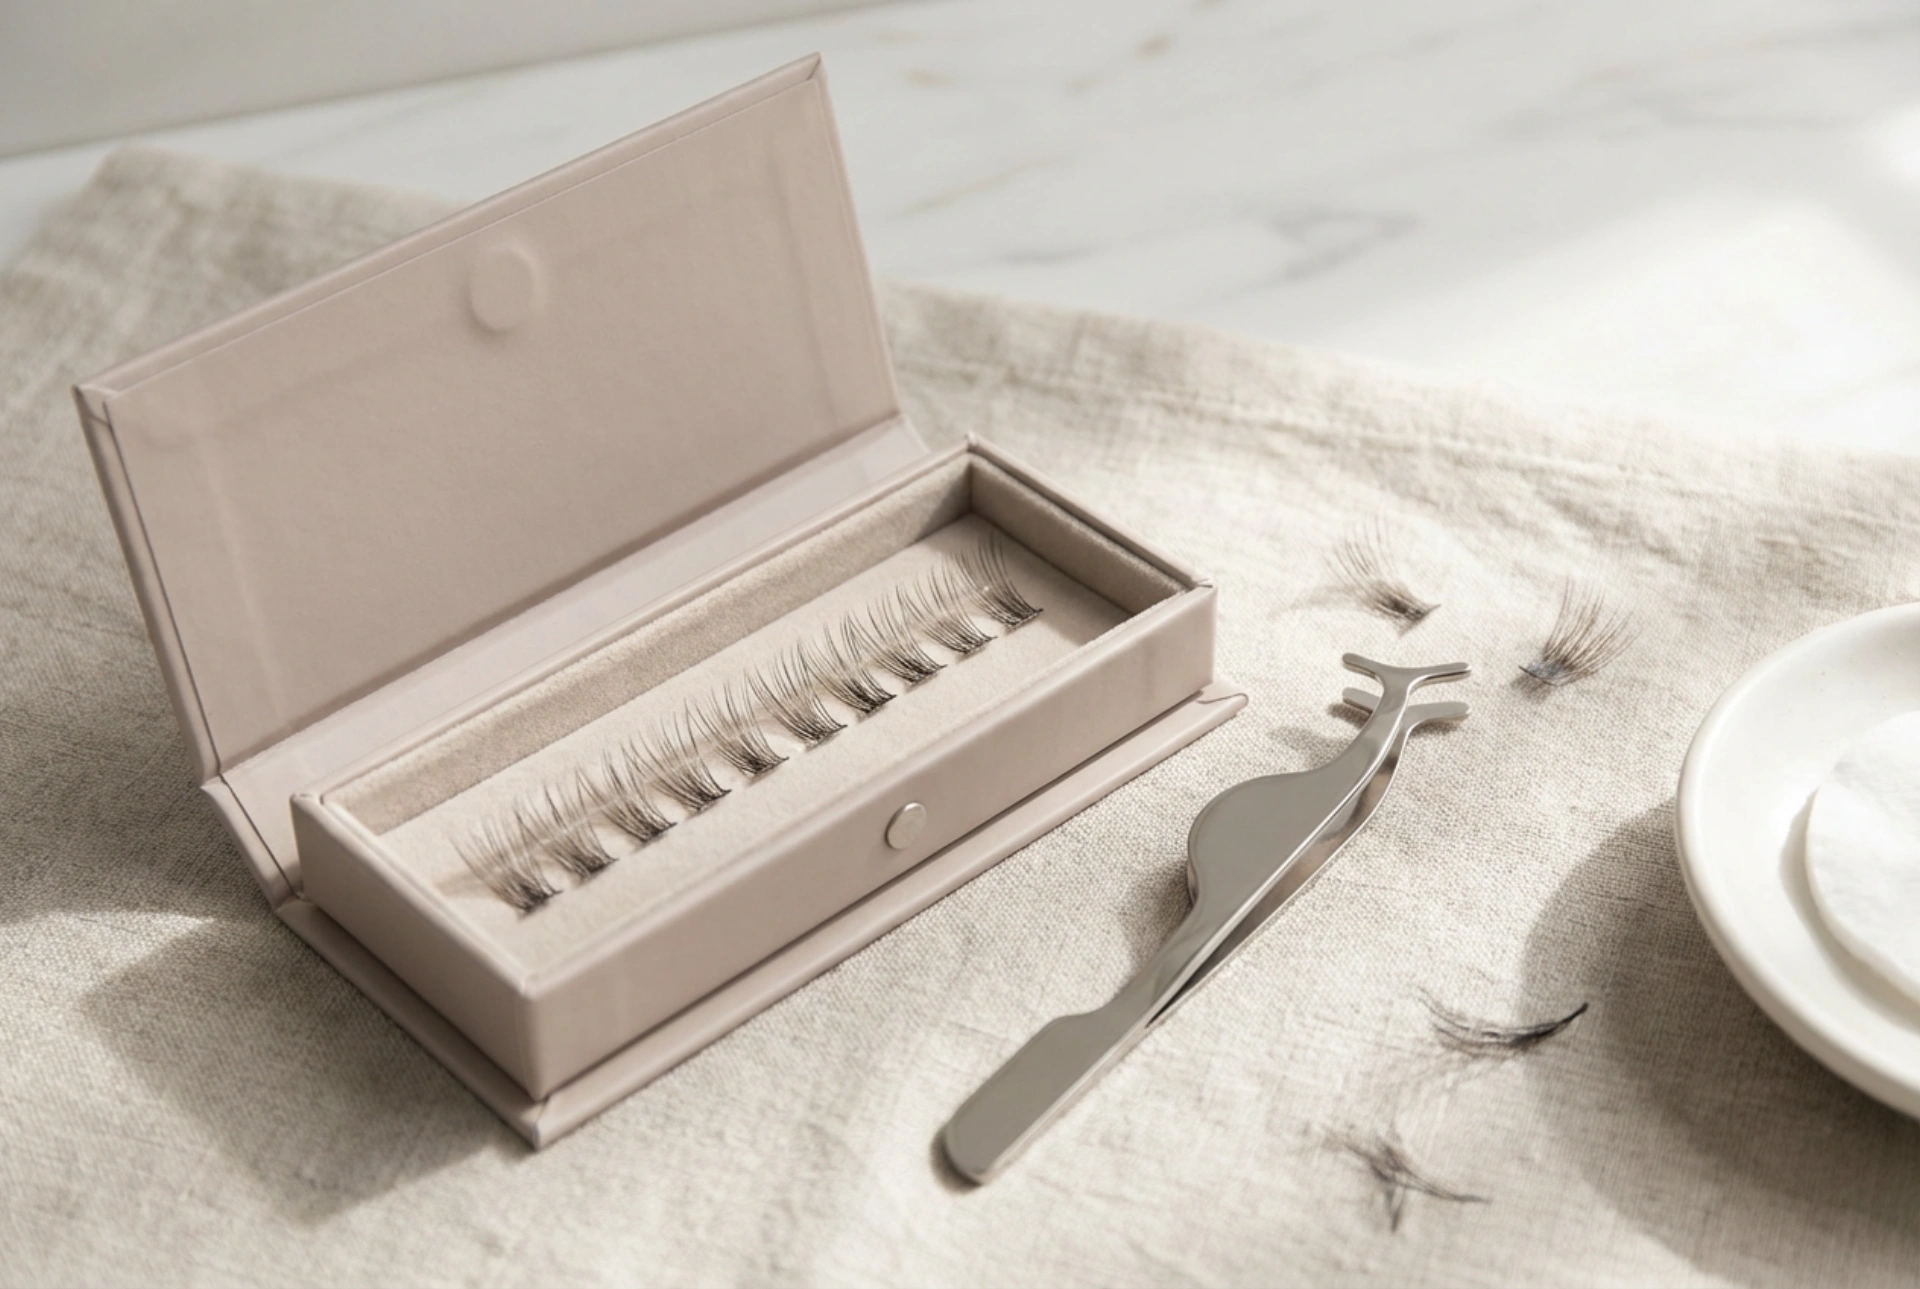
This method can take a little practice, but once mastered, it is incredibly quick. Using a dedicated, non-metallic applicator can make the process much smoother.
Step 1: Prepare Your Natural Lashes
Start by applying a coat of your favourite mascara to your natural lashes. This is a crucial step as it provides a better grip for the magnetic strips, preventing them from sliding. If you usually curl your lashes, do so before applying mascara.
Step 2: Position the Top Lash Strip
Carefully pick up the top lash strip (often marked or simply the longer of the two) and lay it gently along your lash line, as close to the roots as possible. Rest it in place without trying to secure it yet.
Step 3: Apply the Bottom Lash Strip
Now, take the bottom lash strip. Position it underneath your natural lashes, aligning it with the top strip. As you bring it close, the magnets will attract each other and 'click' into place, securing your natural lashes between them.
Step 4: Adjust for a Perfect Fit
Once the lashes are connected, you can gently slide them along your lash line to get the perfect position. They should sit comfortably without pinching. If it feels wrong, simply separate the magnets and try again.
How to Use Lashes with Magnetic Eyeliner
If you are comfortable applying liquid eyeliner, you might find this method more intuitive. The key to success is allowing the liner to dry completely.
Step 1: Apply the Magnetic Eyeliner
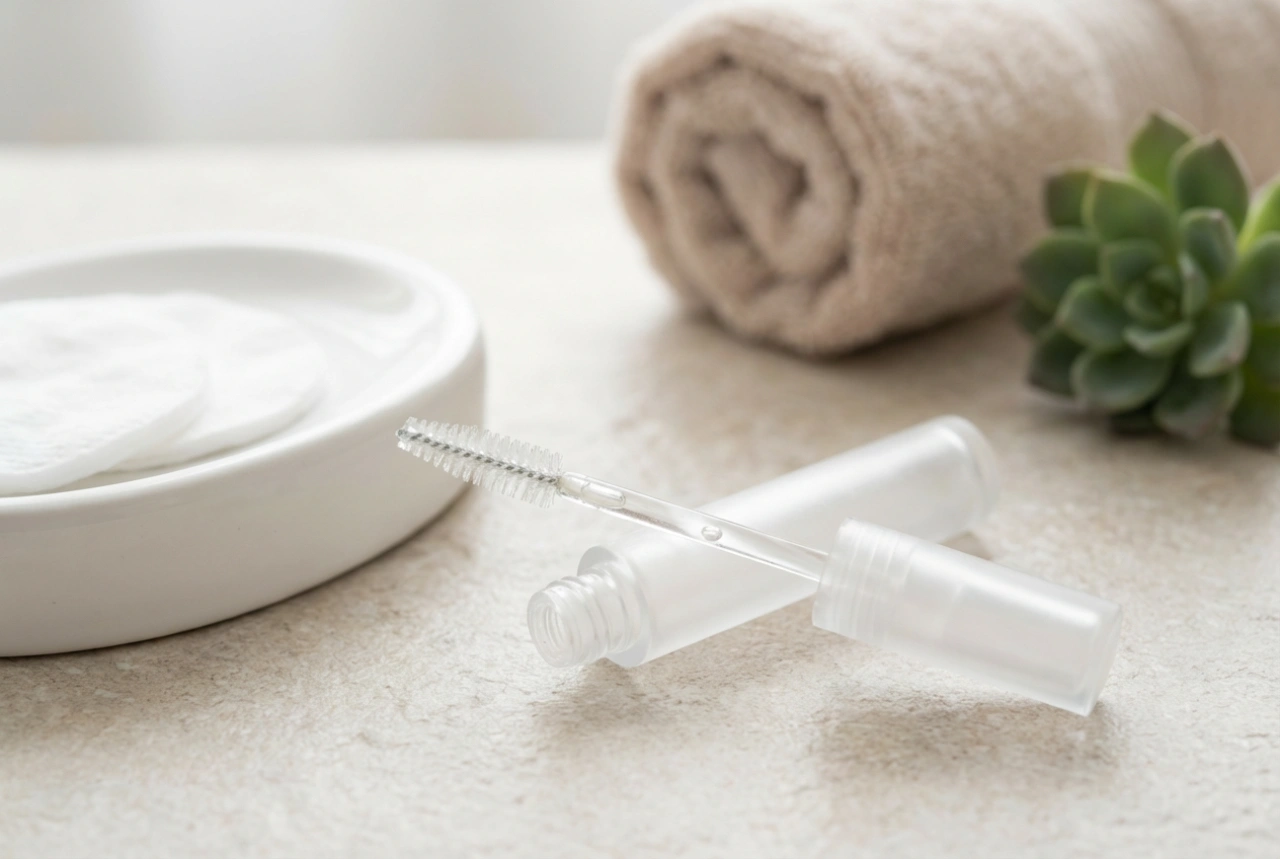
Shake the eyeliner bottle well. Apply a smooth, even line along your upper lash line, just as you would with a standard eyeliner. For a secure hold, ensure the line is as thick as the magnets on the lash band. Wait for the liner to dry completely, which may take a minute or two. For extra security, you can apply a second coat.
Step 2: Attach the Magnetic Lash
Once the liner is fully dry to the touch, take the magnetic lash strip and hold it above the liner. Lower it into place, starting from the inner corner of the eye and moving outwards. The magnets will instantly grab onto the liner.
Step 3: Secure and Finalise
Gently press along the lash band to ensure every magnet has made a firm connection with the eyeliner. Your lashes are now secure and ready for the day.
Common Mistakes and How to Avoid Them
A few common issues can be frustrating for beginners. Here's how to troubleshoot them for a flawless finish.
- Unnatural Fit: Most magnetic lashes are designed to be trimmed. If a lash strip is too long for your eye, it can lift at the corners and look unnatural. Always measure the strip against your eye first and trim any excess from the outer edge.
- Lashes Slipping (Sandwich-Style): If your sandwich-style lashes are sliding, it's likely because they don't have enough to grip. Always apply a coat of mascara first to give your natural lashes more texture and structure.
- Liner Not Holding (Magnetic Liner Style): If the lash isn't sticking, your eyeliner layer may be too thin or not fully dry. Apply a slightly thicker line and be patient while it dries completely before attaching the lash.
- Incorrect Placement: Placing lashes too close to the inner corner of the eye can cause discomfort and irritation. Always start the lash where your natural lashes begin to add volume, leaving the very inner corner free.
Care and Maintenance for Longevity
One of the best features of magnetic lashes is that they are reusable. With proper care, a single pair can last for dozens of wears.
To remove them, never pull directly. For sandwich-style lashes, gently slide the top and bottom magnets apart by rubbing your thumb and index finger together. For liner-style lashes, gently peel the lash off from the outer corner inwards. To clean them, lay the lashes on a paper towel and use a cotton bud dipped in an oil-free makeup remover to gently wipe away any mascara or liner residue from the magnets and band. Allow them to air dry completely before returning them to their case to maintain their shape and protect the magnets.