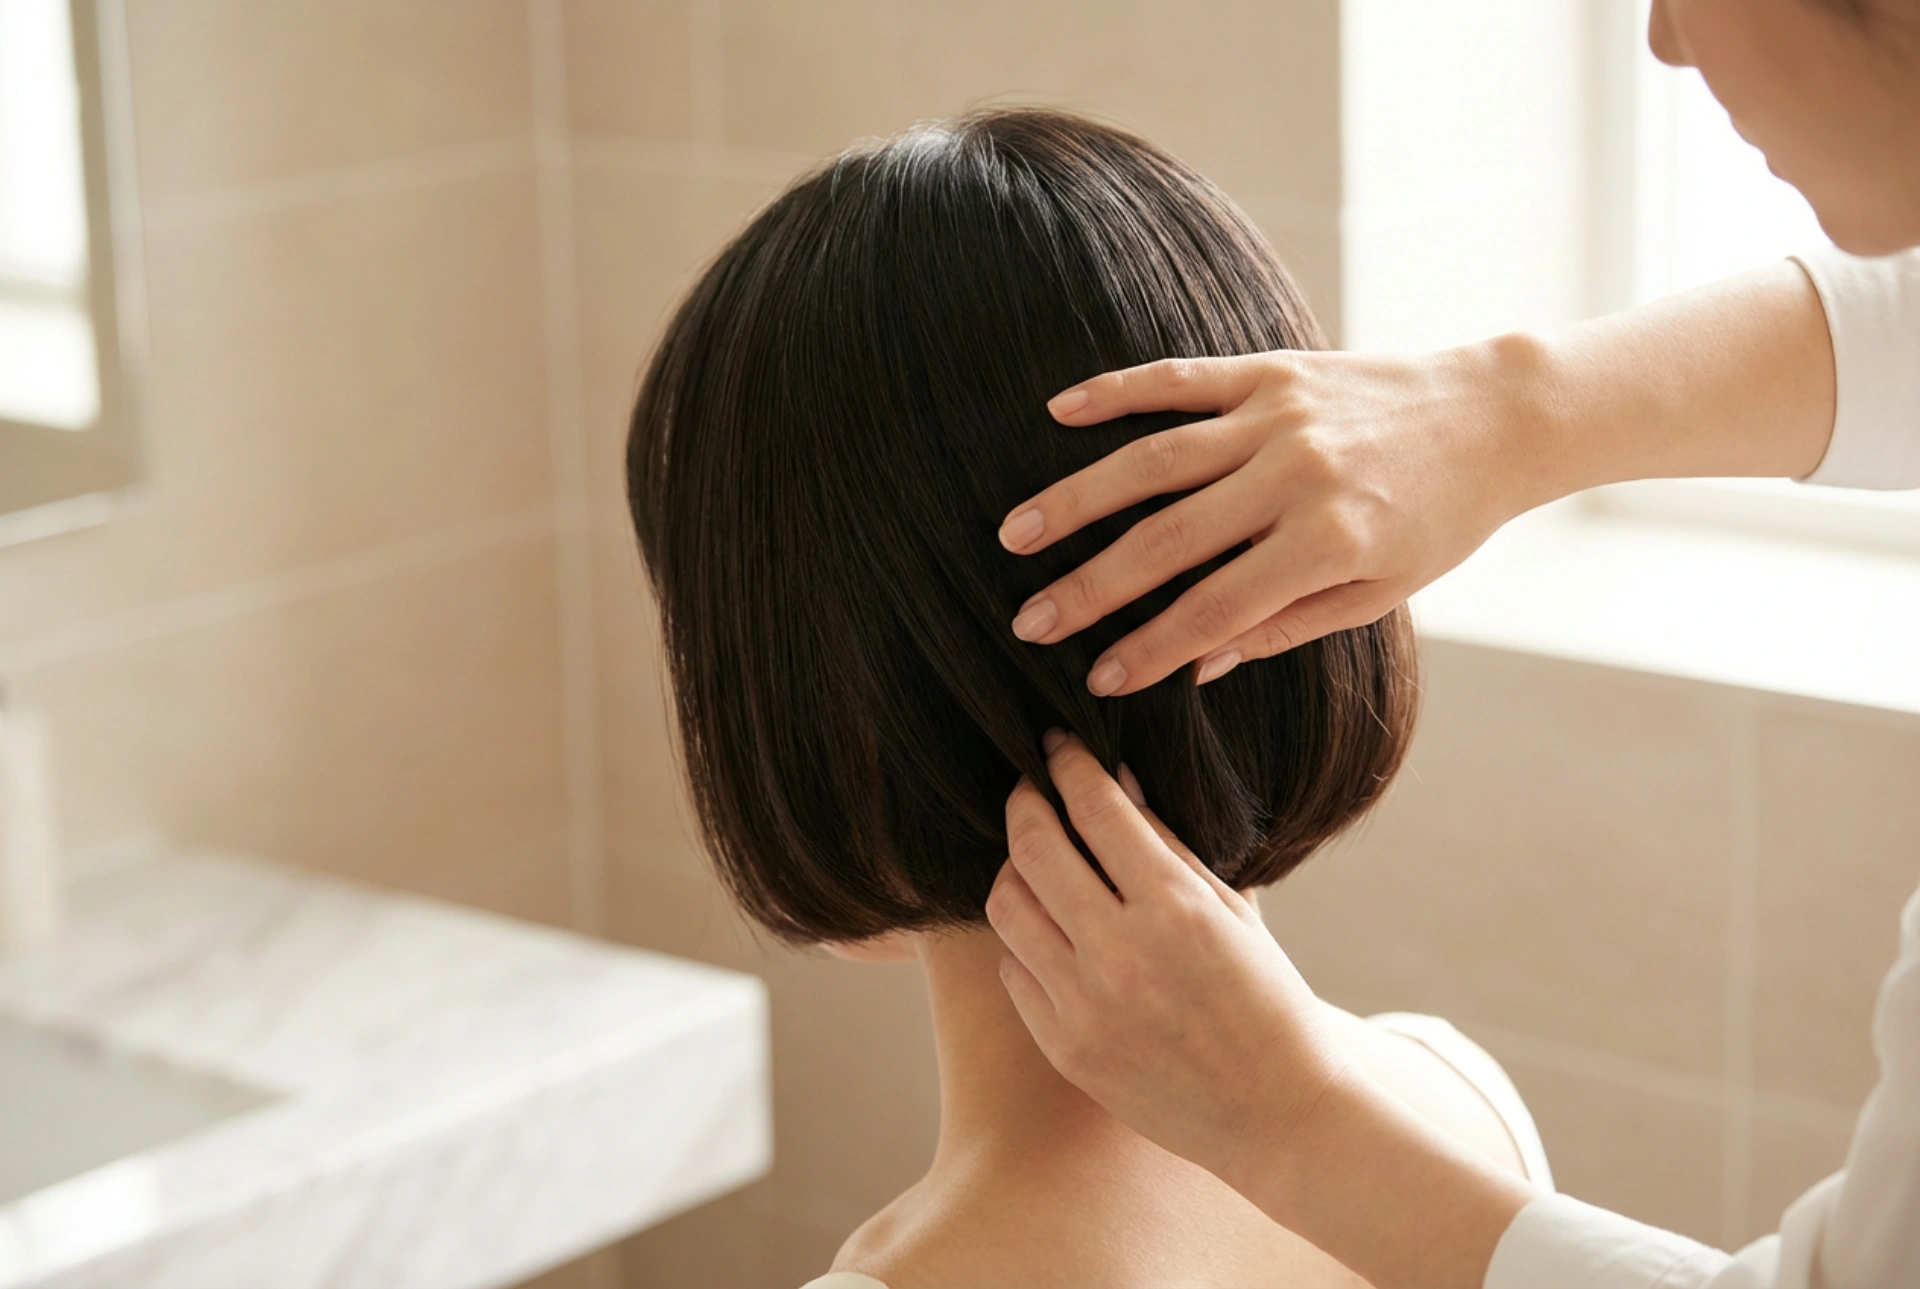


Achieving a perfectly polished finish with a short haircut often comes down to mastering the styling of the back sections. That elegant, rounded shape with the ends neatly tucked under is the hallmark of a chic, well-maintained style. While it may seem like a challenge to replicate a salon-fresh look at home, with the right techniques and tools, you can gain complete control over volume and create a smooth, sophisticated silhouette. This guide will walk you through the essential steps to expertly style the back of your short hair for a flawless result every time.
Preparing Your Hair for Styling
The foundation for any great hairstyle is properly prepared hair. A clean and well-conditioned base will be more manageable and hold its shape for longer. Skipping these initial steps can lead to frizz, a lack of volume, or a style that falls flat within hours.
Cleansing and Conditioning
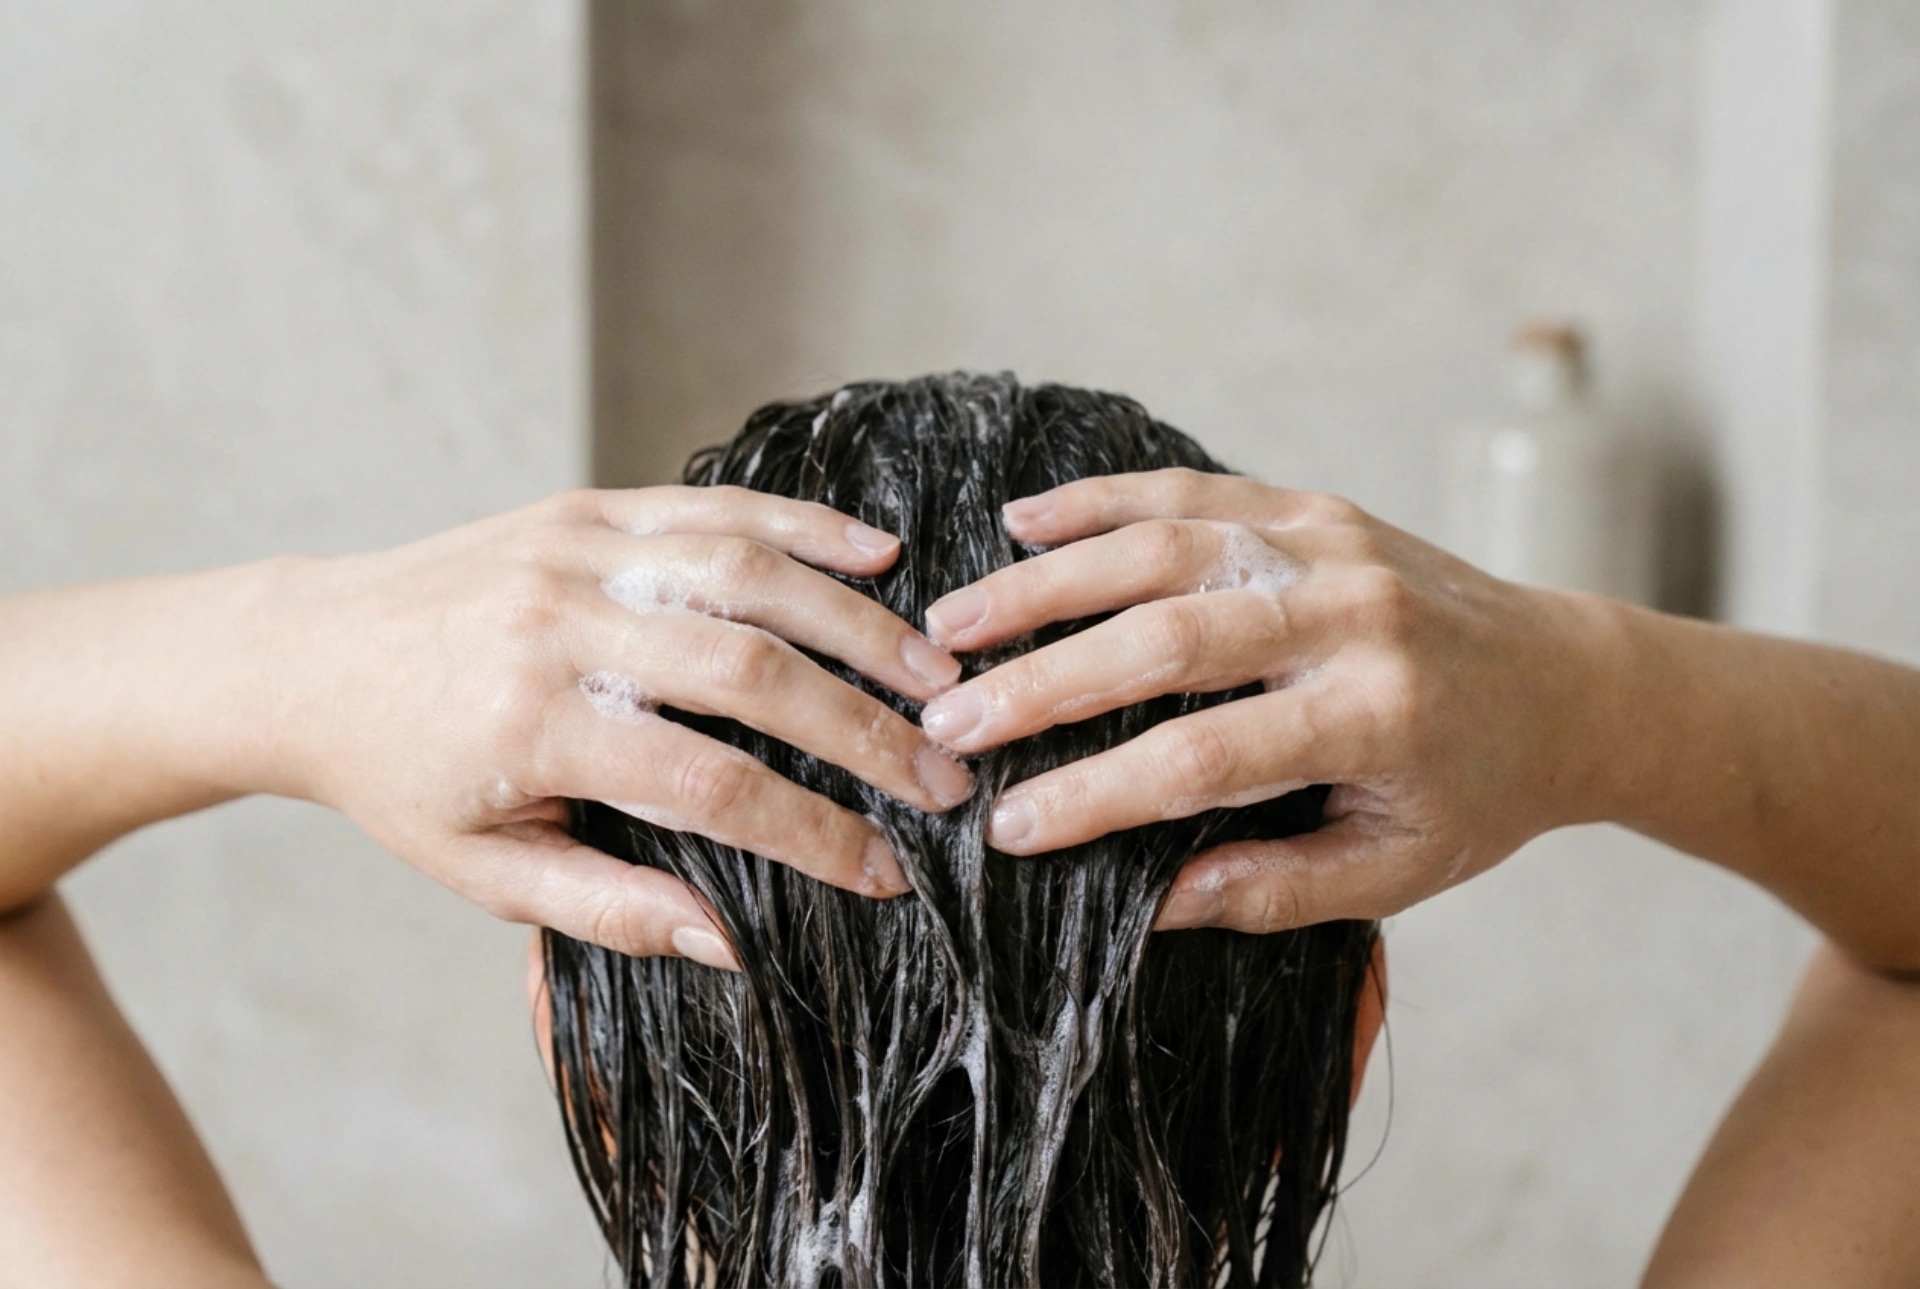
Start by washing your hair with a shampoo and conditioner suitable for your hair type. If you're aiming for volume, a volumising formula can provide a good starting point. Ensure you rinse the conditioner out thoroughly, as any residue can weigh your hair down, making it difficult to lift at the roots. After washing, gently towel-dry your hair to remove excess water without roughing up the cuticle, which can cause frizz.
Applying a Styling Base
Before you reach for the hairdryer, it's crucial to apply a pre-styling product. This will not only protect your hair from heat but also provide the necessary hold and structure for your desired shape. A lightweight styling mousse or a root-lifting spray is an excellent choice. Apply a golf-ball-sized amount of mousse to your damp hair, distributing it evenly from roots to ends. This will give your hair memory and make it easier to mould into the rounded shape.
The Art of Blow-Drying for a Rounded Shape
The blow-drying process is where the magic happens. Using a round brush in combination with a hairdryer is the key to creating that signature tucked-under finish. Patience and technique are paramount.
- Choose the Right Tools: You will need a hairdryer with a concentrator nozzle and a round brush. The size of the brush matters: a smaller barrel is ideal for shorter hair and creating a tighter curl, while a medium-sized barrel works well for most bob-length cuts to achieve a gentle, curved-under effect.
- Section Your Hair: Don't try to dry your entire head of hair at once. Use clips to section off the top and side parts of your hair, allowing you to focus on the nape area first. Working in small, manageable sections ensures that every strand is dried and shaped correctly.
- The Technique: Take a small section of hair from the nape. Place the round brush underneath the section at the roots. Aim the hairdryer's nozzle downwards along the hair shaft as you pull the brush through to the ends. This downward airflow helps to smooth the hair cuticle and prevent frizz. As you reach the ends, roll the brush inwards to create the tucked-under curve. Hold the heat on the ends for a few seconds to set the shape. Repeat this process, working your way up the back of your head section by section.
Mastering Volume and Sleekness
The goal is to create volume at the crown while keeping the nape area sleek and close to the neck. This contrast is what gives the style its sophisticated structure.
Building Crown Volume
When you reach the crown sections at the top and back of your head, change your technique slightly. Instead of just pulling the brush straight down, lift the hair at the roots directly upwards with the brush as you apply heat. This creates lift and volume right where you need it most. Continue to roll the ends under as you did with the lower sections to maintain a cohesive shape throughout the hairstyle.
Using the Cool Shot
Most hairdryers have a 'cool shot' button for a reason. After you've shaped a section with heat, give it a blast of cool air. This rapidly cools the hair and locks the shape in place, significantly improving the longevity of your style. This is especially effective for setting the curve at the ends and the volume at the crown.
Finishing Touches for a Lasting Style
Once your hair is completely dry and shaped, a few final steps will ensure it looks polished and stays in place all day.
Applying Finishing Products
A light-hold hairspray can be used to set your style without making it feel stiff or unnatural. Spray it from a distance to ensure an even, fine mist. To tame any remaining flyaways or add a touch of shine, you can use a small amount of finishing serum or a light wax. Warm a tiny drop of product between your palms and gently smooth it over the surface of your hair, paying particular attention to the ends and the area around the parting. This will give your hair a healthy, glossy appearance and a flawless finish.