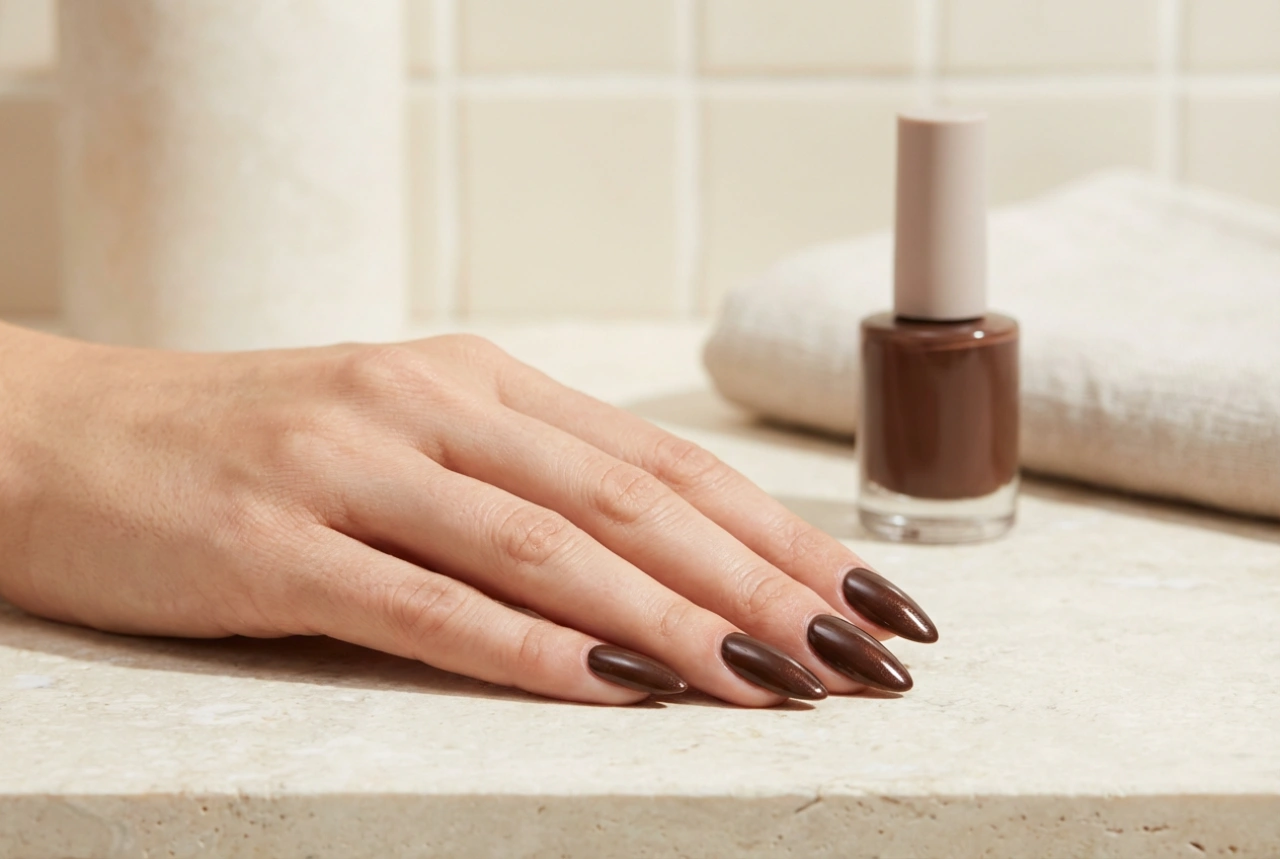


Hybrid nail stickers have emerged as a fantastic solution for achieving a salon-quality manicure in the comfort of your own home. They offer the durability and shine of a gel manicure without the lengthy and often complex application process. If you desire elegant, flawless nails with a durable finish, mastering the preparation and application technique is key. This guide will walk you through all the necessary steps to ensure your hybrid nail stickers look professional and last as long as possible.
Understanding Hybrid Nail Stickers
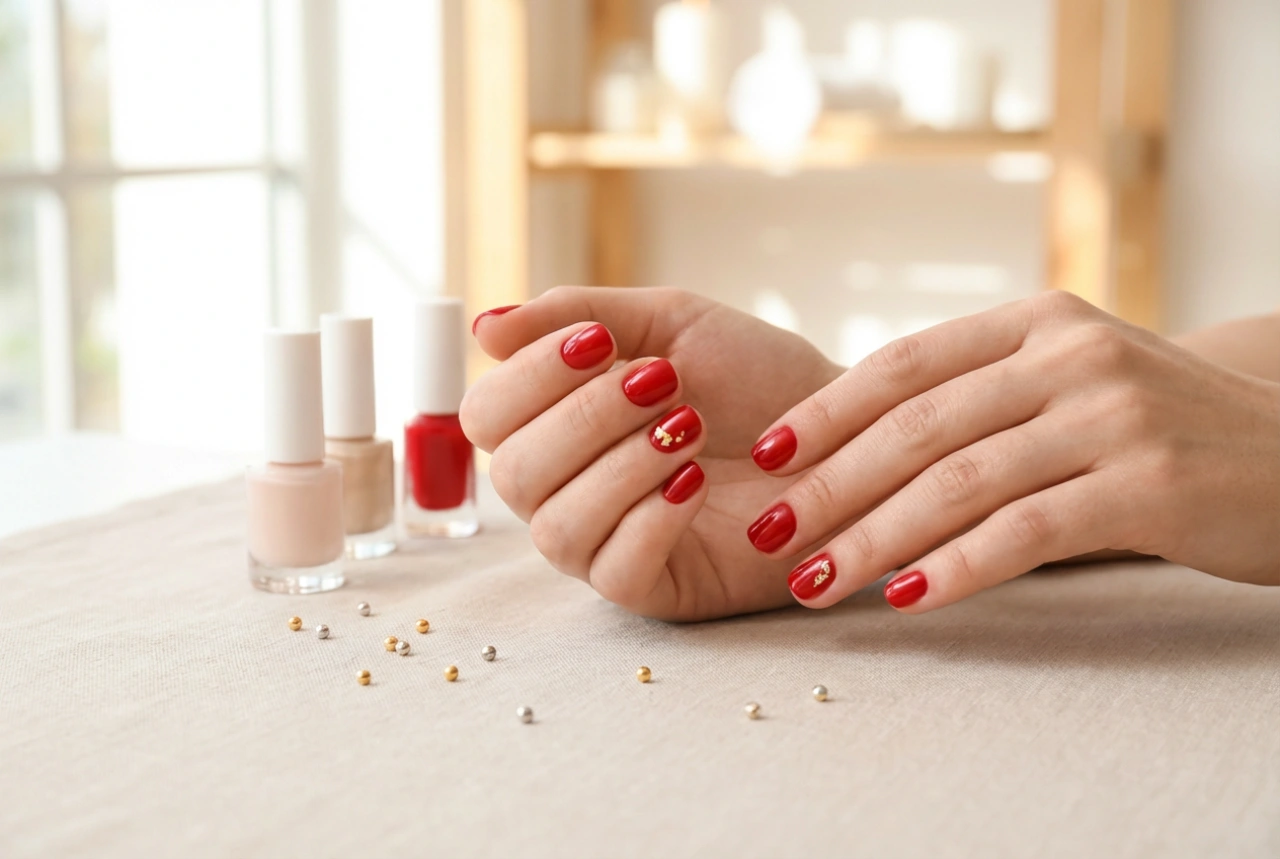
Before diving into the application, it's helpful to understand what makes these stickers unique. Unlike traditional nail polish stickers, hybrid versions are made from real, partially cured gel polish. This semi-cured state makes them flexible and easy to apply to the curve of your nail. The final step involves fully curing them under a UV or LED lamp, which hardens the sticker into a durable, chip-resistant layer that can last for two weeks or more. They provide the perfect balance of convenience and professional results.
Essential Preparation of the Nail Plate
Proper preparation is the most critical step for ensuring your hybrid nail stickers adhere correctly and last. Skipping these steps can lead to premature lifting and a shorter lifespan for your manicure. A clean and smooth canvas is non-negotiable.
Step 1: Cleaning and Shaping
Start with clean, bare nails. Remove any old polish thoroughly. Wash your hands to get rid of any residues. Next, file your nails to your desired shape, whether it's square, round, or almond. Use a fine-grit nail file and file in one direction to prevent splitting. Gently push back your cuticles with a wooden or rubber-tipped cuticle pusher. Avoid cutting your cuticles, as this can lead to irritation; simply tidying the nail plate is sufficient.
Step 2: Creating the Ideal Surface
For the sticker to bond effectively, the nail surface must be slightly rough and completely free of oils. Use a gentle buffing block to lightly buff the entire surface of each nail. The goal is not to thin the nail, but to remove the natural shine and create a matte texture. Once you've buffed all your nails, wipe them with a lint-free pad soaked in an alcohol-based nail cleanser. This step dehydrates the nail plate, removing any lingering oils or dust that could interfere with adhesion.
The Step-by-Step Application Process
With your nails perfectly prepped, you are ready to apply the stickers. Work on one nail at a time to ensure precision.
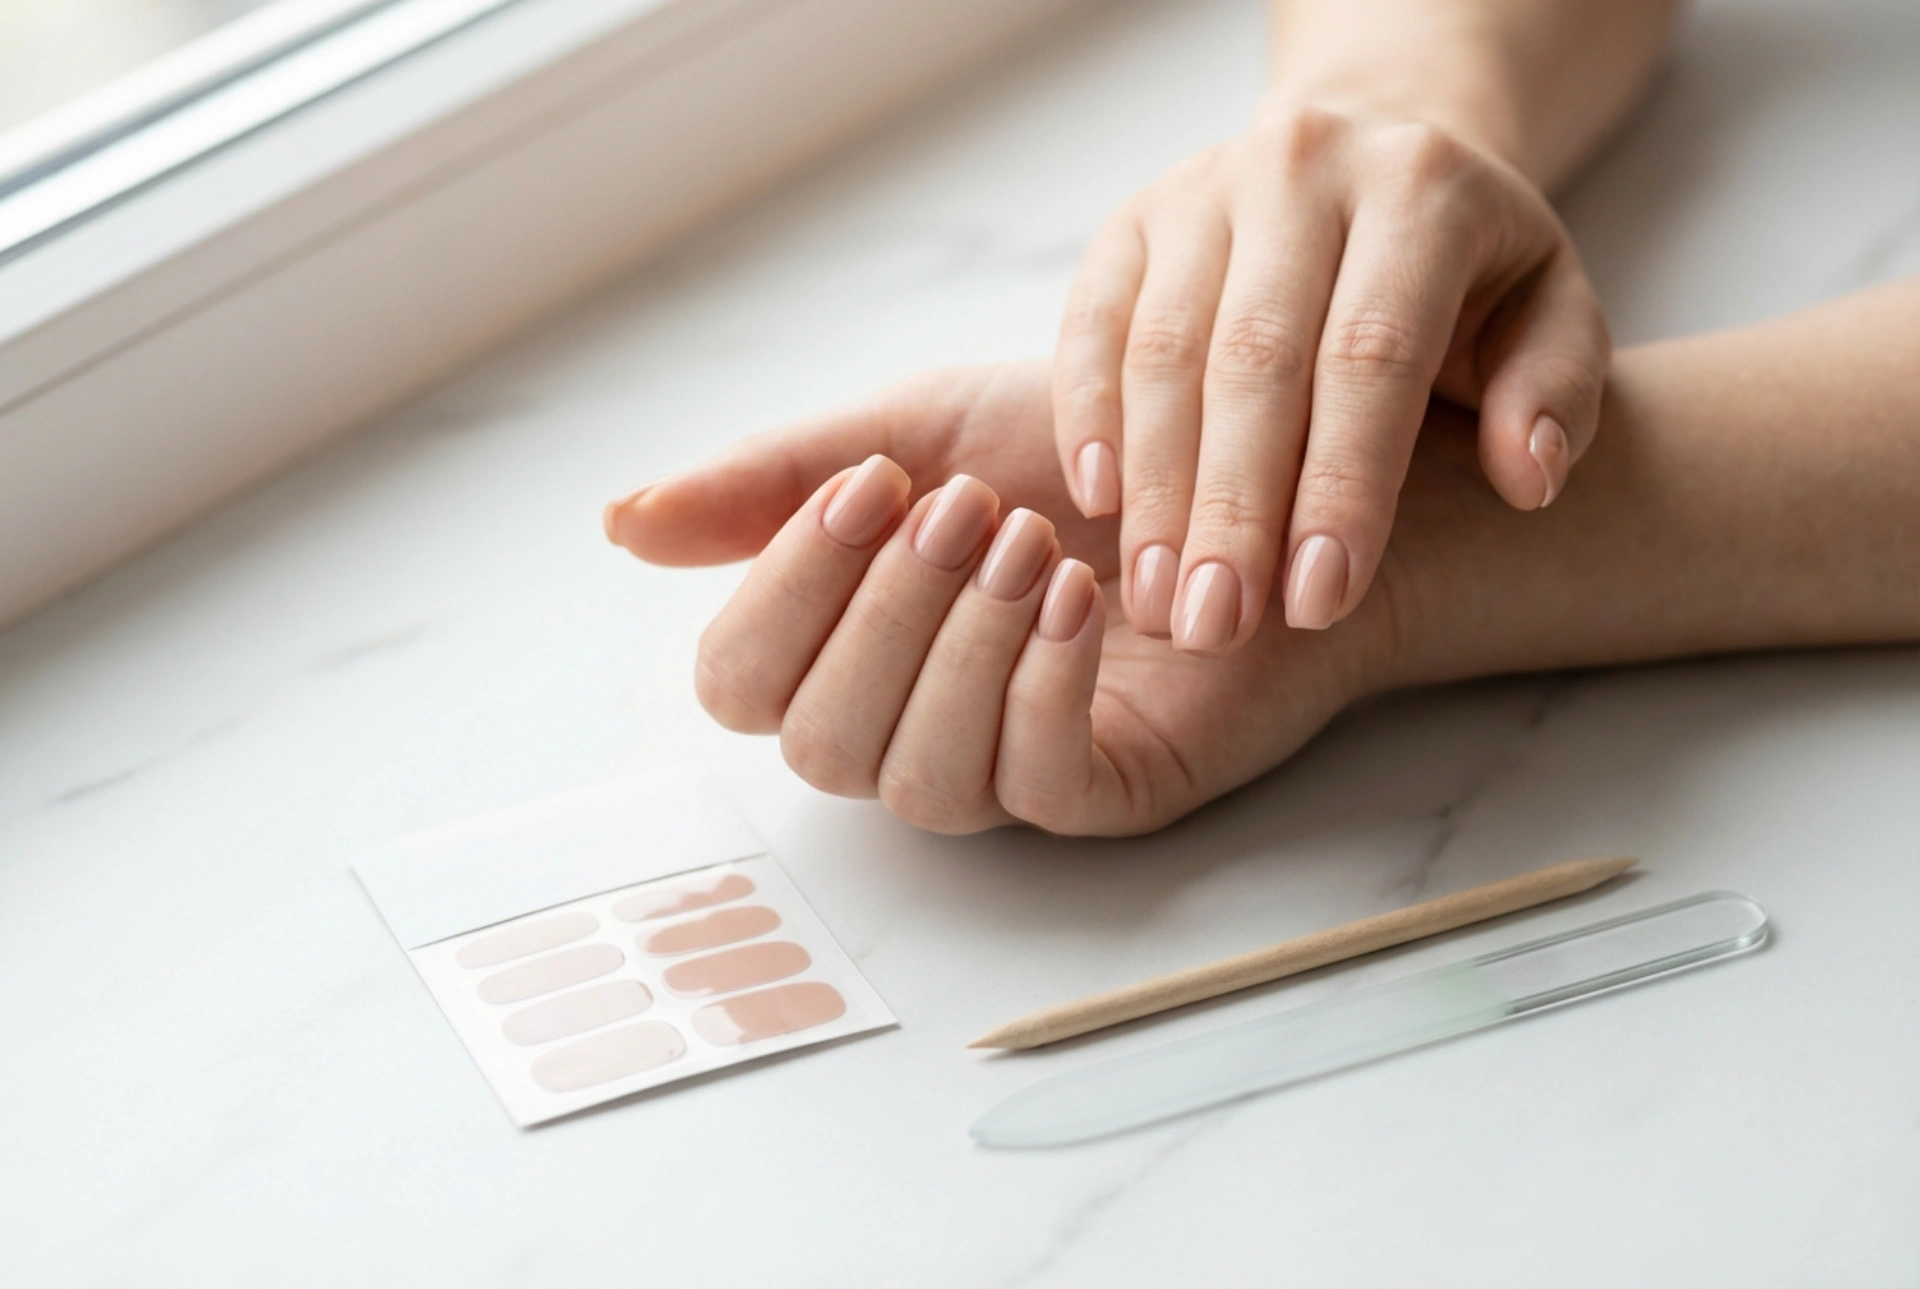
- Select the Right Size: Each pack of hybrid stickers comes with various sizes. Choose a sticker that best fits the width of your nail. It's better to choose one that is slightly smaller than one that is too large and overlaps onto your skin or cuticles.
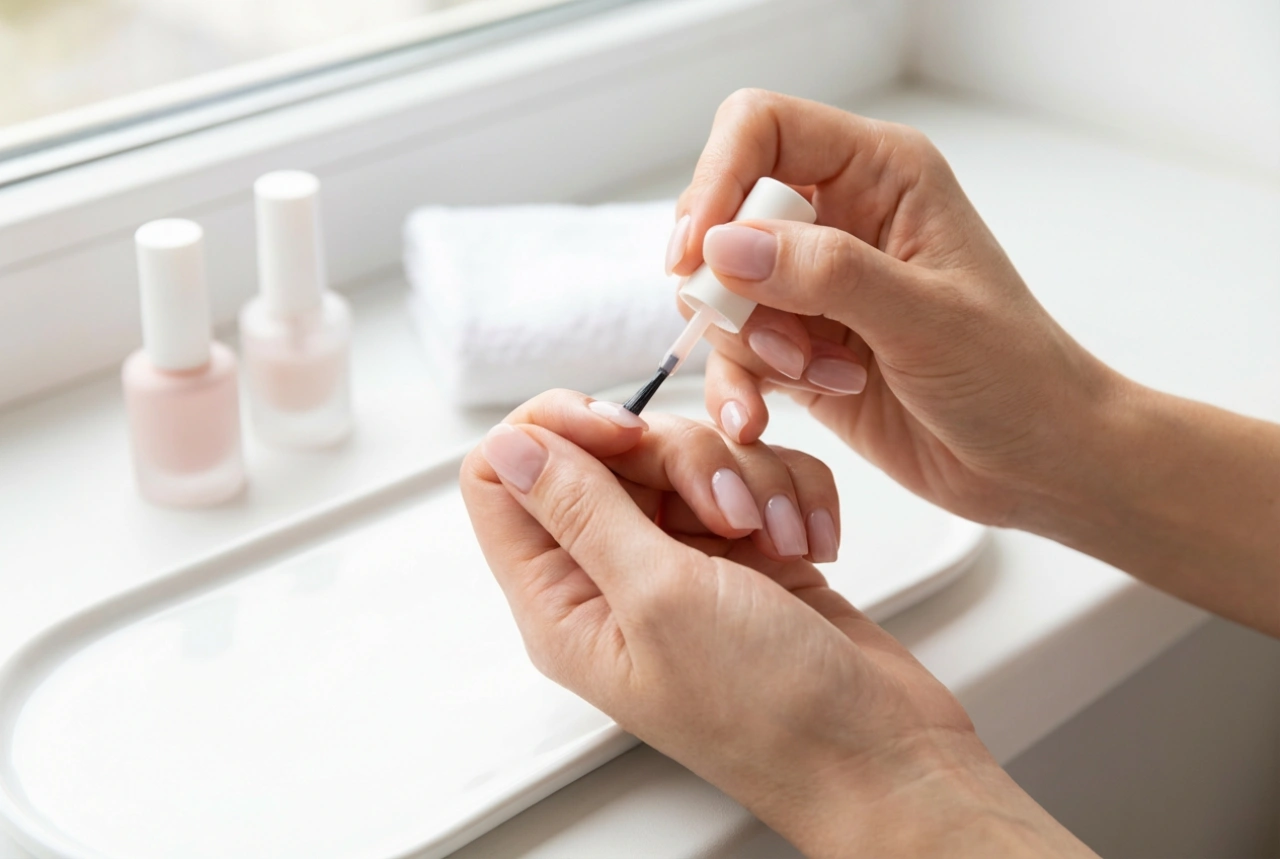
- Apply the Sticker: Peel the chosen sticker from its backing sheet. Carefully align it with your nail, starting at the cuticle line. Press it down firmly in the centre, then smooth it out towards the sides. Ensure there are no air bubbles or wrinkles. The sticker should adhere smoothly to the entire nail surface.
- Trim the Excess: There will be some excess sticker length hanging over the tip of your nail. Fold this part down over the edge. Use a nail file, held at a 90-degree angle to the nail tip, and file in a downward motion to remove the excess. This will create a clean, sealed edge.
Curing for a Durable Finish
The final and most important step is curing. This is what transforms the flexible sticker into a hard, glossy, and long-lasting manicure. Place your hand under a UV or LED lamp, following the curing time recommended by the sticker's manufacturer – this is typically between 60 and 120 seconds. The light activates the gel formula, hardening it completely. Once cured, your nails will be instantly dry, smooth, and incredibly durable. For extra shine and protection, some people opt to apply a layer of gel top coat over the sticker before the final cure, but this is an optional step.
Tips for Longevity and Safe Removal
To get the most out of your manicure, avoid exposing your nails to harsh cleaning chemicals without gloves and apply cuticle oil daily to keep the surrounding skin hydrated. When it's time for a change, removal is straightforward. Gently lift an edge of the sticker using a wooden manicure stick. You can add a drop of cuticle oil or a nail polish remover under the edge to help dissolve the adhesive. Slowly and carefully peel the sticker away from the nail. Never force or pull it off aggressively, as this could damage your natural nail.